
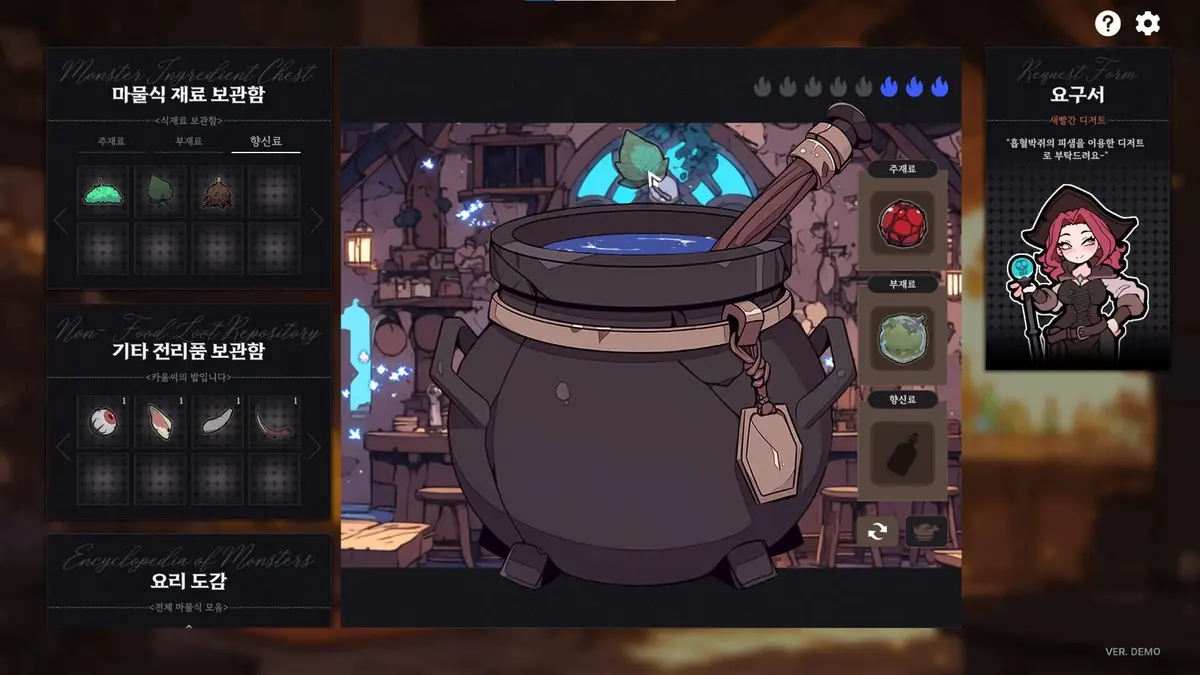
Use the full evidence loop before every guild verdict: identify the target, verify loot and location, check the license, then question the adventurer. Episodes 1 and 2 carry the most fixed answers, while Episodes 3 through 5 reward careful routine management and deliberate fate choices.
Treat every returned quest as a five-part audit: target, loot, map, license, and testimony. Resolve all five before issuing a guild verdict. Matching a monster name to a quest description is only the first check; a wrong material, impossible destination, expired license, or missed follow-up question can flip the result.
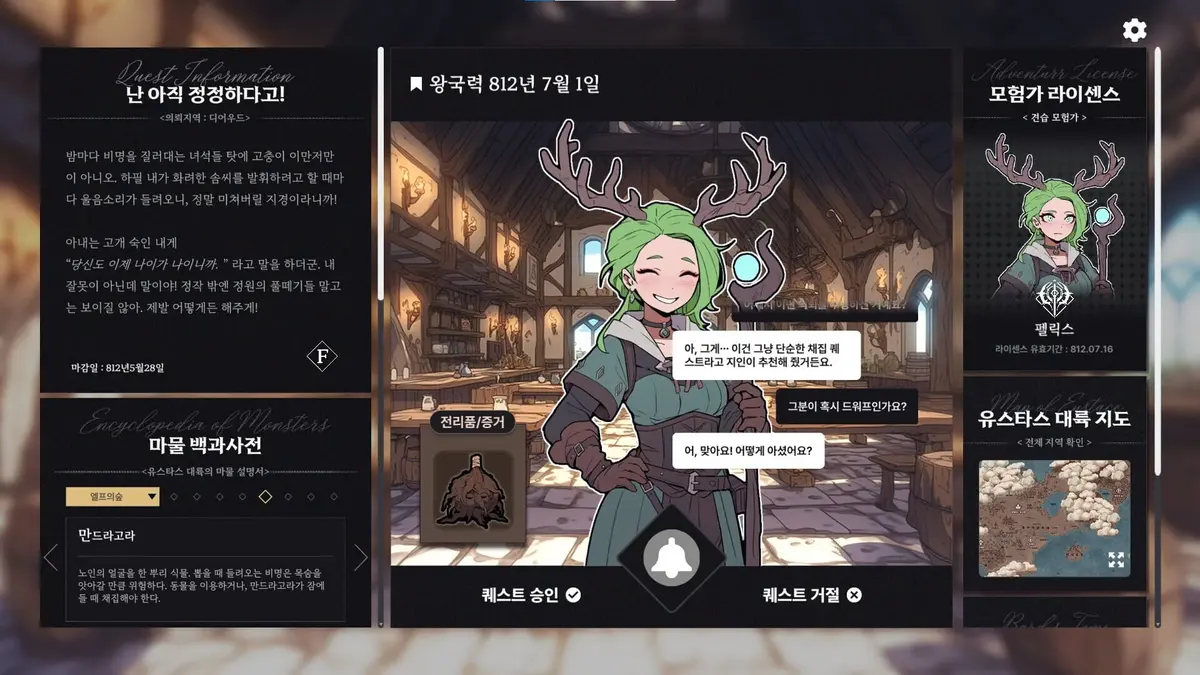
Galvatein: Adventurers’ Guild puts you behind the reception desk. Daytime is spent judging adventurers’ work, while nighttime duties include cooking dishes for guild members and following character events. This hub pulls the key steps for Episodes 1 through 5 into one place so you can move from chapter to chapter without wasting runs on avoidable mistakes.
Table of Contents (8)
The routine to use for every guild investigation
Run cases in this order. It keeps the evidence screens organized and, more importantly, stops you from locking yourself out of useful information by judging too early.
- Read the quest description and identify the likely monster from its traits, rather than accepting the client’s label at face value.
- Open the encyclopedia or bestiary when the quest sigil points to reference material. Match appearance, habitat, behavior, and known drops.
- Inspect the returned loot. Check whether the item could come from the target you identified, especially when an item is damaged, altered, or burned.
- Compare the stated location with the map. A correct monster still fails the test if the destination makes no sense for its habitat or route.
- Check the adventurer’s license and deadline. The license must be intact and the quest must still be valid.
- Use every relevant follow-up question before selecting Accept or Reject. Missing-person clues and suspicious testimony regularly carry story consequences.
- Submit the verdict only when the full case agrees. If one piece fails, keep digging instead of treating the rest of the evidence as good enough.
Guild reputation rewards procedure, but several story decisions ask you to weigh the rules against a suspicious circumstance or a character’s fate. In practice, that means finishing your questions and checking every piece of evidence before you commit to a branch.
Episode 1: Hero of Our Time walkthrough
Episode 1 teaches the core verification loop and gives you the fixed monster identifications that set the standard for later cases. Use the Kingdom of Galvatein encyclopedia for Dorothea’s investigation, then verify the loot and license before approving anything.
- Dorothea: The correct target is Giant Bee. Use the encyclopedia entry indicated by the quest sigil, then confirm the returned loot and license.
- Prairie-related quest: The correct target is Prairie Cat. Make sure the quest description and material evidence fit the Prairie Cat before you pass it.
- Yeti-related quest: The correct target is Yeti. Apply the same target, loot, location, and license checks before accepting.
Nighttime cooking is mandatory for Episode 1’s character sequence, and this is one of the few places where exact ingredient order matters. Change a component and you can miss the intended scene.
- Galen — Pan-seared orc belly: Orc Belly, Forest Breath, Flame Seed
- Rina — Slime bubble tea: Slime Core, Pamston Barley Flour, Green Bell
- Dorothea — Fresh tear sorbet: Bitter Cold Tear, Spirit Knot, Elder Well’s Eternal Snow
Forest Breath is the key support ingredient in Galen’s meal because it removes the orc belly odor, while Flame Seed handles the cooking. Once all three dishes are served, follow the Rina and Dorothea conversation to finish the episode’s closing sequence.
Episode 2: Ask Rude about Asabella before judging Galen
Episode 2’s main trap is sequencing. When Rude’s material connected to Galen appears, ask Rude about Asabella before issuing the verdict on Galen’s quest. Judge first and you cut off the information flow that the scene is built around.
The major fate decision lands in Chapter 3-7. Choose Reality to see the bad ending. Choose Courage for the stronger progression, the One Step Forward achievement, and the event where Romenio and Asabella escape, which unlocks The Strange Adventure of Romenio and Asabella. If you want both outcomes, take Reality first, then reload Chapter 3-7 and select Courage.
Episode 2 riddle-map destinations
After clearing the riddle quest, the map asks you to identify where the associated characters went. These are the required destinations.
- Cathley: Aluemdri Library
- Chui: Forgotten Labyrinth
- Felix: Prelude of Flame
- Zeronos: Black Forest
- Rina: Blue Bay
- Olivia: Selneild
- Dorothea: Kerbera
- Margaret: Glass Beach
Several of these depend on visual path clues rather than a direct place name. For Chui, select the mouth of the dragon face. For Felix, start from the sleeping black cat, cross the bridge, and continue to the sixth palm tree. For Zeronos, follow the river down from the wizard’s tower into the forest. Rina’s route follows the direction indicated by the three mountains.
Olivia’s movement sequence is right 6, up 8, right 1. Dorothea’s destination is beside the cliff directly ahead in the indicated area. Margaret’s route follows the line from the Black-Red Plains, while Cathley’s answer is the visible Aluemdri Library location.
Episode 3: Use the extra day and night before advancing
Episode 3 adds an extra day and an extra night, and the smart play is to treat that as breathing room for investigations rather than free time to rush the plot. Clear the added reception work first, then handle the extra night duties and character interactions before moving forward.
- Read each returned-quest description in full before opening the encyclopedia.
- Identify targets through multiple matching traits, then compare their expected loot with the returned item.
- Check both the map and license instead of treating monster identification as the whole answer.
- Question adventurers about missing people, unusual locations, and suspicious circumstances before you submit a ruling.
- Make fate choices deliberately. Episode 3 keeps pushing the tension between protecting guild reputation through procedure and following a case that points toward a wider story.
Episode 4: Solve all ten riddles before you trust the night map
Episode 4 is the riddle-heavy chapter. It includes ten riddles, and it pairs those answers with reception work and a night-map route that punishes lazy note-taking. Clear the reception shift cleanly before you start treating the map like a destination picker.
- Read each reception case fully and finish its questioning before you choose a verdict.
- Write down landmarks, directional wording, and every named destination from the riddle text.
- Resolve the full riddle instead of jumping at the first location that matches one detail.
- Treat the night map as a navigation puzzle, not a standard travel screen.
- Match reception answers against the returned evidence first, then use the riddle clues to validate the route.
That last point matters more than it sounds. Episode 4 likes plausible-looking answers. If you answer from character familiarity or from one clue in isolation, you can still land on the wrong result.
Episode 5: Finish the quest analysis before pushing Chewie’s arc
Episode 5 swings the focus back to quest analysis while progressing Chewie’s character arc. The clean route is simple: finish the daytime reception work, exhaust the relevant questions, and only then move the story conversation or fate choice ahead.
- Consult the encyclopedia for every unfamiliar monster name or quest sigil.
- Check the target, loot, map, license, and expiration status together before accepting a report.
- Inspect missing-person prompts and suspicious stories before deciding whether to follow the strict guild ruling.
- Record riddle clues exactly, including directional counts, landmarks, and map references.
- Separate a procedurally correct ruling from the story decision tied to it. Episode 5 still treats those as related, but not identical.
If Episode 5 trips you up, it usually is not because the game changed the rules. It is because the case looked clear early and you stopped the audit too soon.
Episode order checklist
- Episode 1: Identify Giant Bee, Prairie Cat, and Yeti where required; cook all three exact meals; finish the Rina and Dorothea conversation.
- Episode 2: Ask Rude about Asabella before judging Galen’s quest; select Courage in Chapter 3-7 for the favorable route; use the eight riddle-map destinations.
- Episode 3: Use the added day and night to complete investigations, cooking, and character interactions before committing to story progress.
- Episode 4: Finish the reception work, solve all ten riddles, and treat the night map like a route puzzle instead of fast travel.
- Episode 5: Apply the full evidence routine to each new case and complete all relevant questioning before advancing Chewie’s story.
FinalBoss // Gear
Level up your setup
01Top-rated gaming headsetson Amazon→02High-refresh gaming monitorson Amazon→03Gaming chairson Amazon→04Discounted game keyson Kinguin→Affiliate links · As an Amazon Associate, FinalBoss earns from qualifying purchases.
Want to Level Up Your Gaming?
Get access to exclusive strategies, hidden tips, and pro-level insights that we don't share publicly.
Ultimate Guide Strategy Guide + Weekly Pro Tips