
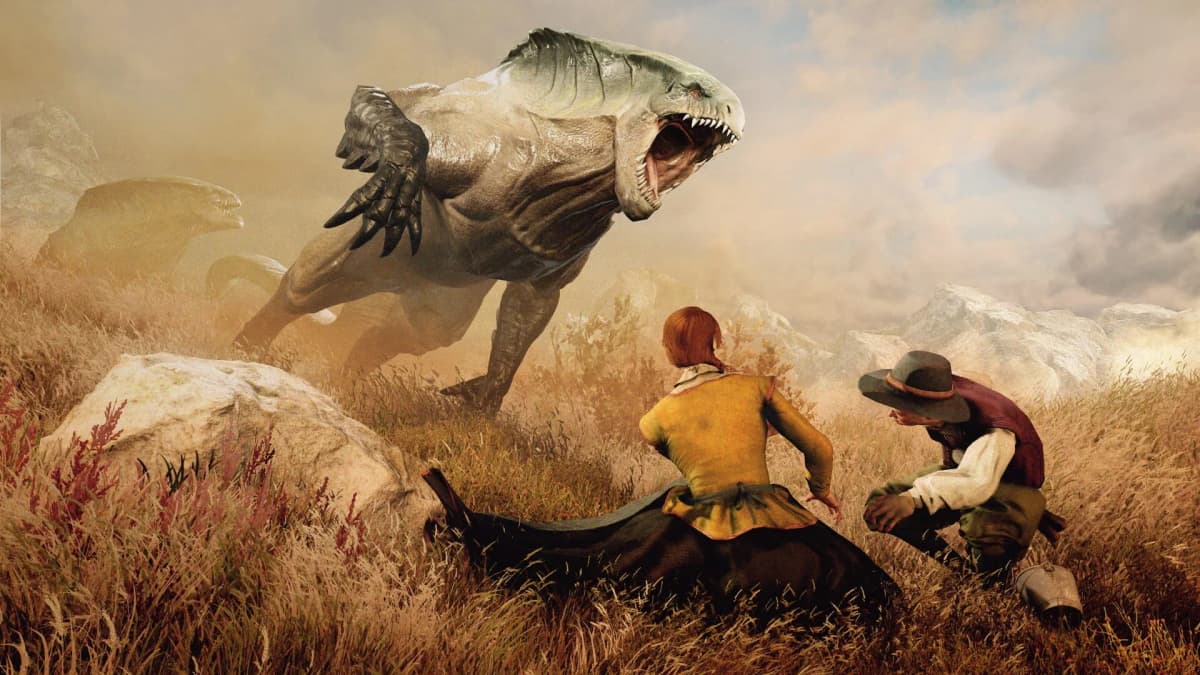
The first real GreedFall trap shows up early: you reach the Serene warehouse district, see enemies guarding the obvious route, and assume the game wants a straight fight. That moment explains the whole campaign. GreedFall is linear in its main story, but the quests inside that line are full of talent gates, side routes, and easier solutions. If you want the cleanest walkthrough, play it as a main-story push with regular side-quest sweeps, keep talent points moving toward Charisma, Science, and Lockpicking, and never leave a city without checking merchants for ammo and upgrades.
Table of Contents (13)
Before You Start: The 6 Rules That Make the Whole Walkthrough Easier
- Prioritize Charisma early if you want smoother quest outcomes, stronger diplomatic options, and fewer messy faction penalties.
- Science is more than crafting utility. It opens alternate entrances, lets you use explosive shortcuts, and can turn a forced fight into a faster route.
- Lockpicking saves time constantly. It is one of the best anti-frustration talents in the game because so many shortcuts and reward rooms sit behind locked doors.
- Buy ammo every time you see it. Firearms are extremely strong in GreedFall, especially for staggering enemies and controlling chaotic fights, but ammo can run dry faster than new players expect.
- Use camps and fast travel often. The game loves sending you back to older hubs after new story beats, and camps make that loop much less painful.
- Gear companions properly. Don’t treat them as decoration. A well-equipped companion, especially Kurt with a strong two-handed weapon, can carry tough group fights.
Chapter 1: Serene Prologue
Your goal in Serene is simple on paper: gather what you need for departure, deal with Constantin’s trouble, and get to the ship. The part that usually wastes time is doing it in the wrong order. Before you board, make a round through the embassy district and pick up the early faction-related business that is easiest to handle while you are still in the city. This is also the point where GreedFall quietly teaches you to stop following only the most obvious door.
When the story leads you to Constantin and the warehouse area during The Great Departure, check your available tools before you charge in. If you have enough Science, you can use an alternate entry through a weak wall and avoid the clean frontal approach. If you do not, you can still fight your way through or handle the encounter more conventionally, but the lesson matters: your talents change your route, not just your stats. After the rescue sequence, finish any loose Serene business you care about and then board Vasco’s ship.
Common sticking points here: leaving Serene too early, missing embassy conversations, and assuming the warehouse has only one valid solution. If the city starts to feel confusing, ignore the temptation to free-roam every alley. The objective chain is still tightly guided even when the map feels wider than it is.
Chapter 2: New Serene and Early Hub Setup
Once you arrive in New Serene, GreedFall opens up enough to mislead you. It looks like the moment to roam, but the best route is still controlled. Start with the embassies, your immediate introductions, and companion recruitment. Get every available party member as soon as the story allows, because combat gets much smoother when you stop treating De Sardet like a solo character with occasional backup.
Before leaving town, visit merchants and restock. This is where firearm builds either become dominant or annoying. Guns hit hard and can interrupt enemies, which is why they feel so good in GreedFall’s mid-range combat, but they only stay that way if you keep buying ammunition. Also check armor and weapons for companions now, not after they start falling behind in field fights.
The other mistake in this phase is pushing the main marker out of the city while your journal is already filling with nearby quests. Clear the obvious city-side tasks first. GreedFall likes to send you back later anyway, so finishing local errands before your first big excursions usually saves travel time instead of costing it.
Chapter 3: First Island Routes and Regional Exploration
This is the part where the campaign settles into its real structure: story mission, regional travel, side content, then a return to politics and companions. The main plot remains linear, but individual objectives start branching around talents and approach choices. When you enter a new area, slow down enough to check for side doors, basement entries, ladders, and locked rooms. GreedFall repeatedly hides the easier route in the place players sprint past.
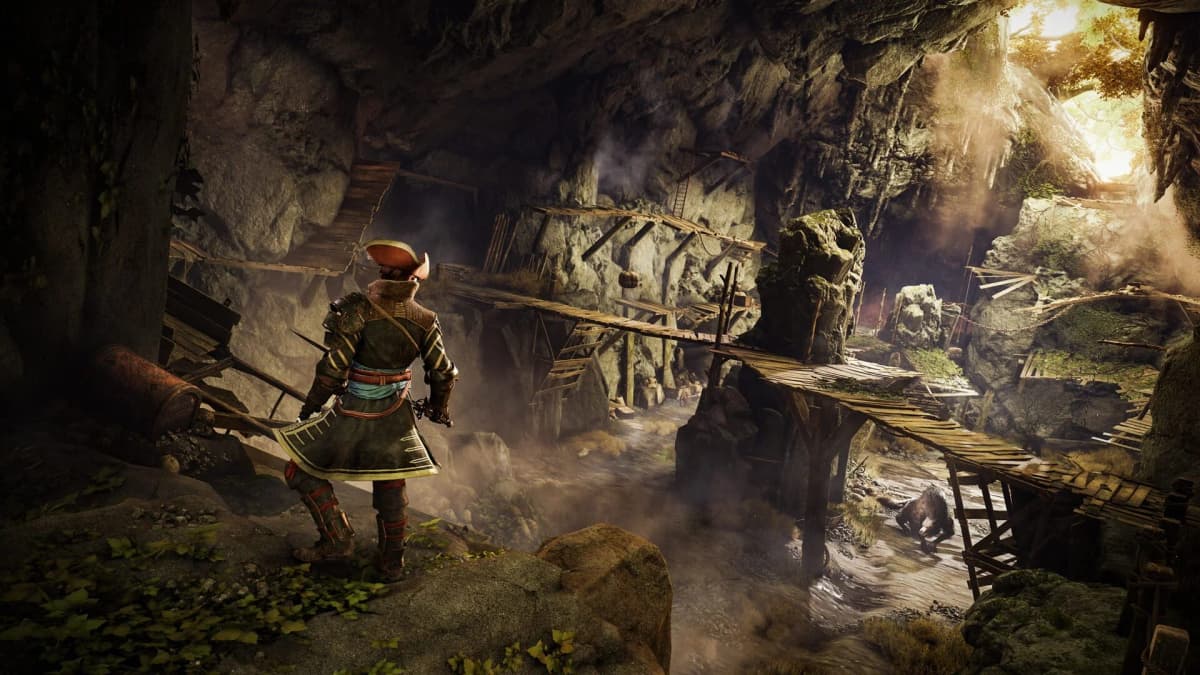
At every village, outpost, or mission area, do a fast mental checklist: are there locked containers, suspicious walls, alternate entrances, or a conversation that clearly wants a Charisma check? If the answer is yes, your talent spread is directly shaping how smooth the next twenty minutes will be. This is also the point where setting up camps matters. The game’s backtracking gets much more manageable when you build your travel network early instead of improvising later.
In combat, start using ranged pressure intelligently. Firearms are excellent for thinning out dangerous targets or staggering an enemy that is pressuring your companions. What you do not want is to kite half a fight across the map. GreedFall can reset enemies if you drag them too far from their patrol area, which turns a winning encounter into wasted time.
Chapter 4: Midgame Faction Quests and Companion Management
Midgame is where walkthroughs usually become messy, because this is when players either build momentum or create a log full of half-finished errands across multiple regions. The safest rhythm is simple: every time you complete a major main-story objective, open Journal, check for newly unlocked companion and faction quests, then clean up anything in the same city or region before advancing again.
This matters because GreedFall ties a lot of its best quest flow to reputation and timing. Charisma checks are especially valuable here. They can improve outcomes, smooth over tense conversations, and preserve standing with factions that would otherwise become harder to manage. Science and Lockpicking continue doing heavy lifting too, because they keep opening non-obvious routes that save supplies and reduce combat wear.
Companions deserve more attention than many first-time players give them. If Kurt is in your party, give him a solid two-handed weapon and respectable armor so he can anchor group fights. More broadly, do not let party gear lag because you were focused only on De Sardet’s upgrades. Several difficult encounters feel dramatically easier when your companions can survive long enough to occupy enemies and finish targets you soften with ranged attacks.
The other midgame habit to build is resource cycling. After a hard objective, go back to town, repair your setup, restock ammunition, and then chain nearby quests before pushing into the next long stretch. GreedFall rewards players who treat preparation as part of progression, not as cleanup after a wipe.
Chapter 5: Late Game Preparation and the Final Push
Late game is less about discovering new systems and more about not disrespecting the ones the game has been teaching you since Serene. Before you move into any clearly final-looking objective chain, finish the companion quests you care about, spend talent points to patch weak spots in your build, and do one serious merchant run. You want enough ammo, healing, and repaired gear to survive multiple heavy encounters without improvising.
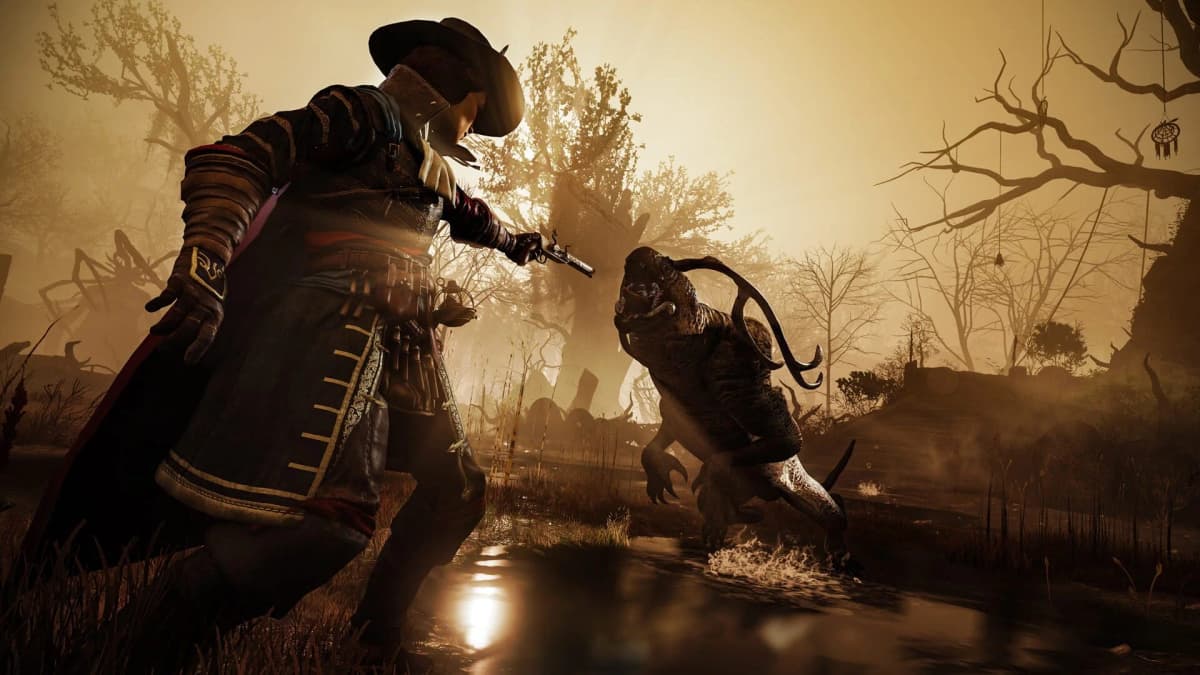
Save before major finale markers. GreedFall’s ending stretch works best when you treat it as a committed push rather than a casual “I’ll just see what’s next” session. If you enter understocked or with neglected companions, the last fights stop being interesting and start feeling like attrition checks. Keep your pulls controlled, avoid overextending into multiple enemy groups, and remember that earlier quest choices and reputations can shape how the endgame resolves.
The Most Common Places Players Get Stuck
1. The Serene warehouse sequence
If the opening rescue feels harsher than expected, the issue is usually route choice, not raw difficulty. Look for alternate entry methods and talent-based solutions instead of assuming the front door is mandatory.
2. Talent checks that seem to “block” progress
They usually do not block the story outright, but they absolutely block the easiest route. If your build ignores Charisma, Science, and Lockpicking completely, expect more fighting, more backtracking, and fewer clean quest resolutions.
3. A bloated quest log
This happens when you keep advancing the main story without doing regional sweeps. Group quests by location, not by the order you picked them up, and you will save a lot of walking and loading.
4. Companion quests left for “later”
Later can become too late. Check for new companion steps after every major story turn, especially in the midgame when several threads unlock in bunches.
5. Final fights turning into supply checks
If the endgame feels unfair, the problem is often inventory management. GreedFall strongly rewards entering the finale prepared, not barely stocked and hoping the next camp is close.
Practical Wrap-Up
The cleanest GreedFall walkthrough is not about sprinting the main quest marker. It is about recognizing the game’s rhythm: finish the local hub, use talents to open better routes, keep companions equipped, restock every time you return to town, and only then push the story forward. If you follow that pattern from Serene to the finale, most of the game’s worst friction points stop being roadblocks and start feeling like choices you are ready for.
FinalBoss // Gear
Level up your setup
01Top-rated gaming headsetson Amazon→02High-refresh gaming monitorson Amazon→03Gaming chairson Amazon→04Discounted game keyson Kinguin→
Affiliate links · As an Amazon Associate, FinalBoss earns from qualifying purchases.
Want to Level Up Your Gaming?
Get access to exclusive strategies, hidden tips, and pro-level insights that we don't share publicly.
Ultimate Guide Strategy Guide + Weekly Pro Tips