
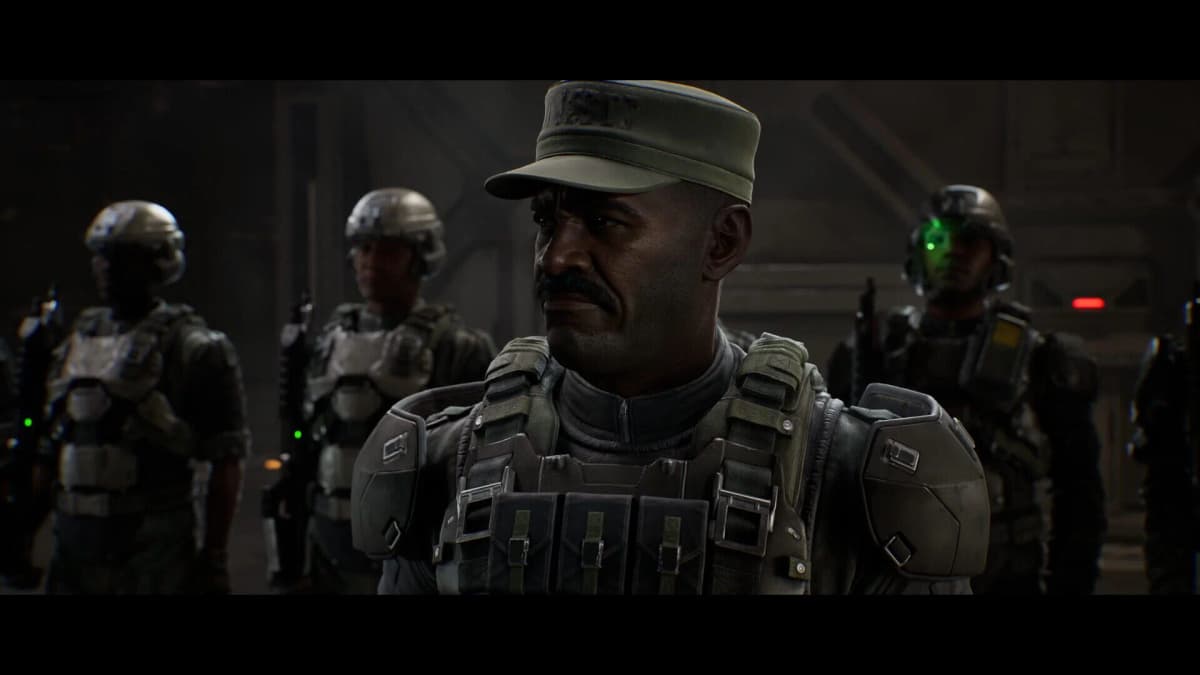
Halo: Campaign Evolved rebuilds Halo Combat Evolved’s campaign with modern movement, Unreal Engine presentation, new story material, and a much larger replay toolkit. The skull hunt needs a fresh route too: there are 39 skulls across 13 campaign maps, and their placements differ from Halo CE and older Master Chief Collection routes. Start with the first chapter, secure the early skulls, and treat every mission as a three-skull clear before advancing.
The efficient plan is simple. Collect two skulls early in Chapter 1 to unlock Campaign Remix, collect a third skull in the same level to trigger the “any three” bonus-skull rule, then continue through the remaining 12 maps in order. This keeps your unlocks moving while preventing the worst completionist mistake: reaching the end of a mission before realizing that a one-way drop, combat trigger, or Rally Point boundary has locked you out of a collectible.
Table of Contents (11)
What Changed From Halo CE Skull Routes
Do not use a Halo CE or Master Chief Collection skull route as your primary reference for Campaign Evolved. Halo Studios has repositioned collectibles for this version of Master Chief’s first campaign, so an old location can put you in the right room while still leaving you searching the wrong corner, container stack, or corridor.
The new route is built around three practical systems:
- Three skulls per map: 39 skulls are spread across 13 campaign maps, making each mission a self-contained three-skull collection pass.
- Rally Point routing: Some skull paths are best reached from Rally Point Alpha, Bravo, or Charlie rather than from the mission opening. Use the Rally Point that places you before the relevant detour or fight trigger.
- Audio and visual confirmation: Hard-to-see skulls use proximity audio cues. Slow down when the cue begins, check the nearby route vertically as well as horizontally, and search behind props instead of only following the main combat path.
Warning: A skull hunt becomes far less efficient once you start treating every missed collectible as an end-of-mission cleanup job. Search side rooms, rear walls, ledges, and container stacks before crossing one-way drops or starting large encounters.
Best First-Run Setup: Unlock Remix and Bonus Skulls Early
Your opening goal is to turn the first chapter into an unlock run. Campaign Remix becomes available after finding two skulls in early Chapter 1 missions. The three bonus skulls follow the separate any-three rule: collect any three skulls within a single level to unlock them.
That makes the early campaign the best place to be thorough. Finish the first map’s three-skull sweep before moving on whenever possible. You will have Campaign Remix ready for later replay sessions and will avoid scattering your first three collectibles across multiple missions without receiving the bonus-skull unlock.
- Prioritize two early Chapter 1 skulls to unlock Campaign Remix.
- Continue to a third skull in the same level for the bonus-skull requirement.
- Keep the collection run focused on standard mission progression first; save randomized Campaign Remix sessions for replay experimentation.
- Record each completed map as a three-skull clear before starting the next one.
Map 1: The Pillar of Autumn Skull Route
The Pillar of Autumn is the mission that sets up the rest of your skull hunt. It contains multiple skull routes, a Terminal, and the early Perspective skull modifier. It is also where players are most likely to lose time by pushing through the ship’s combat sequence too quickly.

Check the Cryo Room Before Advancing
Move through the cryo section carefully. The important visual check is the back wall and nearby container stack. This is an easy area to dismiss because the mission is still teaching its opening rhythm, but it is worth slowing down before you commit to the next combat path.
Use the skull’s audio cue as your confirmation that you are searching the right part of the room. Once you hear it, stop following the obvious corridor line and inspect the room’s edges, props, and stacked objects.
Collect the Perspective Skull After Meeting Captain Keyes
The Perspective skull is found early aboard the Pillar of Autumn after meeting Captain Keyes. This modifier enables a third-person camera view, giving Campaign Evolved a very different feel during Master Chief’s firefights and traversal sections.
Once you have found it, launch from your latest mission start or Rally Point and enable the skull from that mission’s modifier menu before beginning the run. Perspective is especially useful for players who want a clearer view of Chief’s animation work and the updated environments, though first-person remains the cleaner option for players who prefer Halo’s traditional aiming perspective.
Use Rally Points Instead of Replaying the Entire Ship
The Pillar of Autumn skull paths are tied to Rally Point Alpha, Bravo, and Charlie routes. If you miss a collectible, restart from the Rally Point that still leaves the relevant section open. Replaying from the opening every time is slow and increases the chance of crossing the same fight trigger before checking the room you needed.
The mission also includes a Terminal. Keep Terminal tracking separate from skull tracking: it is valuable campaign content, but it does not count toward the 39-skull total or the bonus-skull requirement.
The 39-Skull Campaign Checklist
Campaign Evolved’s 39-skull structure is easiest to manage as a 13-map ledger. Each map contributes three skulls. The numbers below are a clean progress log rather than official skull names; use them to make sure a mission is complete before moving to the next campaign map.

- Map 1 – The Pillar of Autumn: Skulls 1-3. Check the cryo room’s back wall and container stack, search after meeting Captain Keyes for Perspective, and use the appropriate Rally Point route for the remaining pickup.
- Map 2: Skulls 4-6. Complete all side-path checks before committing to the mission’s major combat progression.
- Map 3: Skulls 7-9. Search branches and enclosed spaces when the skull audio cue begins.
- Map 4: Skulls 10–12. Inspect detours before crossing drops or advancing through locked progression routes.
- Map 5: Skulls 13–15. Treat fight triggers as collection boundaries; search first, then start the encounter.
- Map 6: Skulls 16–18. Check environmental clutter, rear walls, and elevated visual landmarks rather than only following the objective line.
- Map 7: Skulls 19–21. Use Rally Point access if a missed skull sits behind a combat or traversal commitment.
- Map 8: Skulls 22–24. Pause when the audio cue starts and work outward from the sound instead of rushing toward the next waypoint.
- Map 9: Skulls 25–27. Clear optional rooms and side spaces before using a route that cannot be retraced.
- Map 10: Skulls 28–30. Keep a count during the mission; reaching the final section with fewer than three means it is better to restart from the relevant Rally Point immediately.
- Map 11: Skulls 31–33. Search before major battle triggers, especially in rooms that look like transitional spaces.
- Map 12: Skulls 34–36. Use audio cues to distinguish a nearby hidden pickup from ordinary environmental detail.
- Map 13: Skulls 37–39. Finish the campaign with a final three-skull audit rather than assuming late-game progression has collected everything automatically.
How to Read Skull Audio and Visual Cues
The skull audio cue is the best tool for the locations that blend into Campaign Evolved’s updated environments. Unreal Engine lighting and denser scenery make hidden collectibles feel more natural in the space, which is great for atmosphere but makes a rushed run unreliable.
- Stop when the cue begins: Continuing to sprint toward the objective can carry you beyond the collectible’s effective search area.
- Search behind the obvious scenery: Containers, equipment piles, rear walls, and cluttered corners are stronger leads than the center of a room.
- Look for a detour before a fight: A skull tucked near a combat trigger is designed to be missed by players who activate the encounter immediately.
- Check vertical space: Updated geometry can hide a pickup above eye level or behind a prop that only becomes visible from an angle.
- Restart early after a miss: If the route has become one-way, return to the correct Rally Point while the section is still fresh in your memory.
Bonus Skulls: How the “Any Three” Rule Works
The bonus-skull system rewards efficient mission clears. You unlock the three bonus skulls by finding any three skulls in any level. You do not need to collect the full 39 before gaining access to these rewards, which is why a complete early-map sweep is more valuable than a scattered campaign-wide search.
The practical consequence is straightforward: do not leave a mission after one or two skulls if you can still reach its third. Completing that set gives you an immediate reward and establishes the routine you need for the remaining 12 maps.
Campaign Remix and Always-On Skull Modifiers
After collecting two early skulls in Chapter 1, Campaign Remix can be selected to remix a chosen chapter. It is built for replaying familiar missions with altered combat conditions rather than repeating the campaign in exactly the same rhythm every time.
Its always-on skull options can randomize enemy squads and weapon spawns, changing how a room plays even when you know the original Halo Combat Evolved encounter layout. That makes Remix a better fit after your dedicated collection pass: you can enjoy the altered squads, weapon combinations, and co-op chaos without splitting your attention between survival and searching every container-lined corner for a missed skull.
Common Skull-Hunt Failure Points
- Following old Halo CE locations: Campaign Evolved skull placements differ, so legacy routes can send you to the wrong spot.
- Starting a fight before checking the room: Large encounters can turn a quick detour into a Rally Point restart.
- Dropping down too early: Treat every ledge, lift, shaft, and downhill passage as a possible one-way commitment.
- Ignoring proximity audio: The cue is your signal to stop advancing and inspect the surrounding geometry.
- Mixing Terminal and skull counts: Terminals are separate collectibles and do not advance the 39-skull total.
- Leaving a map at two skulls: Finish the third skull whenever the route remains open, especially in the early game where it unlocks the bonus-skull reward.
- Replaying from the mission opening by default: Use Alpha, Bravo, or Charlie when a Rally Point gives cleaner access to the missed section.
FinalBoss // Gear
Level up your setup
01Best-selling Xbox Series X|S gameson Amazon→02Xbox controllerson Amazon→03Top-rated gaming headsetson Amazon→04Discounted game keyson Kinguin→
Affiliate links · As an Amazon Associate, FinalBoss earns from qualifying purchases.
Want to Level Up Your Gaming?
Get access to exclusive strategies, hidden tips, and pro-level insights that we don't share publicly.
Ultimate Guide Strategy Guide + Weekly Pro Tips