

To unlock the full Skull set in Halo: Campaign Evolved, collect the 39 physical Skulls placed across its 13 campaign missions. Each mission contains three, and three more modifiers unlock automatically when your collection reaches 3, 13, and 26 physical Skulls. You only need to walk over a Skull once: the unlock stays on your campaign profile across every difficulty.
The important early route is The Pillar of Autumn. Its first two Skulls are available before the mission opens up, and collecting both also unlocks Campaign Remix from the main menu. Keep your camera pointed at upper ledges, pipes, racks, and ceiling-level catwalks throughout the campaign; Skulls are small bone-like models with a visible glow or hovering effect, while the pickup sound is only a soft chime.
Table of Contents (8)
How Skull Unlocks Work
There is no interact button, terminal prompt, or separate collectible menu action required in the level. Walk directly over the Skull model and wait for the pickup chime. If the Skull disappears and appears in your campaign modifier list after the mission, it registered correctly.
- 39 physical Skulls: Three hidden pickups in each of the 13 campaign missions.
- 3 milestone Skulls: Added automatically after you reach collection thresholds.
- Any-difficulty collection: Most Skulls can be collected on Normal, Heroic, Legendary, or lower difficulties.
- Permanent profile unlocks: A Skull found on Normal does not need to be collected again on Heroic or Legendary.
- Replay-friendly progression: Missing a Skull only means replaying that mission; no collectible is permanently locked out after finishing a level.
| Collection Total | What Unlocks | How It Works |
|---|---|---|
| 2 physical Skulls | Campaign Remix access | Return to the main menu after collecting two Skulls, then select Campaign Remix to use its randomized campaign option. |
| 3 physical Skulls | First automatic Skull modifier | The modifier appears in the Skulls/Modifiers menu without another in-level pickup. |
| 13 physical Skulls | Second automatic Skull modifier | Continue collecting physical Skulls in any mission order. |
| 26 physical Skulls | Third automatic Skull modifier | This is the final milestone reward; the complete set reaches 42 modifiers. |
The Pillar of Autumn: First Two Skull Routes
Start here if the goal is to unlock Campaign Remix quickly. Both pickups are available during the opening sequence, so you can collect them without committing to a full campaign sweep.
Speed Limit Skull: Calibration Room Catwalk
- Begin The Pillar of Autumn and complete the opening calibration sequence.
- Stay in the first room instead of immediately following the main route.
- Move to the crates at the back of the room.
- Climb the crates and use them to reach the catwalk above.
- Walk over the Skull on the upper catwalk to unlock Speed Limit.
Speed Limit restricts movement speed and may limit sprint behavior, making Chief noticeably slower. It is mainly a challenge modifier, though it can also be useful for players who want a more deliberate pace while practicing enemy encounters.
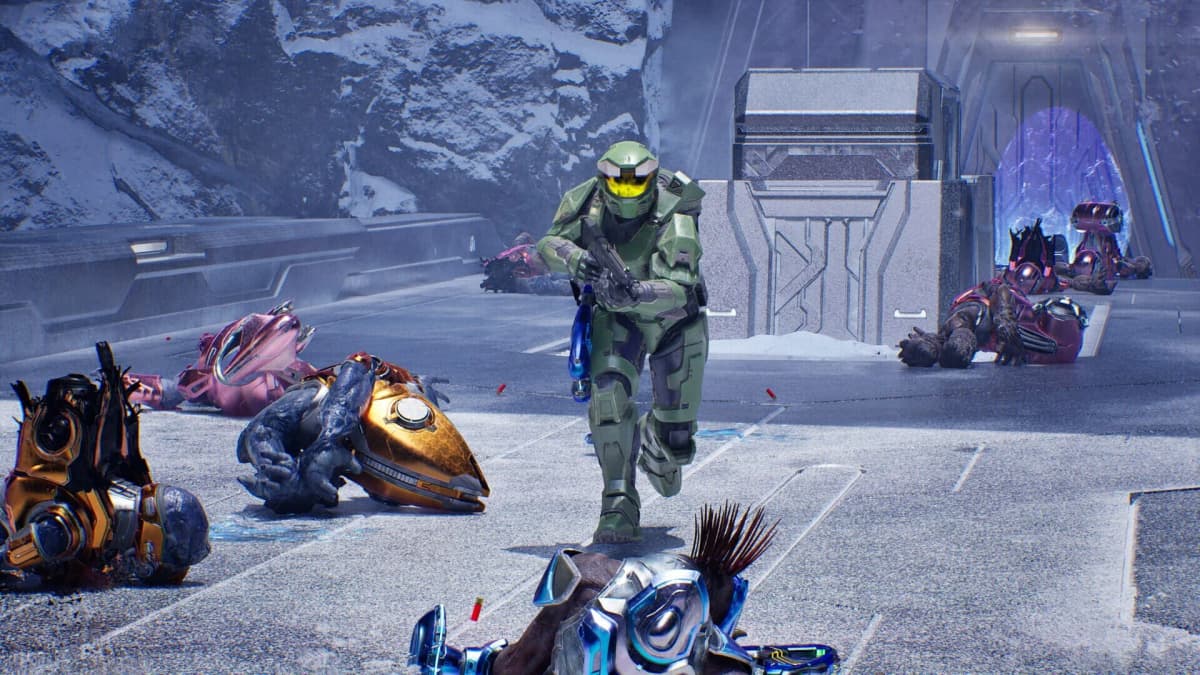
Magnified Skull: Weapon-Rack Room on the Route to the Bridge
- Continue through the Covenant attack sequence toward the bridge.
- During the weaponless hallway section, enter the room with a line of weapon racks through its center.
- Look along the middle row of racks rather than following the floor-level route.
- The Magnified Skull is sitting on top of the middle rack.
- Walk over it, then finish or exit the mission as needed.
Magnified changes scoped-weapon zoom behavior and can alter field-of-view handling while aiming. It is easy to miss because the racks look like ordinary level dressing during a scripted sequence where most players keep moving toward the bridge.
After collecting these two Skulls, return to the main menu. Campaign Remix should now be selectable, allowing you to apply its randomized campaign format to the main chapters.
Use a Three-Skull Sweep for Every Mission
Each of the 13 missions has exactly three physical Skulls, so treat every replay as a three-item sweep rather than a vague exploration run. A mission is only complete for collection purposes when all three pickups have been secured. This avoids the common time loss of replaying the same level several times for individual Skulls.
- Check high geometry first. Scan catwalks, gorge pipes, upper platforms, cave shelves, and building roofs before moving through a one-way objective door.
- Inspect visual landmarks. Lamps, spotlights, unusual rock formations, branching paths, and clusters of vegetation can mark a nearby side route.
- Pan the camera slowly. The Skull glow is more dependable than its sound, especially during loud firefights.
- Confirm the pickup chime. In co-op, make sure the player who reaches the model actually touches it rather than jumping past it.
- Do not force out-of-bounds shortcuts. Some apparent paths end at harsh or poorly signposted death barriers. Stay on solid, intended terrain unless the route clearly requires a platforming jump.
- Replay immediately if needed. The campaign menu lets you return to a mission later, and previously found Skulls remain unlocked.
Several Skull routes involve tight ledges or elevated pipes. For those, clear nearby enemies first, then make the jump with a full shield rather than trying to platform while being hit by plasma fire. A Skull’s glow can be visible from below, but visibility does not guarantee that every nearby surface is safe to stand on.
The Keyes Catch Skull Has a Difficulty and Time Requirement
The major exception to the “collect on any difficulty” rule is the Catch Skull in Keyes. It must be collected on Heroic or Legendary, and its route has a tight requirement measured from the start of the mission. Treat it as a dedicated speedrun-style attempt rather than combining it with a slow collectible sweep.

- Launch Keyes from the beginning on Heroic or Legendary.
- Move directly toward the Skull route instead of stopping for optional fights, weapon scavenging, or exploration.
- Use the quickest safe path through encounters; the goal is reaching the pickup inside its short time window.
- If the Skull does not appear or register, verify the selected difficulty before restarting the attempt.
Catch makes enemies carry and throw more grenades, so it is worth unlocking for chaos-focused challenge runs. It also becomes much more punishing when paired with modifiers that reduce ammo, increase enemy durability, or hide HUD information.
What the Main Skull Modifiers Change
Campaign Evolved combines familiar Halo-style modifiers with custom effects. The in-game Skulls/Modifiers panel is the final word on a modifier’s exact tuning, since custom names and values can vary between builds. These are the practical effects to expect from the core set.
| Skull | Practical Effect | Best Use |
|---|---|---|
| Iron | A solo death restarts the mission instead of returning to a normal checkpoint. In co-op, a player death can force a checkpoint restart. | High-stakes completion runs and coordinated co-op challenges. |
| Mythic | Enemies receive much stronger health and shields, especially Elites and Hunters. | Testing boss damage, ammo planning, and precision weapons. |
| Tough Luck | Enemies evade grenades and incoming fire more aggressively. | Improving grenade placement and tracking aim. |
| Famine | Dropped weapons contain far less ammunition. | Resource-management challenge runs. |
| Black Eye | Shields recharge through melee kills rather than passive recovery. | Close-range, high-risk combat builds. |
| Catch | Enemies carry more grenades and throw them more frequently. | Explosive chaos runs; use cover more carefully. |
| Bandana | Provides infinite ammunition and removes reload pressure. | Casual replays, heavy-weapon runs, and experimental routes. |
| Boom | Increases explosion radius for both player and enemy explosives. | Grenade-heavy sessions with generous spacing. |
| Blind | Hides HUD elements and the weapon model. | Audio-led challenge runs once level routes are familiar. |
| Acrophobia | Provides flight or extended jet-pack-style movement. | Exploration and route practice; avoid flying into unmarked death barriers. |
| Speed Limit | Caps movement speed and/or sprint performance. | Deliberate challenge pacing. |
| Perspective | Changes field of view or camera behavior, affecting awareness and aiming comfort. | Camera challenge runs and alternate-feel replays. |
| Magnified | Changes zoom levels on scoped weapons and can exaggerate magnification. | Long-range practice and aiming challenges. |
| Grunt Funeral | Grunts can explode in a plasma blast when killed. | High-chaos encounters; keep distance from clustered Grunts. |
| Give & Take | Raises lethality on both sides: you generally deal more damage and take more damage. | Fast, volatile runs where first-shot accuracy matters. |
| Floor is Lava | Penalizes spending too long on the ground, encouraging jumps and vertical movement. | Mobility-focused challenge runs. |
| Endurance Spec | Improves shield capacity or regeneration behavior, often alongside tougher enemy pressure. | Durability-oriented custom settings. |
| Foreign | Restricts or removes enemy-weapon drops, increasing reliance on human weapons and ammo. | Loadout-planning challenges. |
| Malfunction | Randomly disables parts of the HUD or certain abilities. | Unpredictable handicap runs. |
| Legacy | Restores selected classic Halo: Combat Evolved-style behaviors, such as weapon handling or encounter behavior. | Classic-feeling replay setups. |
| Johnny Ammo Seed, Leadhead, Temperamental, Recession, and Ghost | Custom modifiers affecting areas such as ammo economy, enemy behavior, score pressure, pickups, and additional spawns. Their exact implementation is shown in the modifier menu. | Check the in-game description before stacking them into a serious run. |
Equip Skulls Before Launching a Mission
Once a Skull is unlocked, open Campaign → Mission Select → Skulls/Modifiers before starting a mission. Toggle individual modifiers on or off from that panel. Multiple Skulls stack, and combinations can change the campaign far more than a single modifier does.
- Pair Bandana with Boom for an explosive sandbox replay.
- Use Mythic with Famine only when you want strict ammo management; tougher enemies consume limited reserves quickly.
- Avoid stacking Iron, Black Eye, and Catch until you know the mission’s combat rhythm, because a single grenade-heavy mistake can erase a long stretch of progress.
- Enable custom Skulls one at a time before combining them, especially modifiers with changing HUD, camera, movement, or enemy-spawn behavior.
The cleanest completion order is to take the first two Skulls in The Pillar of Autumn, unlock Campaign Remix, then sweep missions in full three-Skull passes while reserving the Heroic-or-Legendary Keyes Catch run for its own fast attempt. Once the 26th physical Skull is collected, the final milestone modifier appears automatically; the remaining pickups finish the 42-Skull set.
FinalBoss // Gear
Level up your setup
01Best-selling Xbox Series X|S gameson Amazon→02Xbox controllerson Amazon→03Top-rated gaming headsetson Amazon→04Discounted game keyson Kinguin→
Affiliate links · As an Amazon Associate, FinalBoss earns from qualifying purchases.
Want to Level Up Your Gaming?
Get access to exclusive strategies, hidden tips, and pro-level insights that we don't share publicly.
Ultimate Guide Strategy Guide + Weekly Pro Tips