
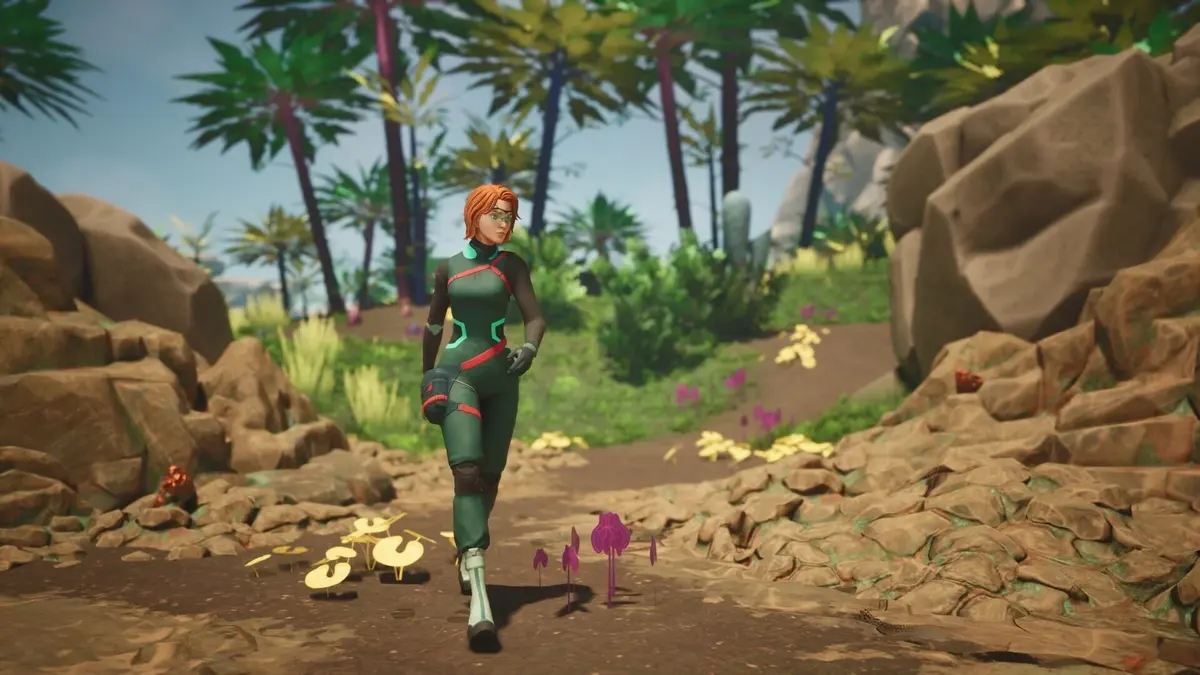
The hill facility is the point where the Memory Cores quest stops being a loose hunt across Sota7 and becomes a clean five-part route. Bring every Core back to its wall, place the first Core in the middle socket, then fill the remaining four slots as you collect them. Each insertion adds a databank document, while all five open the facility’s inner garden and set up Henessy’s later final-gate objective.
The trap: do not keep roaming the northern map after the first Core without returning to the hill. That center-slot interaction unlocks the northern progression, the databank trail, and the quest markers that point toward the other four Cores.
Table of Contents (16)
Memory Cores Route at a Glance
| Memory Core | Where to find it | What to do afterward |
|---|---|---|
| 1 | At the pedestal beyond the figurine-and-mural route near the waterfall path. | Return to the hill facility and place it in the middle slot. |
| 2 | Inside the Scarlet Zone structure. Reach its entrance from the left-side uphill path. | Use an empty slot at the hill facility to unlock another databank document. |
| 3 | In Singing Stones, inside the ancient grand market settlement surrounded by water. | Leave the market, collect the next IVS signal, and use the westbound canal. |
| 4 | At the next northern waypoint reached through the Singing Stones canal route. | Bring it back to an open wall socket when the route sends you to the facility. |
| 5 | At the final IVS-guided northern objective after following the remaining quest markers. | Fill the fifth socket to complete the databank set and open the garden inside the facility. |
All four Cores after the first are in the northern region. The quest is designed around IVS signals and waypoint updates, so follow the newest signal instead of trying to brute-force every canyon, storm route, or locked-looking structure.
Get the First Memory Core and Unlock the North
The first Core comes from the early route involving a mural, a strange figurine, and a pedestal. When you reach the platform in front of the mural, place the figurine on it. That opens the path deeper into the area, leading through the waterfall section to a pedestal containing the Memory Cube and its Memory Core.
Take that Core straight to the northern facility: the structure built on a hill. Inside, inspect the wall with five empty sockets. The first Core belongs in the center socket. This unlocks the first databank document about Sota7’s past and opens access to the wider northern map.
Open the in-game menu after the insertion and check the databank manually. The new document does not need to be read to continue moving, but this is where the quest’s story context is stored. Each later Core adds another document, so the five-slot wall is also the easiest way to track whether your collection is complete.
Find the Scarlet Zone Memory Core
With the first Core installed, follow the quest marker north toward the Scarlet Zone. The main structure here is easy to misread because its obvious-facing side is not the practical entrance route. Circle to the left side and follow the path upward toward the building.
Once inside, continue through the structure until you reach the next Memory Core. Pick it up, then keep an eye on your active objective rather than assuming this is a one-way dungeon. The hill facility remains the central hub for the whole chain, and every Core ultimately belongs in its wall.
Scarlet Zone fix: if the building looks sealed or you are stuck at an awkward climb, backtrack instead of searching for a hidden interaction prompt. The intended approach is the left-hand rise leading up to the entrance.
Use Singing Stones and the Water Canal Correctly
The next major stretch leads northwest to Singing Stones, a canyon region with a cave-like settlement in the middle of the water. The target here is the ancient grand market. Work through the settlement and collect the Memory Core inside before trying to force your way farther through the canyon.
Leaving the grand market triggers another IVS signal. This update matters because it points you to the next Core route. Take the water canal extending west from the market rather than walking around the canyon walls. The canal is the clean route to the next waypoint and avoids a long, confusing loop through the surrounding terrain.
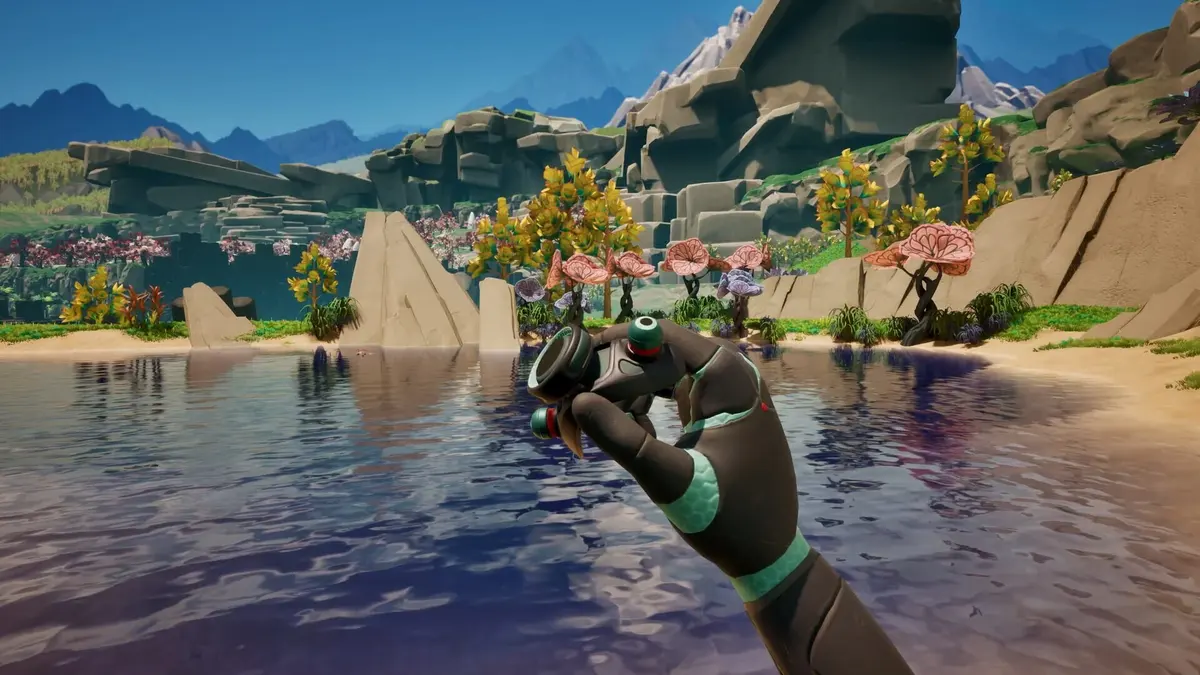
- Collect the Core in the ancient grand market before leaving the settlement.
- Exit the market fully to trigger the next IVS signal.
- Follow the new northwestern waypoint.
- Use the westbound canal to reach the following objective efficiently.
- Return to the hill facility whenever the quest directs you back with multiple Cores.
The final two Cores continue this signal-led northern route. Their objectives appear through the IVS chain after the Singing Stones section, so a missing waypoint usually means the previous Core was not collected or the previous location was not properly exited.
Respirator Prep for Dust-Storm Routes
Craft the Respirator before committing to dust-storm travel in the northern regions. The Memory Cores route uses environmental progression as well as quest markers, and storm exposure can turn a simple marker-following trip into a forced retreat if you arrive without the required protection.
The exact Respirator material list is not part of this Core route, so use the recipe tracking in your current quest and prepare it before crossing a storm-blocked path. Do not assume that an IVS waypoint means the destination is immediately safe to reach; it can be directing you toward a gear gate as much as a collectible.
Insert All Five Cores and Open the Garden
Once you have all five Memory Cores, return to the hill facility and fill every socket in the wall. The middle slot is specifically required for the first Core; the remaining Cores can be placed in the vacant slots. Each insertion unlocks one databank document, building out the history of Sota7 and the events surrounding Henessy’s search for a cure for Earth’s ecological collapse.
Completing the five-slot wall also opens the gate inside the facility, leading into its garden. This is a progression reward with practical value: the garden contains a rare flower unavailable elsewhere, and it is the only place to find Amantus.
Loot the garden thoroughly before leaving. It is separate from the later final gate, and players can lose time by assuming that “the gate unlocked by the Cores” is the same door as the main objective gate on Sota7.
The Garden Gate and the Final Gate Are Different Objectives
The five Memory Cores open the garden gate inside the hill facility. The later final gate is a separate objective that Henessy pursues after learning more through the Memory Core databank entries. Reaching the garden is part of the chain; opening the final gate requires its own key and quest preparation.
At the final gate, scan the pedestal to receive the Nora Key recipe. Craft the key at a Fabricator using Serum and Resin. Resin comes from an Amber Tree, while Viscous Secretion from Zuma nests is part of the Silicone and Serum-related resource preparation alongside Silica.
The Nora Key resembles the strange human-made figurine used before obtaining the first Memory Core. That visual callback is useful confirmation that you are following the intended chain rather than chasing an unrelated locked door.
Clear Final Stage Before Expecting the Final Gate to Open
The Nora Key is only one part of the final-gate route. You also need to complete the Final Stage plant-hybrid quest and obtain Aetheris seeds. Keep this objective active while you work through the Memory Cores so the garden unlock, rare plants, and research progression do not become disconnected errands later.
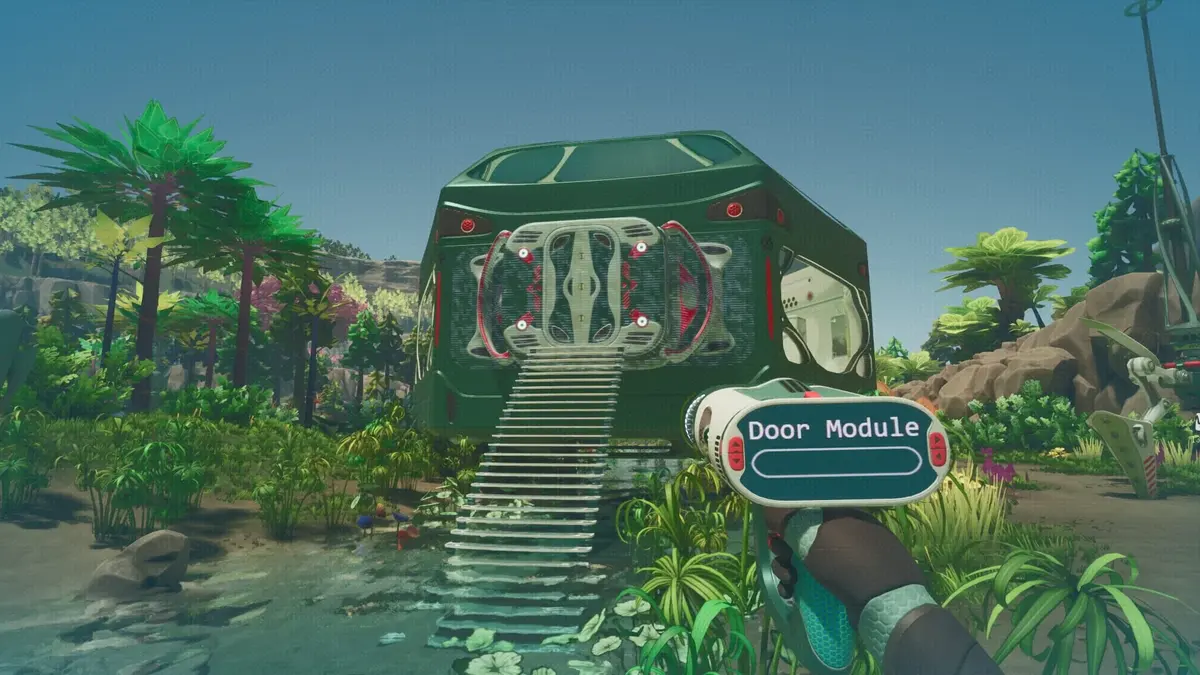
Plant hybrids are made in an empty growbed. Place two parent seeds into the growbed, then allow the bees to produce the hybrid beside the parent plants over time. The timing is handled by the growth process, so set up merges before heading out on a long northern Core run rather than waiting beside the bed.
Lonebid Breeding Materials to Keep Ready
A later local-guide breeding branch uses Lonebid preparation. Keep the materials below on hand if this objective has appeared in your progression, especially if you are already gathering in the northern biomes for Cores and key resources.
- Jasper Lonebid hybrid: breed an Amber Lonebid with an Azurite Lonebid of the opposite gender. Use a male Azurite with a female Amber, or a male Amber with a female Azurite.
- Lonebid Pheromone Injector: requires an Ice Bonebell and 1 unit of fur.
- Lonebid snacks: combine Ice Bonebells with Ivory Linter in a Multicooker.
- Viscous Secretion: collect it from Zuma nests while gathering the materials needed for later crafting.
Carry these items before you hit the final-gate portion of the quest chain. The Memory Cores themselves are the main navigation hurdle, but Honeycomb’s research, breeding, and crafting objectives tend to converge once the garden and final-gate route become available.
Memory Cores Troubleshooting
The northern map still feels blocked
Check the hill facility first. You must collect the initial Core and install it in the middle socket before the northern progression properly opens.
The Scarlet Zone building has no obvious entrance
Approach from the left and take the uphill path. The front-facing route causes the most wasted movement in this section.
No IVS signal appears after Singing Stones
Confirm that you collected the grand market Core, then leave the waterlocked settlement completely. The signal update triggers after exiting, and the westbound canal is the intended route once it appears.
The databank looks incomplete after an insertion
Open the in-game menu and enter the databank section manually. Core documents unlock when you insert the Cores, but they are not presented as an automatic full-screen readout.
The final gate remains closed after opening the garden
You are dealing with the second gate. Scan its pedestal for the Nora Key recipe, craft the key with Serum and Resin, and complete Final Stage to obtain the required Aetheris seeds.
What Completing the Memory Cores Actually Unlocks
- Access to the full northern route after the first center-slot insertion.
- Five databank documents tied to Sota7’s past and the wider story.
- The garden inside the northern hill facility.
- Amantus and a rare flower found nowhere else.
- The narrative and crafting setup needed to pursue the Nora Key and final gate.
Finish the five-Core wall before treating the final gate as your next destination. The efficient order is simple: collect the first Core, unlock the north from the hill facility, follow the Scarlet Zone and Singing Stones signals, use the canal, fill all five sockets, clear the garden, then prepare the Nora Key and Final Stage requirements. That route keeps the quest chain moving without turning the northern map into a blind search.
FinalBoss // Gear
Level up your setup
01Top-rated gaming headsetson Amazon→02High-refresh gaming monitorson Amazon→03Gaming chairson Amazon→04Discounted game keyson Kinguin→Affiliate links · As an Amazon Associate, FinalBoss earns from qualifying purchases.
Want to Level Up Your Gaming?
Get access to exclusive strategies, hidden tips, and pro-level insights that we don't share publicly.
Ultimate Guide Strategy Guide + Weekly Pro Tips