Master Lornruk: Underwater Tunnel, Griffin Gear & Fast-Travel
Game intel
The Witcher 3: Wild Hunt
The Witcher 3: Wild Hunt – New Quest "Where the Cat and Wolf Play..." is a free DLC quest released in July 2015. In this quest, Geralt investigates a village w…
Why Lornruk Is Worth the Effort
After circling Lornruk for hours, flipping every lever, and scaling every crumbling wall, I finally admitted defeat: the drawbridge won’t budge. But trust me—it’s worth the squeeze. This coastal fortress hides Griffin School diagrams that supercharge sign-based builds, supplies alchemy ingredients in a hidden grotto, and even unlocks a handy fast-travel point for lightning-quick returns. Whether you’re hunting drowners in the dark or chasing a wyvern trophy, Lornruk becomes your new Velen stronghold once you crack its code.
Location & Recommended Level
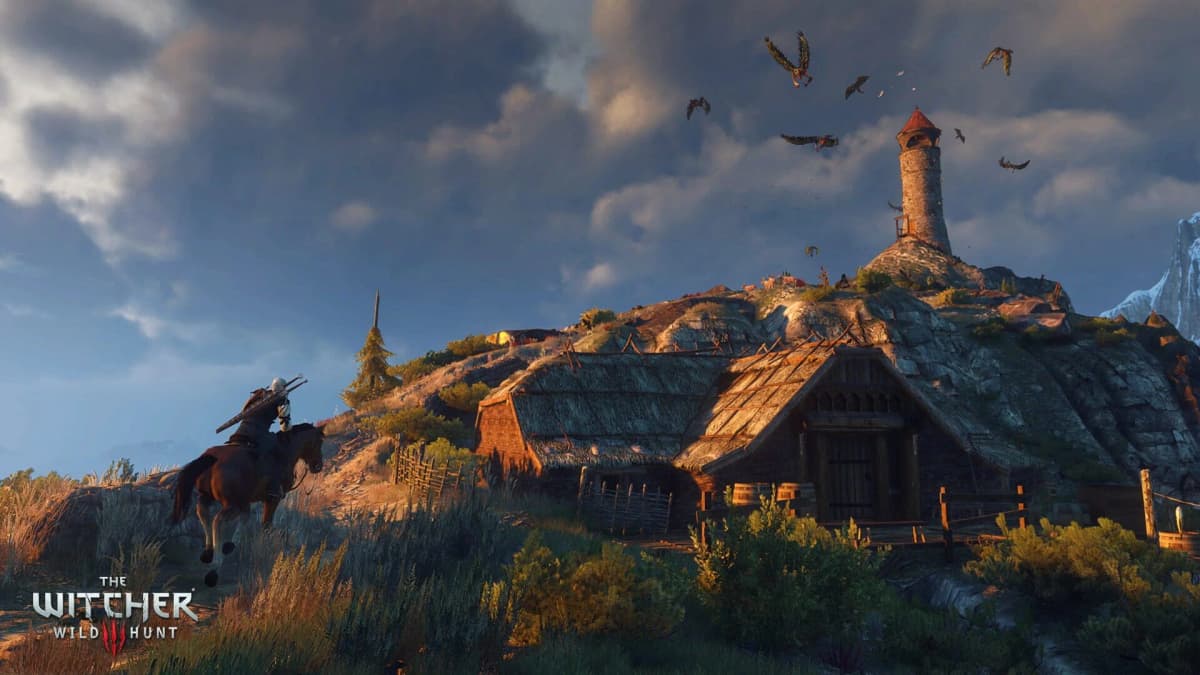
Where to Find Lornruk
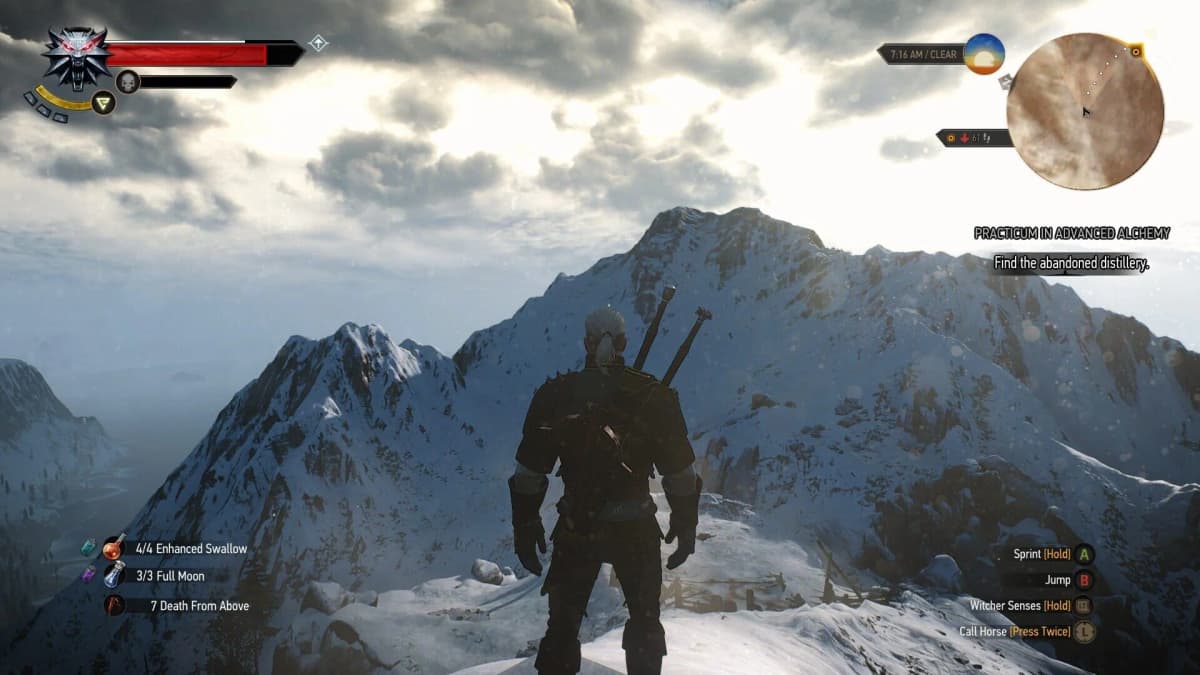
Lornruk perches on Velen’s northwestern cliffs, just west of Crow’s Perch and north of the boat shack at the river mouth. If the signpost at Crow’s Perch isn’t active yet, drop a waypoint just east of the “Border Post.” From the water’s edge, look up at the broken towers looming above the Harpy Feeding Ground.
Recommended Level: 10–15. At this bracket you’ll handle drowners, sirens, and the wyvern boss without breaking a sweat—provided you bring the right tools.
Gear & Preparation
Before you dive in or leap onto narrow ledges, stock up on:
- Potions: Swallow for fast healing, Killer Whale or Water Hag for underwater breathing extension, and Redeemer or Petri’s Philter to reduce toxicity.
- Oils & Bombs: Drowners Oil or Necrophage Oil for underwater foes, Grapeshot or Samum bombs to stun harpies or sirens.
- Armor & Signs: A sturdy medium armor set (e.g., early Griffin chest piece) plus Axii to calm aggressive drowners and Aard to blast through siren packs.
- Crossbow Bolts: Bring a quiver of standard bolts for underwater archery, plus a few Harpoon bolts if you have them.
Quick-save tip: Make regular quick-saves before any big dive, leap, or sign duel—respawning under water or on a ledge can cost precious time.
FinalBoss // Gear
Level up your setup
01Top-rated gaming headsetson Amazon→02High-refresh gaming monitorson Amazon→03Gaming chairson Amazon→04Discounted game keyson Kinguin→Affiliate links · As an Amazon Associate, FinalBoss earns from qualifying purchases.
Prep & Avoid the Drawbridge Pitfall
I wasted almost an hour testing every lever at the main gate—spoiler alert: none lowers it. Save yourself the headache and head straight for one of these two secret entries below.
Method #1: Coastal Underwater Tunnel
- Leap from the wooden bridge: Drop off the small wooden bridge east of Lornruk. Sprint and jump to clear the jagged rocks, targeting the deepest pooling water. If you slip, Geralt respawns nearby—quick-save first.
- Swim east along the cliff: Keep tight to the rock face to avoid strong currents. Expect drowners and sirens patrolling the shallows—casting Axii creates breathing room and prevents surprise attacks.
- Enter the submerged cave: Look for a half-submerged opening at the cliff base. Dive in and follow a dimly lit tunnel. When visibility drops, hug the left wall to find air pockets—basic Water Hag potion will extend your bottom time.
- Surface in the grotto: You’ll emerge into a hidden chamber with a small chest containing alchemy ingredients or a rare diagram. Heal and replenish your supplies before proceeding.
- Climb into the courtyard: Spot the white-streaked ledge on the left wall. Vault onto it, shimmy up a narrow ramp, and you’ll bypass the locked main gate entirely.
Pro tip: If you miss the entrance, simply surface and circle until you see the dripping water on the cliff face—it marks the tunnel’s maw clearly.
Method #2: Cliff-Edge Parkour Shortcut
- Locate the rock shelf: From the broken bridge beside the drawbridge, scan the wall for a narrow ledge under a crumbling parapet.
- Master the sprint jump: Back up two paces, then sprint and press jump the moment Geralt’s feet hit the edge. Timing and momentum are everything.
- Climb up: Hold the climb button when Geralt’s hands reach the handhold. Inch along a series of small fissures—you’ll hang off the wall before each handhold.
- Drop into the courtyard: After the final pull-up, you’ll land in a shadowy courtyard. Watch for a wyvern patrolling the ramparts—stay low and use signs to distract it until you’re safe.
Quick-save reminder: Hit quick-save after each major jump or pull-up. Falling here simply loops you to the start, but losing progress stings when you’ve cleared half the ledges.
Want to Level Up Your Gaming?
Get access to exclusive strategies, hidden tips, and pro-level insights that we don't share publicly.
Ultimate Guide Strategy Guide + Weekly Pro Tips
Lowering the Drawbridge
- From inside the courtyard, head south along the inner wall until you find a rusty hand crank near a small guardhouse.
- Interact with the lever to hear the chains rattle as the drawbridge grinds down.
- This action permanently opens the main gate and activates the fast-travel signpost near the entrance.
Extra tip: Want the wyvern trophy? Hang back and snipe it from below with crossbow bolts or a well-timed Igni to stagger its flight. Keeping to the shadow of the walls reduces its detection range.
Inside Lornruk: Layout, Dangers & Rewards
Castle Courtyard & Cellar
- Drowned Outposts: A few drowners lurk near mossy barrels—Aard or Grapeshot bombs make quick work of them.
- Secret Cellar: A trapdoor beside the western wall leads to a flooded cellar filled with lootable barrels and another hidden chest.
Main Tower & Griffin School Gear
- First Floor: Climb the spiral staircase and unlock a small door to find Griffin diagrams for chest and gloves—essential for boosting sign intensity by up to 25% at higher tiers.
- Top Balcony: A locked chest holds boots and trousers diagrams. With the full set, you’ll max out your sign duration and gain bonus stamina regeneration.
Wyvern Boss Fight
- Combat Area: An open bailey above the tower—stay beneath the wyvern’s belly to avoid poison clouds.
- Tactics: Cast Quen for protection, use Relict Oil on your blade, and pepper it with crossbow bolts when it flies low. Dodge the poison breath and strike after its wing flaps.
- Reward: A trophy you can mount, plus extra monster loot in the chest beside the exit ramp.
Fast-Travel Point
Once the drawbridge is down, interact with the signpost near the main gate. Future runs to Lornruk take seconds—ideal for farming Griffin oil ingredients or monster trophies.
Conclusion: Your New Velen Stronghold
Mastering either the underwater tunnel or the cliff-edge parkour transforms Lornruk from a frustrating roadblock into a strategic fortress on your Velen map. You’ll secure powerful Griffin School gear to supercharge your sign builds, reap alchemy and diagram loot, earn a wyvern trophy, and enjoy a new fast-travel hub. Now go on—may your dives be deep, your jumps precise, and your potions plenty!