How to Add Your Own Portraits to Horripilant — Fast, Exact File Names Inside
Game intel
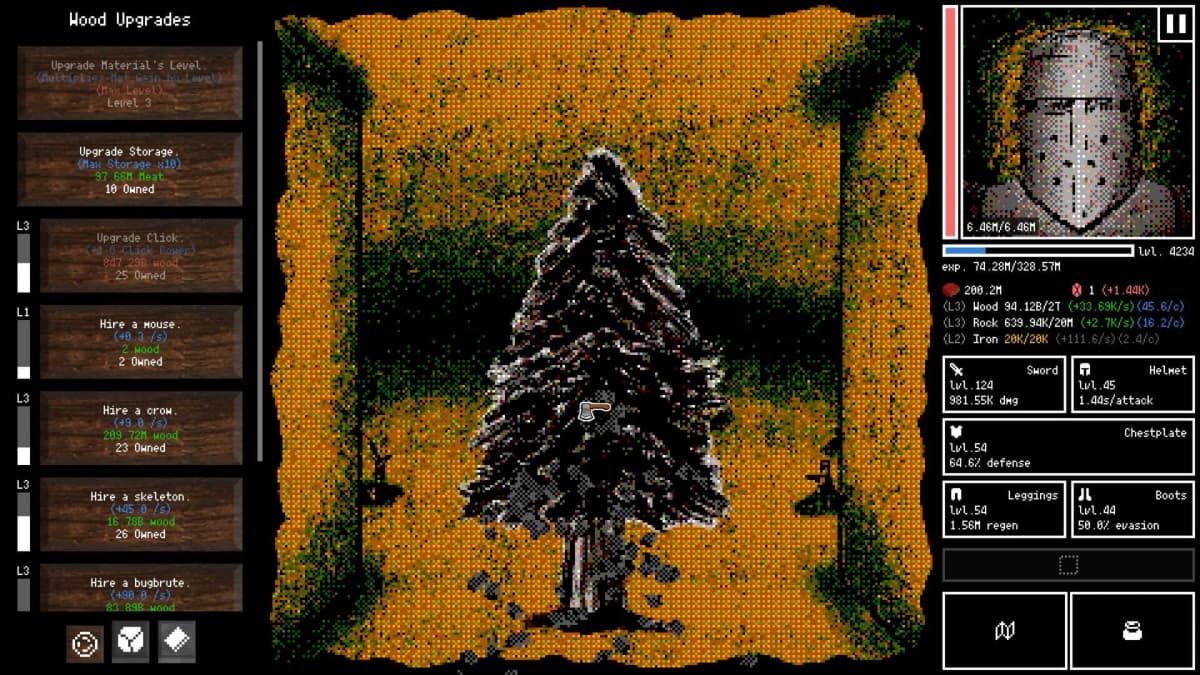
Horripilant
Horripilant is a chilling incremental dungeon crawl through the horrors of a forgotten underworld. Combining idler, puzzle and autobattler elements, you'll fig…
Why this matters: small customization, big personality
This caught my attention because Horripilant is a horror roguelike that leans hard on mood and character expression. Letting players drop in their own faces or hand‑drawn portraits is one of those tiny personalization wins that actually changes how the game feels-especially when your avatar can go from “normal” to “scared” mid-run.
- What you need: the Supporter Pack (~$4.99) to unlock portrait imports.
- Exact filenames matter: normal.png, scared.png, thumb.png (plus optional bg.png).
- Image rules: 1:1 aspect ratio, up to 300×300 pixels; the game auto‑scales.
- Optional tweak: add a no_dither.txt to the folder to disable dithering.
Step‑by‑step: import custom portraits into Horripilant
- Buy the Supporter Pack on Steam (it’s listed at roughly $4.99). That unlocks the local import feature-this isn’t available to base game players.
- Open Steam, go to your Library, right‑click Horripilant, choose Manage → Browse local files. This opens the game’s install folder.
- Navigate to the Supporter folder inside the game directory and then into portraits. The full path is …/Horripilant/Supporter/portraits.
- Create a new subfolder inside portraits. Name this folder whatever you want-each subfolder becomes one custom portrait set the game can pick up.
- Prepare three required images and one optional file (exact names, case‑sensitive on some systems):
- normal.png — the default face/pose.
- scared.png — the frightened state the game switches to.
- thumb.png — the small thumbnail used in settings/menus.
- bg.png (optional) — custom background for the portrait.
All images should be square (1:1) and at most 300×300 pixels. The game will auto‑scale them, so you don’t need monster sizes. If you prefer to disable the game’s dithering effect, add an empty text file named no_dither.txt to the same subfolder.
Practical tips from the community
The devs published the exact filenames and limits in a Steam group news post (the details were picked up by press coverage this week), and players quickly made guides. The active Steam guide by user “traz” recommends standard image prep—crop to square, export as PNG, and verify exact filenames before importing to avoid silent failures.

- Use any image editor (Photoshop, GIMP, Paint.NET, even many phone apps) to crop to square and export as PNG.
- Keep an eye on filename spelling and extensions—mistakes here are the most common import issue.
- If the portrait doesn’t appear, recheck that the files sit in a subfolder of Supporter/portraits and try relaunching the game or toggling the portrait selection in settings.
- Adding bg.png is optional; if you don’t include it the game uses its default backdrop.
FinalBoss // Gear
Level up your setup
01Top-rated gaming headsetson Amazon→02High-refresh gaming monitorson Amazon→03Gaming chairson Amazon→04Discounted game keyson Kinguin→Affiliate links · As an Amazon Associate, FinalBoss earns from qualifying purchases.
Why this matters for players
This is one of those low‑effort, high‑return features for mod‑friendly players. For roughly five bucks you get a straightforward way to personalize your runs—slap your face on a screaming character and it becomes immediately funnier and more personal. For a horror game, the scared.png swap is especially satisfying: it gives your runs narrative micro‑beats without changing gameplay balance.

Want to Level Up Your Gaming?
Get access to exclusive strategies, hidden tips, and pro-level insights that we don't share publicly.
Ultimate Gaming Strategy Guide + Weekly Pro Tips
What to watch next
- Community mods that add extra portrait states beyond normal/scared.
- Developer updates if players want larger sizes, more states, or official in‑game import tools for non‑Steam installs and other OS paths.
- Any patch notes addressing dithering behavior—some players are already testing whether no_dither.txt behaves consistently.
TL;DR
Buy the Supporter Pack, create a subfolder in Horripilant’s Supporter/portraits folder, drop in normal.png, scared.png and thumb.png (square, up to 300×300), optionally add bg.png and no_dither.txt, then launch the game and pick your new portrait. Exact filenames and the 300×300 cap come from the developers’ Steam post (reported in the press), and community guides are already sharing straightforward prep tips.