How to Beat Simon in Clair Obscur: Expedition 33 — Advanced Boss Guide
Game intel
Clair Obscur: Expedition 33
Lead the members of Expedition 33 on their quest to destroy the Paintress so that she can never paint death again. Explore a world of wonders inspired by Belle…
Why Simon is the Ultimate Challenge (and How I Finally Beat Him)
After nearly a dozen hours of failed attempts, I can confidently say that Simon in Clair Obscur: Expedition 33 is a wall that will break even the most prepared players – unless you walk in with the right setup and strategy. I wasted entire evenings trying random parties, grinding the wrong levels, and spamming shields that only made things worse. This guide will save you that pain and give you a real shot at victory.
Essential Prep: Gear, Picto Selection, and Minimum Level
Before even attempting Simon, I learned the hard way that level and gear make a night-and-day difference. I tried at level 85 with underleveled weapons and barely scratched him; it finally clicked when I pushed my characters to level 95+ and maxed weapons (level 33). The difference? I could survive longer and my big attacks actually landed real damage.
- Recommended Party Level: 95 or higher across all members
- Weapon Upgrade: All main weapons at level 33 (max!)
- Lumina: Everyone at 180 or above
- Subquests: MUST finish Esquie’s relationship quest (level 6) for underwater access.
- Pictos: Focus on offense/gradient boosters, not shields (Simon steals them!)
Common trap: I lost hours using shield/pv pictos, only to realize Simon absorbs shields for himself each round – avoid defensive pictos that generate shields or bonus HP.
How to Unlock and Locate Simon’s Boss Arena
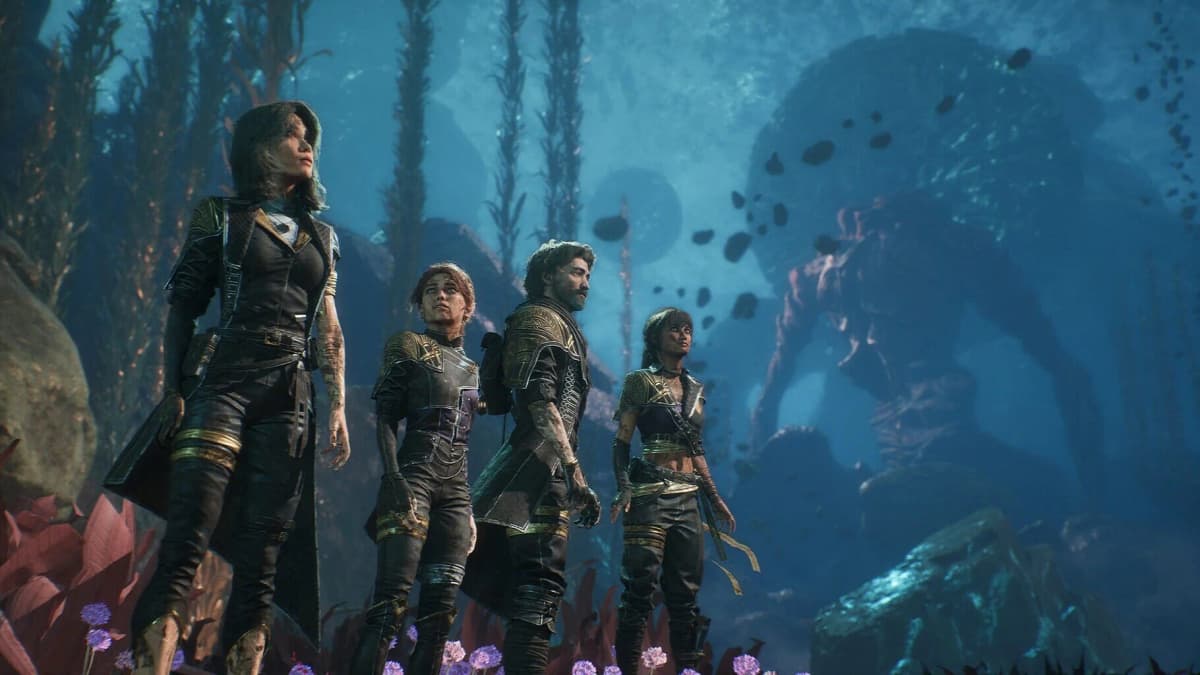
Simon isn’t just waiting at the end of a corridor – you’ll need to grind another relationship to even reach him. My breakthrough came by talking to Esquie repeatedly at the camp, pushing her relationship to level 6 to get the underwater swim ability. If you’re stuck, double-check you’ve finished Esquie’s arc and picked up the skill.
- From camp, speak to Esquie after key story beats; keep an eye out for new dialogue.
- Get the underwater swim ability by maxing out her questline.
- Head to Renoir’s Drafts zone, locate “The Abyss,” and platform until you reach the Simon encounter spot at the bottom.
Tip: If you get lost, look for unique platform edges or shimmering pools — Simon is tucked away deep, and it’s easy to second-guess your path.

Best Picto & Lumina Loadouts — The Winning Formula
I wish I’d known earlier that certain pictos actively make Simon harder. Anything that generates shields is a liability. Instead, focus on damage multipliers, action boosters, and resurrection/burst pictos. Here’s the list that gave me my first win (I used about 80% of these):
- Affinité Inversée (Inverted Affinity)
- Au seuil de la mort (On the Brink)
- Canon de verre (Glass Cannon)
- Hardiesse (Boldness)
- Charge sur critique (Critical Charge)
- Parade Renforçante (Reinforced Parry)
- Seconde chance (Second Chance resurrection — NEVER leave this off!)
- Énergie Maîtrisée
- Surpuissance prolongée (Prolonged Overpower)
- Puissance Surpeinte (Overpainted Power)
Pro-Tip: If you’re dying just before phase 3, make sure you bring Seconde chance on everyone for that one free revive — Simon’s wipe attacks demand it.
Phase 1: Pattern Recognition & Keeping Your Cool
This is your warm-up. I underestimated it and wasted good resources panicking over mistakes. The cues repeat in phase 2 — so master them now.

- 5-hit combo (Sword in the ground): Watch for a high jump, two side punches, a rush, then one more aerial attack.
- 3-hit combo (Power combo): Standard timing — don’t second-guess yourself.
- 2 jumps + R2, final jump: Time your jump and parry sequence — don’t spam, wait for the last attack.
- Long combo (6 hits): Trickiest the first time; memorize the rhythm by holding off on attacking, just parrying.
Don’t stress if you’re not perfect: Your “Second Chance” effect resets for phase 2. Preserve healing and focus on learning every attack’s tell.
Want to Level Up Your Gaming?
Get access to exclusive strategies, hidden tips, and pro-level insights that we don't share publicly.
Ultimate Guide Strategy Guide + Weekly Pro Tips
Phase 2: Sword Images, Double Parries, and Surviving the Onslaught
Here’s where I almost quit. Phase 2 introduces ghostly sword echoes — you’ll have to parry each pattern twice, sometimes up to 12 hits in a row.
- 6-hit sword echo attack: Wait for the double-spin, parry twice in rapid succession, then space out the next two. The last hits come with a brighter “chroma” flash — time your parry carefully.
- 12-hit combo: The stamina/memory check — DO NOT panic and spam parry. Instead, practice on earlier patterns; knowing when to wait is more important than fast reflexes.
- “Attack at Light Speed”: This absolutely wrecked my party. It hits all three members simultaneously, unpredictable, and often unseeable. I survived only by keeping that “Second Chance” active for an instant revive.
Avoid triggering phase 3 late: Simon ramps up his chaos if you’re not ready. The ideal is to finish phase 2 with everyone alive and “Second Chance” effects off cooldown.

My Winning Team Setup & Burst-Finish Strategy
I tried nine different team builds. What finally won, and worked for my friends too, was this:
- Frontline: Lune (DPS), Verso (Support/DPS), Monoco (flex)
- Closing team: Maëlle (Virtuoso stance), Sciel (status/turn booster)
The real trick? Saving Maëlle and Sciel for the final burst. Here’s how to set it up:
- Keep Maëlle in Virtuoso stance with charges up (Medalum weapon recommended; doubles damage at fight start).
- Stack three Gradient charges (use “Charge sur critique”).
- Apply “Tirs Marquants” Lumina for a free mark — don’t waste turns on setup.
- Build to Gradient 3 on Maëlle, strike Simon when marked. This can drop Simon from 30% to zero in one move if timed perfectly.
- Sciel runs Braise (Burn) via Gobluso weapon every three Presages — giving chip and emergency damage. Use “Fortune Enragée” and “Intervention” so Maëlle acts immediately after Sciel for a true one-two punch, doubling the final attack’s impact.
Troubleshooting: If you’re getting wiped before burst, swap out lower DPS for more survivability pictos, but always avoid shields. If you can’t charge gradients, try manual defending a round to recover — don’t rush every turn.
Advanced Tips, Pitfalls & Optimizations
- Stay in “Story” mode for practice: The parry windows are slightly more generous. Don’t let pride keep you from learning timings — you can always re-challenge Simon in higher difficulties after winning.
- Save your revive pictos for “Light Speed” phases or full wipes: I made the error of using them early — it hurts to have nothing left when the boss starts erasing party members or setting HP to 1.
- Don’t heal when affected by “Chroma Gathering”: If Simon sets your HP to 1, he prevents healing until the end of the effect.
- Reactions to unique Simon moves: If you see him “erasing” a character (removal from the battle), do NOT waste turns trying to revive — it won’t work. Shift all focus to offense and defense for the survivors.
- Don’t get greedy: It’s tempting to force damage mid-combo; I lost multiple tries because I tunnel-visioned on DPS and ate lethal hits. Surviving until your burst window is always better.
Victory Rewards & What Comes Next
Defeating Simon nets you the “Enfin la paix” trophy, his unique journal, and the ultra-powerful Simoso weapon for Verso. Plus, you unlock the ability to re-challenge Simon for fun or prestige. Expect your total time investment (with a fully prepped party and no major mistakes) to be at least 90 minutes from start to finish, factoring in retries and setup.
My advice: Don’t be discouraged if it takes you a week of attempts. This boss is truly the peak of Expedition 33. Stick with the above strategy, tweak to your playstyle, and you’ll see real progress. Good luck — if I can do it, so can you!