
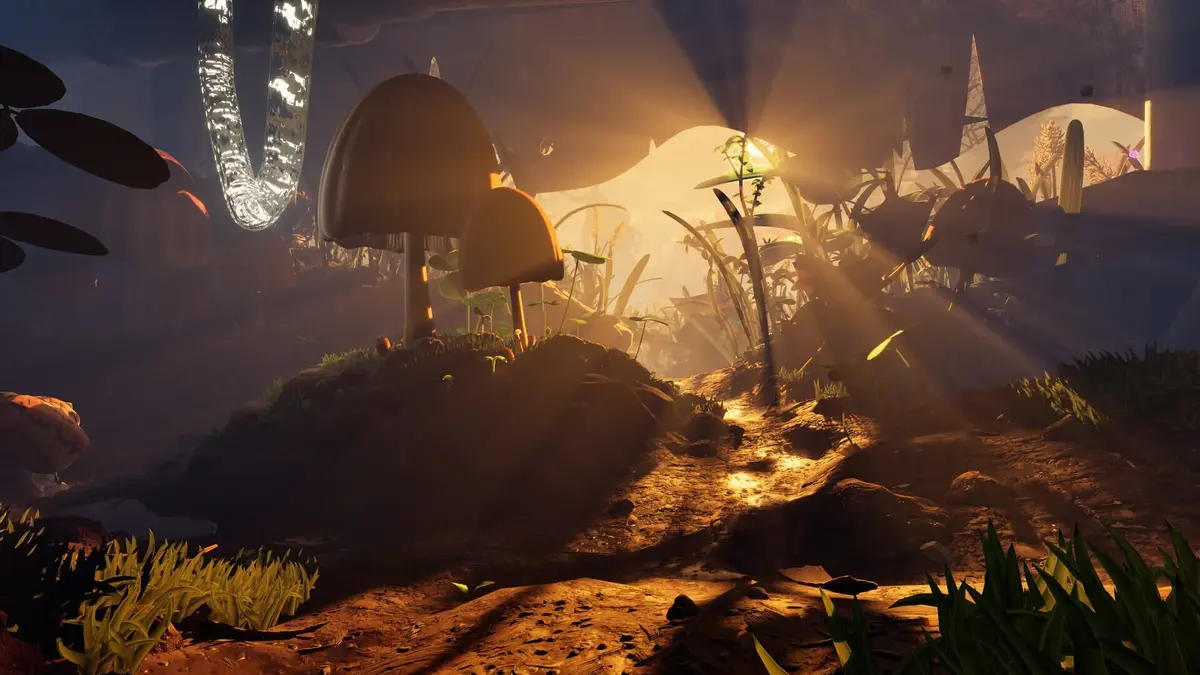
The Red Soldier Ant Egg is the item that turns into the Red Soldier Ant Buggy, Grounded 2’s first rideable mount. You get it by unlocking the Hatchery through the story, walking into the Hatchery Anthill south of the Snack Bar Ranger Outpost, following the ranger cable to a small room with a cart of reddish-brown eggs, and carrying one out in your hands — it does not go in your inventory. There is no boss guarding it. What there is, from the second you pick the egg up, is a steady stream of red workers and soldiers spawning on you until the egg is safely in a Hatchery back at base. Budget about 15 minutes for the run and another 25 real-world minutes for the hatch.
This guide is current for Grounded 2 as of July 2026, after the Toxic Tangle (January 2026) and Beat the Heat (April 2026) updates. The game is still in Xbox Game Preview / Steam Early Access — it launched into Early Access on 29 July 2025 and has no 1.0 date, with the PS5 Early Access version and the Into the Abyss update both slated for 11 August 2026.
Table of Contents (15)
Before you go: unlock the Hatchery
You cannot hatch anything without the Hatchery, and the Hatchery is gated behind story progress, not resources.
- Play the main story to Missed Connection. That quest ends with you recovering a Turbo Optical Disk from the anthill lab.
- Take the disk back to a Ranger Station and insert it. This opens the Hatchery (Incubator) package in the Science Shop.
- Buy the Hatchery / Incubator package for 500 Raw Science.
- The follow-on quest, Egg Hunt, is the one that actually sends you after a Red Soldier Ant Egg.
Build costs
| Structure | Materials |
|---|---|
| Hatchery (Incubator) | 6× Weed Stem, 1× Acorn Top, 5–6× Acorn Shell, 5× Mite Fuzz |
| Ant Nest | 6× Weed Stem, 6× Clover Leaf, 3× Crude Rope, 1× Acorn Shell |
| Red Soldier Ant saddle | 2–3× Grub Hide, 3–4× Sprig, 1× Acorn Shell |
Guides disagree slightly on the Acorn Shell and Sprig counts — that spread is small enough that it’s almost certainly patch drift between the July 2025 build and now. Farm a couple extra of each and you will never notice. Build both the Hatchery and the Ant Nest before you leave; coming home with an egg in your hands and no nest is the single most common way people waste a run.
Loadout that actually matters
- A light source. The anthill is genuinely dark. Torch or helmet lamp, non-negotiable.
- A one-handed weapon. The egg occupies your hands on the way out, so anything you’d want to two-hand is dead weight for the return leg.
- Healing and food. Red workers and soldiers chip at you constantly on the exit.
- Mid-tier armour, not heavy. You want stamina for the run home, not a slugfest you don’t need to win.
If you haven’t set up your mutation loadout yet, spend ten minutes on it first — our Grounded 2 mutations guide covers which ones are worth levelling before an anthill dive.
Getting into the Hatchery Anthill
The Hatchery Anthill has two entrances and both work:
- Southern entrance — roughly 6°N / -48°E, southeast of the Snack Bar Ranger Outpost, near the park entrance area. This is the one every route below assumes, because the cable trail reads cleanly from here.
- Northern entrance — over by the Snack Bar Front.
Drop a marker on the southern entrance before you descend. You will be sprinting back to it with a swarm behind you and no map-reading time.
The route to the egg
The whole navigation trick is that the rangers ran a cable through this anthill, and the cable goes exactly where you want to go. Ignore side passages. Follow the conduit.
- Enter via the southern entrance and head down the slope. You’ll pass an abandoned ranger area with terminals.
- At the first terminal/junction, turn left and pick up the grey conduit running along the floor.
- Follow it to a ladder with a light on it. Turn left again, still tracking the cable.
- You’ll hit a wall with a large battery embedded in it. Stay along the cable past it.
- Watch for a door with red lights — the ranger station / lab room. There are white eggs outside it; those are worker ant eggs and worth nothing to you.
- Inside the lab there is usually a single Red Soldier Ant Egg levitating in the middle of the room, plus the “Egg Credit” audio log. You can take this one and leave immediately if you want the fastest possible run.
- For the fuller route, run straight across the lab and out the opposite door. Follow the tunnel and the strung-up wired lights to a small room with a metal cart surrounded by Red Soldier Ant Eggs.
- Pick up one egg. Reddish-brown with faint ridges. It fills your hands and cannot be stored.
Telling the eggs apart
Worker Ant Eggs are milky white and sit near the entrance and lab doors. Red Soldier Ant Eggs are reddish-brown and sit deeper in, around the cart room and that one levitating specimen. Grabbing the wrong one and hauling it home is a 20-minute mistake.
The exit — and the thing the old guides got wrong
There is no boss in this anthill. If you’ve read an older walkthrough that describes an “ORC Weaver Spider” guarding the eggs with a purple EMP receiver, that’s wrong — the Orb Weaver is a completely separate, much later mount (see below), and nothing scripted guards the Red Soldier Ant Egg.
What actually happens is a spawn pressure event. The moment the egg is in your hands, red workers and red soldiers begin spawning near you and will keep coming until the egg is deposited in your Hatchery. So:
- Retrace the cable. Same conduit, backwards. Do not improvise a shortcut in the dark with a swarm on you.
- Don’t fight what you don’t have to. Every ant you stop to kill spawns friends. Run.
- If you drop the egg, pick it back up immediately and keep moving — stopping to clear the area is how short runs become long ones.
- The pressure does not stop at the anthill mouth. It continues all the way to the Hatchery, which is why a base near the Snack Bar side of the map makes this trivially easier.
Alternative source: the Toxic Anthill
The Hatchery Anthill is the intended location, but it is not the only one. There are also Red Soldier Ant Eggs in the Toxic Anthill under the picnic table area — the entrance is marked by a toxic CAN. Head in and keep right. The eggs are functionally identical and work for the same Egg Hunt and hatch. If you’ve already cleared the Toxic Anthill for other reasons, this can be the shorter trip.
Hatching the buggy
- Place the egg in your built Hatchery.
- Add the saddle materials (Grub Hide, Sprigs, Acorn Shell) into the Hatchery alongside it.
- Wait 12 in-game hours — about 25 real minutes.
- Interact again to collect the Red Soldier Ant Buggy.
Use that 25 minutes. It’s the ideal window to run collectibles nearby rather than standing at your base watching a timer — our tape and disk location guide has plenty of pickups you can loop while it cooks.
The other buggies (and where they come from)
The Red Soldier Ant Buggy is the first of several mounts, and it’s worth knowing the ladder so you plan Raw Science spending properly.
| Buggy | How you get it |
|---|---|
| Red Soldier Ant Buggy | Egg Hunt → Hatchery Anthill egg → Hatchery + Ant Nest. Early game. |
| Ladybug Buggy | Added with the Toxic Tangle update (January 2026) alongside the Garden area. |
| Orb Weaver Buggy | Complete Networking, loot the Turbo Optical Disk from the Network Center under the headless BURG.L statue, unlock the package for 5,000 Raw Science. Spider Nest costs 6× Weed Stem, 4× Silk, 6× Pine Needle, 6× Web Fiber; saddle is 3× Blueberry Leather, 4× Red Ant Mandibles, 3× Acorn Shell. |
| Black Soldier Ant Buggy | Added with Beat the Heat (April 2026) alongside the Sinkhole Anthill and the King Dozer boss. |
| Aquatic buggies | On the roadmap for the summer 2026 window. No confirmed recipes yet. |
If you’re catching up on what changed in January, the Toxic Tangle update guide walks through the Garden area, the Ladybug Buggy and the Tang fight. For everything else in the backyard, the Grounded 2 game hub collects our full guide set.
FAQ
Do I need to beat a boss to get the Red Soldier Ant Egg?
No. The anthill has regular red workers and soldiers, and spawns intensify once you’re carrying the egg, but there is no scripted boss encounter tied to this item.
Can I put the egg in my backpack?
No. It’s a carried object. Your hands are full for the entire exit, which is why you should clear the route before you commit and bring a light rather than a big two-handed weapon.
How long does the hatch take?
12 in-game hours, roughly 25 real minutes, and you need the saddle materials in the Hatchery for it to complete.
Has this changed in 2026?
The Hatchery Anthill route and the ant buggy flow have held steady through Toxic Tangle and Beat the Heat. What those updates changed is the roster around it — Toxic Tangle added the Garden and the Ladybug Buggy, Beat the Heat added the Sinkhole Anthill, King Dozer and the Black Soldier Ant Buggy. Grounded 2 is still in Early Access, so treat exact material counts as the thing most likely to shift.
FinalBoss // Gear
Level up your setup
01Top-rated gaming headsetson Amazon→02High-refresh gaming monitorson Amazon→03Gaming chairson Amazon→04Discounted game keyson Kinguin→Affiliate links · As an Amazon Associate, FinalBoss earns from qualifying purchases.
Want to Level Up Your Gaming?
Get access to exclusive strategies, hidden tips, and pro-level insights that we don't share publicly.
Ultimate Guide Strategy Guide + Weekly Pro Tips