Master PEAK’s Cursed Skull: Setup, Strategy & Pro Tactics
Game intel
Peak
Climb higher, survive longer, reach the summit.
After nearly a dozen disastrous runs experimenting with the Cursed Skull, I’ve distilled the essential tactics to turn this high-stakes item into your team’s secret weapon. Read on for clear steps, rare insights, and advanced plays that keep you from becoming a permanent ghost.
Why the Cursed Skull Demands Respect
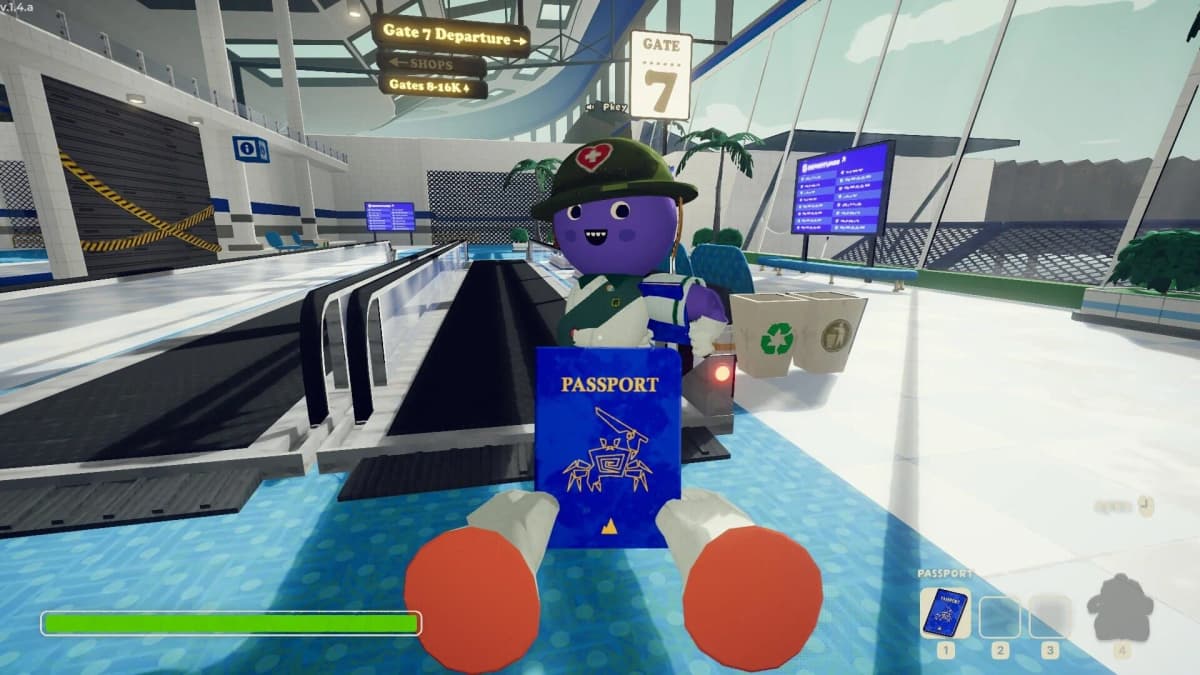
The Cursed Skull instantly revives all dead teammates within roughly 10 meters, fully restoring health and clearing negative effects—but at the cost of the user’s life for that round. Misjudge range or timing, and you’ll trade one lost player for none saved. Proper setup and communication make all the difference.
What You’ll Gain
- Exact revive radius and mechanics
- Coordinated group saves to maximize value
- Tactics to avoid wasted sacrifice
- Advanced plays rarely discussed in public guides
Prerequisites
- Live user with the Cursed Skull in inventory
- At least one ghost (dead teammate) within ~10 meters
- Working comms (voice or text)
- Team awareness—everyone must know the plan
Step 1: Rally Your Ghosts
Ghosts won’t teleport to you—use your interact key to pick up single ghosts and carry them to a safe rally point. For multiple ghosts, assign one living player as “hauler.” Pick flat ground away from hazards and mark it on the map if possible.
Step 2: Lock in Communication
- Announce a clear countdown (e.g., “Skull 3…2…1”) to avoid panic uses.
- Confirm all ghosts and living teammates are in position.
- Assign one player to loot dropped gear immediately after sacrifice.
FinalBoss // Gear
Level up your setup
01Top-rated gaming headsetson Amazon→02High-refresh gaming monitorson Amazon→03Gaming chairson Amazon→04Discounted game keyson Kinguin→Affiliate links · As an Amazon Associate, FinalBoss earns from qualifying purchases.
Want to Level Up Your Gaming?
Get access to exclusive strategies, hidden tips, and pro-level insights that we don't share publicly.
Ultimate Guide Strategy Guide + Weekly Pro Tips
Step 3: Execute the Sacrifice
Open your inventory (Tab on PC), select the Cursed Skull, and activate it. You’ll perish instantly, but:

- All ghosts within range revive with full HP and stamina.
- Survivors get a full heal and status cleanse.
- Your gear drops—ensure your “gear runner” is ready.
Look for the swirling vortex effect to confirm success; any remaining ghosts mean you missed someone.
Step 4: Recovery and Redistribution
Post-revive chaos is common. Assign a “supply banker” to collect and redistribute food, tools, and weapons. If you have a nearby campsite or safe zone, retreat there first. Prioritize restoring climbing gear and medkits.

Advanced Tactics
- Designated Sacrifice Roles: Preselect the player least resourceful—low supplies or XP—to hold the Skull from the start.
- Early Rally Markers: Drop map pings at choke points as potential revive zones in case of split-up fights.
- Gear Pooling: Hand off rare or essential items to a teammate before using the Skull to avoid lost loot.
- Skill Pairing: Combine the Skull with area-denial abilities—trigger buffs or shields right after revive to buy time.
Common Pitfalls to Avoid
- Using it for minor injuries—save it for multi-dead scenarios.
- Reviving on slopes or unstable ground—teammates can immediately slip off.
- Skipping a final range check—always double-tap the interact range indicator.
- Rushing—take an extra 10 seconds to confirm positions and clear hazards.
Quick Reference
- Gather all ghosts within 10 m.
- Assemble survivors at the same spot.
- Communicate countdown and role assignments.
- Activate Skull, perish, and watch the vortex.
- Assign gear runner and supply banker post-revive.
Mastering the Cursed Skull transforms it from a panic button into a strategic lifeline. Plan carefully, communicate precisely, and you’ll be the hero who turns near-disaster into a triumphant climb.