
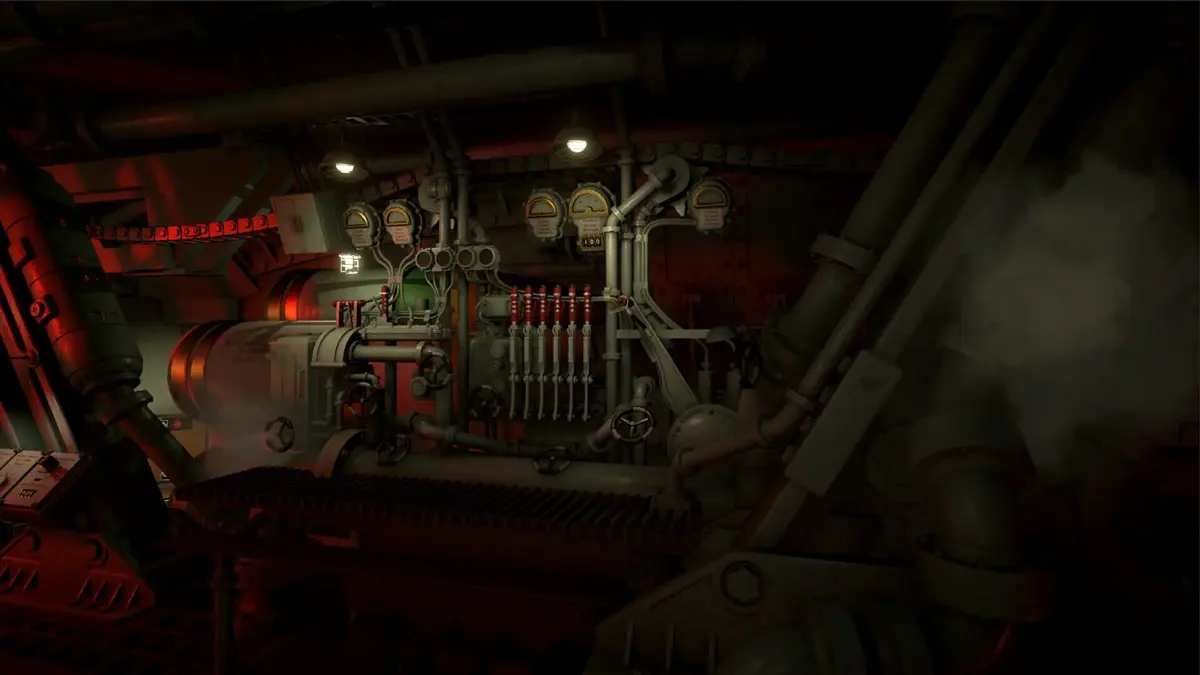
A reliable shot in IRON NEST: Heavy Turret Simulator follows one fixed loop: read the High Command order, plot the target from your current position, calculate range and bearing, load the matching shell and charges, set the turret precisely, then correct the result one variable at a time. If a round misses, start by classifying it as a range, bearing, ammunition, or target-identification problem instead of rebuilding the entire solution blindly.
Keep the mission order and your measured values written together before touching the breech. Even an ideal firing cycle can take around 45 seconds; early attempts often take a minute or longer because every manual step has to agree with the previous one.
Table of Contents (7)
Begin With a Complete Firing Card
The High Command message is the source of truth. Read the entire order before opening the tactical map, then write down the information that determines the shot. A perfectly calculated firing solution still fails if it was built for the wrong objective, reference point, gun, or shell type.
- Target: the provided coordinates, map reference, or observer-based location.
- Target class: whether the order calls for a particular ammunition type.
- Shell requirement: use the mission instruction first; as a general rule, AP is used for underground targets and HE for surface targets.
- Reference information: spotter bearings, map lines, or triangulation details.
- Firing restrictions: timing notes, stand-down orders, a specified gun, or a required firing lane.
- Current firing origin: the turret’s present location, especially after moving or repositioning.
Do not rely on memory for the numbers. Iron Nest is built around checking notes against instruments, and copying the range, bearing, elevation, charge count, and shell choice into one short firing card prevents the most common input swap: using the right values in the wrong places.
Plot the Target From the Correct Origin
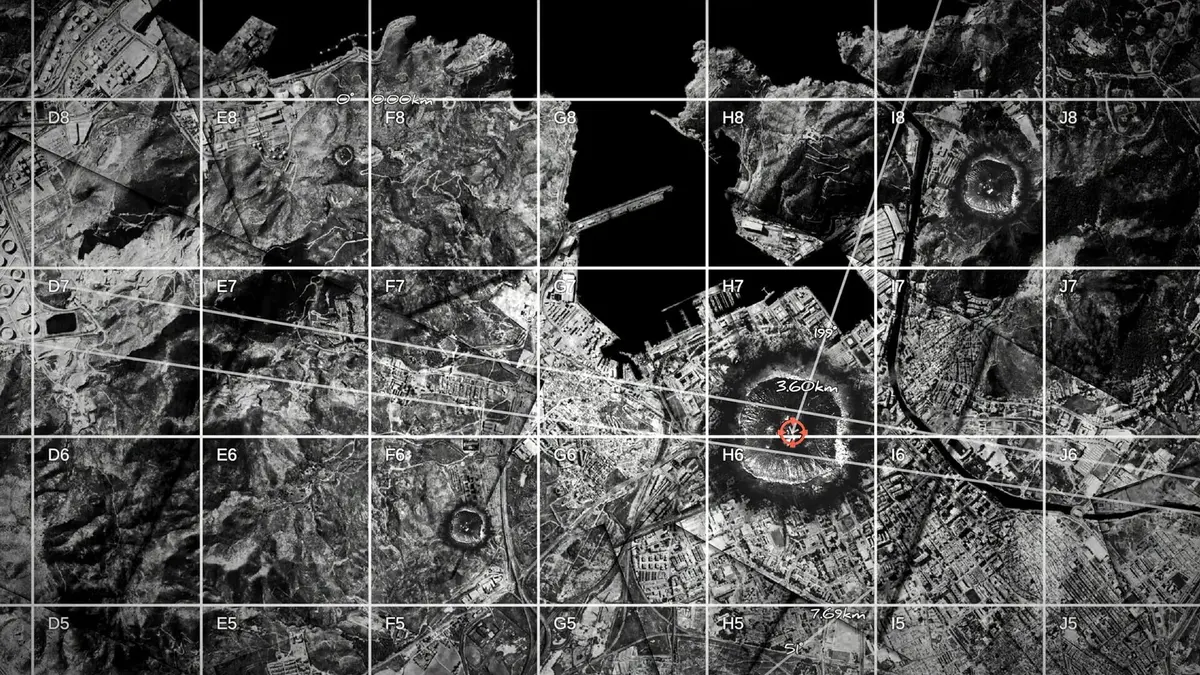
Open the tactical map and mark your firing origin first. Then place the target marker from the High Command coordinates or construct it from the supplied reference lines. Draw the final line from the turret to that target point; that line provides the bearing and the distance the rest of the firing solution needs.
- Mark the current turret position rather than an older map position.
- Mark the target exactly as the order describes it.
- Use a spotter bearing or reference line to triangulate when direct coordinates are not provided.
- Compare the finished target point against the order before measuring.
- Measure and record range and bearing from the firing origin to the target.
A tiny angle error becomes a much larger lateral miss at long range. If the target is far away, spend the extra few seconds checking the line before calculating. Correcting a bad map mark with turret controls later wastes ammunition because the gun will faithfully fire the wrong solution.
Use the Ballistic Calculator Before Loading
Enter the measured range into the ballistic calculator and record its elevation and powder-charge output. The calculator converts the map measurement into the values the turret can use; elevation and charges are a matched pair, so changing one without checking the other creates a predictable short or long shot.
- Confirm the range was measured from the current firing origin.
- Enter the range carefully and check for transposed digits.
- Copy the calculator’s required elevation exactly.
- Copy the required charge count exactly.
- Keep the bearing from the map beside those calculator values.
Range tells the calculator how far the shell must travel. Bearing tells the turret where to face. Treat them as separate values throughout the process. A correct elevation setting cannot fix an incorrect bearing, and a correctly rotated turret cannot compensate for the wrong charge count.
Load Shells and Charges in the Same Order as the Firing Card
Select the shell specified by the order, ram it into the breech, and then load the exact number of powder charges shown by the calculator. Verify the loaded state before closing up and moving to the aiming controls.
The important distinction is between a miss and a shot with no useful effect. If the shell lands on the intended target but the mission does not progress, revisit ammunition before changing your map work. An HE shell aimed accurately at an underground target, for example, can look like a failed firing solution even when range and bearing were correct.
Set Bearing and Elevation With Coarse and Fine Controls
Rotate the turret with the coarse traverse control until the rotation counter or compass is close to the bearing on your firing card. Finish with the fine aiming control and match the displayed bearing as closely as the interface allows. “Close enough” is where many first shots drift left or right.
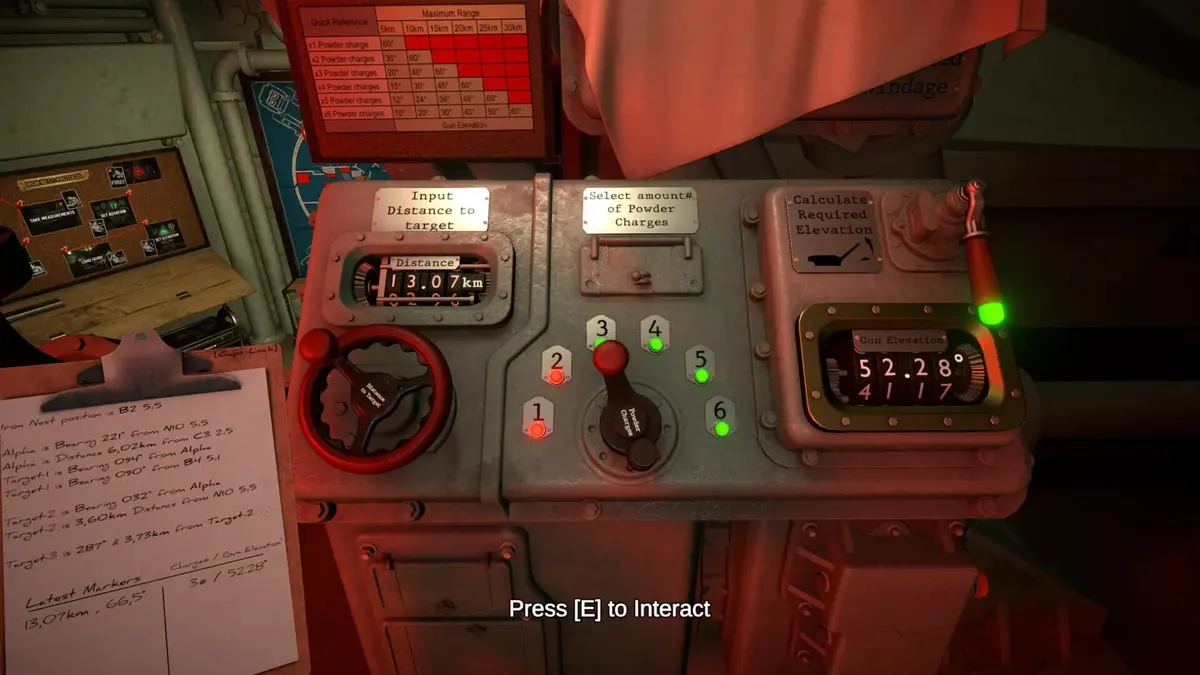
Set elevation the same way: use the larger adjustment to approach the calculator value, then use the fine control for the final setting. Check the elevation gauge after fine-tuning instead of judging the barrel’s visual angle. The displayed number is the value tied to your ballistic solution.
- Match turret bearing to the map bearing.
- Match elevation to the calculator output.
- Confirm the correct shell and charge count are loaded.
- Confirm the required gun or firing lane is selected.
- Arm the gun only after the values agree with the firing card.
- Fire one observed round and read where it lands.
Fix Missed Shots by Their Direction
Use the impact location to choose the next check. Change one setting, fire again, and compare the new result. Altering range, bearing, elevation, and charges all at once removes the feedback you need to walk the round onto the target.
| Observed result | Likely cause | Check first | Correction |
|---|---|---|---|
| Shot lands short | Range is too low, too few charges are loaded, or elevation is too low. | Calculator range, charge count, elevation gauge. | Re-measure range from the current origin, then match charges and elevation to the calculator. |
| Shot lands long | Range is too high, too many charges are loaded, or elevation is too high. | Calculator input, loaded charges, elevation gauge. | Verify the measured distance and reduce only the value shown to be incorrect. |
| Shot lands left or right | Bearing is wrong or the turret stopped slightly off its required heading. | Target line on the map, bearing on the firing card, rotation counter. | Recheck the target line, then use the fine traverse control to match the bearing precisely. |
| Impact is on target but the objective fails | Wrong shell type or an incorrect mission target. | High Command order, target class, loaded ammunition. | Confirm the specified shell, including AP for underground targets and HE for surface targets when the order supports that choice. |
| Values look correct but the round still misses | The solution may use the wrong origin, target point, gun, or firing lane. | High Command message, current map origin, target coordinates, selected weapon. | Rebuild the firing card from the order before making a new adjustment. |
Use Spotter Feedback as a Controlled Correction Loop
When a spotter report, aerial image, or updated High Command message appears, treat it as a correction to the current firing solution. Read whether it identifies a new target, a revised point, or an impact correction, then update the relevant part of the card. A new target needs fresh map measurements; a lateral correction needs bearing attention; a consistent short or long pattern calls for range, elevation, and charges.
The clean repeatable pattern is simple: fire one observed round, classify the miss, adjust one matching variable, and fire again. Once the target, shell, charges, elevation, and bearing all come from the same written firing card, Iron Nest’s turret workflow becomes far more consistent than trying to solve each shot from memory.
FinalBoss // Gear
Level up your setup
01Top-rated gaming headsetson Amazon→02High-refresh gaming monitorson Amazon→03Gaming chairson Amazon→04Discounted game keyson Kinguin→Affiliate links · As an Amazon Associate, FinalBoss earns from qualifying purchases.
Want to Level Up Your Gaming?
Get access to exclusive strategies, hidden tips, and pro-level insights that we don't share publicly.
Ultimate Guide Strategy Guide + Weekly Pro Tips