Isekai Harem Quest: Love, Blades, and Power – 5 BagMaster Tips
Isekai Harem Quest: Love, Blades, and Power is a short, dialogue-driven visual novel — not an action RPG and not a bag-building roguelike. You are reincarnated as “you,” the strongest man in another world, handed a mansion, fame, and three women living under the same roof, and the whole game is about your conversations with them. The thing first-time players get wrong is treating it like a stats game. There are no slots to buy and no merges to chase. The only system that matters is which dialogue choice you pick, because choices move your relationship with each heroine and decide which ending you reach.
The short version
- It’s a compact, conversation-focused visual novel from developer/publisher NekoNotes, released 15 May 2025 on PC.
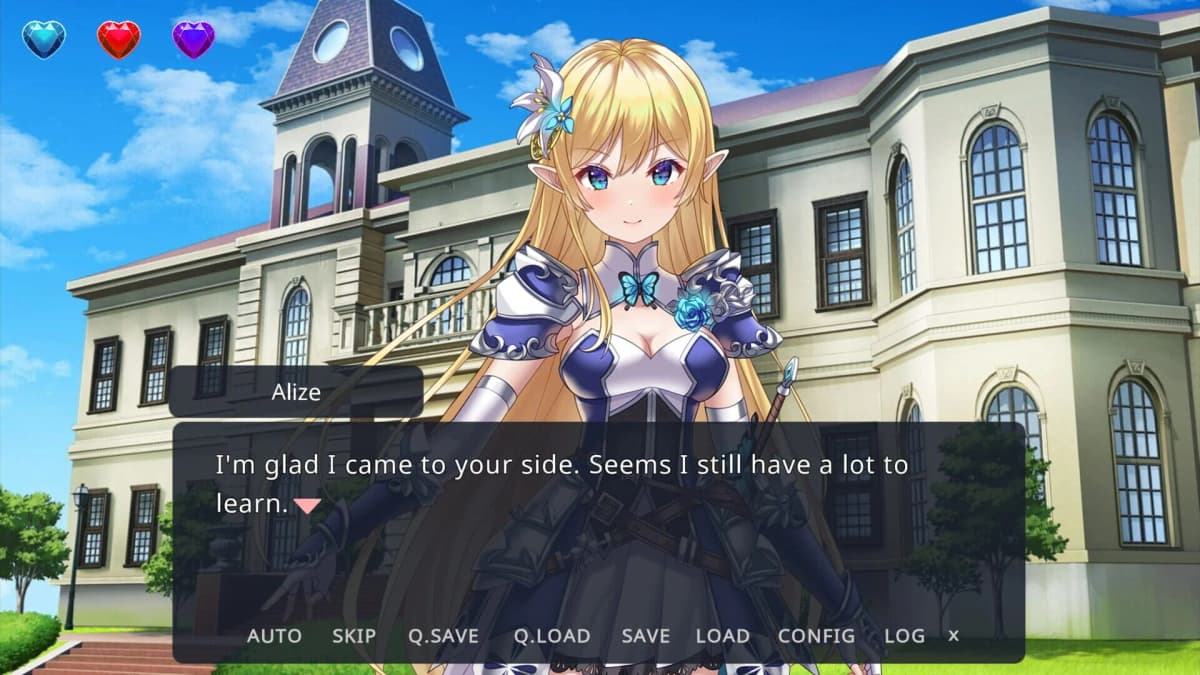
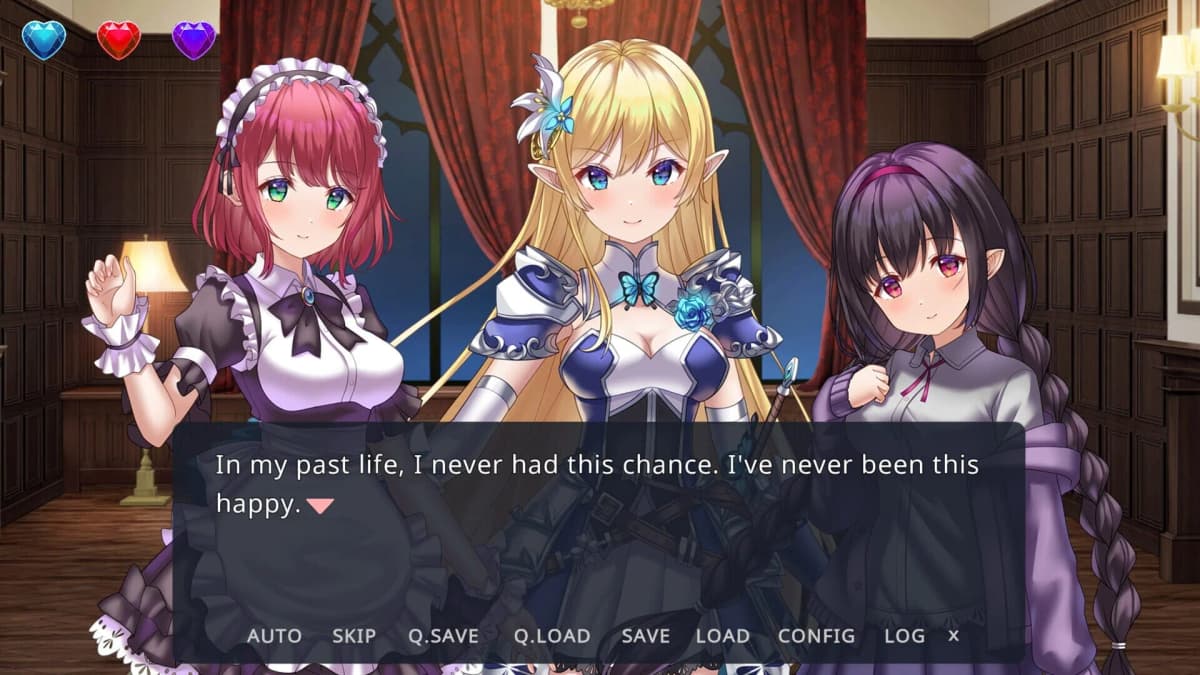
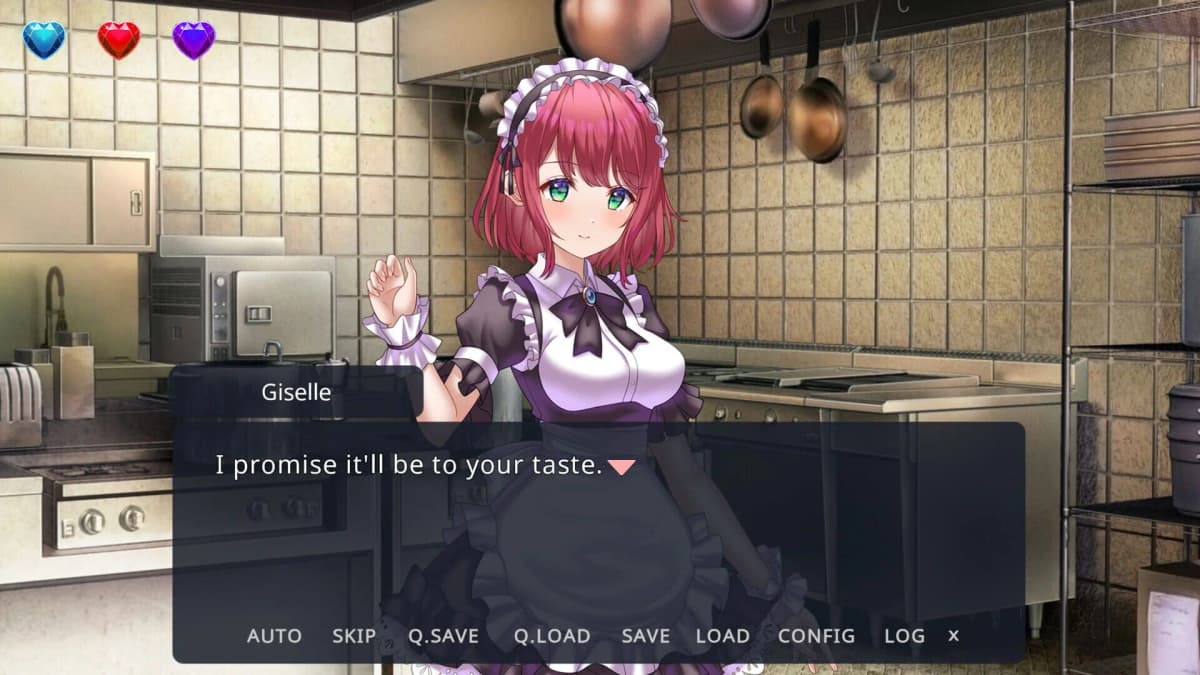
- Three heroines, three separate routes: Alize (a noble female knight), Giselle (a red-haired maid), and Mio (a mysterious girl).
- Your dialogue choices change your relationship with each heroine and lead to multiple endings.
- To see everything, replay the story and commit to one heroine’s route at a time instead of splitting choices across all three.
- Each route exists to uncover that character’s past and secrets, and confession moments get their own special illustrated scenes.
What kind of game this actually is
This is a bite-sized visual novel built around talking, not fighting. The Steam page describes it as a “compact volume that’s easy to enjoy” with “conversation-focused, approachable storytelling.” That sets your expectations correctly: you read scenes, you pick a line of dialogue when prompted, and the heroines react. There is no inventory to manage, no gear to upgrade, and no grind. If you came in expecting blades-and-power combat depth, the “blades and power” framing is story dressing — the strongest-man-in-another-world isekai premise — not a battle system you optimize.
Pick a heroine and commit to her route
The game is built around three separate character routes — Alize, Giselle, and Mio — and each route exists to discover that heroine’s past and secrets. The most reliable way to get a satisfying ending on your first run is to decide early which of the three you’re playing for, then make your dialogue choices for her consistently. Spreading your answers evenly across all three because you don’t want to “miss” anyone is the classic trap: dialogue choices affect your relationship with the heroines, so a scattered run tends to deepen no single relationship enough.
A clean first-playthrough plan:
- Choose the heroine you’re most drawn to — the knight Alize, the maid Giselle, or the mysterious Mio.
- When a choice clearly favors her, take it. Favor consistency over hedging.
- Let the other two routes wait for later playthroughs rather than diluting this one.
Treat dialogue choices as the only mechanic that matters
Because relationships move through choices, read each prompt as a relationship decision, not flavor. The heroines’ dynamics change as they open their hearts to you, so the choices that align with the heroine you’re pursuing are the ones that push her route forward. There’s no hidden stat screen to optimize and no resource economy underneath — the choice is the system. When you’re unsure, ask which option a specific heroine would respond to warmly, and pick that.
FinalBoss // Gear
Level up your setup
01Top-rated gaming headsetson Amazon→02High-refresh gaming monitorson Amazon→03Gaming chairson Amazon→04Discounted game keyson Kinguin→Affiliate links · As an Amazon Associate, FinalBoss earns from qualifying purchases.
Want to Level Up Your Gaming?
Get access to exclusive strategies, hidden tips, and pro-level insights that we don't share publicly.
Ultimate Guide Strategy Guide + Weekly Pro Tips
Plan to replay for the multiple endings
The game advertises multiple endings tied to your choices, and with three distinct routes you will not see all of it in a single pass. That’s by design for a compact visual novel: it’s short enough to play through more than once. After your first ending, start again and pursue a different heroine. Each route carries its own backstory and its own confession scene — the game gives those confession moments special illustrated scenes — so a second and third run are where the bulk of the content lives, not in the first.
Use the demo and short length to your advantage
A free demo is available on Steam, so you can confirm the conversation-driven, choice-based format suits you before buying. Because the full game is deliberately compact, you don’t need a long-term mastery plan — you need a clear target heroine and the patience to replay. That short runtime is the feature, not a shortcoming: it makes seeing every route realistic in a few sittings.
Common mistakes
- Expecting an action RPG or a stats/inventory system. There isn’t one — it’s a conversation-focused visual novel.
- Splitting dialogue choices across all three heroines on one run, which deepens no single relationship.
- Treating choices as flavor text instead of relationship decisions that steer your ending.
- Stopping after one ending and assuming you’ve seen the game — most of the content is in the other two routes.
- Skipping the free demo before buying when you’re unsure the format is for you.
Practical takeaway
Go in knowing this is a short, choice-driven romance visual novel, not a combat or builder game. Pick one of the three heroines — Alize, Giselle, or Mio — make your dialogue choices for her consistently to reach her ending and unlock her confession scene, then replay to clear the other two routes and the rest of the multiple endings. Do that and you’ll see everything the game has without spinning your wheels chasing systems that don’t exist.