John Carpenter’s Toxic Commando: How to Beat Deliver Us – Vehicle & Church Guide
Game intel
John Carpenter's Toxic Commando
Take control of one of the commandos, team up with your friends and send the Sludge God and its horde of things-that-should-never-be back to the underworld. Ch…
Why the Deliver Us Mission Can Wreck You (If You’re Not Ready)
After spending a couple of hours wiping on Deliver Us, I realized this mission isn’t hard because of any one fight-it’s hard because it chains different mechanics back-to-back: careful vehicle driving, a timed power outage defense, contamination routing, and then a hectic church stand. If you go in treating it like a simple “drive and shoot” section, it will chew you up.
This guide walks you through Deliver Us in John Carpenter’s Toxic Commando step by step, focusing on:
- Safely delivering the anti-sludge truck to Hopewell Outpost
- Surviving the 2-minute power outage while opening the church garage
- Managing contamination while driving the ambulance to the church
- Setting up and holding the church defense until Leon arrives
- Understanding how this all sets up the upcoming Sludge God encounter
If I can turn this mission from a chaotic mess into a controlled run, you can too. Let’s set you up so you don’t repeat the mistakes I did.
Pre-Mission Prep: Loadout & Team Roles
Before Deliver Us starts, you’re locked into a fairly linear objective chain. You don’t get a lot of downtime mid-mission, so get your build right up front.
From my runs, this setup worked best:
- Main weapon: A reliable mid-range rifle or shotgun. Rifles help with picking off specials on the road; shotguns shine during church defense.
- Secondary: Something fast-handling (SMG or pistol) for when you get swarmed while reloading.
- Grenades/explosives: Save at least half your explosives specifically for the church defense phases.
- Perks/abilities: Anything that improves healing, reload speed, or crowd control is valuable here.
In co-op, I strongly recommend you assign loose roles:
- Driver: One player focuses almost exclusively on driving during deliveries.
- Gunner(s): One or two players watch the flanks and rear, calling out threats.
- Control/Objective watcher: During the garage defense and church waves, have one player whose job is simply “don’t let zombies near the objective.”
Solo, you’ll obviously multi-task, but keep those roles in mind so you don’t get distracted from the actual fail conditions (vehicles and doors) while chasing kills.
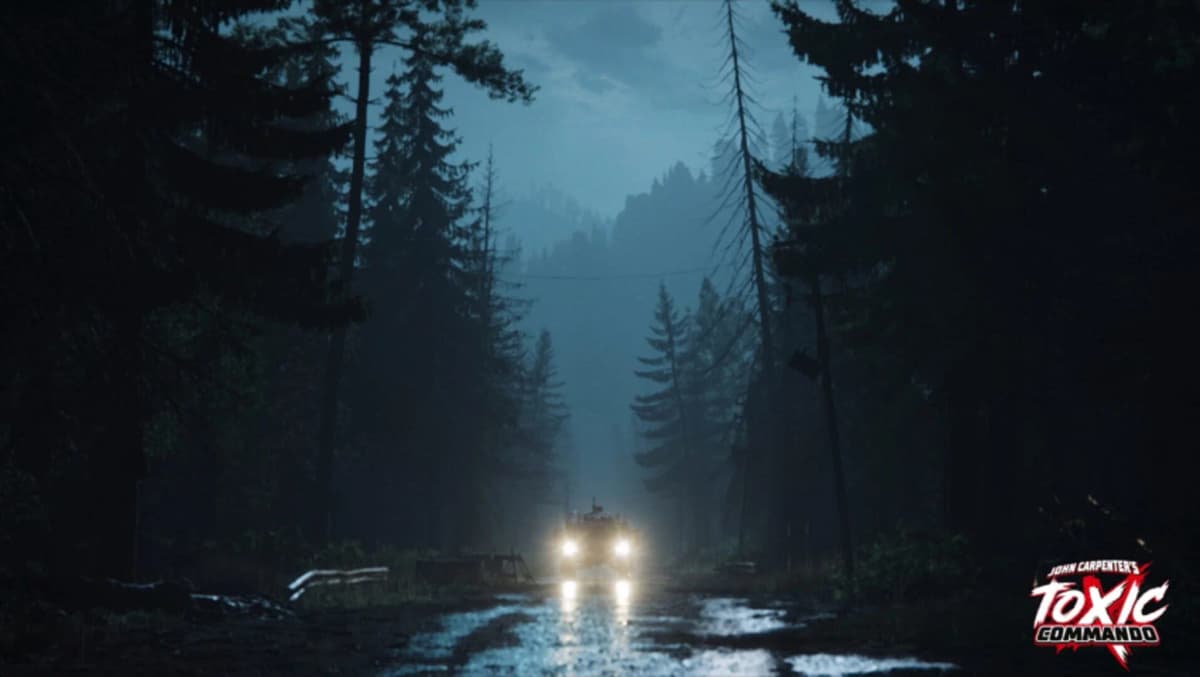
Step 1: Deliver the Anti-Sludge Truck to Hopewell Outpost
You spawn near the first truck, already loaded with anti-sludge equipment. This truck is the heart of Gallagher’s plan, and the game basically tells you “don’t wreck this.” I learned the hard way that trying to plow through hordes at full speed is the number one way to fail this section.
Plan Your Route Before You Move
Before you even touch the truck:
- Open your map.
- Trace a route to the delivery marker that avoids obviously blocked roads.
- Look for wider roads and fewer tight turns-this truck is not nimble.
Don’t make my initial mistake of assuming the direct line is fastest. A slightly longer but clearer road is way safer and usually faster overall.
Driving Tips & EMP Usage
Once you’re rolling:
- Speed moderation: Drive at a controlled pace. You want time to react to sludge pools, wrecks, or sudden hordes.
- Stay off deep sludge: Heavy sludge patches can bog you down or make handling sloppy. Hug clearer ground when you can.
- Use your vehicle EMP wisely: If you’re about to be surrounded, hit the special ability to trigger an EMP pulse and clear space. I treat EMP as my “panic button” when the truck risks being boxed in.
- Don’t stop to farm kills: Every time I tried to hop out “just to clear a bit,” I ended up wasting ammo and time or even wiping. Stay in the truck unless you absolutely must dismount.
When you reach the marked spot, park precisely on the marker. The mission can be touchy about where the truck is stopped. Give it a second until you see the objective update before moving away.
Step 2: Opening the Church Garage & Surviving the Power Outage
After the first delivery, you’ll move on to Gallagher’s church area. To get the ambulance, you need to open the garage via a control panel. This is where the mission first ramps up.
Triggering the Garage & 2-Minute Defense
Interact with the nearby control panel to start opening the garage. The twist: this triggers a power outage and a 2-minute defense timer. The system resets, and your job becomes defending the control room area until power is restored.
What worked well for me:
- Set up before hitting the panel: If the game gives you even a little breathing room, quickly:
- Grab ammo and medkits.
- Drop any deployable turrets or traps watching the main approaches.
- Mental note: where the choke points are near the control room.
- Hold close, don’t roam: My first attempt failed because I chased zombies too far out and got flanked. Stay near the control area; let them come to you.
- Prioritize specials and sprinters: These are the ones that will slip through and hit the panel area while you’re distracted.
- Rotate positions, but not too far: If you see a side getting overrun, shift a few meters to help, but keep the control room in sight.
The good news is this is a fixed 2-minute hold. Once the timer ends, power comes back, the garage door opens, and you’re onto the next stage.
FinalBoss // Gear
Level up your setup
01Top-rated gaming headsetson Amazon→02High-refresh gaming monitorson Amazon→03Gaming chairson Amazon→04Discounted game keyson Kinguin→Affiliate links · As an Amazon Associate, FinalBoss earns from qualifying purchases.
Step 3: Driving the Ambulance Through Contamination
With the garage open, you now have access to the ambulance. On paper, this sounds easy: drive to the church. In practice, the contamination mechanic is what can silently kill your run.
Want to Level Up Your Gaming?
Get access to exclusive strategies, hidden tips, and pro-level insights that we don't share publicly.
Ultimate Guide Strategy Guide + Weekly Pro Tips
Step 3: Driving the Ambulance Through Contamination
With the garage open, you now have access to the ambulance. On paper, this sounds easy: drive to the church. In practice, the contamination mechanic is what can silently kill your run.
🎮 Get This Game at the Best Price
Compare prices instantly and save up to 80% on Steam keys with Kinguin — trusted by 15+ million gamers worldwide.
*Affiliate link — supports our independent coverage at no extra cost to you
Understanding Contamination & Safe Zones
The road ahead is heavily contaminated. As you move through it, your contamination buildup increases and can eventually down you. The only way to safely manage this is by using the blue safe zones on the map.
- Blue circles on the map: These are contamination-safe pockets where your buildup can reset.
- Plan your route connecting safe zones: Open the map again and chart a path from one blue circle to the next all the way to the church.
- Don’t linger unnecessarily in contaminated stretches: Get through bad areas efficiently, then rest in a safe zone.
Using the Ambulance’s Healing Tools
The ambulance isn’t just a taxi; it’s a rolling medical hub:
- Built-in healing aura: The ambulance’s special ability provides continuous healing to nearby allies. Use this in contaminated stretches or when you’re under sustained attack.
- Medkit (60-second refill): You can pop a medkit from the ambulance every 60 seconds. In my successful run, I treated this like a mini-ultimate-save it for when contamination plus damage stack up, not for every scratch.
Common mistakes I made (that you should avoid):
- Ignoring the contamination meter: It’s easy to tunnel vision on zombies. Glance at your buildup regularly.
- Skipping safe zones to “save time”: I tried this once and collapsed just short of the church. Hitting each blue circle adds maybe a minute but massively increases your survival odds.
- Stopping in the open to fight: If you must stop, try to do it in or near a safe zone, not the middle of a toxic street.
Once you reach the church in one piece, you’re into the mission’s final and most intense sequence.
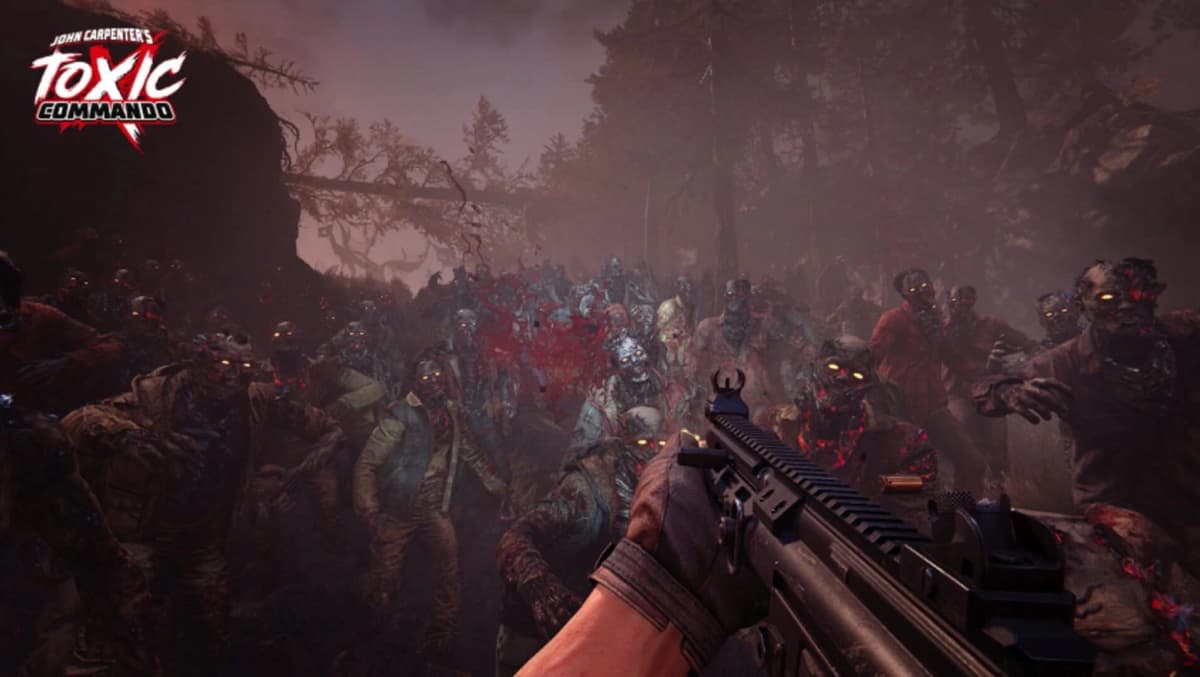
Step 4: Defending the Church – Gates and Balcony
This is where Gallagher’s concern about “getting caught in the crossfire” comes true. You’ll grab the fuel, trigger a massive zombie response, and have to keep the survivors alive long enough for Leon to arrive.
Phase 1: Church Gates Defense (1:40 Hold)
After picking up the fuel, move to the Church Gates. You get about one minute of prep time before the real onslaught:
- Resupply: Hit any ammo and med crates nearby.
- Place traps/turrets: Focus them on the main approach lanes where zombies will funnel in. Doors, narrow paths, and stairs are ideal.
- Agree on firing lanes (co-op): Split directions—one player left, one right, one on the gate itself if you have three.
The first objective here is simple: kill everything and survive for 1 minute and 40 seconds. A couple of pointers from my successful run:
- Don’t overextend past the gate: The closer they are to the objective, the easier they are to control.
- Use explosives on clumps: Save your grenades for when you see big groups bottlenecked.
- Call out specials immediately: Anything that can slip past your front line is a higher threat than the basic horde.
Once this timer ends, zombies will break through and push into the church itself, moving you into the balcony phase.
Phase 2: Church Balcony – Protect the Survivors
Now you fall back inside and up to the balcony overlooking the church interior. The new objective: defend the doors leading to the survivors for another 1 minute and 40 seconds while Leon gets into position.
What finally worked for me here:
- Hold tight chokepoints: Instead of roaming the whole balcony, position yourself so you’re watching the door and the stairways feeding into that area.
- Focus on door integrity, not kills: It doesn’t matter if 10 zombies are alive across the hall; it matters if one is pounding the survivor door.
- Layer your damage: Start shooting earlier at range, then fall back to shotguns or heavy weapons as they get close.
- Use remaining explosives in the final 30 seconds: This is where the pressure spikes.
Near the last 20 seconds the game throws a ridiculous number of zombies at you, and the doors will look like they’re about to give out. This is intentional. My first time, I thought I’d failed because of how desperate it looked, but as long as you’ve survived to that point, a scripted sequence will take over.
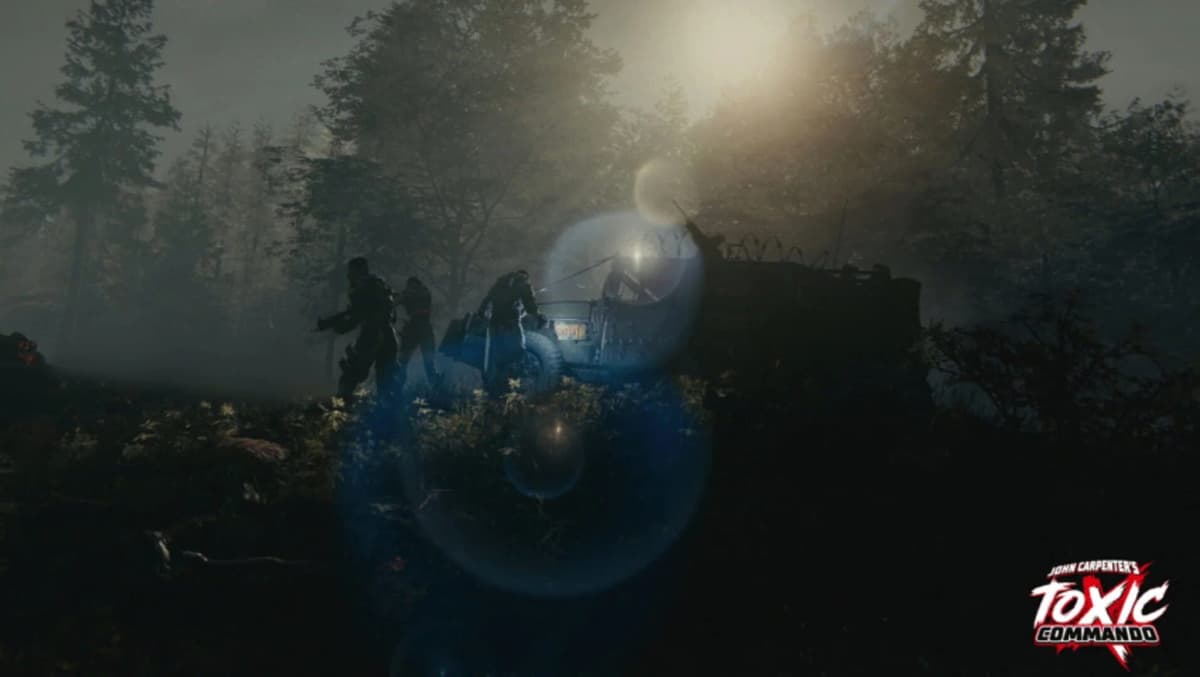
Step 5: Cutscene & Sludge God Setup – What This All Leads To
Once the defense completes, you’ll see a cutscene showing your squad and the survivors having wiped out most of the horde—but in the process, they’ve finally drawn the attention of the big one: the Sludge God.
The Sludge God pins down the crew with its tentacles, while they desperately try to protect the fuel you’ve just secured. Leon arrives in the God Killer Truck and triggers all the nearby EMP towers, sending a huge charge through the sludge. It doesn’t kill the Sludge God, but it staggers it and enrages it further, setting the stage for the upcoming showdown in the next mission.
You don’t have gameplay input during this sequence, but from a prep perspective, Deliver Us is effectively your rehearsal for the final confrontation:
- You’ve practiced vehicle handling under pressure.
- You’ve managed contamination and safe zones.
- You’ve handled timed, high-intensity defenses around critical objectives.
Those same skills will carry directly into the Sludge God mission. When I first reached that fight after fumbling Deliver Us, I felt completely overwhelmed. Once I went back, nailed this mission with a clean run, and then retried the Sludge God, everything clicked way better.
Final Thoughts & Next Steps
Deliver Us is one of those missions that feels unfair until you understand what it’s testing: patience with vehicles, discipline around objectives, and smart routing through hazards. Once you:
- Drive the anti-sludge truck carefully using EMP as a defensive tool,
- Hold your ground near the church garage panel for the full outage timer,
- Chain safe zones together while piloting the ambulance through contamination, and
- Approach the church defense as a door-protection mission, not a high-score shooting gallery,
the whole mission becomes manageable and surprisingly fun instead of a slog. Use this run as your warm-up for the Sludge God—because once you’ve delivered the fuel and survived the church, you’re ready to finally take that thing on and end the nightmare in the next mission.