Lies of P: Full Walkthrough by Chapter – Bosses, Shortcuts, Endings
There is a point early in Lies of P where the whole game finally clicks: you stop treating every fight like a dodge test, you see an enemy’s white stagger window, you land a charged heavy, and the Fatal Attack follows. That is the real backbone of a good walkthrough. If you want the cleanest route through the base game, move chapter by chapter, open every major shortcut before chasing side loot, return to Hotel Krat after big bosses to check NPC progress, and learn the combat loop the game quietly expects: guard or perfect guard, force a stagger window, then cash it out with a Fatal Attack. If you are aiming for the Rise of P ending, start building Humanity early with lie-leaning dialogue choices and by listening to records whenever you can.
How to use this Lies of P walkthrough
This is a practical main-story route, not a collectible checklist. The goal is to keep you moving, flag the places players usually get stuck, and point out the decisions that matter later. In Lies of P, the time loss rarely comes from getting lost forever. It comes from missing an easy shortcut, entering a boss with the wrong rhythm, or forgetting that some side quests and ending conditions advance after specific story beats.
- Prioritize Stargazer-to-Stargazer progress and open gates, ladders, and elevators as soon as you see them.
- After major bosses, check Hotel Krat for new NPC dialogue, records, and shop updates.
- If a boss feels unfair, the answer is usually timing and stamina discipline, not pure damage.
- If you want Rise of P, do not leave Humanity building until the final chapter.
Chapter-by-chapter Lies of P walkthrough
Chapter 1: Krat Central Station and Cerasani Alley
Your first job is simple: survive the station, learn weapon durability, reach the city, and beat the Parade Master. This opening is less about damage and more about understanding that blocking is active defense in this game. If you panic-roll every swing, the Parade Master will clip you on the follow-through. Guard the basic strings, look for the slower windups, and punish only after the full animation ends.
Common sticking point: players treat the opener like a fast dodge-action game instead of a posture game. Start using charged heavies when you see the stagger state, because the game builds the rest of its boss design on that lesson.
Chapter 2: Elysion Boulevard and Krat City Hall
This chapter expands exploration and introduces the first real wall for a lot of players: the Scrapped Watchman. Before that, work methodically through the boulevard, open doors back to safer routes, and avoid burning healing on basic puppets. The game starts teaching ambushes here, so check corners and windows instead of sprinting through narrow streets.
The Scrapped Watchman is where delayed attacks and lightning pressure start punishing early dodges. Wait for the leap to commit before moving. If you dodge on the windup, you usually get tagged on landing. This is also a good moment to get comfortable with Stargazer → Level Up and basic weapon handling rather than swapping weapons every five minutes.
Chapter 3: Workshop Union Entrance and Venigni Works
The factory section is a resource check disguised as a navigation chapter. Enemy groups are denser, fire damage becomes more relevant, and bad pathing can cost you healing before you ever see King’s Flame, Fuoco. Open every pipe-room shortcut and lift route you can. This area punishes over-clearing dead ends before the main loop is safe.
Fuoco hits hard, but the bigger trap is stamina misuse. If you empty your bar trying to force damage, you have nothing left for the next flame pattern. Stay at mid-range, wait for the heavy commitments, take short punish windows, and back off. Fire resistance helps, but spacing matters more than item stacking.
Chapter 4: Moonlight Town, Path of the Pilgrim, and St. Frangelico Cathedral
This is one of the roughest first-playthrough chapters because it mixes platform pressure, status buildup, and one of the game’s earliest major skill checks: Fallen Archbishop Andreus. The cathedral is where you should stop trying to full-clear every dangerous room on the first pass. Open the ladder and lift shortcuts first, then start picking up side loot once the runback is safe.
Andreus is a phase-management fight. The common mistake is locking your attention onto one angle of the boss and getting surprised by the transformed body or ranged follow-up. Stay calm through the transition, keep your camera under control, and take reliable hits instead of greedy strings. This is where disciplined healing starts to matter as much as raw execution.

Chapter 5: Malum District and the Black Rabbit Brotherhood
Malum District is compact, but it is deceptive. The route itself is manageable once the shortcuts are open, yet the chapter ends with one of the most common roadblocks in the entire game: the first Black Rabbit Brotherhood fight. Before that boss, make sure you have your preferred weapon setup settled enough that you are not learning a new moveset inside a multi-enemy arena.
The fix for this fight is target control, not bravado. Do not stand in the middle and try to duel the whole group at once. Reposition constantly, isolate whoever is pressuring least efficiently, and avoid long recovery attacks unless the arena spacing is clean. Backing straight up is risky; moving around the edge to break their angle is better.
Chapter 6: Rosa Isabelle Street and Estella Opera House
This chapter pushes you through tighter urban encounters and into one of the game’s signature bosses, the King of Puppets. On the street route, the danger is attrition. Elite enemies can drain resources before you reach the opera house, so play cleaner than you think you need to. Open the safe path, then explore.
King of Puppets, and especially the Romeo portion of the fight, is where impatient aggression gets punished hard. If the second phase feels impossible, the usual cause is overcommitting right after a successful dodge or guard. Let the combo finish, recognize the true recovery window, and keep enough stamina to react. The fight rewards rhythm more than damage racing.
Chapter 7: Lorenzini Arcade and Grand Exhibition
Lorenzini Arcade is a classic Lies of P trap area: status pressure, cluttered enemies, and enough side rooms to waste healing if you are careless. Move in short loops and unlock the route before trying to clean the whole place. By the time you reach the Grand Exhibition, you should also be checking Hotel Krat regularly, because side stories and records matter more now if you care about Humanity.
Champion Victor is more straightforward than some earlier walls, but he still punishes sloppy spacing. Do not let the arena fool you into backing up forever. You want enough distance to read the charge, then immediate re-entry for a quick punish. If you only retreat, he controls the pace.
Chapter 8: Barren Swamp
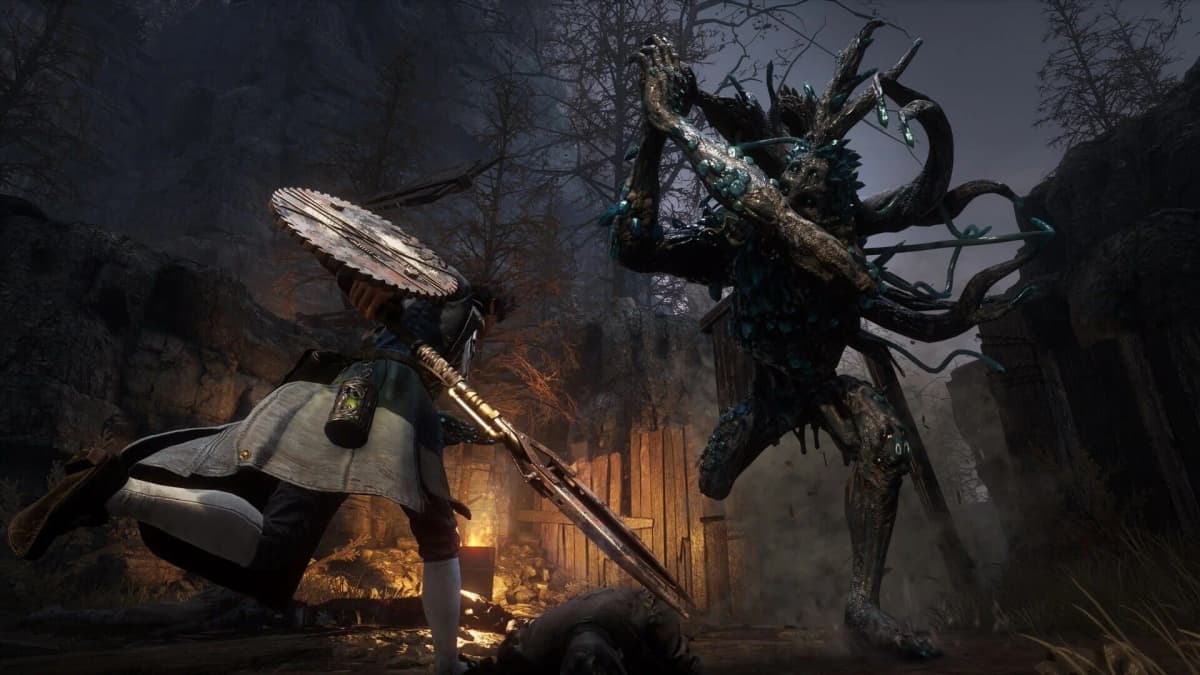
The swamp is where many runs get bogged down by annoyance before the real boss even starts. Large enemies, awkward terrain, and projectile pressure can turn routine clears into wasteful deaths. Keep the path efficient and preserve resources for the Puppet-Devouring Green Monster. This chapter is another reminder that a good walkthrough is about route discipline, not maximum enemy kills.
The Green Monster is a knowledge check. Panic dodging makes the fight look faster and messier than it is. Stay patient through the aggressive strings, respect the phase change, and build your offense around clearly committed lunges or slam recoveries. If you are healing at random, you are usually healing too late.
Chapter 9: Krat Central Station Revisited and Collapsed Krat
This chapter weaponizes familiarity. You revisit earlier spaces under worse conditions, and that alone can make players sloppy. The Corrupted Parade Master is the obvious callback boss, but the real threat is assuming old patterns are still safe. Late-game damage is too high for nostalgia to carry you.

Play this stretch conservatively. Use your healing only when there is true space, keep your weapon repaired, and treat every elite enemy as capable of ending the runback. If your build has felt shaky up to this point, chapter 9 exposes it immediately.
Chapter 10: Relic of Trismegistus and the Black Rabbit Brotherhood rematch
This is the chapter where the game expects you to understand crowd management, not just survive it. The Black Rabbit Brotherhood rematch is harsher because the pressure changes mid-fight and off-camera punishment becomes more dangerous. If you tunnel on one target because their health is low, another sibling usually cashes in on that greed.
Reset your focus whenever the fight state changes. Re-establish spacing, identify the current threat, and only commit to finishers when the arena is quiet enough to allow it. This fight is less about perfect offense than calm battlefield sorting.
Chapter 11: Arche Abbey and the final boss run
The final chapter stacks gimmick knowledge, parry discipline, and ending choices back to back. Door Guardian is the first check: do not play it like a normal duel. Focus the weak leg, force the knockdown, and take the Fatal Attack. After that, the game stops handing out easy answers.
Laxasia the Complete is one of the clearest skill walls in Lies of P. This fight rewards clean defense more than any earlier boss. Learn which strings are worth perfect guarding, which moments are safer to block normally, and when backing out is smarter than trying to win an exchange. Simon Manus then tests your ability to stay composed against scale and visual noise. If you refuse Geppetto later, Nameless Puppet is the final duel and arguably the purest mechanical exam in the game. Arrive with a finished build, a weapon you trust, and no expectation that brute force will carry the endgame.
FinalBoss // Gear
Level up your setup
01Top-rated gaming headsetson Amazon→02High-refresh gaming monitorson Amazon→03Gaming chairson Amazon→04Discounted game keyson Kinguin→
Affiliate links · As an Amazon Associate, FinalBoss earns from qualifying purchases.
Want to Level Up Your Gaming?
Get access to exclusive strategies, hidden tips, and pro-level insights that we don't share publicly.
Ultimate Guide Strategy Guide + Weekly Pro Tips
Lies of P endings explained
Public ending guides broadly agree on the key checkpoints. You do not need to obsess over every line of dialogue for a normal clear, but you do need to know what locks the finale.
- Real Boy: They All Lived Happily Ever After – defeat Simon Manus, then give your Heart to Geppetto. This skips the Nameless Puppet fight.
- Free from the Puppet String – refuse Geppetto’s request and defeat the Nameless Puppet, but without meeting the higher Humanity route used for Rise of P.
- Rise of P – this is the ending most lie-route walkthroughs aim for. Build high Humanity through the game, choose Give Sophia Peace after Laxasia, then refuse Geppetto and defeat the Nameless Puppet.
The important practical warning is this: if you want Rise of P, do not leave the Humanity work until the end. Lie-leaning answers, records, and Hotel Krat follow-up matter because they keep that route open. If you only want one safe completion, the simplest path is deciding at Geppetto’s final request whether you want the shortest ending or the toughest final boss.
The biggest sticking points that waste runs
- Ignoring the stagger system. If you are not using charged heavies to cash out stagger windows, many fights feel longer and crueler than they really are.
- Over-looting before opening shortcuts. Cathedral, arcade, and swamp sections are much easier once the route is safe.
- Treating every boss as a dodge-only fight. Perfect guard is not optional tech in Lies of P; it is a core survival tool.
- Forgetting Hotel Krat check-ins. Quest progress, records, and some ending prep can be missed if you never return after major milestones.
The verdict is straightforward: the best way to play through Lies of P is not as a blind sprint from boss to boss, but as a disciplined route through shortcuts, NPC resets, and deliberate combat learning. If you keep the chapter order clean, build around the stagger loop, and decide your ending route before the final chapter, the game stops feeling chaotic and starts feeling sharply readable.