
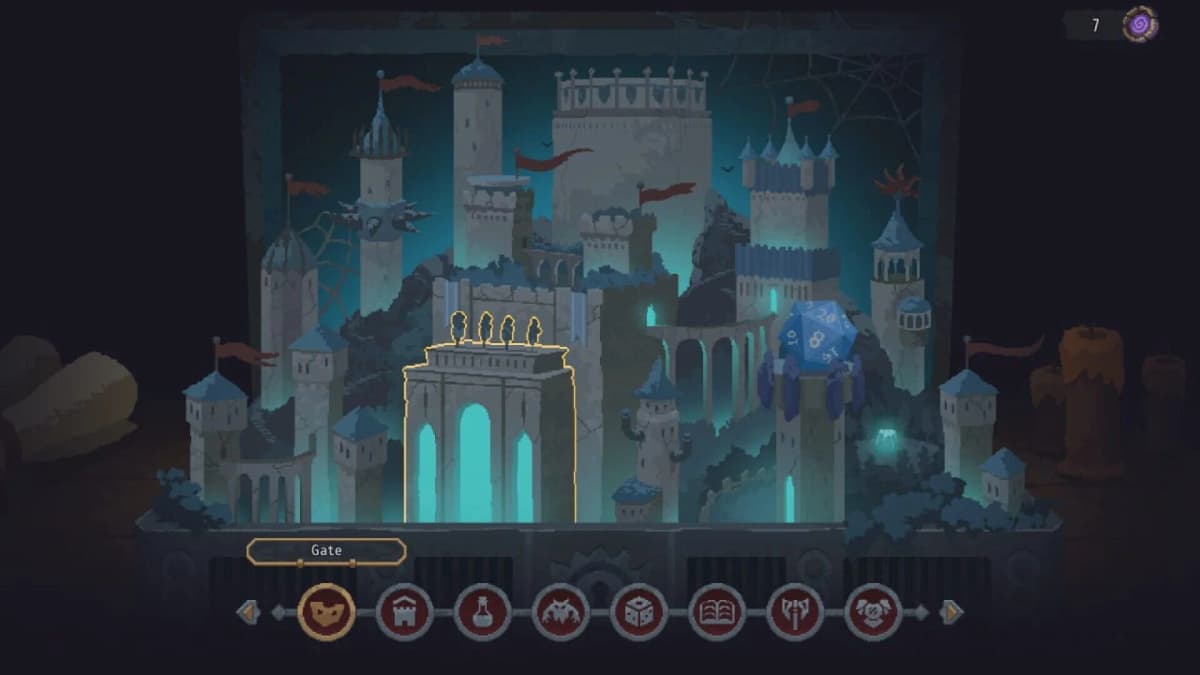
Lootbound becomes far more manageable once you treat the shared inventory grid as part of your combat build. Before taking any loot, decide where it fits, which items it will empower, and whether its mana or initiative value helps you survive the next several fights. A rare item placed badly can be weaker than ordinary gear supporting the right aura cluster.
Table of Contents (12)
Learn the three systems that decide early runs
Lootbound is a turn-based roguelike built around a shared party inventory grid. After a battle, a loot card offers several items, but you can drag only one of them into a hero’s equipment slot or the shared grid. That limitation makes every reward a build decision rather than a simple upgrade.
For beginners, focus on three connected systems:
- Inventory layout: item size, rotation, and available squares determine what you can keep and where future loot can fit.
- Aura adjacency: certain items boost nearby gear, so the value of an item depends heavily on what it touches.
- Mana and initiative: the order of actions determines who spends resources, applies effects, uses consumables, and receives the value of each turn.
Dice rolls, loot cards, and early modifiers can still create difficult runs. Your grid plan and turn economy are the tools that make those random elements more predictable.
Build a stable inventory spine in the first few fights
During the first four or five fights, reserve a small central section of the shared grid for the equipment you expect to keep. A simple beginner spine uses a weapon near the center, an armor item directly beneath it, and a support aura beside or adjacent to the item it improves.
The exact shape will depend on the items you draw, but the important part is leaving room around your best equipment. Central squares are valuable because an aura item can potentially reach more neighbors there than it can from an edge or corner.
Use this loot-card check before you drag an item
- Check the shape first. Ask whether the item fits without breaking your best existing cluster.
- Rotate before committing. Long, thin items are usually easier to place along borders, while the middle of the grid should stay flexible for equipment and auras.
- Identify its neighbors. An aura item is only valuable when it reaches items that can use its effect.
- Decide what it replaces. If the new item pushes out a piece supporting your core cluster, its listed stats may not represent a real upgrade.
- Keep one flexible area. Leave a fringe of smaller or situational items that can be replaced without rebuilding the entire grid.
The common trap is keeping every item in the orientation in which it appears. Rotate it immediately and test the cleanest placement. A dense rectangular layout gives you more options when the next loot card offers an awkward shape; a jagged layout turns every reward into a forced discard.
Protect the center; use edges for specialist gear
A practical grid has a protected core and replaceable edges. Keep the weapon, armor, and most valuable aura items together near the middle. Put narrow weapons, banners, smaller consumables, resistance pieces, and other situational gear along the outer rows and corners where they are less likely to interfere with an aura neighborhood.
That approach also makes discards easier. When space runs out, remove a peripheral item before dismantling the core that supports your main damage, defense, or resource plan.
Turn aura items into districts instead of scattered bonuses
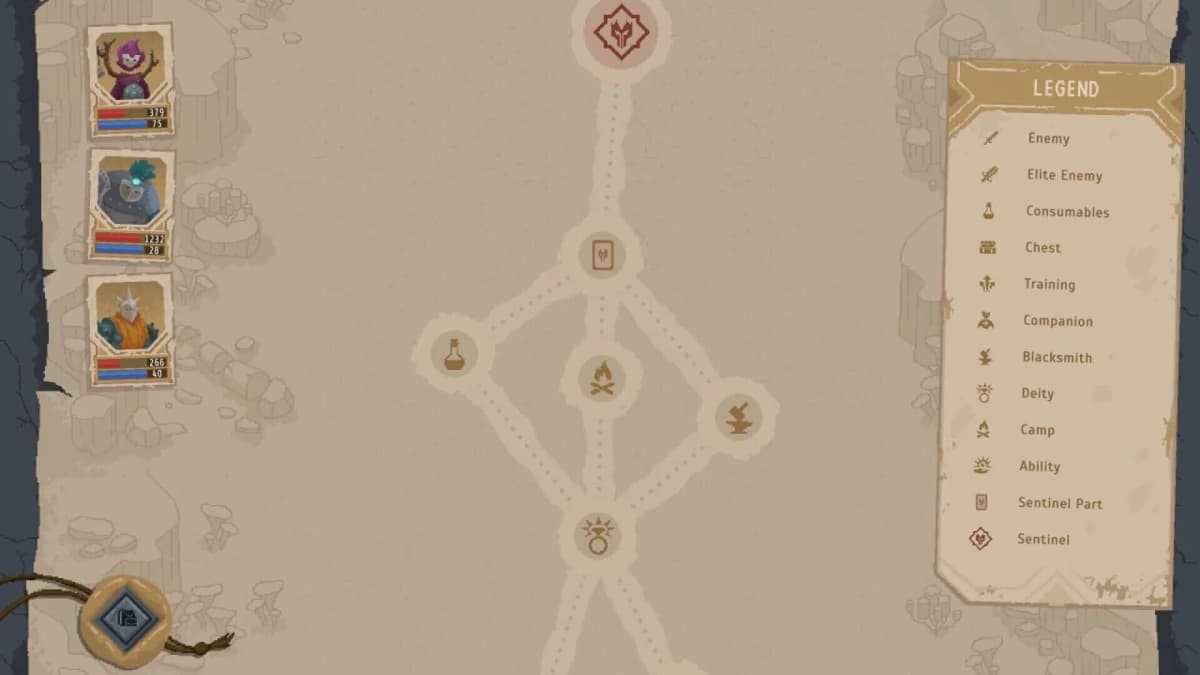
Aura items are the main reason positioning can outweigh rarity in Lootbound. Their bonuses affect adjacent items, so a modest weapon with the correct aura support can offer more practical value than a stronger weapon stranded on the other side of the grid.
Read every aura tooltip carefully. Adjacency commonly means the items directly above, below, left, and right; some item designs can use different conditions, so the tooltip takes priority over a general placement rule.
| Grid district | What belongs there | What the aura should improve | What to keep out |
|---|---|---|---|
| Damage district | Main weapons and offensive trinkets | Slash, elemental, critical, penetration, or other attack-related effects shown on the aura | Consumables and items you expect to move often |
| Defense district | Armor, shields, mitigation pieces, and protective runes | Armor or defense bonuses that help the party absorb pressure | Fragile one-off utility pieces that break up the cluster |
| Utility district | Mana-related items, buffs, debuff tools, and situational equipment | Mana recovery, exhaustion reduction, or other resource effects | Your primary weapon and armor if they need a different aura plan |
These districts do not need to be large at the start of a run. One focused damage aura supporting two useful offensive items is already better than spreading three unrelated items around the grid and receiving no meaningful adjacency payoff.
Choose aura placement before choosing an item’s slot
When a new aura appears, do not place it wherever there is empty space. First identify the two to four items that would benefit most, then build the surrounding squares around that future cluster. This is especially important for oddly shaped equipment: a good aura can be wasted if its shape forces it against an edge with only one useful neighbor.
Order and Chaos effects deserve the same careful inspection. If an item or aura refers to either stat, check its condition and the equipment around it before moving your whole grid. Treat those effects as part of a specific synergy plan, rather than assuming any Order- or Chaos-related bonus automatically improves every party.
Manage armor, health, and mana as different resources
Armor and mana do not behave the same way between fights. Armor is restored after combat, while only a percentage of total mana returns. That mana recovery percentage becomes less generous at higher difficulties, so mana is a run-long resource rather than something to spend freely whenever an ability is available.
Use armor as the layer that can absorb immediate combat pressure. Avoid treating health damage as interchangeable with armor damage, especially when a fight can be handled through better turn sequencing, defensive positioning, or a lower-cost action. The goal is to finish encounters without creating a mana deficit or a health problem that compounds later.
Spend mana by encounter role
- Opening mana: spend it when it establishes control, protects a vulnerable hero, enables a key aura-supported attack, or prevents an enemy from creating a dangerous turn.
- Finishing mana: use it when ending the fight avoids extra damage, an expensive enemy action, or a drawn-out exchange that costs more resources.
- Recovery-sensitive mana: preserve it in easy fights when your current pool already gives you a safe route through the encounter.
Mana-related inventory effects should be judged as run extenders. Extra recovery, lower exhaustion, or a resource-saving effect may look less exciting than a raw damage increase on a loot card, but it can let your party continue using its strongest actions several battles later.
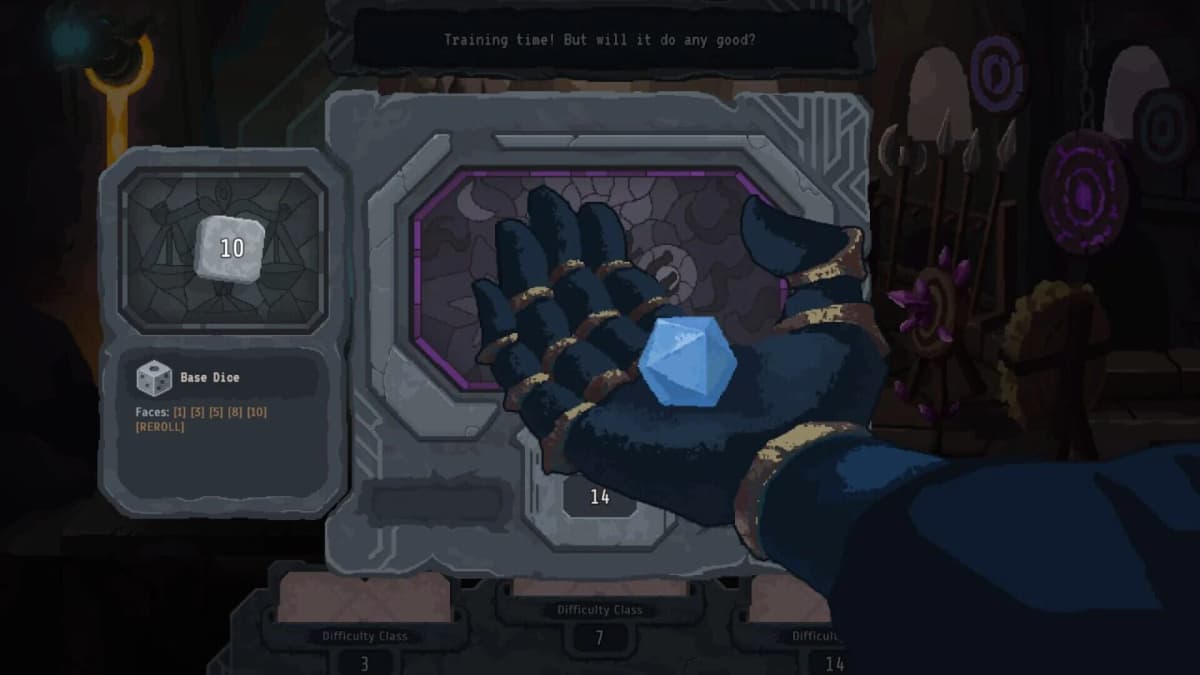
Consumables that do not end the turn are particularly useful in this economy. Use them when they improve the action that follows or cover a resource gap without forcing a hero to give up their main turn. Leaving these consumables in a flexible part of the grid also prevents them from disrupting a permanent aura district when they are used or replaced.
Use initiative to set up turns, not only to act first
Initiative decides more than the first attack. It establishes which hero spends mana first, when consumables are used, whether a supportive action lands before damage, and which character has to react to the enemy’s opening move. A good initiative order makes your party’s strongest actions happen under the best conditions.
| Turn plan | Best use | Why it works |
|---|---|---|
| Setup first | A hero can apply a buff, defensive effect, debuff, or resource tool before the main attacker acts | The damage or control action receives the benefit during the same turn cycle |
| Threat removal first | An attacker can remove or weaken the most dangerous enemy before it acts | You reduce incoming pressure and may avoid spending mana on recovery later |
| Consumable first | A non-turn-ending consumable can improve the next action or stabilize a low-resource situation | You gain value without surrendering the hero’s primary action |
Before committing to a high-cost ability, look at the whole round. If another hero can create a better opening, move that setup ahead of the attacker. If a dangerous enemy is close to acting, prioritize the character who can reduce that threat. Initiative is where an otherwise solid grid becomes an actual combat plan.
A safe beginner blueprint for a synergy-focused run
For a first serious run, build toward one reliable damage cluster, one compact defensive cluster, and a small utility area rather than trying to support every item type at once.
- Place your most dependable weapon in the central core.
- Keep a primary armor item close enough to receive defensive support when possible.
- Add a damage aura only when it can affect your main weapon or multiple offensive pieces.
- Use the outer grid for long items, one-square consumables, and equipment that is useful but not central to the build.
- Prioritize mana, exhaustion, or utility support when your strongest actions are regularly leaving the party low on resources.
- Choose initiative so setup, consumables, and defensive actions happen before the hero who needs their benefit.
This kind of layout leaves room for adaptation. If a later loot card offers a better weapon or aura, you have a clear core to upgrade. If it offers a narrow situational tool, it can live on the fringe without tearing apart the build that is already working.
Beginner mistakes that waste strong loot
- Taking the highest-rarity item without checking its shape: an upgrade that destroys two aura connections may lower your total output.
- Putting auras on the border: edge placement often reduces the number of useful adjacent items.
- Mixing every item type together: scattered weapons, armor, utility pieces, and auras make it difficult to create a focused bonus cluster.
- Overbuilding damage too early: early debuffs and pressure can make a fragile party spend more mana and health than its extra damage saves.
- Using mana to solve every easy fight: partial recovery between battles means careless spending can make a later encounter much harder.
- Ignoring initiative until combat starts: a powerful action is less valuable if the hero acts before the buff, consumable, or defensive setup that would have improved it.
Make each loot card answer one clear question
When a loot card appears, decide whether it improves your damage district, defense district, utility district, or future grid flexibility. If it does none of those things, it is usually a fringe replacement rather than a reason to rebuild the whole inventory.
The practical beginner rule is simple: preserve a clean grid core, place auras where they affect the gear that matters, and spend mana in an initiative order that creates favorable turns. Once those habits are in place, Lootbound’s loot rolls become choices you can shape instead of problems you have to hope your way through.
FinalBoss // Gear
Level up your setup
01Top-rated gaming headsetson Amazon→02High-refresh gaming monitorson Amazon→03Gaming chairson Amazon→04Discounted game keyson Kinguin→Affiliate links · As an Amazon Associate, FinalBoss earns from qualifying purchases.
Want to Level Up Your Gaming?
Get access to exclusive strategies, hidden tips, and pro-level insights that we don't share publicly.
Ultimate Guide Strategy Guide + Weekly Pro Tips