Machine Mind: How to Survive Day 8 and Reach the Observatory
If you only prioritize three things in Machine Mind‘s opening, make them power, the Mind Repository, and turret research. The safest route is to get the starter base online fast, unlock multi-rover control before Day 4, and have at least three powered turrets ready by the end of Day 7, ideally four. Do not rush the Observatory Locator first. The Day 8 Wasteland Rumble is the real early-game wall, and the game’s limited autosave system makes a bad defense setup hard to recover from once the clock is already running.
That autosave warning matters more than the game admits. You only get a small rotating set of autosaves and no manual save safety net, so it is worth checking your control bindings early and making sure Editor mode and interaction feel comfortable before you start swapping modules constantly. A clumsy module transfer on Day 6 is annoying; a clumsy module transfer when the raid is hours away can force a full restart.
First priority: get the starter rover online and power the base
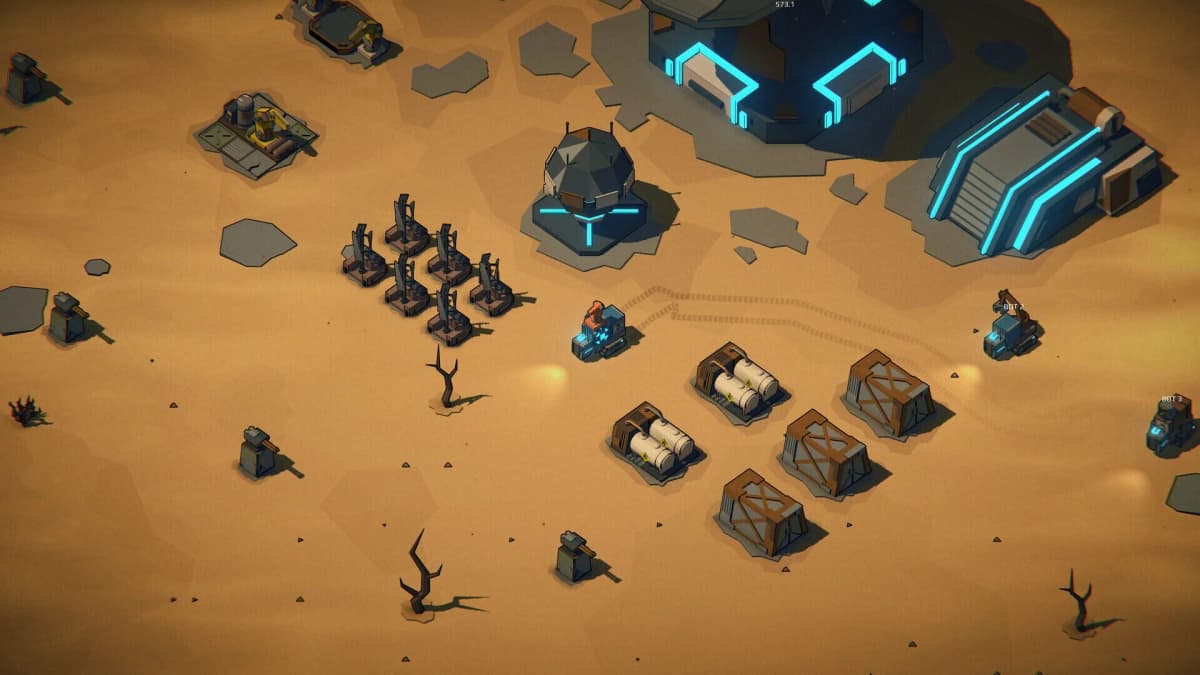
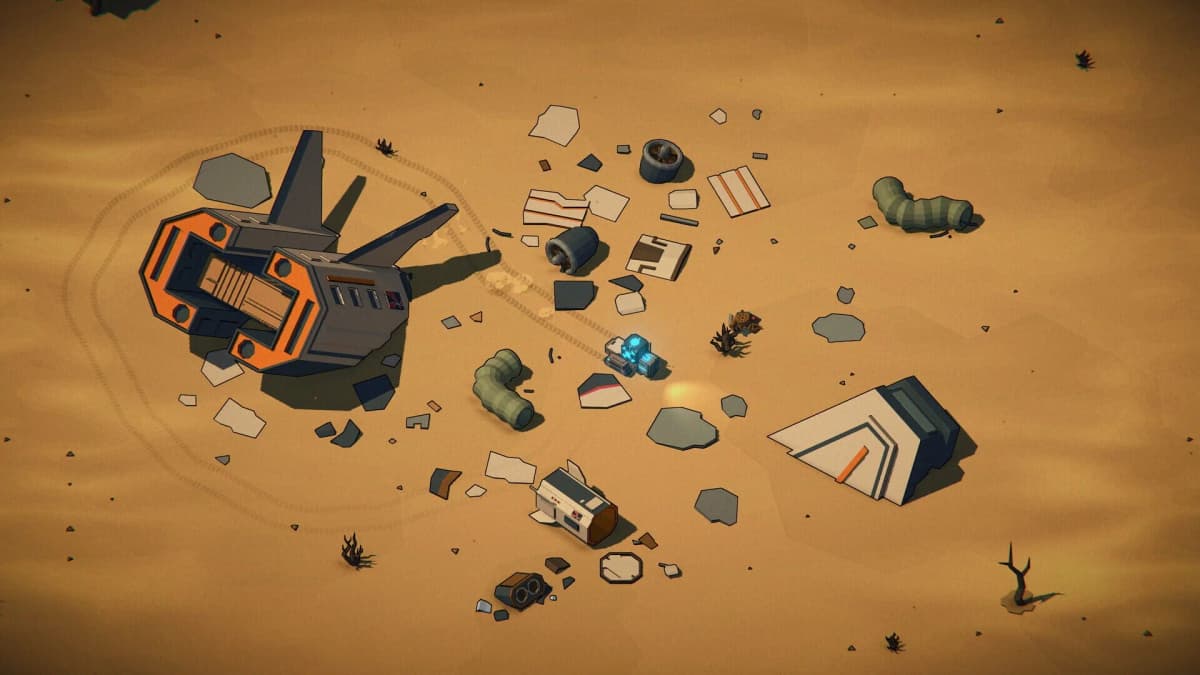
At the start, place the Mind Module on the nearby rover in Editor mode. Then loot the spaceship wreck close to your spawn and transfer everything from its storage into that rover. Your first real destination is the starter base to the northeast, where you will find two more rovers, a broken Repair Shop, and a broken Locator.
Before you think about weapons, fix the power situation. Build a Wind Generator and place it so both the Repair Shop and the Locator sit inside its range. If either structure shows the lightning warning afterward, add a second Wind Generator immediately rather than trying to limp along. Power is the bottleneck for almost every useful structure in the opening hours, and it is also what your future turrets will depend on.
One of the parked rovers already has the construction module you need. Strip that module off the spare rover and mount it on your Mind Module rover so one vehicle can both travel and build. While you are editing parts, take extra storage modules from the unused rovers too. Early scavenging is much smoother when you are not driving back to base every minute with a full cargo hold.
Days 1 to 3: repair the base, scavenge hard, and unlock the Mind Repository
Once power is up, start feeding resources into the Repair Shop and Locator. The nearby rubble fields and small enemy camps are your main early income. If you are still unarmed, you can ram weak enemies or simply avoid longer fights until the base is functional. Camps are especially valuable because the guarded storage there gives much better returns than random trash piles.
The key research target here is the Mind Repository. Research it at the Locator as soon as you can, build it, and then move the Mind Module out of your rover and into the Repository. That last step is important: researching the structure does not help by itself. Once the Mind Module is physically installed in the Repository, you can switch control to other rovers, which removes a huge amount of early friction and sets up later automation options.
Do not overbuild fancy production before this point. A lot of players lose time because they stay stuck with one overloaded rover for too long. The Mind Repository is what finally lets the game breathe.
Days 3 to 5: build a real economy and arm at least one rover
After the Mind Repository is online, add Storage and a Workbench. Storage sounds boring, but in this opening it is one of the biggest quality-of-life upgrades because you are hauling so many low-tier materials. If you have room and resources, keep placing more instead of trying to live out of rover cargo.
At the Workbench, craft a weapon module for your main combat rover. The Grumbler Makeshift Cannon is usually the safer early pick because it hits harder than basic improvised options without demanding much power. The Roar Shotgun works, but it pushes you into closer engagements, and that is not where you want to be when your repair economy is still thin.
You should also follow the blue marker to the second crash site once your rover can defend itself. That area is a strong early haul for Plasma, Electronics, and Fuel, which helps smooth out the research and power curve before the raid. Electronics are especially scarce in the early game, so any reliable stash matters.
Your research order from here should stay focused: get the Mind Repository first if you have not already, then basic utility like Storage and combat tools, then prioritize Turrets before Day 6 is over. If walls are available, add them too. A short wall line or choke point in front of your turrets is far better than leaving the entire front of your base open.
FinalBoss // Gear
Level up your setup
01Top-rated gaming headsetson Amazon→02High-refresh gaming monitorson Amazon→03Gaming chairson Amazon→04Discounted game keyson Kinguin→Affiliate links · As an Amazon Associate, FinalBoss earns from qualifying purchases.
Want to Level Up Your Gaming?
Get access to exclusive strategies, hidden tips, and pro-level insights that we don't share publicly.
Ultimate Guide Strategy Guide + Weekly Pro Tips
By the end of Day 7, your base should have these essentials
- Repair Shop repaired and powered
- Locator repaired and powered
- Mind Repository built, with the Mind Module installed inside it
- A Workbench and enough Storage to stop constant shuttle trips
- At least one armed rover and one backup rover you can switch into
- Three powered turrets minimum, with four being the more comfortable setup
- Some walls or a simple choke point to slow the approach
- Generators placed behind your main structures, not on the front edge of the base
That last point is easy to overlook. If your front generator gets shot out, every turret tied to it can go dark at once. Keep generators slightly behind the Repository and Repair Shop whenever possible, then stretch coverage outward. If you see the lightning icon on any turret before Day 8, fix it immediately instead of assuming it will somehow start working during the attack.
How to beat the Day 8 Wasteland Rumble
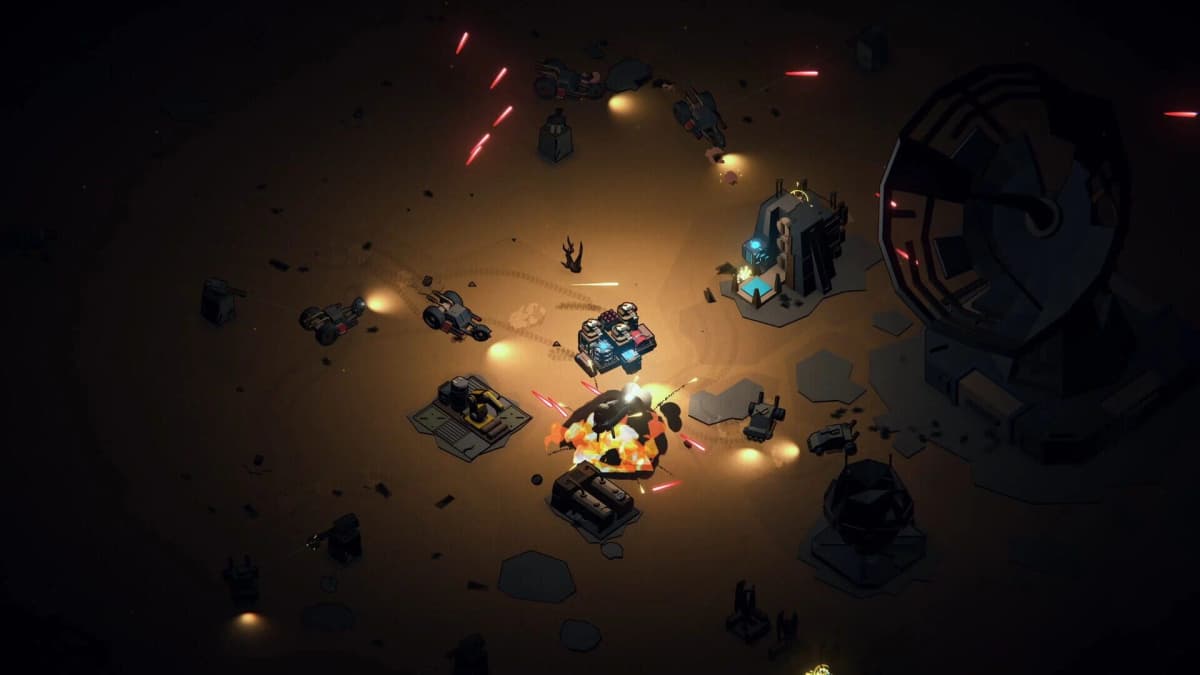
The Wasteland Rumble arrives on the night of Day 8 as a heavy vehicle with twin front turrets and a homing missile launcher. The biggest mistake here is fighting too close to your buildings. If you hide behind your own base, the boss’s gunfire can shred the structures you were trying to protect, including the Mind Repository. Pull it away from the center and fight in open ground where your turrets can flank it.
Missiles are the easy part once you know the tell: move out of the marked impact circles as soon as they appear. The front guns are the real threat. Keep moving laterally to throw off its aim, and use terrain ridges when you can to break line of fire. The best damage windows come right after the Rumble finishes a sustained burst and cools down for a moment.
If your weapon layout allows it, mount your main gun facing backward. That lets you kite while still dealing damage, which is much safer than repeatedly turning to trade head-on. Try to keep the boss between your outer turrets while your rover stays on the opposite side. That crossfire adds up quickly and reduces the chance that one turret alone becomes the focus target.
You can afford to lose one rover here if the rest of the defense holds. If your main combat rover is disabled, switch to the backup rover, drive out, and use Editor mode to move the weapon over so the fight can continue. What you cannot afford to lose is the Mind Repository.
After the Rumble: use the rewards to break the Observatory camp
Winning the fight gives you a turret weapon, a rocket launcher, and an Oracle Cube. Store the Oracle Cube safely near the base for now. The weapon rewards are the important part because they finally give you enough punch to start dismantling the defenses around the Observatory Locator. Keep in mind that these parts are much more demanding on power than your early-game gun, so you may need a better cabin or head setup before they fit cleanly on a rover.
This is also the right time to upgrade your grid from Wind to Geothermal. Research the Geothermal Generator and Power Transmitters, place the generator on a geothermal point, and extend the network with transmitters instead of spamming extra wind units forever. If you want to scale research later, Servers add CPU, and each one increases CPU by 100, but Electronics stay tight until you start taking better-defended zones.
For the Observatory push, do not rush the whole camp at once. Use terrain to peek one Tall Turret at a time, chip it down, and retreat to the Repair Shop whenever your rover falls under roughly 40% health. The rocket launcher helps here because it can land huge burst damage, but it is not precise enough to trust as your only answer. Treat it as a siege opener, then finish targets with steadier weapons.
Once the area is clear, repair the Observatory Locator by delivering 200 Scraps, 50 Machine Parts, and 20 Electronics. The camp itself contains three dome-like storage structures, and they usually provide most or all of what you need for the repair. After delivering the materials, send a rover carrying the construction module to complete the build. That restores the objective chain and moves you on to delivering the Oracle Module to Daedalus Base and breaking its force field with a plasma weapon.