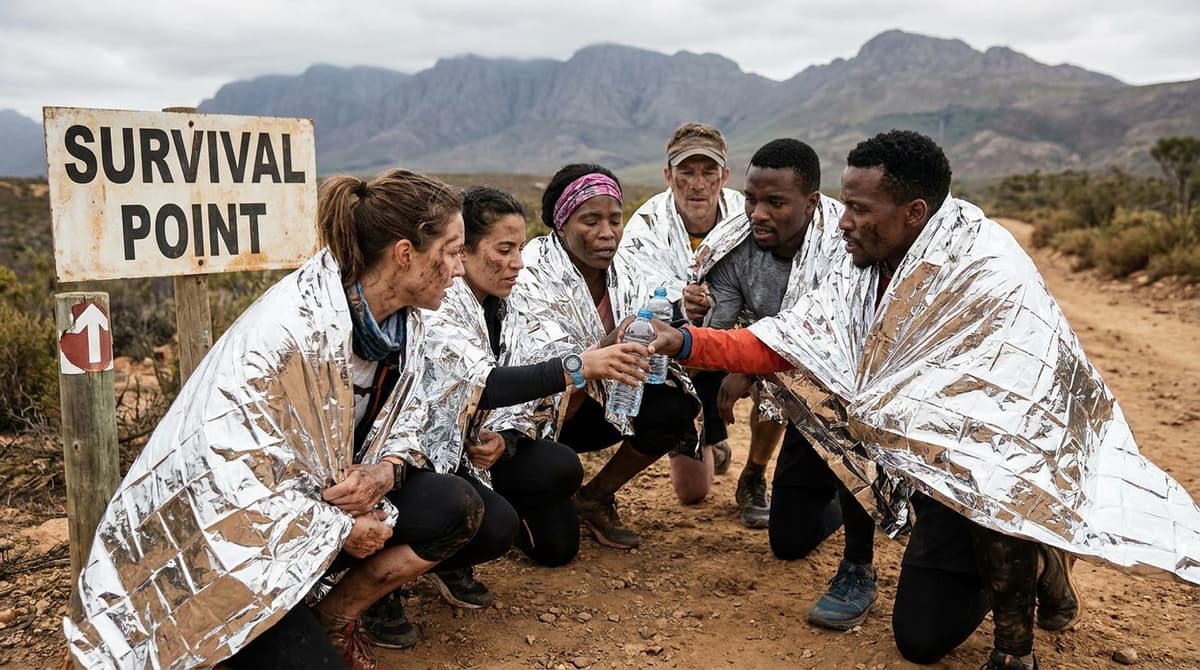
Marathon: 6 Survival Tips to Stay Alive Longer in Raids
Most runs in Marathon do not end because you got outgunned. They end because you stayed a minute too long, sprinted into a thermal-visible Heat spike, or hit the exfil beacon with an empty mag. Survival here is a resource problem first and an aim problem second. If you keep losing gear in early raids, the fix is not better positioning in the abstract. It is treating extraction as the objective, managing your Heat, and refusing fights that do not protect your route.
The short version
- Pick the right Runner. You choose a Runner before every match, and each one has a distinct role, a unique passive, and its own pool of Cores. Lean on a survival-friendly role while you learn the maps.
- Learn the three maps: Perimeter (open, beginner-friendly), Dire Marsh (swampy, low visibility), and Outpost (small, vertical, high loot and high enemy density).
- Manage Heat, not “stamina.” Sprinting, sliding and abilities build Heat. Overheat and you slow down and light up on thermal scopes. Crouch-walk or stand in water to cool off.
- Plan exfil from minute one. A Crew Exfil is yours alone; a Guarded Exfil is shared and spawns UESC enemies. Both fire a beam of light into the sky the moment you start.
- Only fight to protect your route, loot, or extract. Dying inside the extraction zone still fails the run.
1. Build a loadout around finishing the raid
Your starting kit should be built to finish the raid, not to win every fight inside it. Mid-run resupply is limited, so ammo and healing are your two most valuable categories. New players overinvest in damage and underpack sustain, then discover too late that one messy AI fight plus one player ambush has drained the whole run.
Before you queue, that also means choosing your Runner deliberately. You pick a Runner at the start of each match, and each one brings a distinct role, a unique passive ability, and a curated pool of Cores that shape how you play. While you are still learning the maps, a sustain- or recon-leaning Runner keeps bad situations from snowballing into wipes.
- Bring more ammo than you think you need, especially for your primary.
- Pack enough healing to absorb chip damage instead of hoarding every med for a perfect emergency.
- Favor weapons you can control under pressure over high-recoil, narrow-range options.
- Use gear you are willing to lose. Hoarding your best kit in storage slows progress as much as dying with it.
2. Read the map before you read the loot
Marathon launches with three maps, and each one rewards a different exit plan. Perimeter sits on the open outer edge of the colony with wide sightlines and Crew Exfils scattered around its rim, which makes it the friendliest map for new runners because there is almost always an exit nearby. Dire Marsh is a larger swampy zone where low ground kills visibility; extract along the outer marsh paths instead of fighting through the contested center. Outpost is the smallest map, built vertically around the Pinwheel structure, with the best loot but the highest enemy density. A fourth zone, Cryo Archive, arrives in Season 1.
The fastest way to lose gear is to sprint toward the first interesting building without knowing where your exfils are. Open the map in the first minute, find your nearest extraction and a backup, and sketch a route that lets you break off early if the raid turns. While you learn, run one safe loop at a time rather than memorizing every contract at once.
- Your nearest extraction point and a second backup exfil.
- The safest route back that uses cover instead of open ground.
- Likely traffic lanes between major loot and objective zones.
- Buildings and chokepoints that force noisy door opens or close-range fights.
3. Treat noise as exposure, and use your ears first
In Marathon, sound is information and exposure at the same time. Moving, looting, opening doors, healing, swapping weapons and shooting all create noise. Treat those actions as free and you keep announcing your position to players who have not even seen you. Strong survival play often looks slower than aggressive montage play for exactly this reason.
Let audio shape your decisions before visual contact happens. Distant gunfire tells you where traffic is building. Footsteps tell you whether someone is above, below, or crossing your route. A door or loot sound in a quiet area can be worth more than a sightline because it buys you time to avoid the fight entirely. Cut unnecessary sound: do not sprint through every interior, do not open doors the instant you reach them, and do not heal in a bad spot assuming nobody heard it.
FinalBoss // Gear
Level up your setup
01Top-rated gaming headsetson Amazon→02High-refresh gaming monitorson Amazon→03Gaming chairson Amazon→04Discounted game keyson Kinguin→Affiliate links · As an Amazon Associate, FinalBoss earns from qualifying purchases.
4. Manage your Heat, not a “stamina” bar
There is no stamina bar in Marathon — the movement and ability budget is the Heat meter. Sprinting, sliding and using your Runner’s abilities all build Heat. Stay cool and you are hidden from thermal scanners; push into the hot range and you become visible on thermal scopes; hit critical and your movement speed drops and some actions get locked out. That makes Heat both a stealth stat and a mobility stat.
Cool down on purpose. Crouch-walking speeds up the cooldown and makes you quieter at the same time, and standing in water or rain boosts heat dissipation significantly. The practical rule is the same as with ammo and meds: do not arrive at danger already depleted. If you burn your whole Heat budget jogging between ordinary rooms, you will have nothing left to disengage when a fight goes wrong.
Want to Level Up Your Gaming?
Get access to exclusive strategies, hidden tips, and pro-level insights that we don't share publicly.
Ultimate Guide Strategy Guide + Weekly Pro Tips
5. Only take fights that protect your route, loot, or exfil
Treating every target as mandatory is the biggest beginner mistake. AI enemies are rarely worth the ammo unless they block an objective, a loot room, or your path to exfil. Player fights are worse when you enter them for no clear reason, because noise pulls in more squads and more pressure on your supplies.
- Take the fight if an enemy is blocking your route, pinning your squad, or threatening your extract.
- Take the fight if you have the better angle, cover, and resources to finish it.
- Leave the fight if you are spending too much ammo on AI for little reward.
- Leave the fight if healing is low or you hear additional footsteps nearby.
- Leave the fight if the area is so loud that a third party is almost guaranteed.
Living with moderate loot is a success. Dying next to a stronger player for one more elimination is a failed raid.
6. Plan extraction early, then commit before the raid turns on you
Extraction is where most otherwise-solid runs die — and the mechanics punish hesitation. Marathon has two kinds of exit. A Crew Exfil is assigned to your squad and only your team can activate it, which makes it the safer option. A Guarded Exfil is shared between teams and, when activated, spawns UESC security forces around the beacon, so you are fighting AI and rival squads at once. Either way, starting the exfil fires a beam of light into the sky that every player on the map can see, then begins a countdown you have to survive inside the zone.
That visible beacon is why timing matters so much. Check your exfil options early and keep updating the plan as the raid develops; if the route back gets crowded, rotate sooner. Near the end of the match a single final beacon spawns and draws every remaining squad, so leaving before then is usually safer than racing for it. And the rule that catches everyone at least once: dying inside the extraction zone still counts as a failed extraction — you lose the loot anyway. Arrive at exfil with ammo to break contact, healing to survive a last-second poke, and enough Heat budget to reposition.
Common mistakes
- Treating Heat like free movement. Sprinting everywhere leaves you slow, thermal-visible, and unable to disengage when it counts.
- Activating a Guarded Exfil without a plan. It spawns UESC enemies and is shared with other teams — only take it when you can hold the zone.
- Forgetting the exfil beam is visible to everyone. Starting an extraction announces your position map-wide; pick a defensible spot first.
- Staying for the final beacon. The last exit draws every surviving squad. Leave earlier on a Crew Exfil if you can.
- Standing inside the zone and assuming you are safe. Dying mid-countdown fails the extraction and you lose everything.
If you want to go deeper, line up your exits ahead of time with our guide to all DCON locations, plan your Outpost runs around getting inside the Pinwheel base, and spend your earnings well with the best faction upgrades and how to unlock them.
Practical takeaway
Pick a survival-friendly Runner, learn one safe loop per map, keep your Heat cool with crouch-walks and water, and treat the exfil as the objective from the first minute. Take only the fights that protect your route or your loot, start your extraction in a defensible spot, and leave with resources to spare. In a game built around scarcity, noise, and a visible exit beacon, the runner who leaves a little early is the runner who keeps the loot.