Marathon: How to Raise Security Clearance in Cryo Archive – Vault & Exfil Guide
Why Security Clearance Dictates Your Entire Cryo Archive Run
In Cryo Archive, Security Clearance is effectively your real progression bar. Gear, gunskill, and routing all matter, but whether you reach vaults or even get to exfil is determined by that Clearance Level in the top-right corner of your HUD. Every team starts at Level 0 at match start and can push up to Level 5 during a single raid.
The system is shared across your squad and built from two sources:
- Red Security Tags – 1 point each, volatile, drop on death.
- Security Monitors/terminals – worth 3 permanent points per hack.
Once you understand that Clearance is a team-wide resource with both volatile and permanent components, Cryo Archive stops feeling like a random maze and starts behaving like a structured raid: early-map farming, mid-map push, central contest, then exfil.
How Security Clearance Works (0-5)
Each run, your team’s Security Clearance starts at Level 0 and can increase to a hard cap of Level 5. The exact number of points per level is not exposed in-game, but across multiple raids the pattern is clear: the cost ramps up, and you should think of Level 5 as a full-match objective, not something you casually hit on every run.
- Level 0–1: Basic doors and side rooms in the outer wings.
- Level 2: More inner doors, some shortcuts, and safer paths between wings.
- Level 3: Minimum to activate Exfil Stations; opens the bulk of standard vaults.
- Level 4: Higher-end vaults and deeper Archive sections.
- Level 5: Full access, including the secret post-Compiler reward route.
The important operational rule: Clearance is shared. Your team has one Clearance Level and one underlying point pool. Every tag someone picks up adds to that pool; every hack boosts the pool permanently. When a teammate dies and drops tags, your team’s active total goes down and your Clearance Level can fall during the raid.
Security Tags: Your Volatile Clearance Fuel
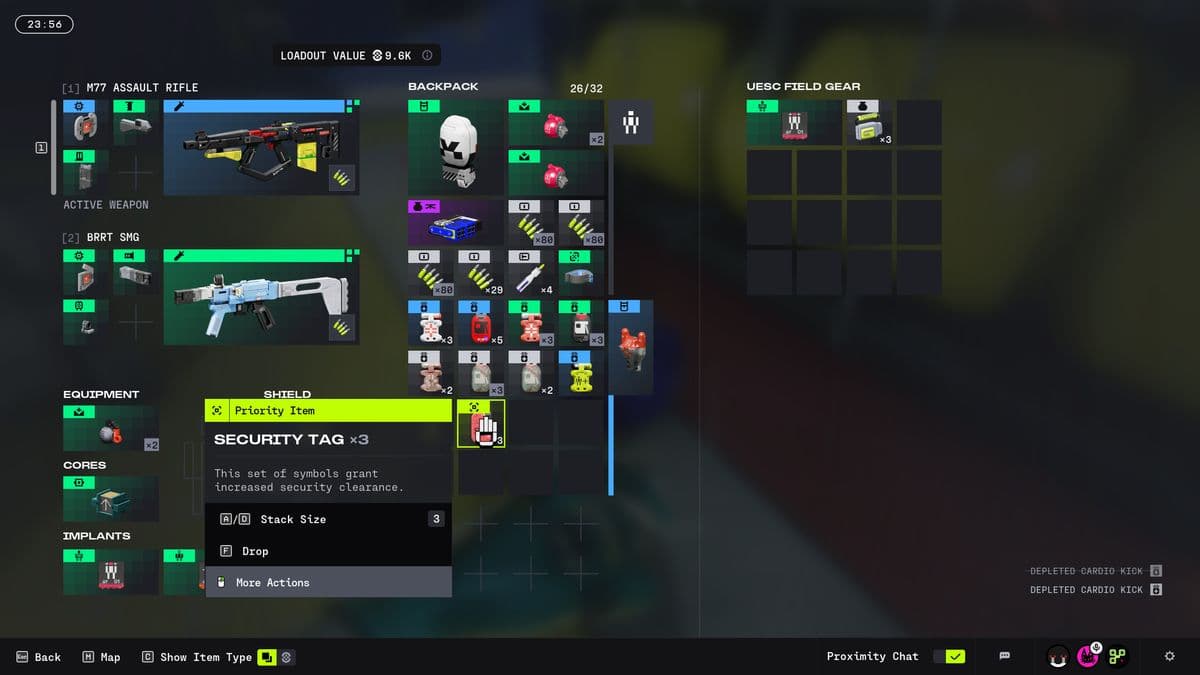
Red Security Tags are the main way you will raise Clearance in a typical Cryo Archive run. They are small red items that go straight into the inventory of whoever picks them up and immediately contribute to the shared Clearance pool.
- Value: 1 Clearance point each.
- Carried in inventory: treated like loot, but auto-count toward Clearance.
- Loss on death: all carried tags drop on the ground with the body.
- Lootable by anyone: enemies and rival teams can pick up dropped tags.
From live runs, tags consistently come from three main sources:
- UESC enemies – especially Commanders, Wardens, and marked Priority Targets.
- Ground spawns – scattered on the floor in side rooms and control alcoves.
- Other players – killed runners often drop several tags at once.
Because tags directly tie to your Clearance Level and are dropped on death, the player carrying the largest tag stack effectively becomes your highest-value target. Losing that carrier in a bad fight can drop your Clearance and lock you out of the path you were planning to take.
Security Monitors/Terminals: Permanent Clearance Gains
Security Monitors (or terminals, depending on the room) are the second piece of the system. They are rarer than tags but crucial for long runs because their reward is permanent within the raid.

- Value: +3 Clearance points each.
- Permanent: once hacked, those points do not disappear, even if everyone dies later.
- Limited quantity: you will not hack enough of these to carry a whole run alone.
Hacking a monitor is a short interactive sequence where one player is locked into the terminal view. During this time, they are vulnerable. This makes monitors natural ambush points in contested areas, especially near the central Control and Panopticon sections.
Operationally, think of tags as your flexible fuel and monitors as your safety net. Tags push you up quickly; monitors keep you from crashing back down when things go wrong.
Recommended Clearance Goals by Run Type
Because exact point requirements per level are not surfaced, it is more practical to plan around functional thresholds: what each level actually unlocks in terms of doors, vaults, and exfil capability.
- Minimal exfil run: Target Level 3, hit a nearby vault or two, then immediately focus on Exfil Stations.
- Standard vault farm: Aim for Level 3–4, clearing several mid-tier vaults around the inner ring and central spokes.
- Full-clear / secret route: Invest the whole raid into reaching Level 5; expect to engage other teams and the Compiler path.
A practical rule from repeated runs: if you are not on track for Level 3 by roughly the midpoint of the raid timer, pivot to a conservative route, finish one or two accessible vaults, and prioritize a safe extraction path rather than forcing deep pushes with low Clearance.
FinalBoss // Gear
Level up your setup
01Top-rated gaming headsetson Amazon→02High-refresh gaming monitorson Amazon→03Gaming chairson Amazon→04Discounted game keyson Kinguin→
Affiliate links · As an Amazon Associate, FinalBoss earns from qualifying purchases.
Early-Raid Routing: Safe Tag Farming on the Outer Wings
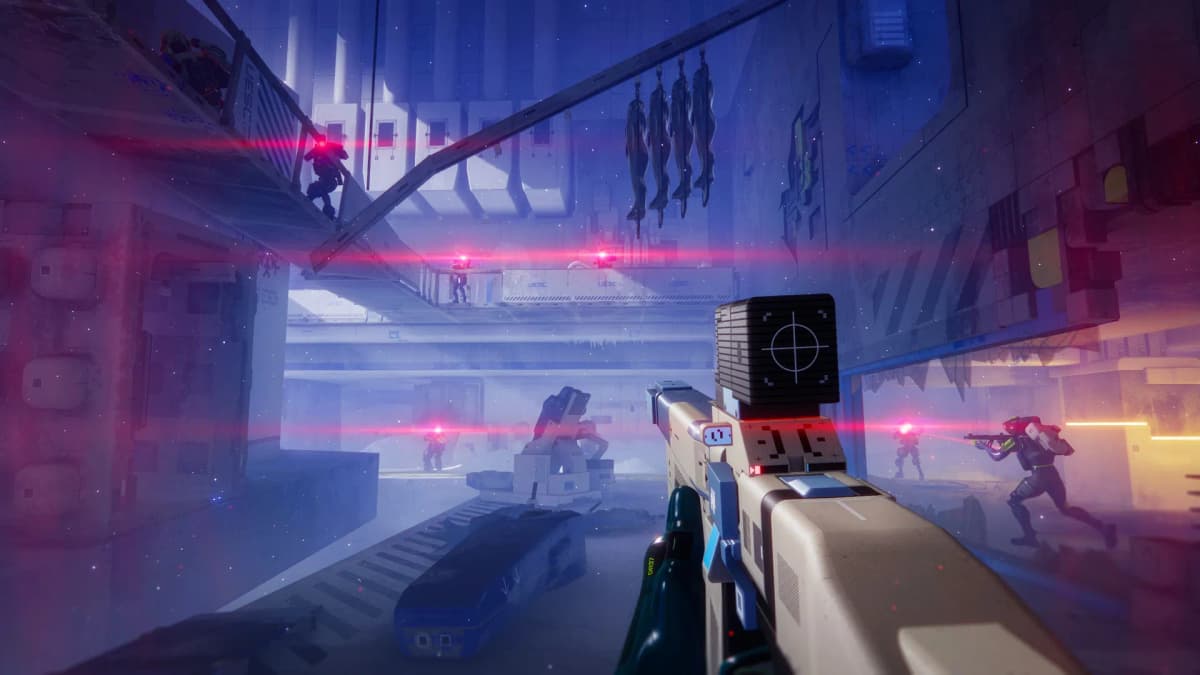
The outer edges of Cryo Archive’s six-wing layout are designed for early progression. They are packed with UESC NPCs, short corridors, and smaller side rooms, and they are relatively low-pressure compared to the central hub areas.
- Objective: Move from Level 0 to roughly Level 2 while staying away from heavy PvP.
- Route shape: hug the outer ring of your starting wing, clear rooms methodically, then rotate sideways into the neighboring wing rather than immediately cutting toward the center.
- Target enemies: always clear any marked Commanders or Wardens you hear or see; their tag drops are efficient.
Two operational habits matter in this phase:
- Designate a carrier: agree on which player is prioritizing tags. Spreading them evenly reduces the risk of a single catastrophic loss, but having a “primary carrier” helps you track risk and positioning.
- Clear behind you: when leaving a wing segment, quickly scan for uncollected tags on the floor. It is common to leave 1–2 points behind in the first ten minutes simply because no one checked the corners.
By the time you rotate off your starting side of the map, you want a comfortable tag buffer and at least one hacked monitor if you find it uncontested. That sets you up for the more dangerous mid-map push.
Want to Level Up Your Gaming?
Get access to exclusive strategies, hidden tips, and pro-level insights that we don't share publicly.
Ultimate Guide Strategy Guide + Weekly Pro Tips
Mid-Raid Pivot: Moving Inward and Stealing Tags
Once your Clearance climbs into the Level 2–3 band, you can start using doors and shortcuts that feed toward the Control and Panopticon areas. This is where PvPvE intensifies: more UESC elites, more monitors, and a higher chance of intersecting other teams on the same trajectory.
- Check your Clearance Level frequently: if you are partway into Level 2 and see a monitor nearby, prioritizing that hack can tip you into Level 3 before committing to a central vault route.
- Listen for gunfire: other teams fighting UESC near central nodes are effectively farming tags for you. Third-partying successfully can push your Clearance several points in a single engagement.
- Control your angles: do not hack a monitor in a long sightline or open hub room without establishing at least two held angles and a fallback route.
Tag stealing is not an optional playstyle in Cryo Archive; it is baked into the progression. Teams that only farm UESC and avoid other players will routinely stall below Level 4, especially once the easily accessible monitors have been taken.
Protecting the Tag Carrier and Recovering Drops
Because tags drop exactly where a player dies, every downed teammate is a localized Clearance crisis. Managing that risk is what separates consistent vault runs from chaotic wipes.
- Positioning: your main tag carrier should avoid being the entry fragger on unknown rooms and should rarely be the last runner exposed when disengaging.
- Call stacks explicitly: after big pulls or fights, verbally confirm who is holding how many tags. That makes real-time decisions (push vs. fall back) much cleaner.
- Recovery protocol: if a carrier goes down:
- Immediately clear or suppress enemies around the body.
- One player focuses on revive; the other prioritizes scooping dropped tags before NPCs or a third team drift through.
- If retreating, the healthiest player with the largest backpack should hold the recovered tags.
In tight central hallways, it is sometimes better to deliberately reposition the carrier before taking a risky duel. Having them hold a safe angle or even stay one corridor back prevents a wipe from simultaneously deleting your Clearance progress.
Efficient Hacking: When and How to Use Monitors
Monitors provide the only guaranteed, non-volatile Clearance increase in a run. Their permanent +3 point reward means timing and security around hacks matter.
- Hack early if uncontested: in outer wings, if you find a monitor and audio suggests no nearby teams, take it immediately. The earlier you lock in permanent points, the less punishing future deaths become.
- Delay hacks in hot zones: in central areas, clear surrounding rooms and listen for movement before committing. You do not want to start a hack with another team already rotating through that node.
- Assign a dedicated hacker: use the player with the weakest close-range loadout or lowest health to sit the terminal, while teammates with stronger weapons hold angles.
- Use audio discipline: limit unnecessary callouts while hacking; footsteps and gun cues inform you if a third party is about to appear.
The hack interaction itself is straightforward, but the tactical framing around it is not. Consider the monitor a mini-objective: set up, clear, hack, then immediately move, because any team tracking Clearance progression will know that central monitors are natural conflict magnets.
From Clearance to Rewards: Vault and Exfil Sequencing
Raising Clearance only matters if you translate it into actual loot and a successful extraction. In Cryo Archive, that means chaining doors, vaults, and Exfil Stations in a logical order.
- Step 1 – Hit Level 3: stay in the outer and mid wings until your Clearance reaches Level 3. Do not commit to deep center pushes earlier unless you are deliberately hunting other players.
- Step 2 – Target reachable vaults: once at Level 3, check your map knowledge and current position to identify 1–3 vaults that are:
- Close to your current wing.
- Not already obviously contested (no recent heavy gunfire).
- Compatible with any Vault Keys or Batteries you already have.
- Step 3 – Plan an Exfil Station: while rotating between vaults, pick out an Exfil Station you will use once bags are full. You need Level 3 to activate it, so reaching that threshold first is mandatory.
- Step 4 – Activate Exfil: once you have the desired loot, move as a group to your chosen Exfil Station, activate it, and then push toward the team-specific Secret Exfil beacon it marks.
- Step 5 – Exit under time pressure: after station activation, you have a limited window to reach the Secret Exfil and hold it. Expect other teams to converge and attempt to third-party your escape.
For longer runs aiming at Level 4–5, you simply extend the “vault phase” and push deeper into the ship with your extra Clearance, but the backbone remains the same: stabilize at Level 3, convert Clearance into vaults, then exit via a pre-selected Exfil route.
Weekend Planning, Vault Keys, and Clearance Efficiency
Cryo Archive is a weekend-only endgame activity, and its contracts and vault key opportunities rotate with that schedule. Because access itself is gated (level requirement, all factions unlocked, and a credit minimum for your loadout), runs are inherently higher stakes than standard raids.
- Front-load key farming: earlier weekend sessions are well suited to short, Clearance-light runs focused on securing vault keys and learning current monitor spawn patterns.
- Reserve long sessions for full clears: once you have keys and a good understanding of this weekend’s contracts, commit to slower, Clearance-optimized runs aiming at Level 4–5.
- Track balance changes: if patches adjust tag drop rates or monitor spawns, re-check how quickly you can reasonably hit Level 3; your old timing assumptions may be wrong.
Viewed as a system, Security Clearance in Cryo Archive is about converting time and risk into access. Tags provide the fast but fragile gains, monitors add slow but durable progress, and your path through the ship determines how efficiently you turn that Clearance into vaults and a successful exfil.