
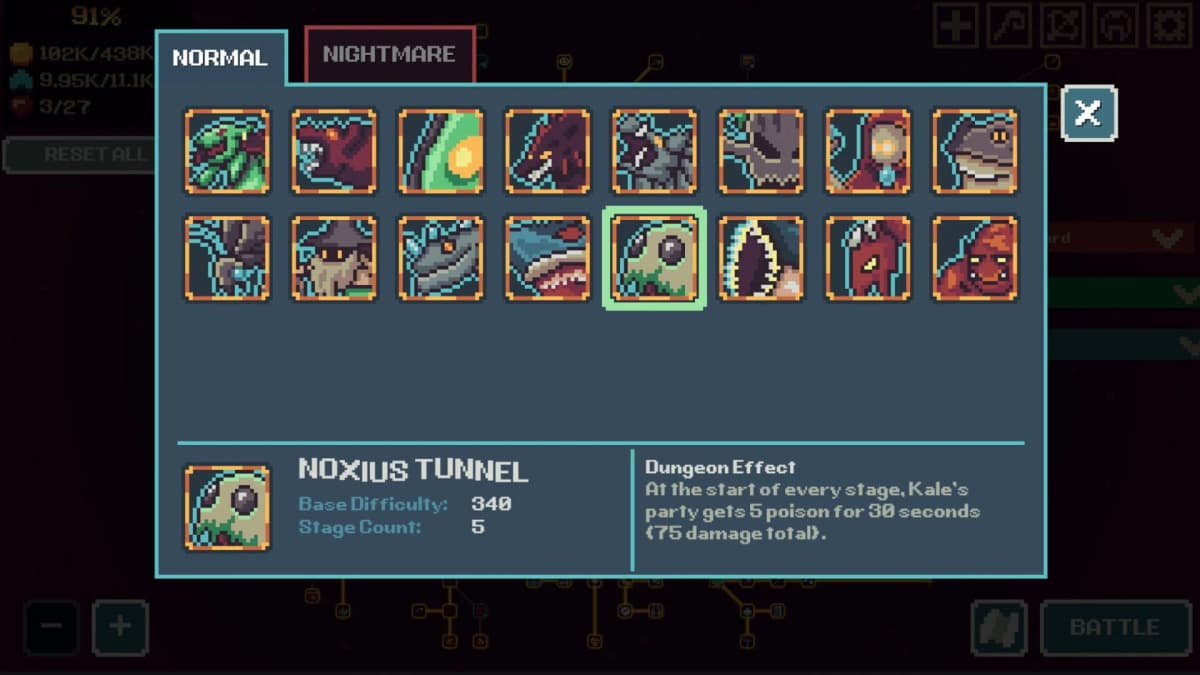
In Master Healer Kale With Useless Party, you play only as Kale. You cannot issue orders to Madeleine the mage, Klepon the archer, or Grandpa Bagel the sleeping tank. Your power lies entirely in 18 support spells-heals, mana tools, and buffs-and in how you spend monster currency between runs on a skill tree of over 200 upgrades. The goal is not to micro-manage damage, but to build self-sustaining healing rotations that keep the party alive long enough for their auto-attacks to clear each wave.
Table of Contents (5)
Know Your Party’s Roles
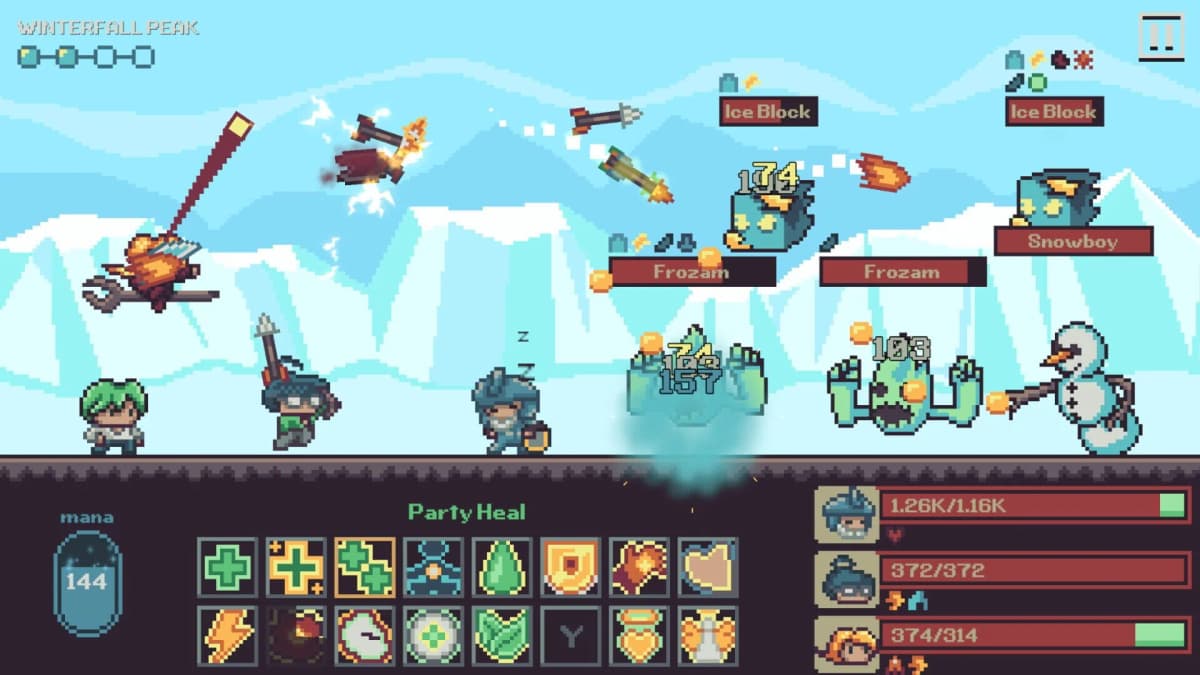
Because combat runs on automatic timers, you must understand what each member does so you can support them effectively:
- Madeleine (Mage): Provides magical damage from the backline.
- Klepon (Archer): Deals physical ranged damage.
- Grandpa Bagel (Tank): Sleeps through the fight but absorbs enemy hits, making him the primary damage sponge.
- Master Kale (Healer): The only character you control. He carries no damage directly; his role is pure sustain and buffing.
Grandpa Bagel is the linchpin of your frontline. If his health collapses, the rest of the party is exposed. Most of your healing and defensive buff attention should flow toward keeping him upright while the DPS members clean up.
How Combat and Random Targeting Work
Attacks fire automatically at fixed intervals, and targeting is random. That means your heals can land on a full-health ally while Grandpa Bagel is half-dead, and enemy attacks can spike down unexpected targets. In practice, you need to cast heals reactively and often, because you cannot rely on perfect target selection. Buffs that raise overall party survivability are especially valuable here-they smooth out the randomness so a single unlucky hit does not end the run.
Mana management is the other half of the equation. If you empty your bar on one big heal, you may not recover in time for the next damage spike. Plan your spells so that mana consumption stays in line with natural regeneration or cooldown refunds.
Building Stable Healing Loops
A stable healing loop is a rotation of spells that keeps the party topped off without bankrupting your mana pool. With 18 active support spells available, prioritize spells that offer efficient healing per mana spent early on. Avoid overcommitting to expensive burst heals unless a boss mechanic demands it; instead, lean on steady, low-cost heals and mana-recovery tools that let you cast indefinitely.
Buffs matter more than they first appear. A party-wide defense or health buff effectively reduces the healing you need to cast later, which saves mana and gives you more room to recover when random targeting dumps damage onto Klepon or Madeleine. Treat buffs as preventive heals.
Tavern Replay Upgrade Priorities
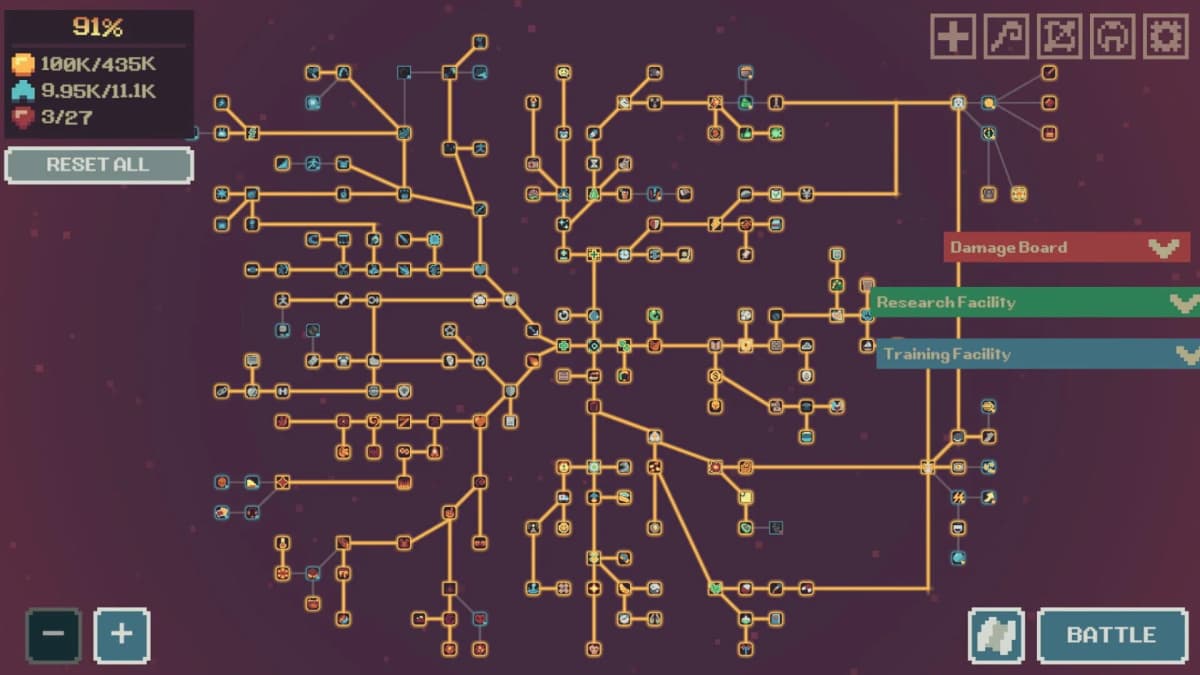
Between dungeon attempts, return to the Tavern and spend monster currency on the skill tree. With over 200 abilities available, early choices heavily shape your run consistency. Focus first on upgrades that patch your most common failure point: the party dying before you can stabilize.
- Heal Power: Makes every point of mana spent more efficient, directly improving your loops.
- Mana Pool and Regeneration: Prevents the mid-fight dry spell that kills runs when random targeting spikes.
- Party Survivability Stats: Health and defense upgrades for Grandpa Bagel and the backline reduce the healing burden and forgive unlucky target swaps.
Because the game grants rewards from defeated enemies even if you die afterward, short runs still earn currency. Do not hesitate to retreat, upgrade, and re-enter. Each trip to the Tavern should make the next push slightly less punishing.
Avoid These Early-Run Mistakes
- Trying to Carry Damage: Kale does not deal damage. Spending resources on offensive upgrades is a trap.
- Ignoring Mana Sustainability: A massive heal is useless if it leaves you unable to cast for the next ten seconds.
- Neglecting Grandpa Bagel: If the tank dies, the run ends shortly after. Keep him as your default healing target unless the backline is critically low.
- Skipping Tavern Upgrades: Attempting to brute-force a deep floor without incremental upgrades wastes time. Farm currency, buy nodes, and scale steadily.
Random targeting and auto-attacks mean success is a matter of sustainable averages, not perfect execution. Stack enough healing efficiency, mana regeneration, and party survivability, and the dungeon will fall before your resources do.
FinalBoss // Gear
Level up your setup
01Top-rated gaming headsetson Amazon→02High-refresh gaming monitorson Amazon→03Gaming chairson Amazon→04Discounted game keyson Kinguin→Affiliate links · As an Amazon Associate, FinalBoss earns from qualifying purchases.
Want to Level Up Your Gaming?
Get access to exclusive strategies, hidden tips, and pro-level insights that we don't share publicly.
Ultimate Guide Strategy Guide + Weekly Pro Tips