
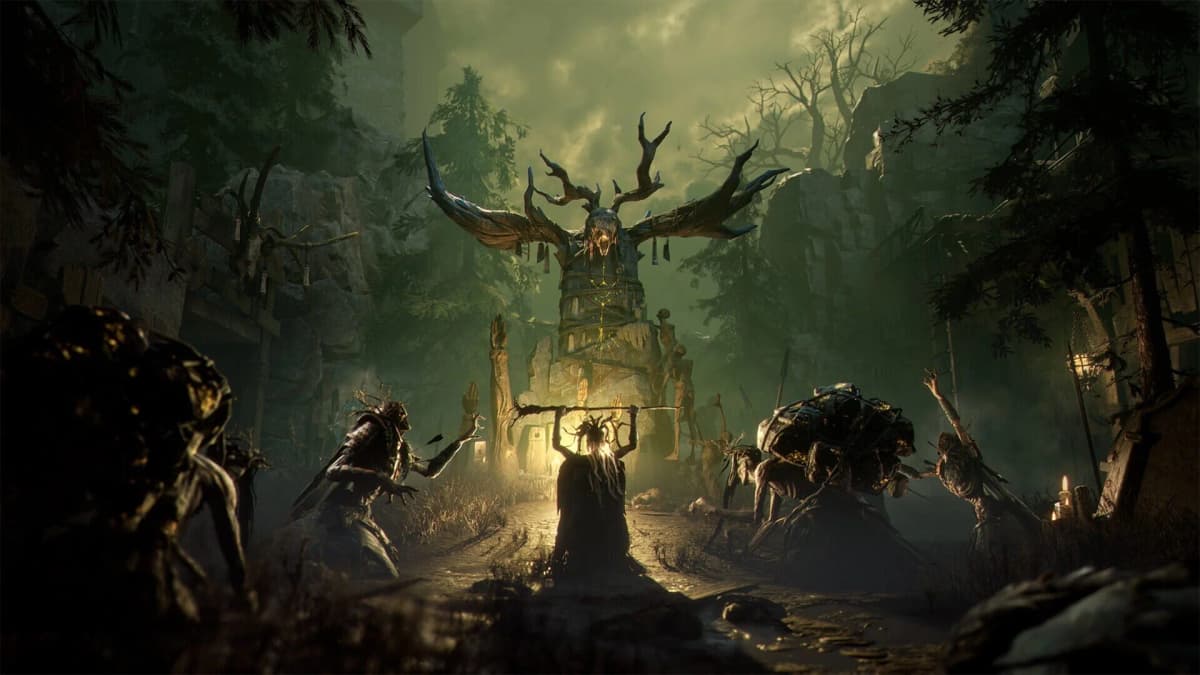
Mistfall Hunter’s Withered Knight is built around a three-part combat sequence: land light attacks to charge Judgment, place a Withered mark, then convert that mark into heavy-hit Execution damage before the target can escape. Greatsword is the strongest route for solo runs and PvP because it turns that short setup window into immediate burst pressure.
The trap is treating the class like a slow heavy-attack bruiser. Raw heavy swings are dangerous when Judgment is not charged and Wither is not active. Use light attacks as your neutral tool, hold your mobility and counter options until the mark is ready, and commit to the heavy cash-out only when the opponent has spent a dodge, entered an attack animation, or been forced back into melee range.
Table of Contents (12)
How the Withered Knight Judgment Loop Works
Withered Knight has two linked class mechanics: Judgment and Wither. Three light strikes build enough Judgment to infuse the Greatsword with blue energy. Hitting an enemy while the sword is charged applies the Withered mark, shown as a blue rune on the target. The mark becomes valuable when a heavy strike or Execution effect consumes it for bonus damage.
That makes the class a tempo duelist. Your sustained damage between burst windows matters far less than creating one clean mark-and-Execution sequence. A target that panics after taking the marked heavy hit is also easier to chase with your pull, charge, or counter tools.
- Charge: Use three light attacks to activate Judgment.
- Mark: Strike the target with the charged weapon or use a Wither-focused setup tool.
- Control: Keep the target in range with a pull, charge, parry punish, or positioning advantage.
- Execute: Spend the marked window with a heavy attack or another Execution-triggering hit.
- Reset: Back off when the mark is gone and your important tools are unavailable.
The reset is part of the build, especially in extraction fights where taking unnecessary damage can cost the entire run. If the enemy survives your burst and has room to disengage, do not keep feeding them slow heavy swings. Return to light-attack pressure, rebuild Judgment, and wait for the next opening.
Best Weapon Choice: Greatsword for Burst, Polearm and Shield for Teams
Start with Greatsword if the goal is to learn the defining Withered Knight loop. Its light-string into Wither application and heavy Execution payoff is direct, aggressive, and much better suited to winning short duels. Polearm and Shield remains useful, but it changes the class from a burst hunter into a more defensive frontline option.
| Weapon setup | Best use | Core strength | Main tradeoff |
|---|---|---|---|
| Greatsword | Solo runs and PvP | Fast Judgment-to-Wither setup and high Execution burst | Requires clean timing and target tracking |
| Polearm and Shield | Trio support and defensive play | Blocking, frontline control, ally protection, and safer counterplay | Lower burst payoff and less pressure on escaping targets |
Greatsword rewards players who can recognize when an opponent is committed. Polearm and Shield has more value when the team needs someone to absorb pressure, hold space, and rescue an ally from an enemy push. For a build focused on Judgment, Wither, and Execution damage, Greatsword should be the default.
Recommended Greatsword Skill Package
Your four skill slots should cover four jobs: start contact, punish aggression, apply or reinforce Wither, and prevent a marked target from walking away. The following package supports that plan without relying on a fixed scripted combo.
- Withering Mark: Your direct Wither application tool. Use it to begin a real burst window rather than throwing it out from a bad position.
- Parry: Turns an enemy’s committed attack into your opening. This is especially valuable against opponents waiting for you to throw a predictable heavy strike.
- Thorn Guide: Helps pull a target back into your effective range and punishes disengages after the mark lands.
- Breakthrough Charge: Provides mobility and damage while helping you stay attached after an enemy dodge or retreat.
These skills work because they solve the Withered Knight’s real problem: keeping contact until the Execution hit connects. A perfect Judgment charge accomplishes very little when the marked enemy has already created space. Thorn Guide and Breakthrough Charge protect the cash-out window, while Parry gives you a safer way to force that window against aggressive players.
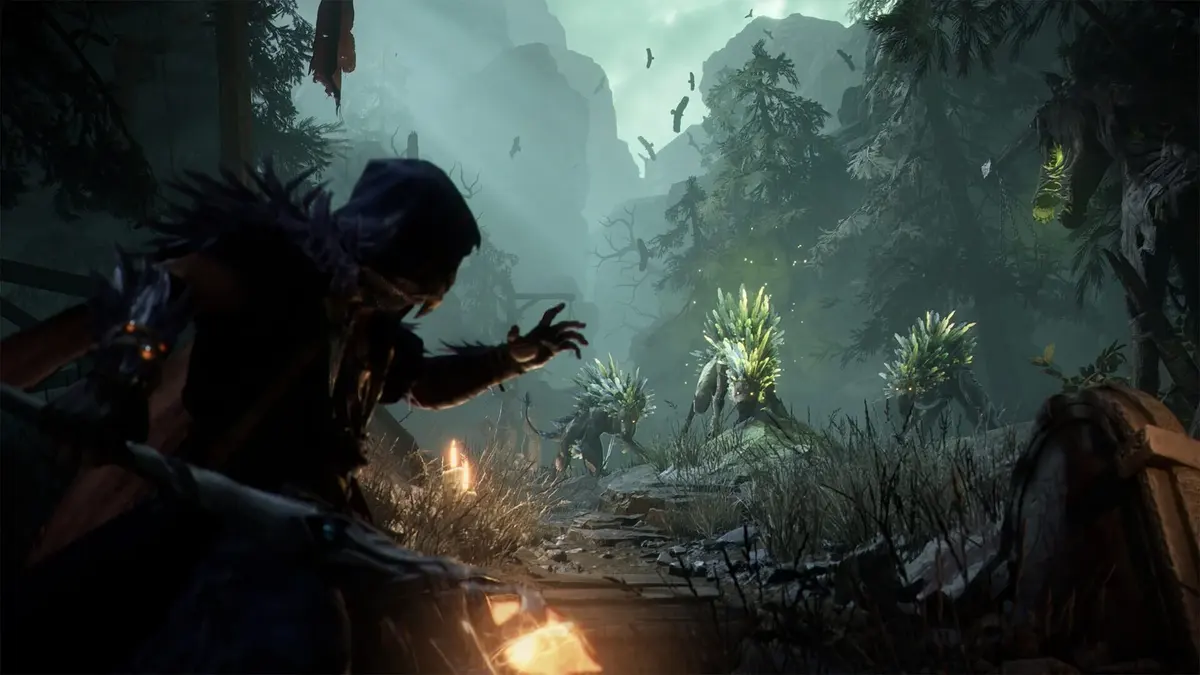
The Greatsword Rotation to Use in Real Fights
The best rotation is flexible enough to survive missed attacks and evasive enemies. Think in phases rather than forcing every button in the same order.
Phase 1: Build Judgment With Light Attacks
Open with light attacks whenever you have safe melee access. You need three successful light strikes to charge Judgment, so avoid replacing them with random heavy attacks. Light strings are the engine of the build: they prepare the blue sword state, keep your tempo quick, and let you threaten Wither without showing your full burst too early.
Do not chase the third light into obvious danger. If the opponent is baiting a parry, holding a defensive angle, or retreating toward another threat, stop the string and reposition. Judgment is valuable, but preserving health and keeping cooldowns available is more important than completing a poor trade.
Phase 2: Apply Wither When the Target Is Committed
Once Judgment is charged, look for a commitment: an enemy attacks into your Parry range, burns a dodge, misses a heavy swing, or gets caught near terrain where they cannot cleanly retreat. Apply Wither with the charged weapon state or Withering Mark, depending on the situation.
A marked enemy should immediately change how you play. The next few moments are your high-value damage window. Use Breakthrough Charge if they try to leave, Thorn Guide if they have already started to create space, or stay in melee if their recovery animation leaves them exposed.
Phase 3: Cash Out With Heavy Damage
Heavy attacks and Execution effects are for the marked target, not for fishing in neutral. Land them when the opponent cannot freely sidestep, block, or break range. The cleanest opportunities are after a successful Parry, after Thorn Guide pulls the enemy back, or immediately after an opponent spends their evasive option.
This is where Greatsword earns its place. A successful Execution cash-out puts enough burst pressure on the target to force healing, panic movement, or a desperate counterattack. Each response gives you information for the next Judgment cycle.
Phase 4: Leave Before the Fight Turns Against You
When Judgment is gone, Wither has been consumed, and your chase or counter skills are unavailable, your strongest sequence is over. Disengage instead of pretending you still have the same threat. Rebuild with light attacks only after you have restored a safe position or drawn out the enemy’s next commitment.
Talent Priorities for a Judgment and Execution Build
Choose talents that make the core loop faster, safer, or more rewarding. A small amount of general damage is less valuable than a talent that extends Wither pressure, improves your counter window, or helps you recover from a missed burst attempt.
- Wither and mark support: Prioritize faster application, longer mark uptime, or effects that make the debuffed target easier to pressure.
- Execution and burst damage: Take effects that improve the damage payoff against marked or debuffed enemies.
- Counter value: Parry-focused talents are strong because they create a reliable opening against players who try to punish your slower weapon.
- Cooldown recovery: More frequent access to pull, charge, and counter tools means more opportunities to safely finish the loop.
- Whiff recovery: Any talent that improves recovery after a missed heavy or failed commitment protects the class from its biggest weakness.
Crime, Legacy, and Link Debuffs are particularly valuable talents for the Greatsword approach. Crime helps preserve Execution value, Link Debuffs adds pressure through additional debuff interaction, and Legacy provides sustain when Withered enemies die. Together, they support a build that wins through repeated marked burst windows rather than long, even trades.
Best Gear and Affix Priorities
Gear should help you reach the next Execution window. Prioritize affixes that keep you standing through contact, moving through enemy disengages, and maintaining your mark long enough to land the heavy hit. Pure offense has value, but only when the build can reliably stay in range.
- Stagger resistance: Helps prevent your burst sequence from being interrupted once you have created an opening.
- Vitality and survivability: Important for solo runs, where one lost trade can leave you without enough health for the next fight.
- Movement between combos: Supports chase pressure after a dodge and helps you reset after spending the mark.
- Elusive-style mobility or avoidance: Gives the class more room to survive while Judgment and key skills are unavailable.
- Mark or combo-window extension: Increases the chance that your Wither setup reaches its Execution payoff before the target escapes.
- Burst-focused bonuses: Take these after the build has enough durability and mobility to consistently land the heavy cash-out.
For early and mixed-quality gear, durability and movement are the safer foundation. Withered Knight already has strong burst when the loop connects. The more common failure is losing the target, getting interrupted, or being forced out before the marked heavy lands. Gear that prevents those failures often adds more real damage than a small increase to a hit you rarely connect.
Common Withered Knight Mistakes That Cost Fights
- Opening with heavy attacks: Heavy strikes are the reward for the setup. Starting with them makes your offense slow, readable, and low value.
- Spending Judgment on an escaping target: A charged sword is not an instruction to attack immediately. Wait until the opponent cannot simply retreat from the mark.
- Using every mobility skill to engage: Save at least one way to maintain contact or leave the fight. A marked target will often try to disengage after the first burst hit.
- Ignoring Parry: Greatsword has slower, more committed attacks. Parry lets you make enemy aggression serve your own rotation.
- Staying after the execution window ends: Once the mark, Judgment, and chase tools are spent, reset rather than trading into a stronger neutral position.
- Building only for damage: Burst does not matter if stagger, range loss, or low health stops you from reaching the cash-out.
When to Use Polearm and Shield Instead
Choose Polearm and Shield when your job is to hold the front line for a trio, protect allies, and make fights safer through blocking and control. It is the better answer when a group needs space creation more than a single target’s immediate deletion.
It is a less efficient choice for players specifically trying to master the Withered Knight’s Judgment-to-Execution identity. Greatsword has the clearer charge, mark, chase, and burst flow. Polearm and Shield is valuable as a team-oriented variant, but it trades away the direct dueling pressure that makes Greatsword so effective in solo encounters and PvP.
FinalBoss // Gear
Level up your setup
01Top-rated gaming headsetson Amazon→02High-refresh gaming monitorson Amazon→03Gaming chairson Amazon→04Discounted game keyson Kinguin→
Affiliate links · As an Amazon Associate, FinalBoss earns from qualifying purchases.
Want to Level Up Your Gaming?
Get access to exclusive strategies, hidden tips, and pro-level insights that we don't share publicly.
Ultimate Guide Strategy Guide + Weekly Pro Tips