
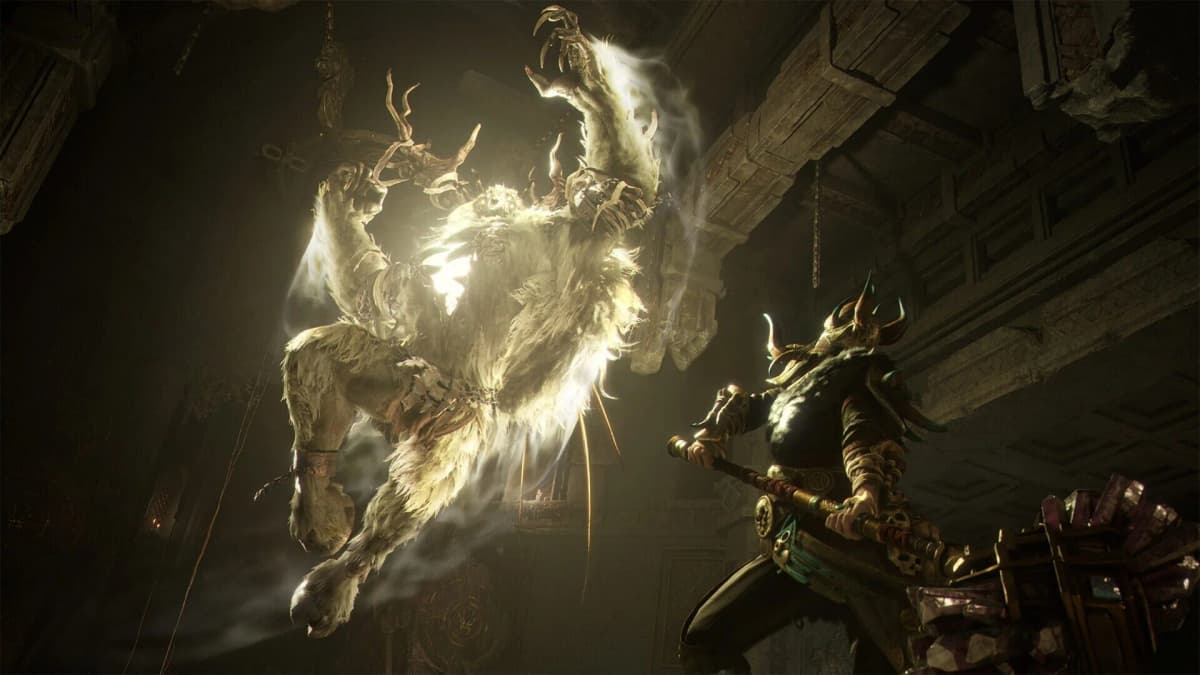
For the Bell of Return questline, start at Supreme Hall in northwest Hallowgrove to collect the Bell Fragment, then use the tactical map to locate the Elite Greataxe Berserker’s red boss icon and name. The Elite can appear at different points of interest between raids, so Supreme Hall is a required stop for the quest item, not a guaranteed Elite spawn. Once you find the Elite’s sealed arena, prepare before crossing its barrier: leaving the boundary can reset the boss and restore his health.
Table of Contents (15)
Confirm Which Greataxe Berserker Your Quest Needs
The main reason this objective stalls is that Hallowgrove contains more than one enemy that fits the description. Tracking the Treasure is also called Treasure Hunt in some quest text, but both refer to the Bell Fragment and Berserker portion of the Bell of Return chain. Read the currently selected objective before committing to a fight.
The regular Berserker at Supreme Hall
A regular Greataxe Berserker commonly patrols below the large staircase at Supreme Hall. He is identified by the oversized two-handed greataxe rather than a reliable Elite marker. This is often the enemy needed for the immediate “kill a Greataxe Berserker” portion of Tracking the Treasure or Treasure Hunt.
The Elite Berserker for the broader Bell chain
The Elite version is the dangerous target associated with the sealed arena encounter. Confirm two things on the tactical map before routing toward him: a red boss icon and the Greataxe Berserker name. Do not rely on an axe-wielding enemy’s appearance alone. The Elite has a larger health pool, more punishing attack coverage, and an arena barrier that changes how safely you can retreat.
The Elite’s map location can rotate between Hallowgrove points of interest. Reported locations include Supreme Hall, Verdant Grounds, Divine Anchor, and Nameless Ship Grave. The red icon is the route-setting information that matters for the current raid.
Route Through Hallowgrove Without Wasting the Raid
Use this route when you are on Tracking the Treasure or Treasure Hunt and need to clear the Bell Fragment portion while also checking for the correct Berserker target.
- Queue into a Hallowgrove Extraction Raid with the quest selected. An inactive quest can leave you following the wrong marker or overlooking an update after the kill.
- Open the tactical map as soon as the raid begins. Scan for a red boss icon labelled Greataxe Berserker. Mark it mentally or route toward it after Supreme Hall.
- Travel north, then northwest, toward Supreme Hall. The Hall’s large structure is visible from a distance and sits in Hallowgrove’s northwest section.
- Climb the main staircase to the upper landing. A regular guard protects the ground marker for the Bell Fragment. Clear the guard and interact with the marker before leaving.
- Look below the stairs before moving on. The regular Greataxe Berserker often patrols directly beneath the steps. Kill him if your active objective only requires the standard Berserker.
- Re-open the tactical map after Supreme Hall. If the Bell chain requires the Elite, route to the current red boss icon instead of repeatedly sweeping the Hall for a spawn that may be elsewhere.
The practical checkpoint is simple: collect the Bell Fragment at Supreme Hall, then verify whether the quest tracker advanced from the regular Berserker kill. If it did not, the remaining requirement is likely tied to the marked Elite encounter rather than another ordinary patrol.
Recognize the Elite Arena Before You Trigger It
The Elite Greataxe Berserker is found inside a structure or another confined combat space rather than wandering openly through the area. The clearest entry cue is red symbols on closed doors leading into the arena. Treat that doorway as the point of commitment.
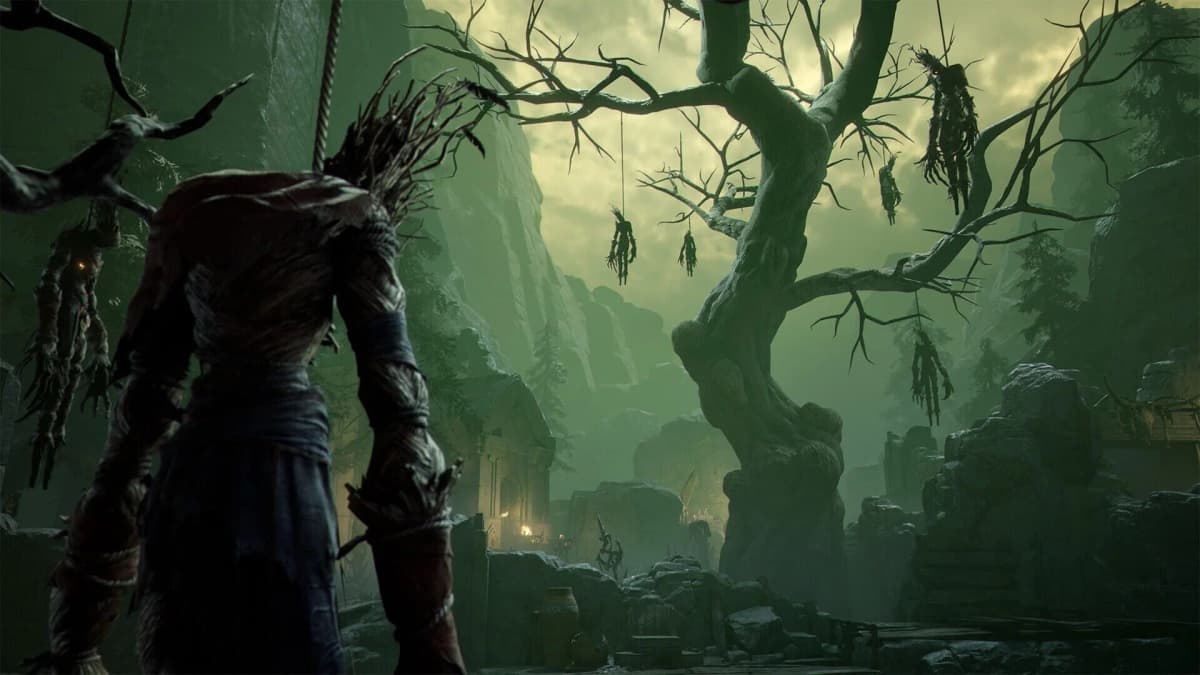
Crossing into the arena activates its protection barrier and turns the encounter into a contained fight. The barrier prevents a clean escape, and trying to run back across it can reset the Elite’s health. A near-kill can become a full restart if the team panics at the threshold.
- Heal, reload, and organize the squad before entering.
- Make sure everyone knows who will hold the boss’s attention and who will handle a rescue.
- Keep your defensive skill and movement option available for the opening exchange.
- Do not cross the arena boundary to recover from pressure; create space inside the arena instead.
In an extraction raid, this preparation matters because the Berserker’s health and the threat of other players turn a failed reset into more than lost time. Entering while low on healing supplies leaves very little room to absorb a bad lunge or a missed dodge.
Survive the Elite Greataxe Berserker’s Attack Windows
The Elite’s kit is built to punish players who stay in front of him or attack through his movement. His long-range lunge can cover a large gap in one leap, while broad greataxe swings catch anyone trying to circle too tightly through his frontal arc. Some Elite variants also use a roar or repositioning sequence that changes the tempo of the fight.
Answer the lunge with lateral movement
When the Berserker commits to a leap or long approach, move sideways rather than retreating in a straight line. Backing directly away can keep you in the attack’s travel line and push you toward the barrier. A lateral dodge or mobility skill gives you a better chance to end up beside him as the lunge finishes.
That recovery is one of the better damage windows. Use it for controlled bursts, then reset your position before he turns into a wide swing. The fight rewards short, repeatable punishments more reliably than extended melee strings.
Respect the frontal greataxe arc
Stay off the Berserker’s direct front whenever possible. His broad swings are designed to punish players who stand close and keep attacking after the first safe hit. Maintain enough distance to see the full wind-up, wait for the swing to complete, then take the recovery window rather than contesting the axe during its active arc.
Spend defense on the attacks that force mistakes
Save barriers, damage reduction, and major mobility cooldowns for the attacks that can immediately collapse your position: a sudden lunge, a leap into close-range pressure, or a sequence that leaves you trapped near the arena edge. Using every defensive tool to avoid routine chip damage can leave you exposed when the boss closes distance at the wrong moment.
Weapon switching can help when the boss changes range. Use a safer option while he is moving and reserve your heavier burst for the end of a lunge, a roar, or another clear recovery. The key is matching your damage commitment to his downtime instead of chasing him through the arena.
Healing and Reset Rules That Keep the Fight Alive
Bring several healing items before starting the Elite encounter; three to five gives a more realistic buffer for a boss with a large health pool and a sealed arena. Limited healing is part of Mistfall Hunter’s extraction pressure, so every use needs a safe trigger.
- Heal after a completed lunge: the boss has committed away from you and must turn or recover before restarting pressure.
- Heal after a wide swing finishes: create distance first, then use the brief recovery instead of healing inside his frontal range.
- Do not heal because the barrier is nearby: the arena edge is not a safe wall and attempting to exit can reset the boss.
- Do not spend the final heal on minor damage: preserve an emergency use for a lunge, an unexpected swing, or a rescue that goes wrong.
If the encounter resets, do not rush back in with the same depleted supplies and cooldowns. The barrier means the next attempt is effectively a fresh boss fight, so recover what you can outside the arena before recommitting.
Three-Player Co-op Roles and Resurrection Priorities
Mistfall Hunter supports three-player PvPvE squads, and the Elite Berserker is much cleaner when the group has distinct jobs. The goal is to prevent all three players from standing in the same frontal arc or spending damage windows on a risky revive.
Assign an anchor, a damage player, and a recovery player
- Anchor: Keeps the Berserker’s attention, stays mobile, and guides lunges away from teammates. This player focuses on survival and clear positioning over maximum damage.
- Damage player: Attacks from the side or rear after lunges and swing recoveries. They should avoid pulling aggro with reckless close-range pressure while the anchor is setting the boss’s facing.
- Recovery player: Watches health states, preserves a defensive option, and uses safe openings for healing or revives. They also call out when the team needs to stop attacking and reposition.
These are combat responsibilities rather than fixed class requirements. A squad can change who performs each role as health, cooldowns, and positioning shift during the fight.
Revive inside the arena, with one player controlling the boss
When a teammate goes down, avoid the instinct to send everyone to the body. One player should keep the Berserker moving by maintaining distance and baiting a lunge or swing. The designated recovery player begins the revive only after the boss commits to that movement. The remaining player watches the flank and is ready to interrupt the rescue attempt with pressure or repositioning.
A revive is usually worth taking when the boss is in a recovery window and the rescuer has enough health to survive a sudden turn. It is usually a bad trade when the Berserker is already facing the downed player, winding up a broad swing, or forcing the team toward the barrier. Preserve the surviving players first; a second down can end the raid faster than a missed revive.
Common Mistakes at Supreme Hall and the Elite Arena
- Farming the wrong target: A regular Berserker beneath Supreme Hall’s steps can satisfy an early kill objective, but he is not automatically the marked Elite.
- Assuming the Elite always spawns at Supreme Hall: Supreme Hall is fixed for the Bell Fragment; the Elite’s red boss icon can appear at other Hallowgrove points of interest.
- Entering through the red-marked doors while unprepared: The barrier encounter gives little room to repair a bad loadout, low healing count, or unclear squad plan.
- Running straight backward from a lunge: This can keep you in the Berserker’s path and steer you into the arena boundary.
- Crossing the barrier to escape pressure: The reset can restore the Elite’s health and erase the progress your team earned.
- Stacking all three players on one revive: The Berserker’s wide axe attacks can punish the entire squad at once.
Finish the Bell Step Cleanly
The efficient Hallowgrove route is to secure the Bell Fragment at Supreme Hall, kill the regular Berserker only when your current objective accepts him, and then follow the named red boss icon if the Bell chain still requires the Elite. At the sealed arena, enter with healing, movement, and a rescue plan already in place. Keep the boss away from the barrier, punish the end of his lunges and swings, and let one squad member maintain control while another handles recovery. That approach turns the Greataxe Berserker from a raid-ending detour into a repeatable progression encounter.
FinalBoss // Gear
Level up your setup
01Top-rated gaming headsetson Amazon→02High-refresh gaming monitorson Amazon→03Gaming chairson Amazon→04Discounted game keyson Kinguin→
Affiliate links · As an Amazon Associate, FinalBoss earns from qualifying purchases.
Want to Level Up Your Gaming?
Get access to exclusive strategies, hidden tips, and pro-level insights that we don't share publicly.
Ultimate Guide Strategy Guide + Weekly Pro Tips