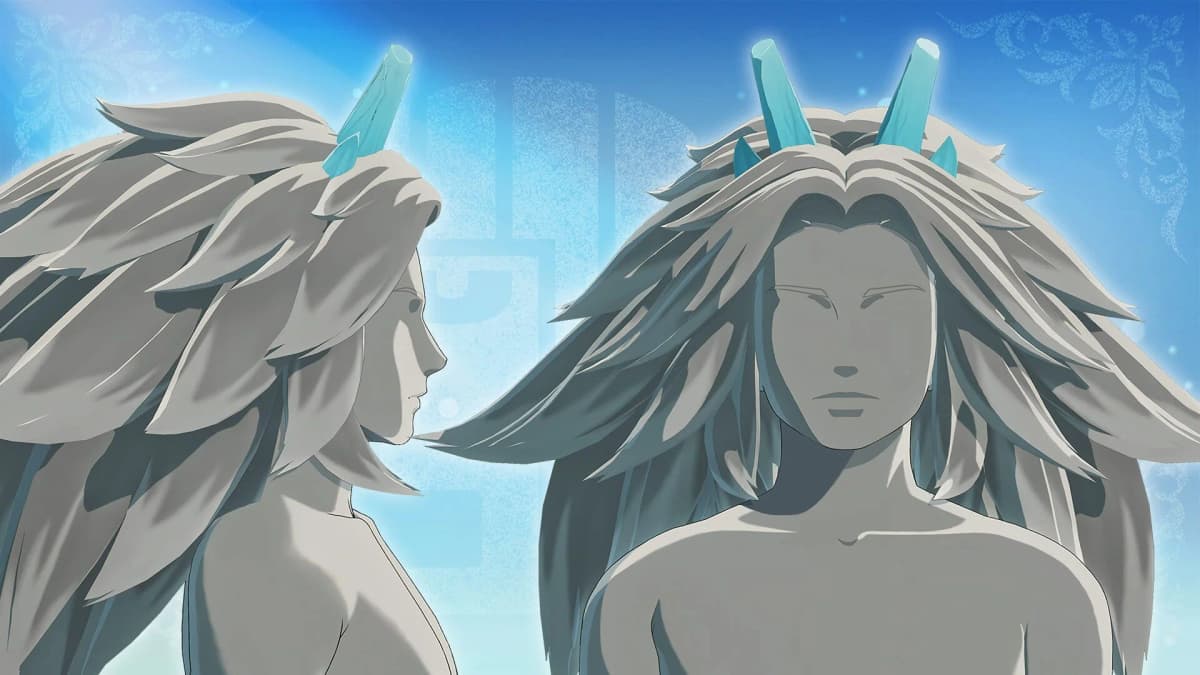
Monster Hunter Stories 3: How to Beat Yama Tsukami & Almudron – Cataracts Finale
Why the Ward Quest Hits Hard (and How This Guide Helps)
After spending a couple of evenings stuck on the Ward quest in Monster Hunter Stories 3, I realized this isn’t just another story mission. Yama Tsukami and Almudron are a one-two punch that punishes sloppy Kinship use, bad targeting, and weak traversal prep. Once I understood how their phases were scripted and how the maps looped around, the whole Cataracts finale went from frustrating to surprisingly clean.
This walkthrough focuses on two things I wish I’d known upfront:
- Exactly how to get to each boss quickly and safely.
- How to use tentacle/crystal targeting, Head-to-Head wins, and Kinship timing to stagger and finish both fights.
If you’re just past the Feral Aknosom quest and heading into Part 7, this will carry you from Cataracts/Timberlands, up Dragonreach Mountains to Yama Tsukami, then through Muddled Marsh to Almudron.
Quest Setup – Timberlands Prep Before Dragonreach
Before you leave Cataracts for good, take five minutes to prep in the Timberlands. The difficulty spike here isn’t about gimmicks; it’s about how punishing each hit from Yama Tsukami can be and how long the fights run if you mismanage Kinship.
Stock Up at the Melnyx Emporium
Back at the Timberlands camp, hit the Melnyx Emporium near the tents. On my first attempt I went in “light” and ended up burning every heart right before the final stagger on Yama. Since then I always bring:
- 15-20x Potions (or better if you’ve unlocked them)
- 5–10x Paracare or similar status recovery items
- 5x Max Potions / Lifepowders if available for emergency recovery
- A few buff items if you like them (attack/defense seeds)
You don’t need anything fancy in terms of consumables, but you do need enough to comfortably heal multiple big hits without panicking. Use Start → Items before each boss to double‑check counts.
Recommended Gear & Monsties
For this part of the game, I’ve had the smoothest runs with:
- Weapons
- Meteor Hammer – for part breaks on valves, tentacles, and Almudron claws.
- Iron Bow – shreds Yama’s left tentacle especially well.
- Any decent Sword & Shield or Great Sword as a flexible backup.
- Monsties
- Canyne – essential for early traversal and gap jumping.
- Great Izuchi (or any good Speed monstie) – critical for winning Head-to-Head (H2H) against Yama’s Power moves.
- Astalos or another strong Power monstie – helps cover phases where enemies lean Technical.
- A flyer (Rathalos or similar) – mainly for reaching the waterfall route in Muddled Marsh.
I’d recommend being at least in the low‑to‑mid 20s level‑wise for both rider and core monsties. You can scrape by lower, but the fights become very unforgiving if you mistime Kinship.
Reaching Yama Tsukami in Dragonreach Mountains
From the Timberlands camp, follow the main Sheparden path until roughly halfway, then take the right turn across the gap using the fallen tree. This leads you into the Dragonreach Mountains, where the “Force of Nature” is waiting.
When you enter Dragonreach, you drop into an area that looks like a three‑way dead‑end fork. This confused me the first time, but the trick is on your right:
- Look to the right wall for a small ledge with a tree.
- Jump up to it, then mount your Canyne.
- Use Canyne’s jumps and climbs to cross the gaps and scale the rocks.
Before you beeline to the objective marker, do a quick lap around the reachable side paths and scoop up herbs, ores, and chests. It only takes 5–10 minutes and can easily top off your supplies. When you’re ready, head toward the marked arena to trigger the cutscene with Yama Tsukami.
Yama Tsukami Boss Fight – Phase-by-Phase Guide
Yama Tsukami is huge and looks like another Blightstone Crystal encounter, but the crystal doesn’t work like previous ones. The fight is really about managing Wyversoul Gauges, tentacle breaks, and a mouth phase loop. The first time I fought it, I wasted damage on the wrong parts and stretched the fight way longer than needed.
Phase 1 – Scripted Wyversoul Drain (Don’t Panic)
At the start, you’ll see your attacks barely chip its actual HP. Instead, Yama’s Wyversoul Gauges tick down while your party talks about what’s going on. This is intentional and effectively a scripted intro phase.
- Use your Meteor Hammer on the body/valve to participate, but don’t worry about optimizing damage yet.
- Do not burn your monstie skills or Kinship Skill here – you want your Kinship Gauge full for later.
- Keep everyone healthy; a single hit can crush a big chunk of HP or cost a heart.
The breakthrough for me was realizing that no “real” HP damage matters until you’ve drained down to roughly 3.5 Wyversoul Gauges. Think of this phase as Kinship charging and pattern scouting.
Phase 2 – Tentacle Priority & Kinship Setup
Once Leia and Thea comment on the tentacles, the real fight begins. Here’s where target choice makes a huge difference.
- Always prioritize tentacles over the body/valve. Hitting the body now just drags out the fight.
- Swap to Iron Bow and focus the left tentacle first – it takes excellent damage and breaks quickly.
- Yama likes Power attacks in this state. Bring out a Speed monstie (Great Izuchi) to win Head-to-Head (H2H) clashes.
- When you see a yellow H2H line to you or your monstie, pick a Speed skill to counter its Power and build extra Kinship.
Don’t make my early mistake of spamming monstie skills here. You want to hit the enrage transition (open mouth) with a full Kinship Gauge and your ally ready to ride too. Heal aggressively; losing hearts now just makes the back half scarier.
Phase 3 – Enrage, Open Mouth & Stagger Loop
When Yama drops to about 3.5 Wyversoul Gauges, it goes into an Enraged state and opens its mouth. This is the window you’re prepping for.
- Wait until your ally announces they’re ready to ride their monstie.
- Ride your own monstie as well, then trigger a double Kinship Skill during the open mouth.
- This double Kinship usually staggers Yama into an Exposed state, weakening its attacks and opening up lots of H2H wins.
In the Exposed state:
- Focus all attacks on the mouth – it’s weak to all weapon types.
- Keep your Speed monstie out to continue beating any lingering Power moves in H2H.
- Once the mouth takes enough damage, Yama recovers, regenerates tentacles, and you can repeat the mouth–tentacle–crystal loop.
While you’re cycling this, Kora and Gaul will work on weakening the Blightstone Crystal on Yama’s head. When it staggers again after they’ve done their part, go all‑in on the crystal with your hardest‑hitting skills. Breaks on the mouth and crystal are what finally free Yama from the Blight.
🎮 Get This Game at the Best Price
Compare prices instantly and save up to 80% on Steam keys with Kinguin — trusted by 15+ million gamers worldwide.
*Affiliate link — supports our independent coverage at no extra cost to you
Common Mistakes Against Yama Tsukami
- Burning Kinship too early – you really want that first big double Kinship right as the mouth opens.
- Ignoring tentacles – attacking the body/valve when tentacles are up just prolongs everything.
- Wrong H2H types – bring Speed to counter its Power; losing H2H chains here hurts.
- Not healing between staggers – a single unlucky hit can cost you a heart from almost full.
Once you get the feel for that loop – tentacle break → enrage → double Kinship → mouth focus → crystal – the fight becomes surprisingly controlled.
FinalBoss // Gear
Level up your setup
01Top-rated gaming headsetson Amazon→02High-refresh gaming monitorson Amazon→03Gaming chairson Amazon→04Discounted game keyson Kinguin→Affiliate links · As an Amazon Associate, FinalBoss earns from qualifying purchases.
After Yama – Rewards and Moving On
With Yama freed, Master Kol thanks the Rangers and lets you keep his Canyne, which is handy for traversal going forward. You also get the story resolution around Simon and effectively close out the Cataracts arc.
The next major leg is the Muddled Marsh, which turns the screws by splitting the party and pitting you solo against Almudron. This is where good Kinship habits really start paying off.
Want to Level Up Your Gaming?
Get access to exclusive strategies, hidden tips, and pro-level insights that we don't share publicly.
Ultimate Guide Strategy Guide + Weekly Pro Tips
Muddled Marsh – Navigation While You’re Alone
After a cutscene where the mud sweeps away Leia and Rudy, you’ll find yourself on your own in Muddled Marsh. This area looks more confusing than it is, but I still backtracked a few times on my first run.
Initial Area – Save and Clear Paths
Right ahead is a Catavan. Use it immediately to save. Fast travel and nighttime options are disabled here, so think of it as a one‑way dive until you beat Almudron.
- You’ll see a central platform ringed with mud puddles full of monsters.
- Cracked walls block each route; break these using a melee attack from your monstie (Hammer‑type monsties feel thematically perfect, but any that can smash works).
- If a broken wall reveals an invasive monster and you’re not ready, just back off and turn around.
Fight optional encounters if you want XP or materials, but don’t burn too many items before Almudron. Progress by following the main objective marker, weaving between mud puddles using your Canyne or other mobility monsties to hop gaps.
Waterfall Route and Second Catavan
Eventually you’ll reach a circular zone with multiple paths and a waterfall.
- Climb the western path first and jump across to a higher platform.
- Use a monstie like Rathalos to break a wall hiding a climbable path. This route is a dead end but good for extra loot.
- From that earlier platform, mount a flying monstie and glide toward the waterfall itself.
- Follow the stream upstream to find another Catavan right before Almudron’s arena.
Save again here. This is your last safety net before the boss.
Almudron Boss Fight – Solo Battle Breakdown
Almudron is your first big solo set‑piece after Cataracts, and I wiped a couple of times simply because I tried to play it like a normal party fight. There are three key states to track, and your job is to always pick the right attack type for H2H.
Know Almudron’s Three States
- Normal – Uses Power attacks.
- Enraged – Shifts to Technical attacks.
- Large Mudbulb – Prefers Speed attacks while the mud bulge is on its tail.
Watch the icon and aura around Almudron. Whenever you see the yellow H2H line appear:
- Check the current state.
- Pick the counter type:
- Against Power → use Speed.
- Against Technical → use Power.
- Against Speed → use Technical.
Winning H2H here is crucial for charging Kinship and avoiding big chip damage since you don’t have a full party to soak hits.
Target Priority – Claws First
Start the fight by going after Almudron’s claws with your Meteor Hammer. Breaking these parts reduces its threat and opens extra damage windows.

- Keep your monstie on standby and let it auto‑attack; save its active skills for key moments.
- Focus on H2H wins rather than spamming skills – Kinship control is more important than burst damage early.
- Remember that Almudron is one of the first monsters that can evade attacks, so don’t get tilted by the occasional whiff.
The Mud Walls – Don’t Let the Big Hit Land
On about turn four (timing can shift a bit), Almudron will raise two huge mud walls. If you ignore them, you’re in for a nasty hit that can easily cost a heart.
- The moment the walls appear, use your monstie skill to nuke the left wall.
- Have your rider target the right wall.
- It usually takes more than one turn, so keep focusing the walls until both are destroyed.
My first loss here was from greed – I kept swinging at Almudron itself and got flattened when the walls triggered their attack. Treat the walls as top priority whenever they’re up.
Large Mudbulb State – Topple and Syncro Rush
After the walls go down, Almudron gathers mud onto its tail, entering the Large Mudbulb state. This is your big punish window.
- In this state it tends to use Speed attacks – counter with Technical moves.
- Target the Mudbulb directly to build up to a topple.
- When it topples, trigger a Syncro Rush and unload your best skills while it’s down.
If you’re using a Hammer like Frilled Blow, you also have a chance to inflict Sleep. When Almudron nods off after a few hits, use that free turn to either heal up completely or stack another heavy hit on the Mudbulb or claws.
Solo Survival Tips Against Almudron
- Always heal after a big hit – you don’t have backup hearts from allies here.
- Don’t hoard Kinship too long: use your Kinship Skill to dodge a lethal move or secure a topple, but avoid blowing it right before mud walls appear.
- Watch your item count – use
Start → Itemsbetween turns if you’re unsure what’s left; dying with a bag full of potions is the worst feeling. - Keep targeting one part at a time – claws → walls → Mudbulb; unfocused damage makes the fight drag.
Once you’ve broken the claws and toppled Almudron via the Mudbulb at least once, the rest of the fight becomes a rhythm of reading its state, countering the attack type, and not letting the mud wall attack ever land.
After Almudron – Leaving the Marsh Behind
Defeating Almudron reunites Leia and Rudy with the rest of the party and wraps up the Muddled Marsh detour. You get the story moment where Corbin learns about Leia’s true identity, and then you can head on toward the Colossal Dragon Remains, leaving the mud and solo fights behind for now.
If you’ve followed the strategies above, you should come out of the Cataracts arc with solid control over H2H matchups, Kinship timing, and part targeting – all skills that are going to matter even more against the tougher dragons waiting deeper into Monster Hunter Stories 3.