Monster Hunter Stories 3: How to Clear Cataracts – Magnamalo & Feral Somnacanth Guide
Why the Cataracts Segment Is a Difficulty Spike
After spending a good few hours bashing my head against Cataracts, it finally clicked that this stretch isn’t about raw stats – it’s about clean routing and smart, part-focused boss play. This is the point where Monster Hunter Stories 3 quietly stops letting you autopilot and starts punishing sloppy targeting and bad timing on Kinship Skills.
This guide walks you through:
- How to cross the Wyverian Gate into the frozen Sacrosanctum safely
- Exactly where to go in Cataracts and the Northern Meridian
- How to use Catavans and daytime to make the area manageable
- A reliable, repeatable strategy for Magnamalo
- A stagger-focused loop to beat Feral Somnacanth
If you’re stuck wiping to Magnamalo or getting shredded by Feral Somnacanth’s crystal attacks, this is the step-by-step I wish I’d had.
Step 1 – Hostile Encounter: Crossing the Wyverian Gate
Once Leia and Eleanor decide to cross the Wyverian Gate, you’re dropped into a huge, frozen zone. The biggest mistake I made here early on was treating it like a normal exploration area. Don’t. At night, the local monsters hit way above your current gear level.
Here’s the clean, low-risk route I settled on:
- From the drop point, immediately move south. Ignore side paths; you’re just looking for the exit marker.
- Avoid combat completely if you can. If a monster charges:
- Use your Monstie’s roar action to repel it.
- If you’re forced into battle with weak mobs (Velocidrome, Velociprey, Bnahabra) and you outlevel them, use
Battle Menu → Skills → Quick Finish. This skips the fight if your level and power are high enough.
- Use the wind geyser to cross the first cliff. Switch to a Monstie with the appropriate field action (usually any with “Ride Jump”) and ride the updraft.
- Head through the Ashen Pass until you hit a cracked-looking wall blocking the way. Dismount and attack it; any Monstie can break it.
The next cliff is where I wasted time looking for another geyser. There isn’t one.
Instead:
- Drop down into the lower area.
- Swap to Tobi-Kadachi (or any Monstie with the climb field ability).
- Use the climbing wall ahead to get back up to the higher ledge and towards your objective.
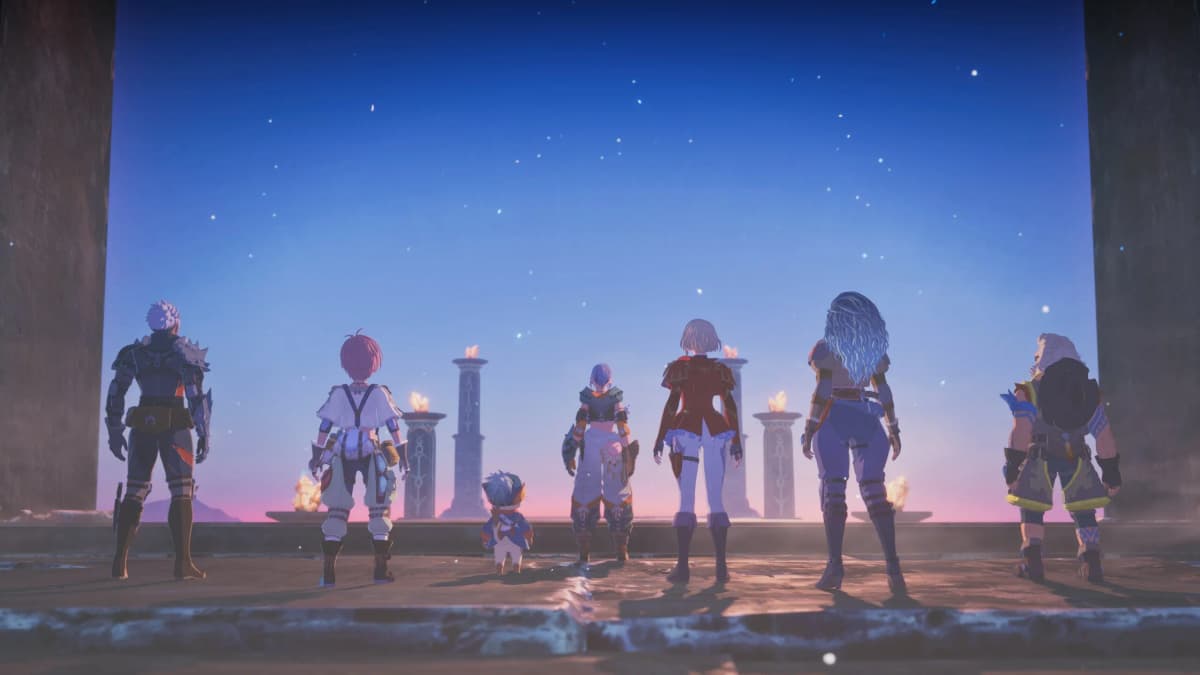
Once you reach the main objective area, a cutscene plays and all the Rangers regroup after finding the map in Simon’s pouch. From here, keep following the objective markers toward the next Wyverian Gate, still avoiding unnecessary combat.
Step 2 – Ashen Pass Catavan: Make It Day, Then Prepare
Before the big fight, you’ll come across a Catavan in Ashen Pass. This is your safety net, and skipping it is how I lost 30 minutes of progress to a bad attempt.
- Interact with the Catavan:
Talk → Save– lock in your progress.Talk → Rest → Until Morning– swap to Daytime so wild monsters are weaker and less aggressive.
- Use the Catavan to:
- Forge or upgrade weapons and armor if you’re struggling. I only cleared Magnamalo consistently after I built a Chatacabra set and upgraded the Chata Clobberer.
- Top up on potions, herbs, and Lifesoots. You’ll want a cushion; Magnamalo punishes misreads hard.
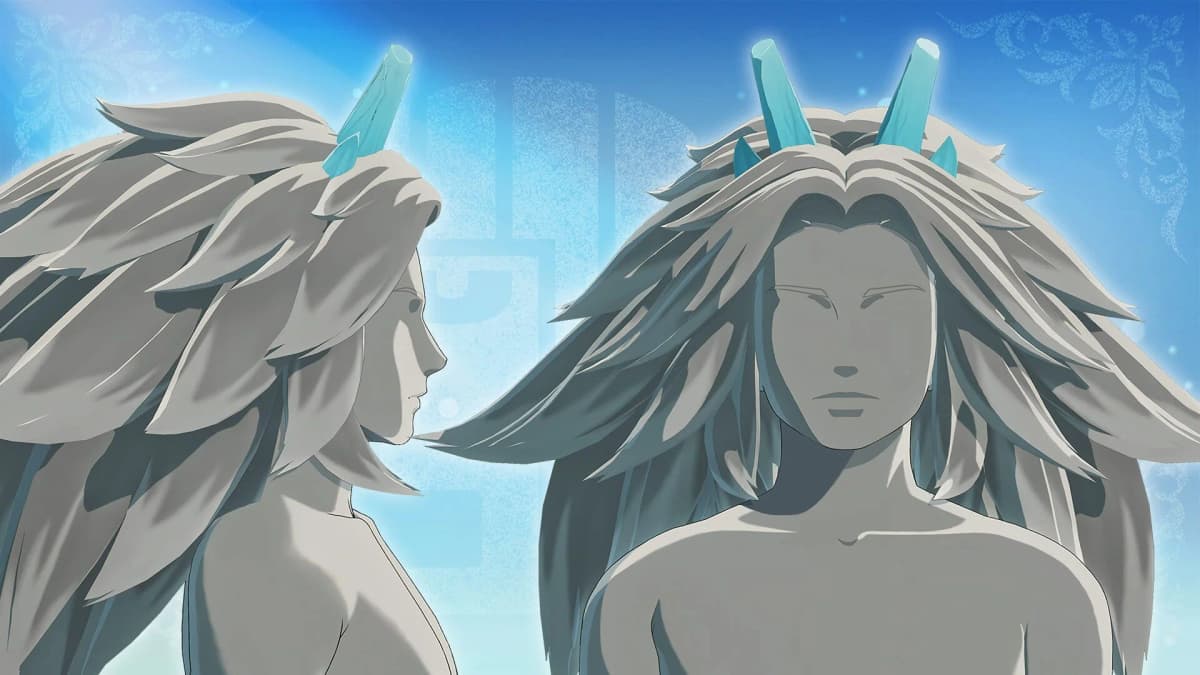
As you push into the foggy area beyond, a cutscene triggers and Magnamalo
FinalBoss // Gear
Level up your setup
01Top-rated gaming headsetson Amazon→02High-refresh gaming monitorson Amazon→03Gaming chairson Amazon→04Discounted game keyson Kinguin→Affiliate links · As an Amazon Associate, FinalBoss earns from qualifying purchases.
Step 3 – Magnamalo Boss Fight: Break Forelegs, Not Crystals
Magnamalo works off the same three-state concept as earlier big monsters like Glavenus, but with a nasty twist: the Hellfireblight Crystal on its back is basically a trap for greedy players.
Understand Wyvernsoul Gauges and Backlash
Every major monster here has Wyvernsoul Gauges. Depleting them is how you set up staggers and shut down Backlash counterattacks.
- Do NOT open on the Hellfireblight Crystal on the back. Hitting it early triggers huge Backlash damage, and it’s not worth it.
- Instead, during Magnamalo’s standard state:
- Target the Head and Torso to drain Wyvernsoul Gauges safely.
- Watch Head-to-Head prompts and match the counter type:
- Speed beats Power
- Power beats Technical
- Technical beats Speed
Don’t make my mistake of fixating on damage numbers. Early in the fight you’re playing for control, not big crits.
Hellfireblight Mantle Phase – Forelegs Priority
When Magnamalo shifts into its Hellfireblight Mantle state, the whole fight pivots. If you let it stay in this mode too long, it starts throwing out heavy, multi-target attacks that will wipe a weak team.
- As soon as you see the Mantle state:
- Switch targeting to its forelegs. Your goal is to break them before it unleashes its next big attack.
- Use Rathalos-type Monsties for moves like Venom Strike on the legs.
- Equip and use an Iron Bow – its skills hit the forelegs’ weakness hard.
- Keep an eye on your Monstie’s health and your hearts. If you lose one heart to a misread, don’t panic – heal up and stay on the legs until they break.
Breaking the forelegs shortens this dangerous phase and makes the rest of the fight much more manageable. Once they’re broken, you can safely resume hitting Head and Torso to keep Wyvernsoul Gauges under control.
Kinship Management and Finishing the Fight
What finally made the fight consistent for me was treating Kinship as my burst and safety button, not something to spam on cooldown.
Kinship Management and Finishing the Fight
What finally made the fight consistent for me was treating Kinship as my burst and safety button, not something to spam on cooldown.
🎮 Get This Game at the Best Price
Compare prices instantly and save up to 80% on Steam keys with Kinguin — trusted by 15+ million gamers worldwide.
*Affiliate link — supports our independent coverage at no extra cost to you
- Build Kinship steadily by:
- Winning Head-to-Heads with the correct move type.
- Targeting the right parts (Head/Torso in normal states, Forelegs in Mantle).
- Once your gauge is full:
- Mount your Monstie and open
Skills → Kinship Skill. - If your ally Rider and Leia both have full Kinship too, wait for a turn where all three can act and unleash double Kinship Skills back-to-back for massive burst and a high chance to stagger.
- Mount your Monstie and open
Use Kinship Skills right after you’ve broken forelegs or drained Wyvernsoul Gauges – that’s when Magnamalo is most vulnerable. Between bursts, keep your party healthy; don’t be afraid to spend a turn on healing items instead of forcing damage.
Once Magnamalo goes down, you’ve effectively cleared the Azuria arc. A few cutscenes later, you’ll be allowed to cross fully into the Cataracts and the Canalta Timberlands.
Want to Level Up Your Gaming?
Get access to exclusive strategies, hidden tips, and pro-level insights that we don't share publicly.
Ultimate Guide Strategy Guide + Weekly Pro Tips
Step 4 – The Northern Meridian: Into Canalta Timberlands
After earning the guardians’ respect at the Wyverian Gate, you’re pushed into a new section: the Northern Meridian. This is the first real taste of how bad the Blightstone situation has gotten.
- From the Gate, follow the river downstream. Don’t overthink the path; hugging the river keeps you on track.
- You’ll quickly find another Catavan. Use it to:
Saveagain – it’s cheap insurance.- Rest if you used a lot of items on Magnamalo.
- Keep moving along, following the trail of Blightstone Crystals. They literally lead you toward the Canalta Timberlands.
You’ll hit a frozen Egg Quartz and trigger a small story beat. From here on, you’ll start seeing new monsters like Tetranadon. Early on, I recommend avoiding full-on fights with these until you’re comfortable; they’re tuned for your new “post-Magnamalo” power level.
Push toward the objective marker, where you’ll find a fallen hunter and his worried Palico – and your next boss: Feral Somnacanth.
Step 5 – Feral Somnacanth: Stagger Loop on the Crystal
This fight clicked for me once I stopped trying to “race” its HP bar and started respecting the Wyvernsoul → stagger → crystal punish loop the game wants you to use.
Phase 1 – Drain Wyvernsoul Gauges Safely
Feral Somnacanth has Blightstone Crystals embedded in its stomach. Hitting them at the wrong time leads to ugly Backlash damage and failed runs.
- At the start of the fight:
- Avoid the Stomach. Do not target any part with visible Blightstone.
- Focus on the Head and Torso to deplete its Wyvernsoul Gauges.
- Bring Fire or Ice damage if you can; in my runs, both elements performed reliably against its non-crystal parts.
- Read its move types like you did with Magnamalo:
- Match your Speed/Power/Technical to win Head-to-Heads and build Kinship while chipping away at the gauges.
Your priority here is not big hits; it’s setting up the stagger. Once all Wyvernsoul Gauges are emptied, Somnacanth becomes vulnerable.
Phase 2 – Stagger and Crystal Punish
When the gauges drop, Feral Somnacanth will stagger. This is your window to safely go for the Blightstone Crystals on its stomach.
- As soon as it staggers:
- Switch targeting to the Stomach.
- Unload your highest-damage skills and element attacks on the crystal.
- If your Kinship Skill is ready, this is an ideal moment to use it for massive damage while avoiding Backlash.
- Once it recovers:
- Immediately go back to targeting non-crystal parts (Head, Torso, or limbs) to start draining Wyvernsoul Gauges again.
The loop looks like this:
- Attack non-crystal parts → drain Wyvernsoul Gauges
- Monster staggers → focus the Stomach crystal
- Use Kinship Skill during stagger for huge burst
- Repeat until the crystal and HP bar are both gone
Survival and Common Mistakes
Here’s what almost ended my runs over and over until I adjusted:
- Hitting the Stomach too early. If the crystal isn’t set up by a stagger, you risk Backlash damage that can cost hearts fast.
- Under-healing between loops. Don’t enter a new Wyvernsoul cycle with your party half-dead. Spend turns on Potions or Herbal Medicine; it’s worth it.
- Ignoring move types. Losing Head-to-Heads here really adds up. Keep swapping between Speed/Power/Technical to stay on top.
Once Feral Somnacanth goes down, the hunter Corbin recovers, and you get pulled deeper into the Cataracts storyline as he leads you toward a nearby village. From here, your next goal will be heading to the western Spyglass tower to properly scout out the Canalta Timberlands.
What Comes Next (and Final Tips)
Clearing Magnamalo and Feral Somnacanth is the real “exam” for everything you’ve learned in Azuria. Once you’re through them:
- You’ve effectively wrapped up the Azuria arc.
- You’re free to explore deeper into the Cataracts / Canalta Timberlands.
- You should now be in the habit of:
- Using Catavans as hard checkpoints and time shifters.
- Targeting specific body parts instead of brute-forcing HP bars.
- Saving Kinship Skills for stagger windows and dangerous phases.
If you can beat these two bosses with a consistent loop instead of a lucky run, you’re in great shape for what the game throws at you next. The Cataracts stop feeling like a wall and start feeling like a proving ground – and from here on, that stagger-and-crystal mindset will keep paying off.