
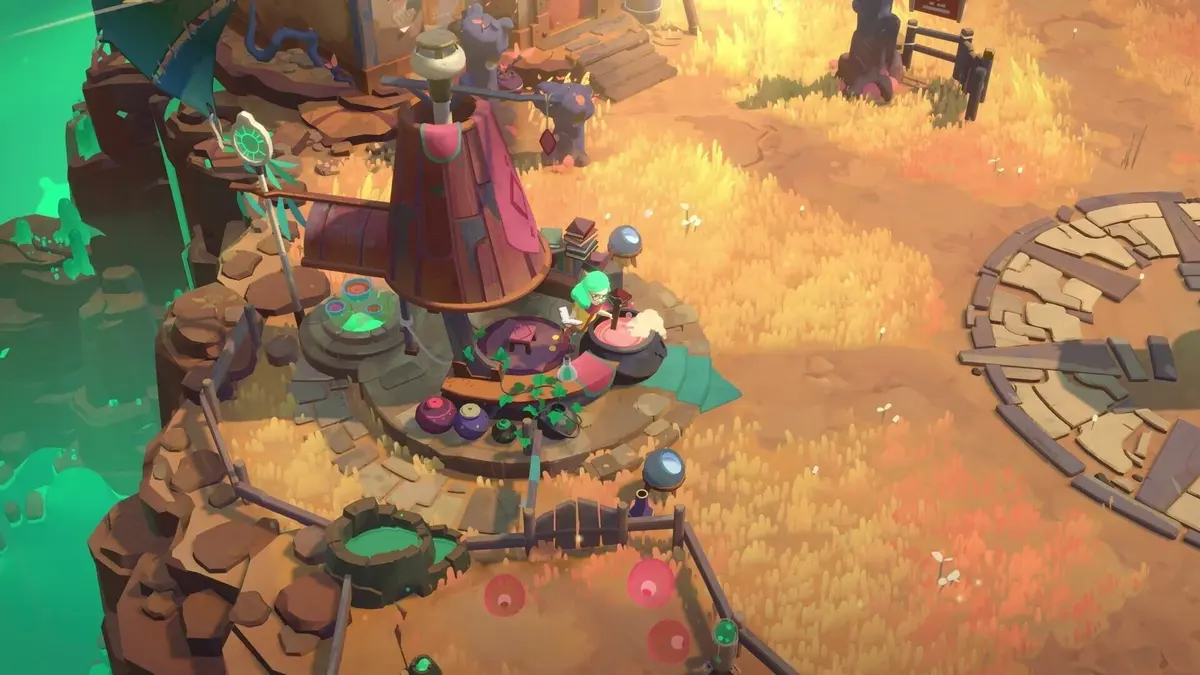
The Herald’s shield ignores direct weapon damage. Break it by batting its purple bombs back with Will’s backpack, then spend the brief stagger windows on damage. The fight takes place at the end of Kalina’s Day Realm and has three escalating phases: shield returns, add waves with arena changes, then a full-attack endurance finish without the central blockades.
The key rule: treat every bomb return as the priority during shield cycles. A fast weapon helps once The Herald is vulnerable, but raw damage cannot skip the backpack mechanic.
Table of Contents (10)
Prepare Before Entering Kalina’s Day Realm Boss Room
The Herald is an early major progression gate, so arrive with recovery rather than relying on a perfect dodge streak. The fight leads toward Kalina’s Night Realm and awards the unique crafting material Sound of Hubris.
- Bring a Merchant weapon if available. It requires four Sun Eaters and early Kalina shop progress, and it gives Will enough damage to capitalize on the boss’s short exposed windows.
- Wear a miniboss armor set. The Herald’s overlapping shockwaves, lasers, and bombs punish low survivability more harshly than most ordinary Kalina encounters.
- Prioritize recovery upgrades. Extra Potion capacity, Onsen Room access, Max Health x2, and Potion Healing x2 all make the final phase much more manageable.
- Keep the backpack ready. Do not spend the opening trying to force a melee combo into the shield; watch the cannons and set up the return angle first.
Short Swords and Gauntlets fit the fight well because they can deliver a quick combo and disengage. An upgraded gun also helps during exposed moments and can briefly stun the boss, but it does not replace bomb returns.
How the Backpack Bomb Return Works
The Herald’s two side cannons fire explosive purple bombs at Will. Move into an open section of the arena, let a bomb approach, then use the backpack attack to slap it back into the boss’s shield. This is the boss-specific projectile-return interaction often described as a Rapture-style attack.
Normal enemies can enter Rupture at low health and turn purple, allowing the backpack to launch them into hazards or other enemies. The Herald itself does not follow that normal Rupture rule. Its bombs are the interactable objects, and returning them is how you strip the shield bars.
- Stand far enough from the arena edge to leave room for the bomb to travel and for Will to reposition.
- Face The Herald before using the backpack so the return travels toward the shield rather than into an empty lane.
- Wait through a laser or shockwave if both hazards overlap with the bomb’s path.
- Use the central blockades in the first phase to reset your position before the next cannon volley.
Current fight information lists either three or five successful bomb returns for a full shield break. Follow the visible shield bars instead of assuming a fixed count: keep returning bombs until the shield fully collapses, then immediately switch to damage.
Phase 1: Break the Shield Without Trading Damage
Phase 1 begins with The Herald protected by an impenetrable shield. The cannons supply the purple bombs you need, while the boss pressures you with ground pulses and laser sweeps. The two blockades in the middle of the arena are valuable cover here, especially against the laser.
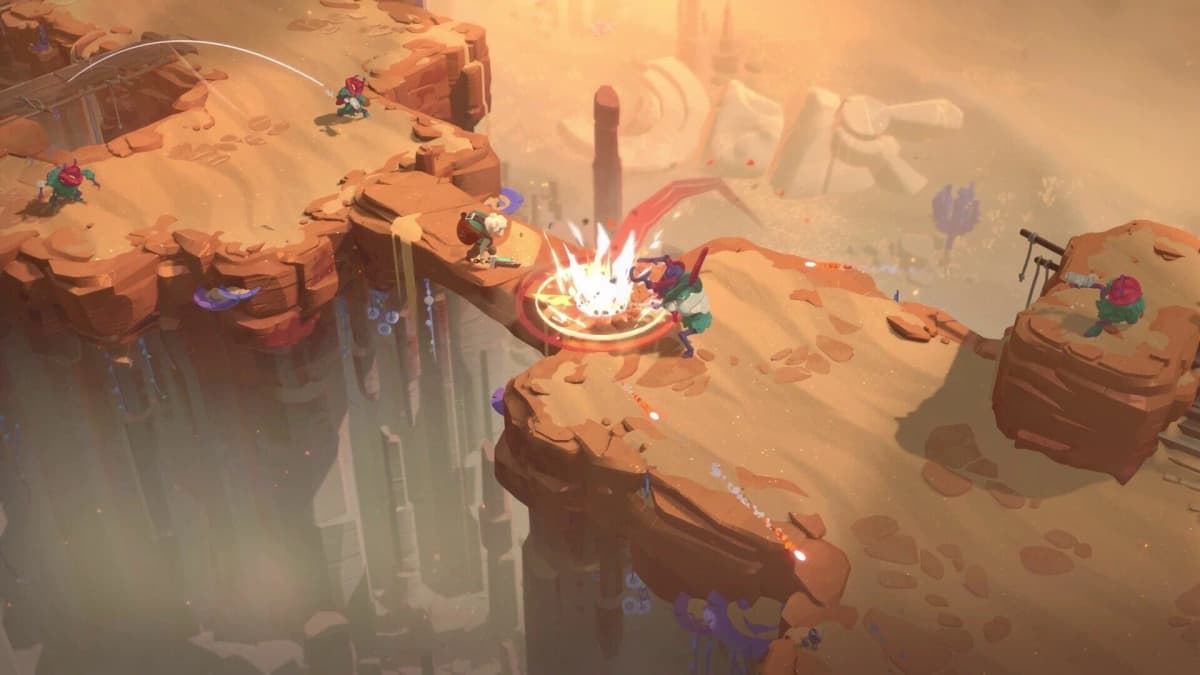
Return bombs only from a safe lane
Take a moment to identify a clear line between Will, the incoming bomb, and The Herald. A rushed backpack swing can send the projectile wide, leave Will beside an arena edge, or place him inside a shockwave as the attack resolves. Let the projectile come to you; the boss gives enough time to prioritize positioning.
Roll into ground pulses
The Herald’s shockwave travels along the floor. Roll into the incoming wave as it reaches Will, using the dodge’s invincibility frames to pass through the hitbox. Rolling away tends to leave Will within the wave after the i-frames end. If the timing feels crowded by a bomb or laser, create more distance first and dodge through the shockwave at its outer range.
Use blockades for lasers, then resume the return loop
During this first phase, the central blockades can block the laser’s line of sight. Duck behind one when a sweep would overlap your bomb-return setup, then move back into open space for the next cannon shot. A well-timed dodge through the laser also works, though cover is the lower-risk choice while it exists.
Once the shield breaks, close in for one compact melee sequence or use the gun at range. Leave before the next hazard cycle begins; extended combos are where most clean shield breaks turn into avoidable damage.
Phase 2: Clear Adds and Watch the Red Circle Mechanic
At roughly 70% health, The Herald transitions into an add phase. Smaller enemies enter the arena, and The Herald pauses its usual pressure while they remain alive. Use this section to clear the room efficiently instead of forcing damage on the boss.
- Clear the spawned minions with your primary weapon before returning attention to The Herald.
- Preserve gun ammo for the boss’s exposed moments rather than emptying it into every add wave.
- Use the slower boss pressure to reposition, collect your bearings, and avoid burning healing unnecessarily.
- Expect shields to return later in the fight; the backpack remains the central tool.
The critical Phase 2 hazard is the red circle that appears beneath Will. A second circle can converge with it, causing an explosion and allowing The Herald to regenerate shields. Move out of the marked area before the circles meet. Staying inside extends the fight, costs health, and forces extra bomb-return cycles.
The arena also becomes less forgiving as the central blockades are removed. Build the habit of dodging lasers now instead of treating cover as permanent. Lateral movement followed by a clean roll through the beam is safer than backing into the edge of the arena.
Phase 3: Survive the Full Attack Kit
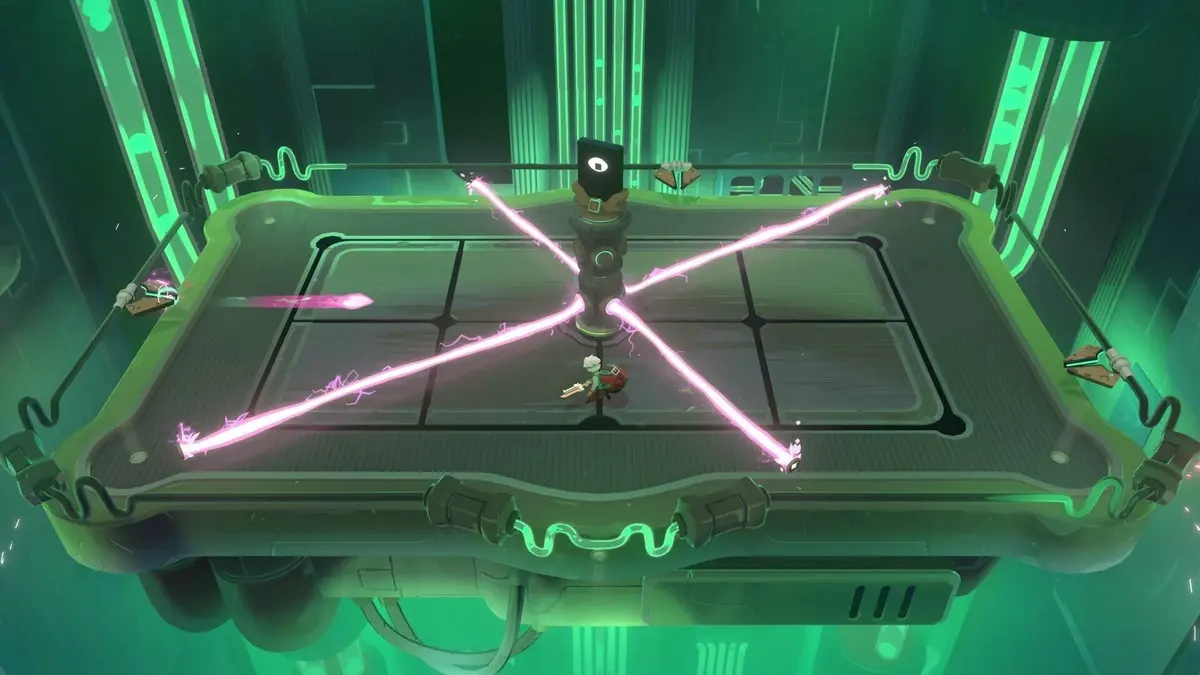
Below roughly 35% health, The Herald enters its final phase. The blockades are gone, lasers and shockwaves overlap more freely, bombs continue to create shield-return opportunities, and the arena offers far less room to recover from a missed dodge.
Play Phase 3 from the center whenever possible. The edges make bomb angles worse and limit escape routes when a laser and ground pulse arrive together. Diagonal rolls can also cross fewer hazard lines than straight retreats, particularly when fire shockwaves spread across the floor.
- First priority: leave any converging red-circle zone.
- Second priority: dodge the incoming shockwave or laser.
- Third priority: return a bomb only when the path to The Herald is clean.
- Final priority: take a short damage window after the shield drops, then reset.
The final phase rewards patience. A missed backpack return is recoverable; taking a bomb hit while trapped in a laser lane can consume the healing you need for the next shield cycle. Use the gun’s brief stun potential to create breathing room or add ranged damage during vulnerability, then return to the defensive rhythm.
Common Herald Mistakes That Stall the Fight
- Attacking the shield with melee weapons. The Herald takes no direct damage until the shield is broken by returned bombs.
- Trying to return every bomb. Skip the attempt when a shockwave or laser makes the angle unsafe; another cannon volley will come.
- Rolling away from ground pulses. Time a roll through the wave instead, or gain distance and pass through at the end of its travel.
- Using Phase 1 cover as a permanent plan. The middle blockades disappear, so Phase 3 requires laser-dodge timing.
- Ignoring the red circles. The convergence explosion damages Will and can restore the boss’s shield.
- Fighting through add waves. Clear the minions first while The Herald’s direct pressure is reduced.
Herald Rewards and What Unlocks Next
Defeating The Herald gives boss reward chests and Sound of Hubris, Kalina Day Realm’s unique trophy material. Sound of Hubris feeds into specific late-game crafting routes, including The Vow, which requires one Sound of Hubris, four Sun Eaters, 2,000 gold, and the recipe from Erin’s A Hidden Treasure in the Desert side quest.
That quest sends Will through Kalina Day Realm to a portal leading to a platforming section. The Herald clear also opens the route toward Kalina’s Night Realm, where backpack projectile-return timing remains important against later bosses.
The practical route is simple: enter with enough healing, read the cannon rhythm, break each shield through safe backpack returns, clear adds before chasing damage, and save your cleanest dodges for the blockade-free final phase. Once bomb returns become automatic, The Herald stops being a damage wall and becomes Kalina’s test of movement discipline.
FinalBoss // Gear
Level up your setup
01Top-rated gaming headsetson Amazon→02High-refresh gaming monitorson Amazon→03Gaming chairson Amazon→04Discounted game keyson Kinguin→Affiliate links · As an Amazon Associate, FinalBoss earns from qualifying purchases.
Want to Level Up Your Gaming?
Get access to exclusive strategies, hidden tips, and pro-level insights that we don't share publicly.
Ultimate Guide Strategy Guide + Weekly Pro Tips