
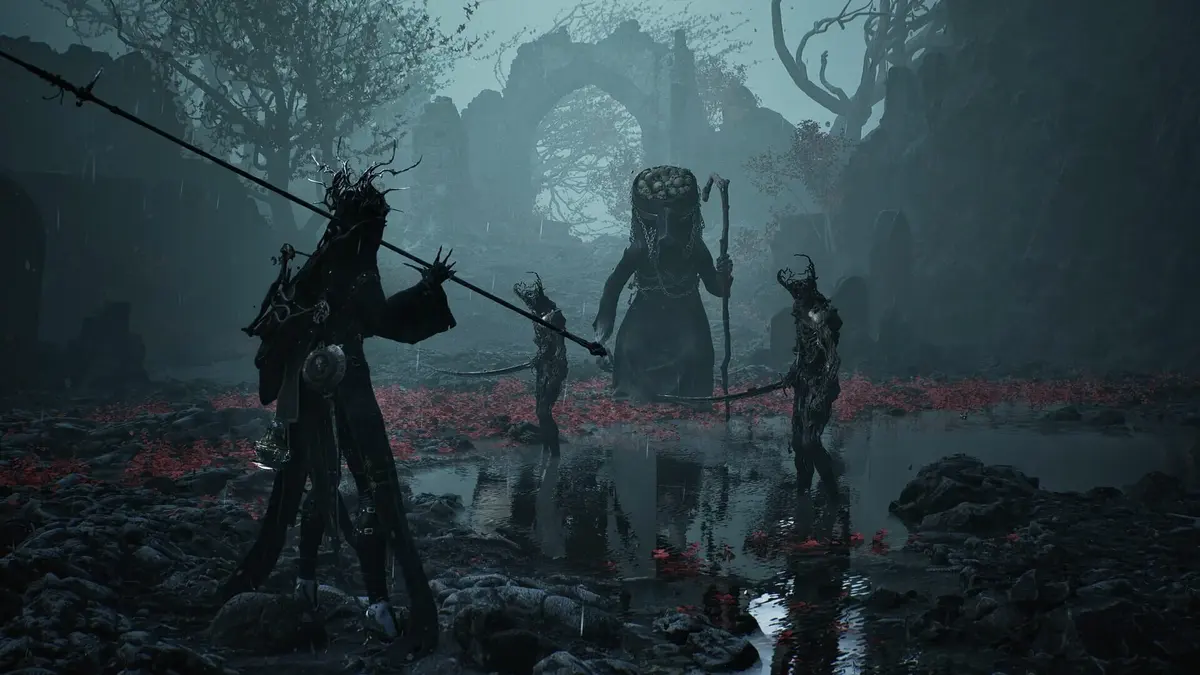
Mortal Shell II’s launch plan gives Devout Edition owners 72 hours of early access from August 17, 2026, before the standard PlayStation 5, Xbox Series X|S, and Steam release on August 20 at $49.99. For that first early-to-mid progression stretch, the strongest focused setup is Tiel, Axe & Dagger, Duality Stone, and the Troubadour’s Lute. It gives you a quick melee loop that benefits from repeated safe hits, then uses Blood Curse to turn that consistency into serious damage.
The important restriction comes from the sidearm: many Tarstones do not work with the Troubadour’s Lute. Build around the Axe & Dagger first, keep the Lute as your selected support tool, and avoid spending into projectile abilities that do not serve the melee loop. Hand of Rock is the exception worth retaining.
Table of Contents (9)
The Best Early-to-Mid Build: Tiel, Axe & Dagger, Duality Stone, and Lute
This is a synergy build rather than a broad “equip every strong-looking item” setup. Axe & Dagger gives the build its reliable baseline: fast, repeatable strikes that let you stay mobile and leave combat windows before an enemy can trade back. Duality Stone gives those repeated hits a much higher ceiling, doubling every strike while Blood Curse is active.
| Build Slot | Recommended Pick | Role in the Build |
|---|---|---|
| Shell | Tiel | The shell used for this focused Troubadour’s Lute setup. Keep the shell fixed while building the rest of the loadout around melee tempo and compatible Tarstones. |
| Main weapon | Axe & Dagger | Fast dual-wield pressure with a clear, repeatable damage loop. Its frequent hits make Blood Curse uptime valuable. |
| Infusion Tarstone | Duality Stone | Applies the Blood Curse plan and doubles every strike while Blood Curse is active. |
| Sidearm | Troubadour’s Lute | The chosen sidearm for the build, with compatibility constraints that shape the rest of the setup. |
| Seal | Slayer Seal | The seal selected for the core loadout. |
| Passive item | Vatra’s Seal | The passive item to prioritize alongside the melee-and-Lute arrangement. |
| Active item | Common Moonshine | The active item used in the recommended setup. |
The reason this package works early is straightforward: it does not depend on landing one slow, high-commitment swing. You establish your damage through regular Axe & Dagger pressure, then make every successful hit more valuable once Duality Stone has Blood Curse online. That is much easier to use through unfamiliar enemy patterns than a build that only pays off after a long charged attack or a Resolve-heavy special sequence.
Build the Melee Loop Before Spending Into Extras
Tarstones are weapon-specific or weapon-class-specific modifiers, so they are not universal sockets that can be moved freely between every weapon. The early progression mistake is investing in a Tarstone because its effect sounds powerful, then discovering that it does not support the weapon you are actually using.
- First priority: Axe & Dagger. This weapon is the foundation of the build, so it deserves the earliest upgrade attention.
- Second priority: Duality Stone. Its value comes from sustaining the Blood Curse damage window across as many safe attacks as possible.
- Third priority: compatibility. Add support, combat, or ability Tarstones only when they work with your equipped weapon and do not interfere with the Lute-focused plan.
- Fourth priority: Resolve discipline. Tarstone uptime is strongest when Resolve is being spent to maintain a repeatable melee payoff rather than scattered across unrelated tools.
A high-upgrade-value melee weapon and an infusion that stays active for longer form the most efficient progression pair. Arbiter’s Prize shows how meaningful Tarstone upgrades can become: its effect begins at four strikes, rises to eight strikes, and can become permanent at full upgrade. That scaling is a useful reminder to develop one compatible Tarstone rather than spreading resources across a collection of low-tier effects.
Why Duality Stone Is the Best Fit for Axe & Dagger
Duality Stone is built for dual-wield weapons, which makes Axe & Dagger its natural early pairing. Blood Curse doubles every strike while it is active, and fast dual-wield attacks give you more opportunities to benefit before the effect ends. The synergy rewards controlled strings: enter during a clean opening, land a few attacks, disengage before the enemy’s retaliation, then repeat.
Do not treat Blood Curse as permission to mash attacks. The build gets its efficiency from making many low-risk hits count for more, not from extending every opening until you get clipped. Axe & Dagger remains a tempo weapon. Its advantage disappears when you stay in range long enough for a heavier enemy to force a trade.

That distinction also explains why the build transitions smoothly into midgame. Stronger enemies demand more patience, but Duality Stone still pays you for short punish windows. A slow weapon can hit harder per opening; Axe & Dagger plus Blood Curse can convert several modest openings into dependable cumulative damage.
Troubadour’s Lute: Build Around Its Compatibility Limits
Troubadour’s Lute is the sidearm that defines this particular loadout, but it also creates the build’s most common trap. Many Tarstones do not function with the Lute, so avoid assuming a stone that works on your melee weapon will also improve the sidearm. Keep your main investment directed at Axe & Dagger and treat the Lute as a complementary tool instead of the source of your primary damage plan.
Projectile abilities are poor investments in this arrangement because they pull resources away from the melee-and-infusion loop without solving the Lute’s compatibility issue. Hand of Rock is the one projectile ability worth keeping in consideration. Everything else should be judged against a simple standard: does it help you maintain Axe & Dagger pressure, improve the value of Blood Curse, or support the sidearm without causing a Tarstone conflict?
Seal, Passive, and Active Priorities
Use Slayer Seal, Vatra’s Seal as the passive item, and Common Moonshine as the active item for the core setup. These pieces belong to the same recommended configuration as Tiel, Axe & Dagger, Duality Stone, and the Troubadour’s Lute. Keep the loadout coherent rather than replacing several slots at once whenever a new item drops.
The current build information does not establish a full set of numerical effects for every shell perk, seal, passive, or active item. The practical takeaway is to preserve the tested equipment relationship: the Axe & Dagger and Duality Stone are the damage engine, while the Lute, Slayer Seal, Vatra’s Seal, and Common Moonshine complete the selected framework around it.
Tarstone Categories: What to Prioritize and What to Delay
Tarstone categories matter because they answer different build problems. The Axe & Dagger setup needs a reliable offensive infusion first, then supporting effects that reinforce its natural speed. Avoid picking a category solely because it sounds stronger in isolation; a compatible effect that supports your normal attack loop is worth more than a specialized stone that sits unused.
| Tarstone Category | Relevant Stones | Practical Priority for This Build |
|---|---|---|
| Infusion | Duality Stone | Make this the first major commitment. Its Blood Curse effect doubles every strike while active, matching Axe & Dagger’s rapid attack pattern. |
| Support | Bulwark Stone, Charged Stone | Use these only when they support your preferred break-damage or charged-heavy habits without distracting from the core infusion plan. |
| Combat | Parasitic Stone, Headman’s Stone, Shattering Stone | Add these after the primary melee-and-infusion pairing is secure. Headman’s Stone supports critical chance, while Shattering Stone supports critical damage. |
| Ability | Unwieldy Stone, Auspicious Stone | Evaluate these for direct compatibility and a clear role in your rotation. Do not force them into the build merely to fill a slot. |
Bulwark Stone and Charged Stone belong in the support conversation if your playstyle already leans toward break damage or charged heavies. They should remain secondary in the recommended Axe & Dagger route, because the core weapon’s best quality is how efficiently it converts normal, safe attacks into Blood Curse damage.
Headman’s Stone and Shattering Stone are a logical combat follow-up for players who want more critical-focused output, with critical chance and critical damage respectively. They are supplements, though. A critical-focused setup without a reliable compatible infusion can feel inconsistent during the early game, while Duality Stone gives the build a dependable reason to keep landing clean hits.
When to Switch Weapons Instead of Forcing the Lute Build
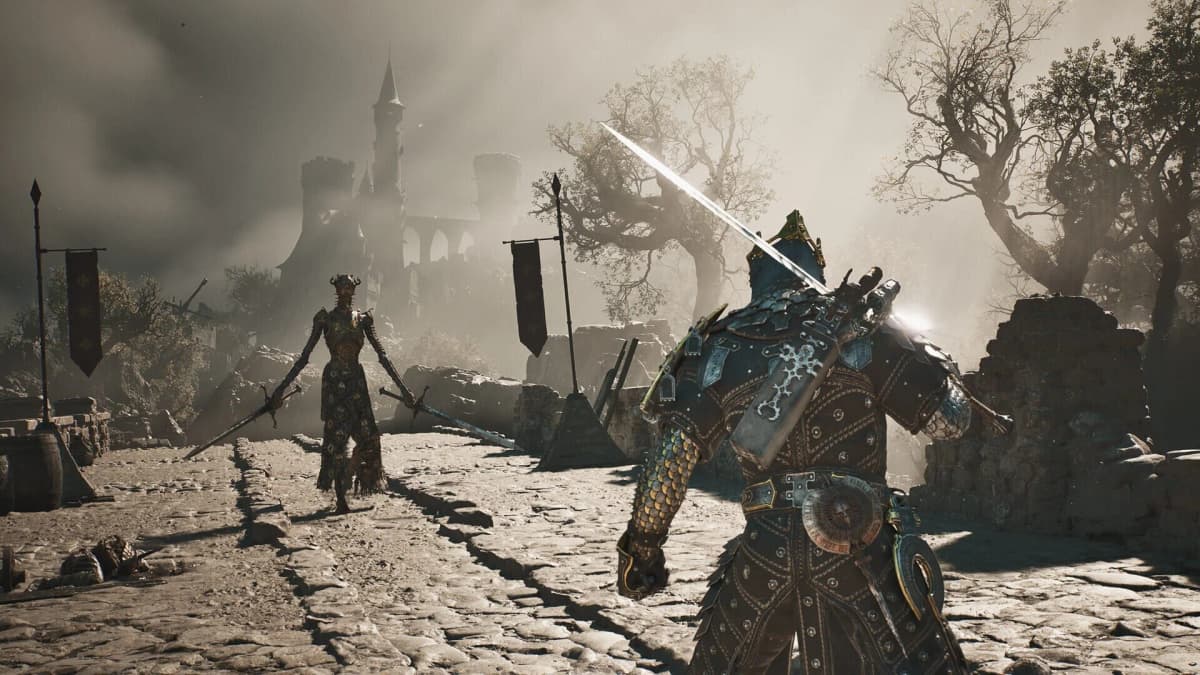
Axe & Dagger plus Duality Stone is the cleanest early progression recommendation, but it does not cover every preferred playstyle. A player who wants bigger single-hit pressure, crowd control, ranged stagger, or a Resolve-centered loop should switch to a weapon-and-Tarstone package designed for that job instead of trying to bolt those functions onto the Tiel and Lute arrangement.
| Weapon and Tarstone Pair | What It Does Best | Best Time to Consider It |
|---|---|---|
| Axe & Dagger + Duality Stone | Safe rapid output. Blood Curse doubles each strike, rewarding short and frequent punish strings. | Best early-to-mid default for players who value speed and consistency. |
| Veteran’s Battle Axe + Thief Stone | Strong direct damage curve. Its running heavy is exceptionally valuable, while Burn provides permanent infusion pressure. | Move here when you want heavier attacks without giving up a straightforward offensive plan. |
| Great Martyr’s Blade + Warden Stone / Frost | Slow, powerful control. Frost is exclusive to this blade and changes its ability to control engagements. | Use it for a deliberate, spacing-heavy midgame style. |
| Obsidian Hammer + Cleric Stone | Enemy shutdown through Stasis or Trauma. Stasis stacks can lock enemies down entirely. | Best for players who prefer mitigation, poise, and control over mobility. |
| Axatana + Duality Stone | Flexible hybrid progression. It can work with Voltaic and can also move into Stasis when available. | Choose it when build flexibility matters more than specializing immediately. |
| Black Needle + Thief Stone or Zealot Stone | Ranged pressure and burst stagger through fast spear-exclusive multi-thrust chains. | Useful when enemy spacing makes close-range dual-wield pressure uncomfortable. |
| Clockwork Scythe + Thief Stone or Voltaic Crown | A Resolve-focused damage loop. Each spin adds 35% weapon damage while draining Resolve. | Save this for players comfortable managing Resolve as a constant combat resource. |
The Veteran’s Battle Axe route is the clearest alternative if Axe & Dagger starts to feel too light. Thief Stone adds Burn, the only permanent Burn infusion in the available weapon notes, and the running heavy gives the weapon an immediately useful combat identity. It trades the Tiel build’s rapid Blood Curse rhythm for larger, more committed punishments.
Obsidian Hammer is the safer detour for difficult encounters that punish close-range aggression. Cleric Stone can bring Stasis or Trauma into the hammer’s control-focused kit, and Stasis is especially valuable when stacked hard enough to lock an enemy down. Great Martyr’s Blade follows a similar slower-and-safer philosophy, using Frost to turn its deliberate attacks into a stronger control option.
Choose Shell Direction by Weapon Role
Tiel is the shell named for the Troubadour’s Lute build, but the available early material does not establish a complete shell tier list, exact passive values, or a universal best shell. The practical rule is to select a shell that reinforces the weapon plan you have already committed to rather than selecting a shell first and forcing an incompatible weapon around it.
- Fast weapons: Axe & Dagger and Black Needle benefit most from stamina and tempo support, because their damage comes from maintaining pressure without overstaying.
- Heavy weapons: Great Martyr’s Blade and Obsidian Hammer benefit from mitigation and poise, since each swing asks for more commitment and cleaner spacing.
- Resolve-heavy weapons: Clockwork Scythe benefits from Resolve economy, because its spinning damage bonus drains the same resource that sustains Tarstone play.
This approach prevents a familiar early-game waste: changing shell, weapon, sidearm, and Tarstone at the same time. When every piece changes together, it becomes difficult to identify whether your problem is damage uptime, stamina pressure, Resolve use, sidearm compatibility, or simply an unfamiliar moveset.
Early-to-Mid Build Mistakes That Cost the Most Resources
- Assuming Tarstones are universal. They are tied to specific weapons or weapon classes. Check compatibility before committing resources.
- Building the Lute as your primary damage source. The core damage plan belongs to Axe & Dagger plus Duality Stone.
- Buying into projectile abilities by default. The Lute-focused setup does not get enough value from them; keep Hand of Rock as the exception.
- Splitting upgrades among several infusions. A developed compatible Tarstone gives more value than multiple underdeveloped effects.
- Forcing charged-heavy support into a rapid-hit build. Bulwark Stone and Charged Stone can be useful, but they should serve your actual attack habits rather than replace the Axe & Dagger loop.
- Saving Resolve forever. Tarstone uptime is part of the build’s power budget. Spend Resolve when it lets Blood Curse convert a safe opening into meaningful damage.
FinalBoss // Gear
Level up your setup
01Top-rated gaming headsetson Amazon→02High-refresh gaming monitorson Amazon→03Gaming chairson Amazon→04Discounted game keyson Kinguin→
Affiliate links · As an Amazon Associate, FinalBoss earns from qualifying purchases.
Want to Level Up Your Gaming?
Get access to exclusive strategies, hidden tips, and pro-level insights that we don't share publicly.
Ultimate Guide Strategy Guide + Weekly Pro Tips