
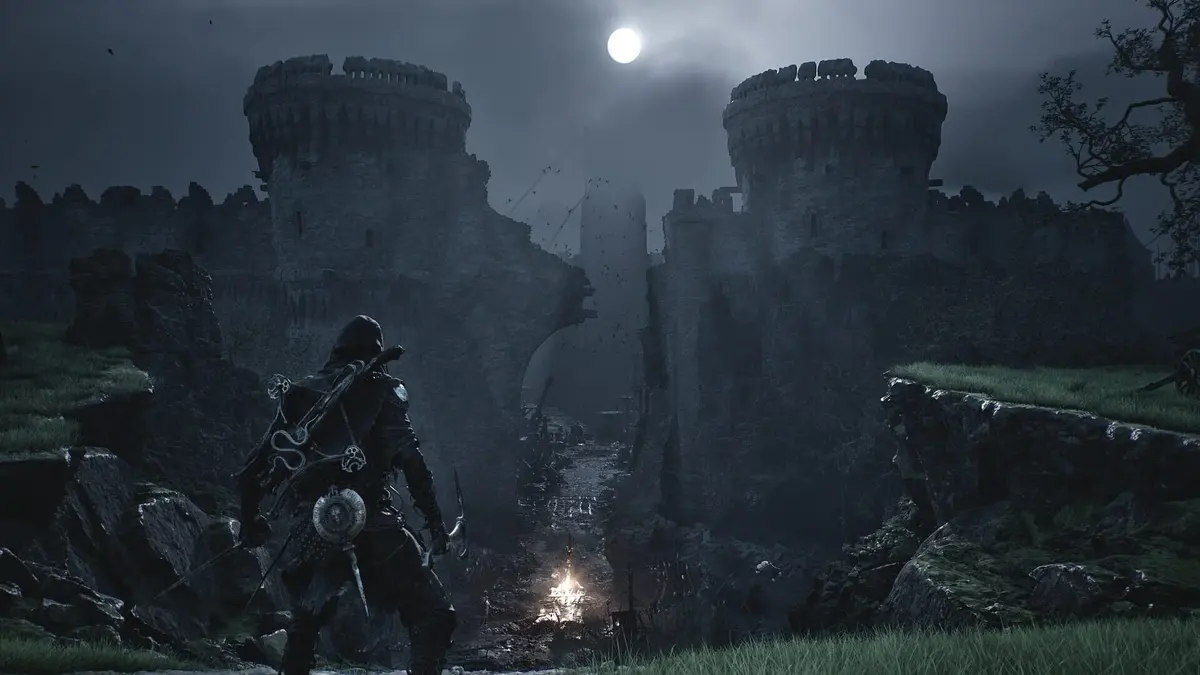
Conquered Temple is a mid-to-late Mortal Shell II route inside the Ruins of Mammon, accessed through Sester’s Gate after clearing Sester’s Bastion. The route is built around a simple progression loop: cleanse the relevant beacon, open the Corrupted Gate, activate every bell before moving on, secure the nearby upgrade loot, then clear the boss and cleanse the corruption that appears afterward. Missing a bell is the main routing error because it leaves bridge sections incomplete and turns boss retries into longer, riskier runs.
The area is also called Conqueror’s Temple in some walkthroughs. Both names refer to the Sester’s Gate zone leading through the Winterglass Lake corridors and into the fight with Droeg, the Conqueror.
Table of Contents (18)
Route Requirements Before Entering Conquered Temple
Do not approach the Conquered Temple gate as an overworld shortcut. Its entrance remains blocked until the Sester’s Gate beacon has been cleansed and the Sester’s Bastion beacon dungeon has been completed. The practical approach is to finish the entire gate sequence before committing to the temple corridors.
- Travel through Revenant Graves to the east-side Sester’s Gate route.
- Cleanse the corruption around the beacon using Mether’s Breath.
- Complete Sester’s Bastion and activate its bridge mechanisms.
- Clear the corruption blocking the gate beyond the beacon.
- Enter Conquered Temple only after the gate route is fully open.
Mether’s Breath is central to this progression. It clears corrupted beacons and paths, allowing the Harbinger to access gate interiors, claim an Ovum, and eventually return the Ova to the Marrow Keep. A partially completed gate is still a bad checkpoint: finish its beacon objectives before leaving the route for loot or another region.
Warning: keep the sidearm ready before descending into Sester’s Bastion. Several bells are positioned where ranged shots are safer and more reliable than trying to reach them with melee attacks.
Clear Sester’s Bastion Before the Temple
Sester’s Bastion is the access dungeon for Conquered Temple. The early section establishes the bell mechanic that the rest of the route keeps using: a bell repairs, raises, or extends a path, and the repaired path becomes the safer line for returning after a death.
Open the First Stone Walkway
After entering the beacon, collect the Coins from the chest near the entrance and use the elevator down to the depths. The first major gap has two disconnected platforms and two bells: one sits to the left, while the other is higher on the right. Shoot both with the sidearm to trigger the mechanism that builds a stone walkway between the platforms.
Do this immediately rather than trying to force a jump. The walkway is both the intended route and the cleanest reset line if enemies push you back toward the gap.
Repair the Three-Section Bridge
The later bridge is split into three broken sections and has enemy camps around it. Three ground bells are required to restore it fully:
- Hit the two bells positioned along the sides of the bridge route.
- Move toward the far end and look beneath the bridge for the third bell.
- Activate that final bell before crossing toward the boss-side platform.
The third bell is easy to overlook because it is tucked below the bridge rather than placed in your forward view. Crossing before all three bells are active leaves the route incomplete and makes the return trip unnecessarily awkward. Clear the nearby enemies first; ranged pressure near a gap is more dangerous than the platforming itself.
The first Conquered Temple gate encounter is against the Twin Sesters, followed by the Stray Sesters. Treat these fights as resource checks before the deeper route. Avoid entering the next corridor with healing already depleted, because the bell paths and jump-pad sections immediately afterward are poor places to recover from a low-resource run.
Conquered Temple Route: Valley of the Revered to Winterglass Lake
Once the temple route opens, follow the path to the right toward the Valley of the Revered. Clear the enemies along the cliff path and collect Martyr’s Ashes before moving into the cave network. This is a sensible point to turn back if you entered with little healing: the next section contains vertical routing, enemy packs, and bridge work that is easier when handled in one uninterrupted pass.
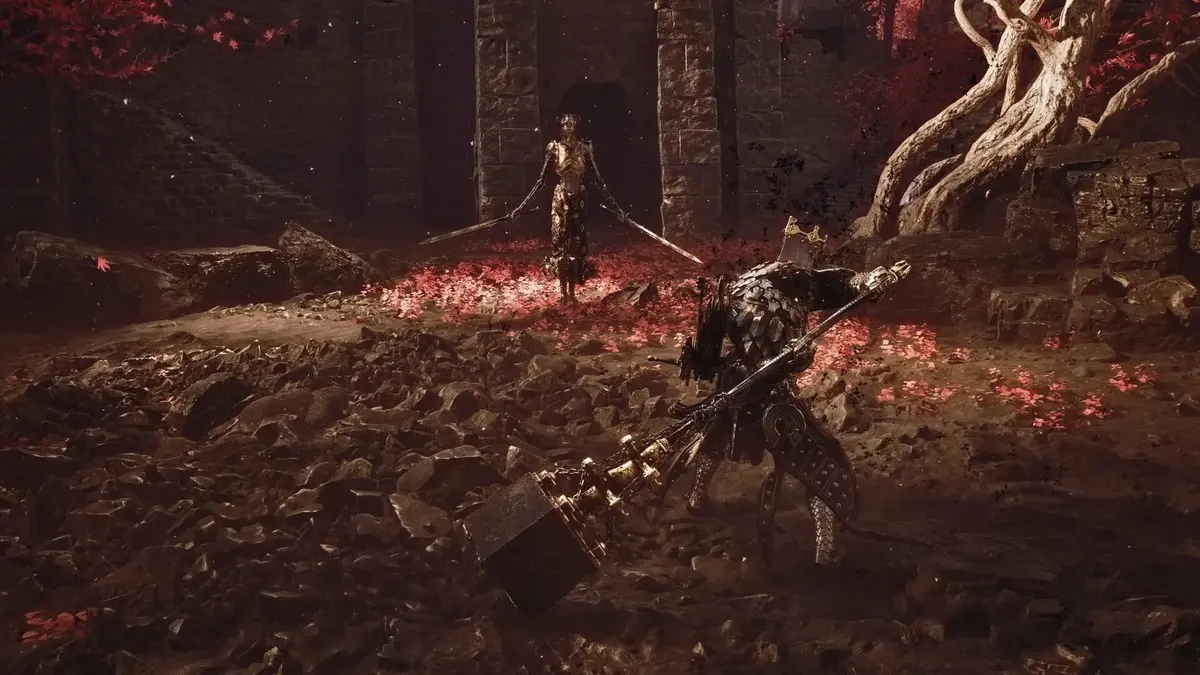
- Follow the right-hand route through Valley of the Revered.
- Take Martyr’s Ashes from the cliff-side path.
- Find the tree surrounded by stone bricks.
- Go left of that tree to enter the snowy cavern.
- Clear the cavern enemies, then take the Thawed Gland from the altar at the end.
- Pick up the Dorsalite in the cavern before continuing through the altar rooms.
- Descend to the Winterglass Lake beacon.
The snowy cavern has no separate puzzle requirement. Its value is the loot and the direct route to Winterglass Lake. Take the Thawed Gland and Dorsalite while the room is clear rather than planning to retrieve them after Droeg; the temple’s repaired bridge network makes future travel easier, but securing upgrades before a boss is still the more efficient sequence.
Winterglass Lake Bell Puzzle and Hidden Geyser Route
Winterglass Lake contains the bridge sequence that most often causes a false dead end. The bridge is repaired in two stages, with a hidden geyser connecting the first bell to the second. Ring both bells before pushing deeper toward Droeg.
First Bell: Raise the Bridge Path
From the Winterglass Lake beacon, follow the bridge and drop down to the right. A hanging bell is below this section. Strike it to raise a pathway segment on the bridge. This only creates part of the route; it does not fully restore the bridge or create the best return path to the beacon.
Use the Geyser Behind the Fallen Branch
After activating the first bell, look behind the fallen tree branch for a concealed geyser. Use it as a jump pad to reach the opposite cliff. The geyser is visually obscured, so players who only search the bridge level can mistake the partially raised route for a dead end.
Once on the cliff, collect the Dorasalite on the left if needed, then climb the stairs. Clear nearby enemies before using the vertical route; a knockback or stagger near the geyser wastes more time than clearing the encounter first.
Second Bell: Complete the Bridge
At the top of the stairs, turn right and strike the bell at the cliff edge. This completes the broken bridge pathways and makes the previous beacon substantially easier to reach. Activate it before taking on any boss attempt. The repaired bridge is the difference between a short reset and another full traversal through hostile corridors.
With the bridge repaired, backtrack slightly and follow the middle road. A chest next to a stone wall contains a Pulse Stone. Take it before continuing; it is the main upgrade pickup on this bridge route and should not be left behind for a later cleanup run.
Ovate’s Chamber, Immaculate Crown, and Urrig Route
The wider Part 6 route also passes through an Urrig and Ovate’s Chamber sequence. Handle it methodically because it controls another return path and ends in a beacon objective.
Use the Immaculate Crown in Mornefrost Grave
In Mornefrost Grave, take the Immaculate Crown from the body wearing a crown. Use it so the stone hand moves and opens the route ahead. With the crown obtained, the path near Urrig, the Executioner opens as the hands withdraw.
Urrig uses a hammer and can inflict Frost. His major trap is an unblockable hammer swing that rotates around three times. Do not remain in front of him expecting to absorb the sequence. Create distance or evade through the full three-swing pattern, then re-engage after the final rotation rather than attacking into the active hitbox.
After defeating Urrig, use the white jump spring and activate the switch on the giant elevator to reach the upper area. This leads to the Ruk and Gragu Support Shell Summon location and the next beacon target, Ovate’s Chamber.
Cleanse Ovate’s Chamber and Return to the Surface
Ovate’s Chamber has no bell or environmental puzzle. Clear the brigands and Frost zombies on the route to the Ovum, cleanse the Ova, then return to the surface. The danger comes from letting enemy groups overlap, particularly when Frost pressure limits movement around narrow passages.
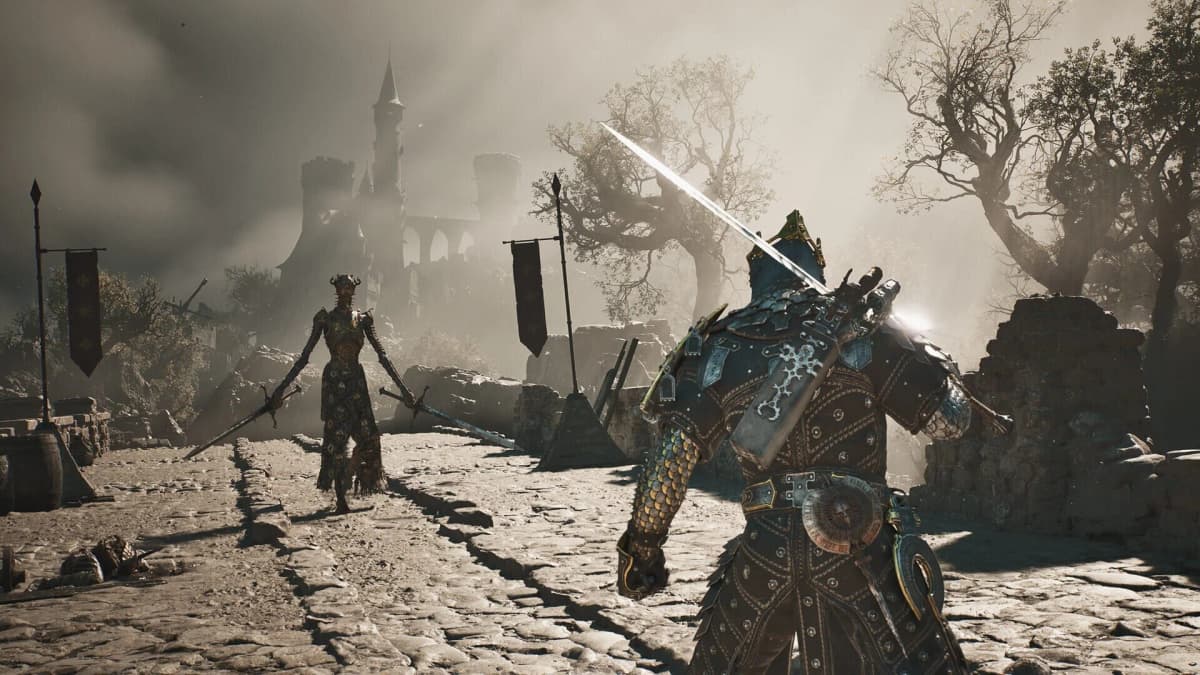
Back on the surface, a broken bridge must be restored with another bell sequence. Two bells are available on the near side, while the third is across the broken section and obscured by fog. Activate the first two, cross using the newly available route, then find the fog-hidden third bell to finish the bridge. Leaving this bridge half-repaired creates another poor retry route later.
Prepare for Droeg, the Conqueror
Droeg is the primary Conquered Temple boss and the major clear for the Sester’s Gate route. Enter with the Winterglass bridge repaired, the Pulse Stone collected, and your healing resources intact. If Gragu was purchased earlier, he joins the Droeg fight and provides useful pressure while you wait for reliable parry or dodge windows.
- Repair the Winterglass Lake bridge with both bells before entering the boss route.
- Collect Martyr’s Ashes, Thawed Gland, Dorsalite, Dorasalite, and the Pulse Stone on the way.
- Clear enemy camps before attempting geysers or jump pads.
- Use Gragu if he has already been purchased.
- Prioritize status recovery and safe spacing because Droeg can apply both Frost and Burn.
A nearby field route uses multiple jump pads. After the second jump pad, continue toward the giant head statue and the statue-lined bridge. The chest at the end contains the Frostshard Stone, which infuses the sidearm with Frost. Collect it as soon as this route is available, especially before repeated attempts that require clearing corridor enemies again.
How to Beat Droeg, the Conqueror
Droeg fights with a gigantic bone club. The encounter is decided by spacing and patience rather than long attack strings. His attacks can layer Frost and Burn, and his club can become coated in blue flame, making even a single mistimed trade costly.
Use the Double Sweep as Your Main Parry Opportunity
Droeg’s most useful parry sequence is his sweep chain: he sweeps twice, then delays a heavy smash. Parry the sweep timing rather than chasing him after every club attack. Once the two sweeps have passed, expect the delayed smash and dodge it instead of committing to a third parry attempt. The delay is designed to catch players who react at the same rhythm as the opening swings.
Keep your punish short. One safe response after the delayed smash is more valuable than staying close long enough to take Frost or Burn from the follow-up pressure.
At Roughly 60% Health, Leave Space for the Orb Storm
After Droeg loses about 40% of his health, he enters a visibly telegraphed pain phase and summons hundreds of projectiles. These orbs strike anything moving through their line. Move well away from him and travel sideways until the projectiles disperse. Running straight toward or away from the pattern keeps you in its path longer; lateral movement gives the clearest escape line.
Do not spend healing resources during the opening of this phase unless you are already trapped at critical health. The immediate priority is clearing the projectile field. Heal only once the orbs have thinned and Droeg’s next action is visible.
At Around 30% Health, Expect Repeated Curl-Up Projectiles
Near 30% health, Droeg uses his curl-up projectile attack much more frequently. This is the phase where players often try to force the finish and get caught by elemental damage. Keep the same defensive cadence: wait for the sweep parry window, avoid the delayed smash, and use successful parries to stagger him. A stagger is the cleanest opening to finish the fight without gambling on his projectile pressure.
Cleanse the Post-Droeg Beacon and Open Conqueror’s Hoard
Defeating Droeg grants Conquerer’s Reward and causes a corrupted beacon to appear. Cleanse that beacon immediately. This reveals the Conquerer’s Hoard beacon and prevents the common mistake of leaving the temple with the route only partially completed.
At Conquerer’s Hoard, use the pray prompt to open the deeper path. Continue through the bonfire-to-bonfire route, use the spring to reach the next area, and enter the gigantic skull-like mouth when it shifts reality. This sequence completes the temple’s post-boss progression path and leaves the Sester’s Gate route in its stable, fully cleared state.
FinalBoss // Gear
Level up your setup
01Top-rated gaming headsetson Amazon→02High-refresh gaming monitorson Amazon→03Gaming chairson Amazon→04Discounted game keyson Kinguin→
Affiliate links · As an Amazon Associate, FinalBoss earns from qualifying purchases.
Want to Level Up Your Gaming?
Get access to exclusive strategies, hidden tips, and pro-level insights that we don't share publicly.
Ultimate Guide Strategy Guide + Weekly Pro Tips