

The first real trap in Glutted Mire is a reward chest sitting close enough to tempt a quick detour, yet it stays sealed until all three candles in the swamp have been lit. Handle the beacon route first, keep moving through the poison villages, and make the candle chest a deliberate stop. That route gets you through the eastern Corrupted Gate, past Vrannic, the Grand Illusionist, and to both Tarstone rewards without leaving the Axe & Dagger upgrade behind.
Table of Contents (13)
Glutted Mire Route Order
Glutted Mire progression is tightly tied to corrupted beacons and the Ova inside them. The clean route begins before the mire itself: the Hall of Illusions leads to the encounter that unlocks the eastern Corrupted Gate, while the mire then tests your movement through poison pressure, traps, and clustered enemies.
- Travel from Nochte into the Hall of Illusions.
- Cleanse the beacon on that route.
- Defeat Vrannic, the Grand Illusionist, at the Mushroom Village Gate Beacon.
- Use the eastern Corrupted Gate to enter Glutted Mire.
- Clear the beacon objectives, collect Ova, and return them to Marrow Keep.
Route priority: take the Hall of Illusions and Vrannic clear before trying to force progress around the Glutted Mire Gate. Vrannic’s defeat opens the way forward, and the eastern Corrupted Gate is the intended entrance into Glutted Mire.
Beat Vrannic, the Grand Illusionist
Vrannic is fought at the Mushroom Village Gate Beacon, and the fight is worth finishing cleanly because the miniboss drops Volatile Fragment, a Tarstone reward listed as #34 in the overall collection. This one comes from the combat clear rather than a chest or ground pickup.
Watch the sack projectile and the three-hit string
Vrannic can fire projectiles from the sack on its back, so keep the boss fully in view instead of locking your attention on the weapon swings alone. The projectile pressure becomes dangerous when it overlaps with the close-range combo, especially in the tighter beacon arena.
- Vrannic’s three-hit sequence starts with two attacks that can be blocked or parried.
- The third hit in that sequence is unblockable. Create space once the first two attacks have passed instead of trying to defend the full chain.
- The unblockable thrust also requires an evasive response; do not commit to a block when Vrannic begins that attack.
- Keep a clear lane away from the sack projectile before taking a punish window.
The important lesson here is restraint. The first two hits invite a defensive response, while the finisher punishes anyone who assumes the entire animation follows the same rules. Once Vrannic falls, collect Volatile Fragment and move to the eastern Corrupted Gate rather than circling the Mushroom Village for an alternate entrance.
Open the Glutted Mire Gate and Cleanse the Beacons
Inside Glutted Mire, beacon-cleansing remains the progression gate. Cleansing the Glutted Mire Gate beacon clears the path through the gate, and the wider objective is to recover the Ova found in corrupted beacons for delivery to Marrow Keep.
Find the hidden path beside the resolve tree
At the Glutted Mire beacon area, strike the illusory wall next to the resolve tree. The hit reveals the concealed path forward. This is a very specific interaction: sweeping every nearby wall wastes time and exposes you to extra poison-zone encounters, while the wall beside the resolve tree is the one that matters.

Prepare for the Sleeping Mire beacon horde
The Sleeping Mire beacon does not clear after a single elite enemy. You must fight a horde at once to cleanse it. Enter with room behind you, avoid getting boxed into a doorway or narrow bank, and keep track of the enemies that peel away from the main group. The danger comes from overlapping attacks while the swamp terrain reduces the space available for a clean retreat.
After the relevant Glutted Mire completion sequence, there are 12 Ova to siphon in the area. Treat that count as a cleanup check before leaving for Marrow Keep. A beacon clear alone does not complete the region’s larger objective if Ova remain behind.
Survive the Poison Villages Without Losing the Route
The poison-heavy village stretch is a navigation test as much as a combat one. The route keeps feeding you enemies, traps, and environmental pressure between beacon objectives, so long detours are costly. Clear the threats that control your next doorway, stairs, or drop point; leave side groups alone when they do not block progress.
Dash through tripwire lanes
Tripwires in Glutted Mire can remove a significant amount of HP. The arrows are avoided by dashing past the tripwires rather than creeping through the lane. Pausing to fight beside a wire is especially risky because an enemy hit can push you into the trigger zone at the worst possible moment.
- Identify the wire before engaging enemies near it.
- Dash through the arrow lane in one committed movement.
- Fight after crossing the trap, where the lane is no longer behind your back.
- Keep poison zones and tripwires separate in your route planning; being forced to dodge arrows while standing in poison is the region’s nastiest overlap.
Clear the Sunken Village Beacon floor by floor
At the Sunken Village Beacon, remove the enemies on the lower floor first, then use the stairs to move upward. Rushing the staircase leaves enemies below free to pressure your retreat, while clearing the lower level gives you a safer path back down if the upper floor becomes crowded.
In the Sunken Village dungeon, clear the chests and enemies before continuing. The Ovum is shortly ahead after that cleanup. When the route reaches the cliff, drop down to progress deeper into the dungeon. Later, retrieve the gland near the cultist group and return to the Sunken Village Beacon as directed; carrying the objective onward without returning stalls this part of the beacon flow.
Get Siegebreaker’s Stone From the Three-Candle Chest
The first swamp section of Glutted Mire contains an offering chest in the Sunken Village area. It requires three lit candles. The chest has no alternate unlock condition: lighting all three candles is the entire requirement.
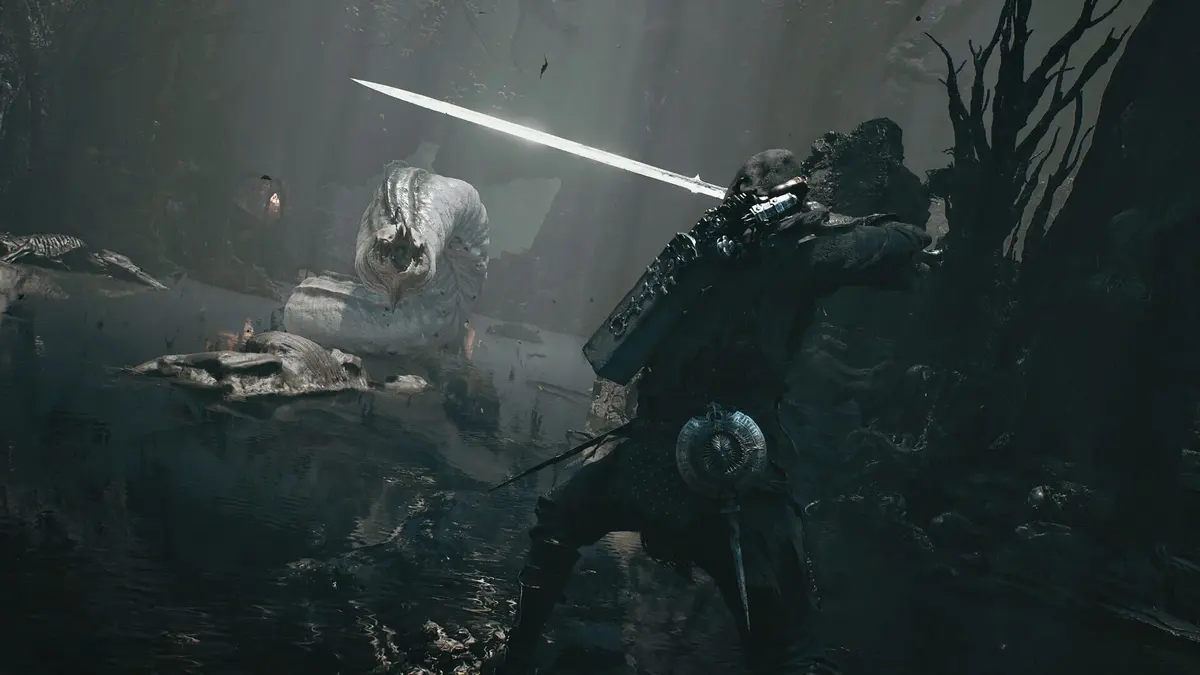
- Locate the three candles around the Sunken Village swamp area.
- Light each candle before returning to the offering chest.
- For the final candle, enter the cage containing the poison enemy.
- Defeat that enemy, light the candle, and return to the chest.
- Open the chest for Siegebreaker’s Stone.
Siegebreaker’s Stone is Tarstone #7 in the overall collection and is exclusive to the Axe & Dagger. The chest is easy to mistake for scenery during a fast beacon run, particularly when poison and nearby enemies are demanding attention. Finish the third candle before moving on; two lit candles leave the chest sealed.
Wandering Shepherd: Fill the Break Meter the Right Way
The Wandering Shepherd punishes normal boss instincts. You cannot effectively fight the boss head-on: direct attacks make it teleport away or turn your character into a sheep. The encounter is built around the flock instead.
- Watch for sheep that glow red.
- Hit the red-glowing sheep to fill the Wandering Shepherd’s break meter.
- Some sheep turn black and attack, so keep moving while identifying the red targets.
- When the break meter fills, the Shepherd staggers and becomes riposteable.
Chasing the Shepherd wastes openings and creates more chaos among the sheep. Focus on the glowing-red targets, manage the black sheep as active threats, then take the riposte when the boss finally staggers. This is one of Glutted Mire’s clearest mechanic checks: the arena tells you where the real damage window comes from.
Read Magdalena’s Unblockable Vehicle Attack
Magdalena’s vehicle attack has two linked dangers. First comes an unblockable charge. Afterward, Magdalena swings the ride to release area fire. Give the charge room, then stay alert for the fire sweep rather than immediately reclaiming ground. The second part of the attack catches players who treat the charge as the entire sequence.
After completing the Magdalena encounter, search the beacon area for the multiple Ova there and return them to Marrow Keep. That delivery is part of Mortal Shell II’s larger corrupted-beacon objective, alongside the Glutted Mire Gate clear and the Sunken Village progression.
Glutted Mire Mistakes That Cost the Most Time
- Trying to block Vrannic’s final combo hit: the first two strikes are defendable; the third is unblockable.
- Skipping the wall by the resolve tree: strike the illusory wall to reveal the route instead of searching the whole beacon area.
- Leaving the candle chest after finding only two lights: the final candle is in the cage with the poison enemy.
- Fighting the Wandering Shepherd directly: target red-glowing sheep to build the break meter.
- Stopping on tripwire lanes: dash through the arrow traps before committing to combat.
- Leaving Ova behind after the beacon sequence: Glutted Mire has 12 Ova to siphon during its completion route.
FinalBoss // Gear
Level up your setup
01Top-rated gaming headsetson Amazon→02High-refresh gaming monitorson Amazon→03Gaming chairson Amazon→04Discounted game keyson Kinguin→
Affiliate links · As an Amazon Associate, FinalBoss earns from qualifying purchases.
Want to Level Up Your Gaming?
Get access to exclusive strategies, hidden tips, and pro-level insights that we don't share publicly.
Ultimate Guide Strategy Guide + Weekly Pro Tips