
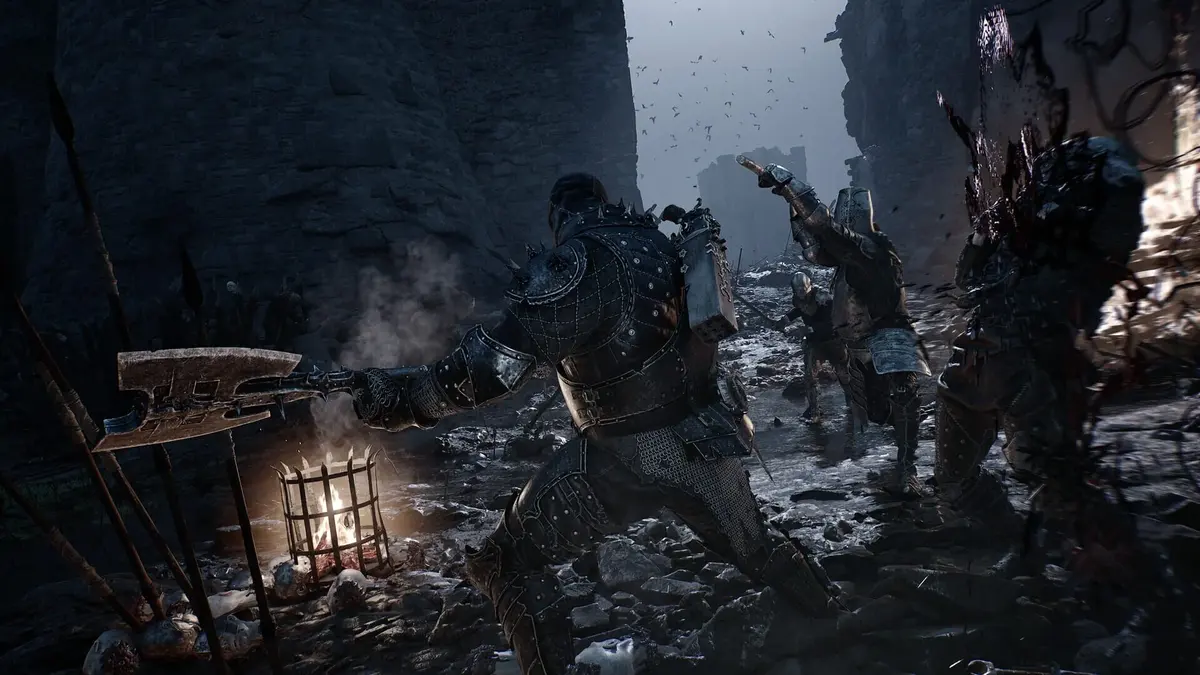
Treat every Glimpse in Mortal Shell II as a one-time investment. There is no repeatable Glimpse farm during a normal playthrough, no refund system for bad spending, and only enough currency to fully develop roughly two to two-and-a-half Shells per cycle. The clean first-run plan is simple: collect Beacons and Gate pickups methodically, finish one main Shell before branching out, and avoid spending Glimpses on map reveals or temporary boss help.
Glimpses exist to deepen a Shell’s bond: at Zhirelle, the Shellkeeper in Marrow Keep, they raise Shell Bond Tiers from I to IV and open each Shell’s skill lines. With eight playable Shells and an approximate cost of 27 Glimpses to complete one Shell’s four talent lines, fully upgrading the roster requires about 216 Glimpses over multiple New Game+ cycles. A first playthrough is for commitment, not for evenly sampling every build.
Table of Contents (11)
Why Glimpses Need a Different Approach Than Tar
Tar is your general-purpose currency. Glimpses are your limited character-progression resource. Regular enemies do not provide a meaningful, repeatable Glimpse income, so grinding combat encounters will not solve a shortage caused by overspending.
The game also splits Glimpses into two forms, and knowing the difference prevents an avoidable loss:
- Loose Glimpses are the total displayed in the HUD. They drop with your Tar when you die.
- Physical Glimpse items sit safely in your inventory. They remain there after death and do not drop.
If you die, return to your stain or husk before another death to recover 100% of the loose Glimpses and Tar you dropped. A second death before recovery permanently deletes the first pile; the new stain only contains the resources from the second death. Keep physical Glimpse items unconsumed until you are ready to spend at Marrow Keep, especially while exploring a difficult Gate or pushing through an unfamiliar Beacon encounter.
There Is No Mortal Shell II Glimpse Farm
The common trap is searching for an enemy loop after running low. Mortal Shell II does not have an endlessly repeatable in-cycle Glimpse route. Beacons, Gates, fixed world spawns, and vendor stock are finite. Once collected, those Glimpses are gone until New Game+ resets the world’s available sources.
The fastest way to earn Glimpses is so efficient exploration, with Beacons as the priority. A thorough pass through the first region’s Beacons can front-load roughly 10 to 15 or more Glimpses for your initial Shell investment, while a fully searched Gate adds several more. The exact total varies by area, but the route priority does not.
Every Reliable Glimpse Source
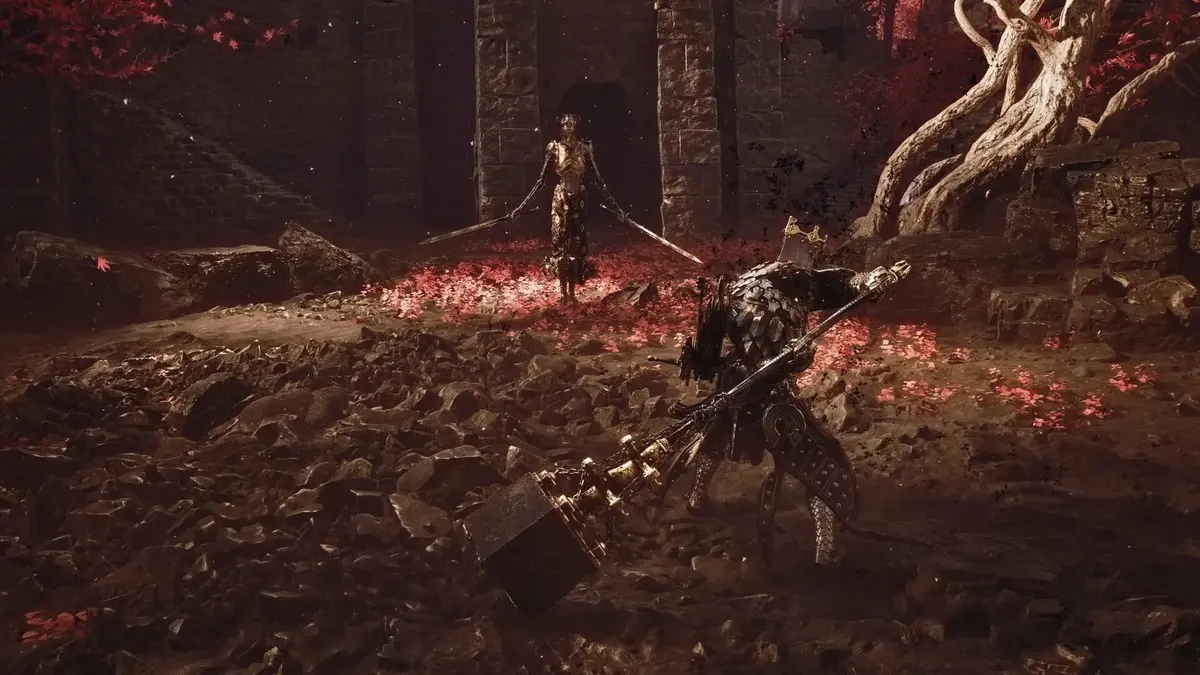
White vertical wisps are the visual cue to watch for. They mark Glimpse pickups around cleaned objectives, inside dungeons, and at a smaller number of fixed overworld locations. Do not leave a Beacon area the moment its fight ends; circle its immediate surroundings and check paths that looked optional during the approach.
| Source | What to expect | Best use in your route |
|---|---|---|
| Cleansed Beacons | One or several white Glimpse wisps nearby | Your main early- and mid-game income; clear these first in every accessible region. |
| Cleansed or Corrupted Gates | Several Glimpses along main routes and optional paths | Fully sweep each Gate before moving on; skipped side rooms can cost more progression than they appear to. |
| Fixed overworld pickups | Rare white wisps on side routes or near tougher encounters | Collect while completing Beacon routes rather than making a separate blind search later. |
| Merrick in Marrow Keep | One Glimpse, sold once per cycle | Buy it as soon as you can afford it; it is permanent upgrade currency, not a convenience item. |
| Brigand and Merchant: Rare Findings | One Glimpse each for 500 Coin | Purchase both when available if your Coin reserves allow it. |
| The Collector | Three Glimpses for 500 Coin each | One of the largest vendor boosts available in a cycle; do not forget this stock. |
Every vendor Glimpse is one-time stock per cycle. Merrick, Brigand, Merchant, and The Collector restock only after beginning New Game+. If you need to choose between a minor Coin sink and a vendor Glimpse, the Glimpse has the much larger long-term payoff.
The Best First-Run Route for Glimpses
You do not need a farming loop; you need a collection order that gets permanent upgrades online early and prevents missed pickups. Follow this progression rhythm through the first cycle.
1. Clear accessible Beacons before chasing optional Shells
Beacons are the primary Glimpse drip, so clean the Beacons in your current region whenever the combat is within reach. Their rewards are close to the objective and give your first Shell enough currency to reach meaningful Bond upgrades faster. This is more valuable than spending early Glimpses to reveal another Shell you cannot yet afford to build.
2. Sweep every Gate, including side paths
Gates are the second major source. Several Glimpses can sit off the critical path, so finish the dungeon only after checking forks, upper routes, and rooms guarded by optional enemies. A Gate completion that misses its side pickups creates the false impression that your Shell is falling behind, when the currency was simply left behind.
3. Reach Marrow Keep and secure vendor stock
Marrow Keep is the point where your Glimpse plan becomes permanent character power. Speak with Zhirelle to access Shell Bond upgrades, then purchase Merrick’s single Glimpse. Check the Brigand, Merchant: Rare Findings, and The Collector as well; their stock is finite, and The Collector alone carries three Glimpses at 500 Coin each.
4. Spend after a safe return, not in the middle of a risky push
Loose Glimpses are recoverable only once. If you have just cleared a Beacon cluster or emptied a Gate’s side rooms, return to Marrow Keep before attempting a difficult route, boss, or platforming sequence. Converting those pickups into Bond levels removes them from the double-death risk and gives you the power increase immediately.
The No-Regret Glimpse Spending Order
Your first 20 to 30 Glimpses define whether the run feels focused or underpowered. The best use is building one Shell into a reliable main rather than buying small upgrades across the roster.
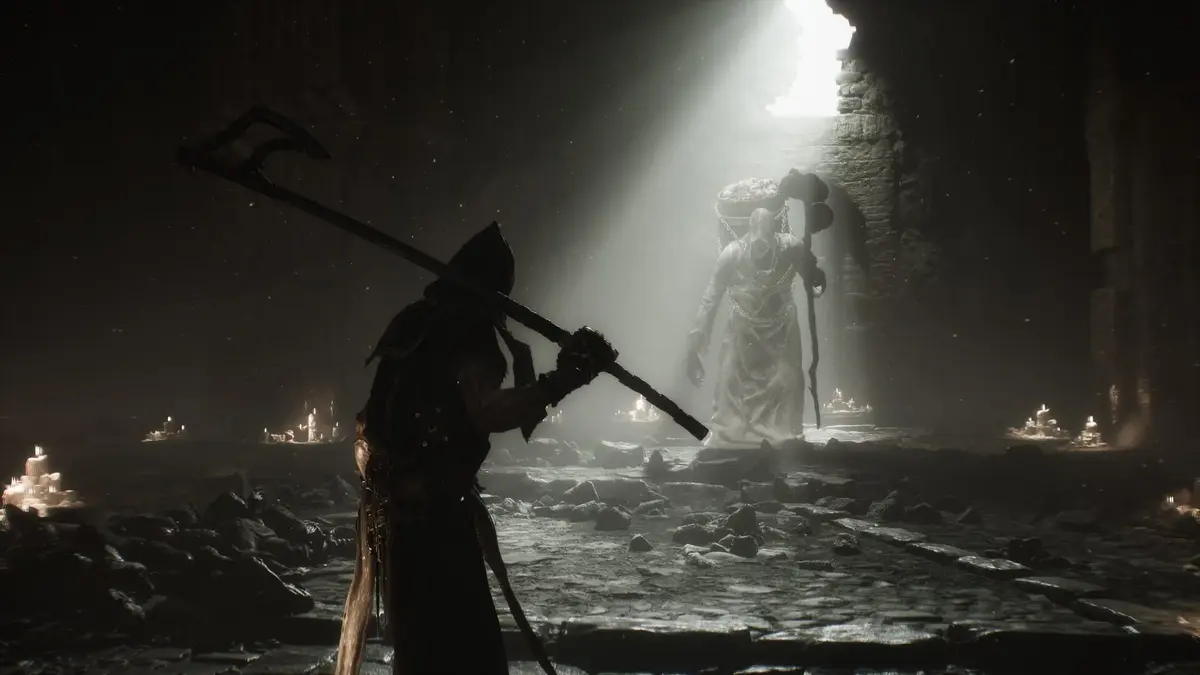
- Choose one main Shell and raise it to Bond Tier II, then Tier III. These early tier increases unlock the first substantial passive benefits and key active options.
- Continue investing in that same Shell’s core skill lines. A complete Shell package costs about 27 Glimpses, so finishing your primary build gives better returns than buying the first upgrade on several alternatives.
- Start a backup Shell only after the main Shell is close to complete. Put the secondary Shell through Bond Tier I or II first, giving yourself a functional alternative without draining the first build halfway through.
- Reserve late-cycle extras for testing a third Shell. A Tier I or II preview is sensible once two core builds are secure. Heavy investment in Shells three and four belongs in New Game+.
This order matters because a first cycle only supports about two to two-and-a-half fully developed Shells. Spreading upgrades over three or more Shells produces several characters with partial skill lines and no completed identity. Mortal Shell II’s combat rewards aggression and active use of a Shell’s kit, which becomes much smoother once one build has its important passives and abilities unlocked.
Glimpse Spending to Avoid Early
There are two Glimpse sinks that look useful in the moment but delay permanent strength.
- Shell location reveals: Revealing a Shell’s shadow on the map costs 3 Glimpses. Use this only when progress has completely stalled. Exploration can find Shells without spending a resource that could unlock a Bond tier or a skill.
- NPC summons for major bosses: These consume Glimpses for help in one encounter. The fight ends, the summon cost remains gone, and it gives no passive stat, Bond tier, or skill-line progress.
Neither expenditure can be refunded. A summon may be worth the cost if it is the only thing between you and quitting a boss attempt, but it should be treated as an emergency expense. Shell reveals should be even rarer, because the game’s limited currency already asks you to choose which of the eight Shells deserve full investment.
How to Plan Glimpses for New Game+
New Game+ is where the limited system becomes manageable. Shell Bonds carry over, so every Glimpse spent on Bond levels and skills remains valuable in the next cycle. Beacon rewards, Gate pickups, fixed world Glimpses, vendor stock, and other finite sources reset, giving you another pool to work with.
The efficient New Game+ approach is to finish the secondary Shell before seriously funding a third. Re-clear easier Beacon regions first, then fully search one or two Gates to top up the backup build. This preserves the first cycle’s specialization instead of turning New Game+ into another round of scattered partial upgrades.
By NG++, the cumulative pool can reach the 200-plus Glimpses needed to complete all eight Shells, provided large amounts were not burned on reveals and summons. That is the appropriate point to pursue full roster mastery. A normal first cycle is designed around a smaller, stronger set of Shells.
FinalBoss // Gear
Level up your setup
01Top-rated gaming headsetson Amazon→02High-refresh gaming monitorson Amazon→03Gaming chairson Amazon→04Discounted game keyson Kinguin→
Affiliate links · As an Amazon Associate, FinalBoss earns from qualifying purchases.
Want to Level Up Your Gaming?
Get access to exclusive strategies, hidden tips, and pro-level insights that we don't share publicly.
Ultimate Guide Strategy Guide + Weekly Pro Tips