
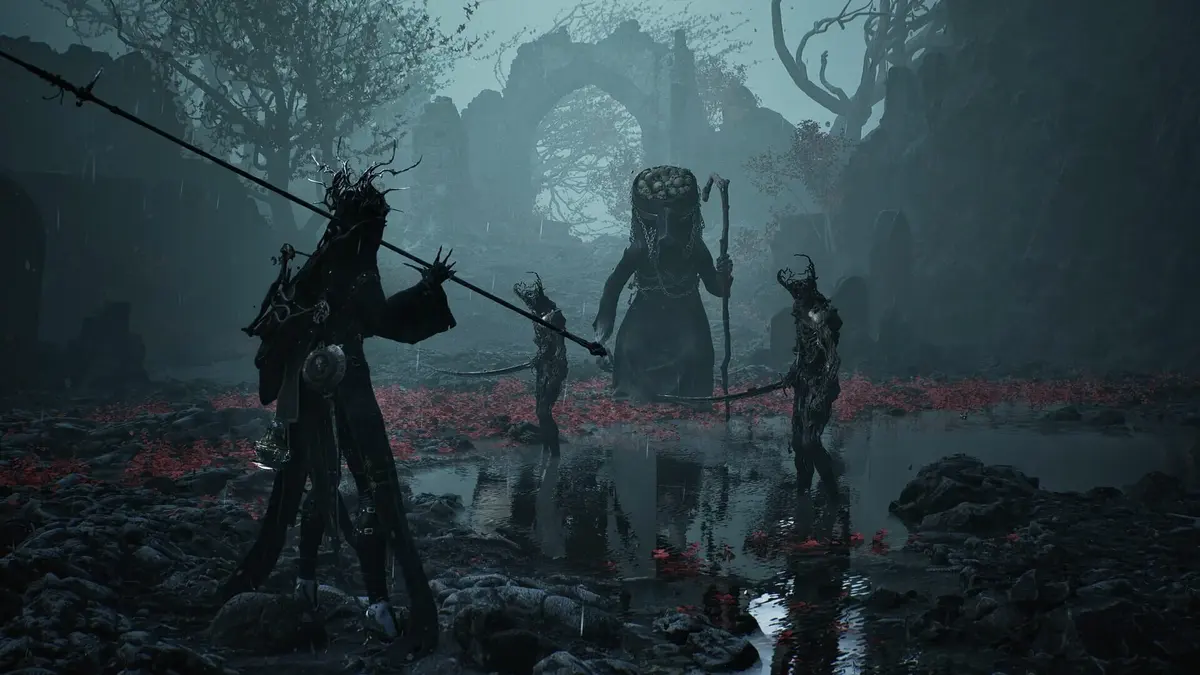
Watching the Gloombound Ritualist raise its staff is where Mortal Shell II‘s opening stops feeling like a village tutorial and starts demanding disciplined positioning. The Infested Wretches it summons can wipe out a full health bar in a single bad exchange. The clean route to Marrow Keep is to claim your first Shell, cleanse the Village Outskirts Beacon and Overgrown Temple, rest before the Ritualist, clear the Derelict Hideout, then push through Disciple’s Pass and Disciple’s Grotto. The Tar Golem only needs to be survived or defeated; the crucial item is the Ovum you use at Marrow Keep’s gate.
Key warning: do not treat the Tar Golem as a mandatory kill wall. The Gloombound Ritualist is the prologue’s real progression gate. The Tar Golem is a scripted late-prologue sequence that advances whether you win the fight, survive until its conclusion, or fall during the encounter.
Table of Contents (12)
Forlorn Village to Marrow Keep: The Fast Route
| Route stop | What to do | Why it matters |
|---|---|---|
| Forlorn Village | Gain your first Shell and follow the outward route. | Your Shell establishes the baseline combat kit for the whole prologue. |
| Village Outskirts Beacon | Enter the linked Overgrown Temple and complete its cleanse. | This begins the corruption-cleansing loop and opens the boss route. |
| Beacon rest | Return to the Beacon and rest before the boss chamber. | Resting refills resources and resets enemies before the Ritualist fight. |
| Gloombound Ritualist | Prioritize Infested Wretches whenever they are summoned. | Defeating the Ritualist removes the black corruption blocking the next area. |
| Derelict Hideout and Disciple’s Pass | Cleanse the second corruption point, cross the bridge, and enter Disciple’s Grotto. | This is the mandatory line to the prologue’s final encounter. |
| Tar Golem and Marrow Keep | Resolve the Tar Golem sequence, take the elevator, collect the Ovum, and offer it to the disciples. | The offering opens Marrow Keep and unlocks the game’s main hub systems. |
1. Leave Forlorn Village With Your First Shell
The prologue begins in or around Forlorn Village and quickly gives you the objective of gaining your first Shell. Take the Shell offered by the opening route and stay with it through the Village Outskirts section. There is no practical reason to hold back resources or delay the early objective: the Village Outskirts Beacon is the first major checkpoint, and reaching it is the route’s real starting line.
Keep your attention on the main path rather than trying to turn the village into an exploration zone. The prologue is deliberately on rails at this point. Its job is to teach Shell combat, Beacon cleansing, corruption gates, and the interactions needed to access Marrow Keep.
Do Not Plan Around an Early Harros Swap
Harros the Vassal is heavily referenced during the opening lessons, but he is not a reliable Shell choice to plan around during this route. By the time you arrive at Marrow Keep, Shellkeeper Zhirelle explains that Harros is gone. The exact point and method for reclaiming Harros’ Shell comes later, so keep momentum with your current Shell instead of delaying Disciple’s Grotto in search of a swap that the prologue does not provide.
2. Cleanse the Village Outskirts Beacon and Overgrown Temple
From Forlorn Village, continue toward the Village Outskirts Beacon. This Beacon introduces the full progression loop: approach the corrupted structure, enter its associated dungeon area, clear the corruption inside, then use the newly opened overworld route.
The associated dungeon is the Overgrown Temple. Complete its cleanse before worrying about paths covered by black corruption outside. Those barriers are designed to stop you until the Beacon route is resolved, so backtracking around the village will only burn time.
- Reach the Village Outskirts Beacon.
- Enter the Overgrown Temple linked to it.
- Finish the cleanse objective inside.
- Return to the Beacon before entering the Gloombound Ritualist’s chamber.
- Rest at the Beacon with full resources.
Resting is worth the enemy reset here. The Beacon functions as a checkpoint and resource refill, and the Ritualist is balanced around making you manage both the boss and explosive adds. Going in half-healed after clearing the temple creates a much harder fight for no benefit.
3. Beat the Gloombound Ritualist: Kill the Exploding Adds First
The Gloombound Ritualist is the prologue’s first serious hard gate. Its direct attacks matter, but the dangerous mechanic is the staff-wave summon. When the Ritualist lifts and waves its staff, it calls Infested Wretches — kamikaze minions that rush you and explode for huge damage.

The winning priority is simple: create space, pull the Wretches away from the boss, and kill them before returning to the Ritualist. Trying to keep a damage combo going on the boss while the Wretches are active is the mistake that ends most early attempts. Their detonation punishes greed far harder than the boss’s regular pressure.
Gloombound Ritualist Fight Plan
- Watch the staff. A staff-wave means the next few seconds belong to the Infested Wretches, not the boss.
- Back away immediately. Give the Wretches room to cluster and avoid letting them detonate beside the Ritualist.
- Clear every Wretch. Resume boss damage only once the explosive pressure is gone.
- Use short punish windows. One safe exchange is better than committing to a long string while another summon can begin.
- Rest before rematches. The Village Outskirts Beacon is close enough that there is no advantage in repeating the fight with depleted resources.
Defeating the Ritualist awards 360 Gloom, giving you an early stock of the currency used in the upgrade economy. More importantly, the victory completes the Beacon’s corruption cleanup and removes the black barriers blocking the route out of the Village Outskirts.
Route result: once the Ritualist falls, the prologue opens toward the Derelict Hideout and the eastern path leading into Disciple’s Pass.
4. Clear the Derelict Hideout, Then Follow Disciple’s Pass
Your next required cleanup point is the Derelict Hideout. Treat it as the second part of the prologue’s Beacon lesson: corruption cleanup creates safe progression lanes, and leaving a required cleanse unfinished is why the route can feel like it has suddenly dead-ended.
After the Derelict Hideout, use the map revealed through the Beacon progression and travel east into Disciple’s Pass. This stretch leads to a bridge guarded by a polearm knight. Deal with that enemy before trying to force the crossing; the bridge is a narrow mandatory route and gives little room to recover from an uncontrolled engagement.
A Twisted Visage can be found off the bridge as an optional detour. It is safe to leave that encounter alone when the goal is a straight Marrow Keep route. The main progression line continues from Disciple’s Pass into Disciple’s Grotto.
5. Survive the Tar Golem Sequence in Disciple’s Grotto
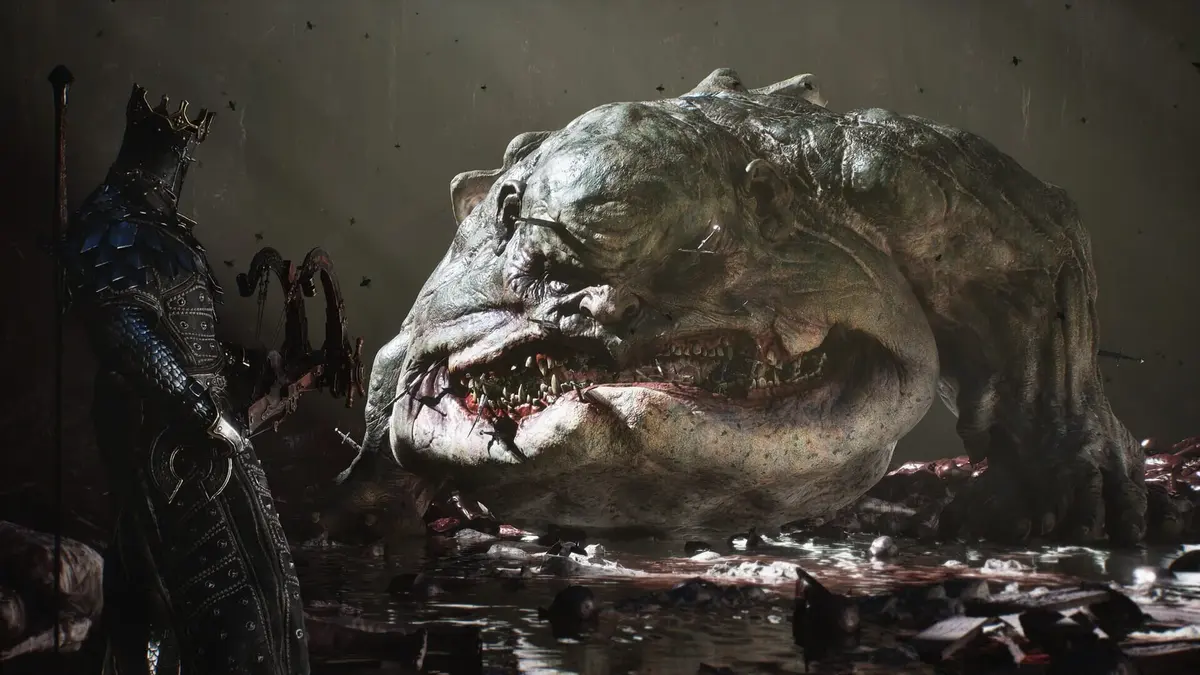
The Tar Golem waits in Disciple’s Grotto as the final combat test before Marrow Keep. Play the encounter cautiously, but do not restart simply because the fight feels unwinnable. This sequence advances the story whether the Tar Golem is killed or the encounter resolves through survival or defeat.
That changes the correct mindset. Preserve space, take only clean openings, and focus on reaching the encounter’s resolution. The Tar Golem provides no significant loot worth throwing repeated attempts at, while clearing the sequence is associated with the Finish the Fight achievement.
The Tar Golem is a practice and narrative encounter rather than a strict skill check like the Gloombound Ritualist. The Ritualist must die to lift corruption. The Tar Golem must be resolved so the elevator route to the hub becomes available.
After the Tar Golem
- Let the Tar Golem sequence fully conclude.
- Continue past the grotto to the elevator.
- Collect the critical Ovum tied to the route.
- Ride upward to Marrow Keep’s approach.
- Bring the Ovum to the disciples at the gate.
The Ovum is the item that ends the common “Marrow Keep gate will not open” problem. Offer it to the disciples at the ritual point outside the keep. The gates open immediately afterward, allowing you to enter the hub.
If the gates remain closed: return your attention to the Disciple’s Grotto elevator route and confirm that the Tar Golem sequence has finished and the Ovum was collected. The gate ritual cannot proceed without it.
6. Speak to Zhirelle and Lock In the Prologue Completion
Inside Marrow Keep, speak with Zhirelle the Shellkeeper. This is the interaction that turns the keep from a destination into your base of operations. Zhirelle explains Harros’ absence and uses your Glimpse to highlight two additional Shell locations on the world map.
Spend the Glimpse as directed, then rest at the Marrow Keep Beacon. That rest locks in the checkpoint and formally completes the prologue. From here, the route stops being a guided sequence and opens into broader exploration.
- Siphon becomes available through Marrow Keep’s services.
- Tarforge upgrades give purpose to the Gloom and Tar collected during the opening.
- Shellkeeper bonding becomes available for managing Shell progression.
- Beacon travel turns the cleared Beacon network into a practical fast-travel system.
- Franz, Vratko, Merrick, and Milos provide the starting points for hub-based side quests.
Missable Prologue Checks Before You Commit to Marrow Keep
The prologue carries two of the game’s three missable trophies, so trophy hunters should fully resolve every available interaction before treating Marrow Keep as the end of the opening. Mid Summer is tied to the prologue and requires a new save if missed. The Tar Golem sequence is also tied to Finish the Fight, making it worth staying through the encounter’s full conclusion rather than abandoning the area early.
Keep the route order intact: clear the Village Outskirts Beacon, defeat the Gloombound Ritualist, cleanse the Derelict Hideout, resolve the Tar Golem, collect the Ovum, and speak to Zhirelle. Skipping ahead or assuming a black-corruption barrier is decorative is where the prologue’s most avoidable detours begin.
Platform and Version Note
Mortal Shell II launches on 20 August 2026 for PC through Steam, PlayStation 5, and Xbox Series X|S. The prologue route and Marrow Keep systems apply to those current-generation versions; no PlayStation 4, Xbox One, or Nintendo Switch versions are announced.
FinalBoss // Gear
Level up your setup
01Top-rated gaming headsetson Amazon→02High-refresh gaming monitorson Amazon→03Gaming chairson Amazon→04Discounted game keyson Kinguin→
Affiliate links · As an Amazon Associate, FinalBoss earns from qualifying purchases.
Want to Level Up Your Gaming?
Get access to exclusive strategies, hidden tips, and pro-level insights that we don't share publicly.
Ultimate Guide Strategy Guide + Weekly Pro Tips