
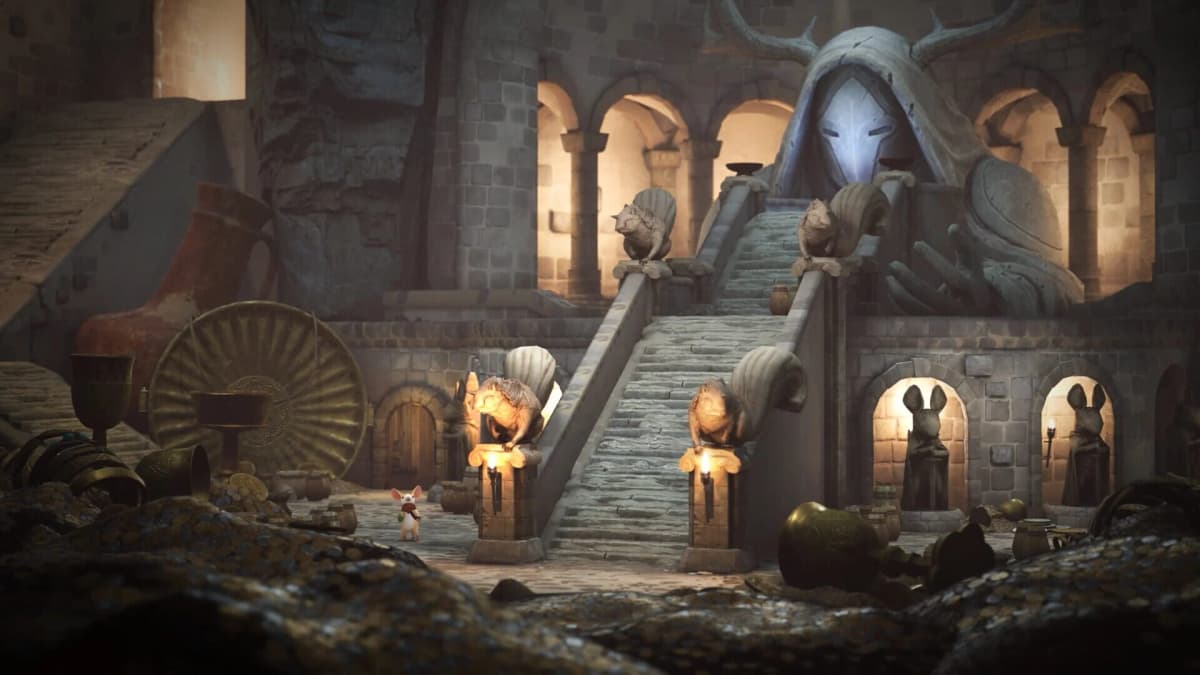
The Book II greenhouse is where Moss: The Forgotten Relic starts combining every tool you have learned in the castle and garden: Quill’s sword, the Reader’s telekinesis, environmental growth powers, movable green blocks, vines, flower-growth nodes, and Glass-based traversal. The clean route is to set up the room with the Reader first, move Quill through the newly opened path second, collect the lock from the chest, and then use the sword-charged dash to keep the Keeper push moving.
The trap: do not treat every green block as a platform that Quill must reach immediately. In this section, a block, vine, or flower node often exists to change the route for a later jump. Look at the full room before committing Quill to a ledge, especially when a glass pane is separating her from the next path.
Table of Contents (14)
What You Need Before Entering the Greenhouse
The greenhouse comes after the early castle and garden sections, so the intended toolkit is already in place. Quill can handle basic sword combat, while the Reader can reach into the environment to manipulate objects and grow routes that Quill cannot create alone.
- Quill’s sword: use standard sword attacks to clear enemies that block a safe platforming line. On PlayStation controllers, the basic sword attack is
Square. - Reader telekinesis: grab and reposition green blocks to make usable surfaces or expose the next interaction.
- Growth powers: activate flower-growth nodes and work with vines to create the route Quill needs.
- Glass traversal interaction: use the Glass-based leaf-growing ability when the room’s layout asks you to bridge a gap or extend Quill’s path.
- Charged dash: hold the dash input until Quill raises her sword, then release in the direction you want her to travel.
The important division of labor is simple: the Reader prepares the environment; Quill completes the platforming and combat. When a room feels impossible, the missing action is usually on the Reader side rather than a harder jump.
Greenhouse Puzzle Route: Read the Room Before Moving Quill
The greenhouse puzzles work best when you solve them in layers. Start with the environmental pieces that can alter the room permanently, then move Quill across the route you have built. This avoids the most common reset: putting Quill on a small platform, realizing the next vine or flower is still out of reach, and having to retrace the room.
Step 1: Identify the Glass, Blocks, Vines, and Flower Nodes
Pause at each new chamber and identify every interactive piece before making a jump. Glass panes, green blocks, vines, and flower-growth nodes form a connected puzzle rather than separate distractions. A glass barrier usually tells you that Quill needs a route created from another position, while a green block gives the Reader something tangible to reposition.
- Check where the next ledge sits relative to Quill’s current position.
- Find the green blocks that can be moved into a useful alignment.
- Locate vines and flower nodes before using a newly created platform.
- Keep an eye on any glass-separated area, since it may contain the route’s real objective.
Do not move a block simply because it can move. Place it where it either gives Quill a landing point or lets the Reader reach the next growth interaction. A block placed too early can make the room look solved while leaving Quill with no safe follow-up.
Step 2: Build the Route With the Reader
Use telekinesis to position green blocks first, then trigger the flower and vine interactions that turn that setup into a real route. The Reader can manipulate the room from angles Quill cannot access, which is the entire logic behind the greenhouse’s more elaborate layouts.
When a flower-growth node is available, treat it as a progression switch. Its value is in the path it creates, not in the node itself. Grow the route, check where its leaves or connected terrain now lead, and only then send Quill forward. Vines work the same way: they are route pieces, so their useful position is the one that connects Quill to the next stable surface.
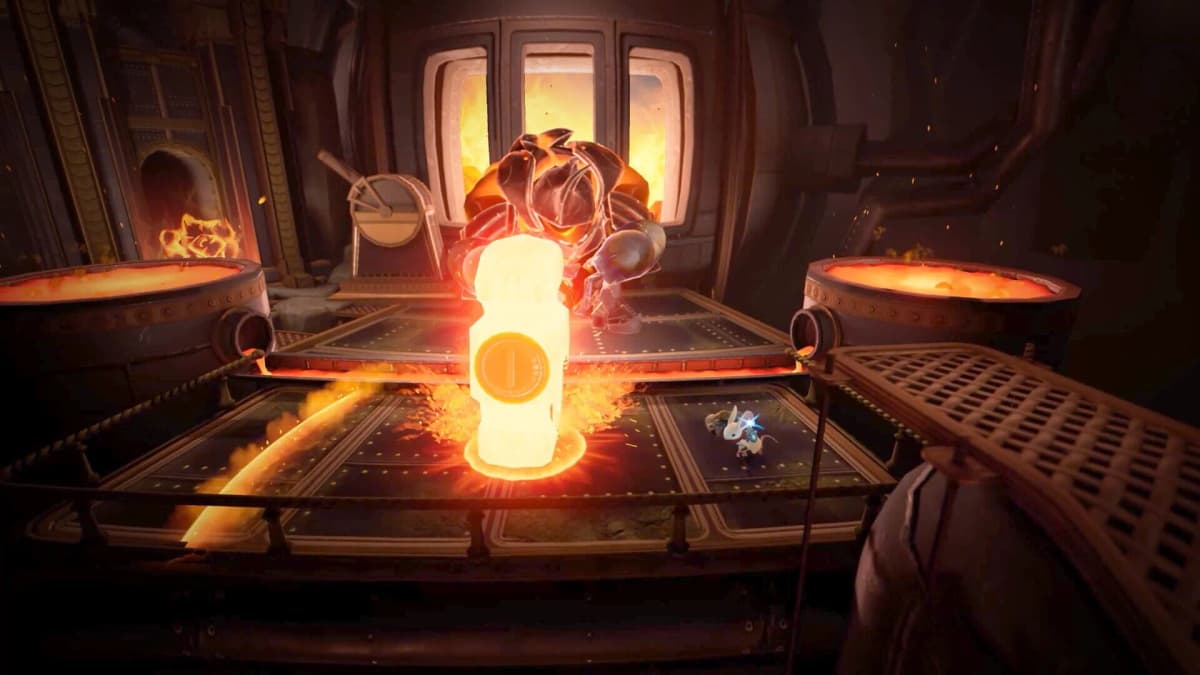
Practical rule: finish the Reader’s reach while Quill is standing somewhere safe. Trying to manipulate a block or growth point while Quill is balanced on the edge of an unfinished route creates unnecessary movement and makes the puzzle harder to read.
Step 3: Move Quill Only When the Next Landing Is Clear
Once the block, vine, or grown leaves give you a complete line, move Quill through it in one deliberate sequence. The greenhouse rewards careful platforming more than rushing. Make each jump with the next landing already visible, then stop and reassess when Quill reaches a new section of the room.
This rhythm matters around glass panes. A pane can visually crowd the scene and make the obvious direction look blocked, but the solution is often to use the Reader’s environmental reach to grow or reposition the route around it. If Quill cannot physically touch the next interaction, do not keep attempting the same jump; return to the movable objects and growth nodes.
How the Sword-Charged Dash Changes Traversal
The charged dash is the greenhouse’s major movement upgrade. Hold the dash input until Quill raises her sword, then release it to send her in the chosen direction. It gives you a controlled way to cover gaps that ordinary movement will not clear and can also carry Quill through enemies when a combat path is too crowded.
Use the Dash for Distance, Not Panic
Charge the dash while Quill is on a stable platform and release only after you have chosen the destination. The move is strongest when it has a clear job: crossing a gap, reaching a newly grown route, or passing through an enemy that is standing between Quill and the next platform.
- Start charging from stable ground whenever possible.
- Line up Quill with the intended landing before releasing.
- Use the dash after the Reader has already prepared the route.
- Save ordinary sword swings for close threats that do not require movement.
The common mistake is treating the dash as a substitute for puzzle setup. It is a traversal tool that completes a route; it does not replace the need to move the right block, grow the right leaves, or position a vine correctly.
Opening the Locked Greenhouse Door
The locked greenhouse door is tied directly to the hex and the Keeper encounter. Before you can finish the push, collect the lock from the chest in the greenhouse route. This is the key progression check for the segment, so do not leave the chest behind after solving the room’s platforming chain.
Once the lock is secured, the route shifts from environmental setup to the Keeper fight. The goal is straightforward: use the lock to advance the sequence, defeat the Keeper, lift the hex, and open the locked greenhouse door.
Keeper Push: Keep the Fight Focused on Progression
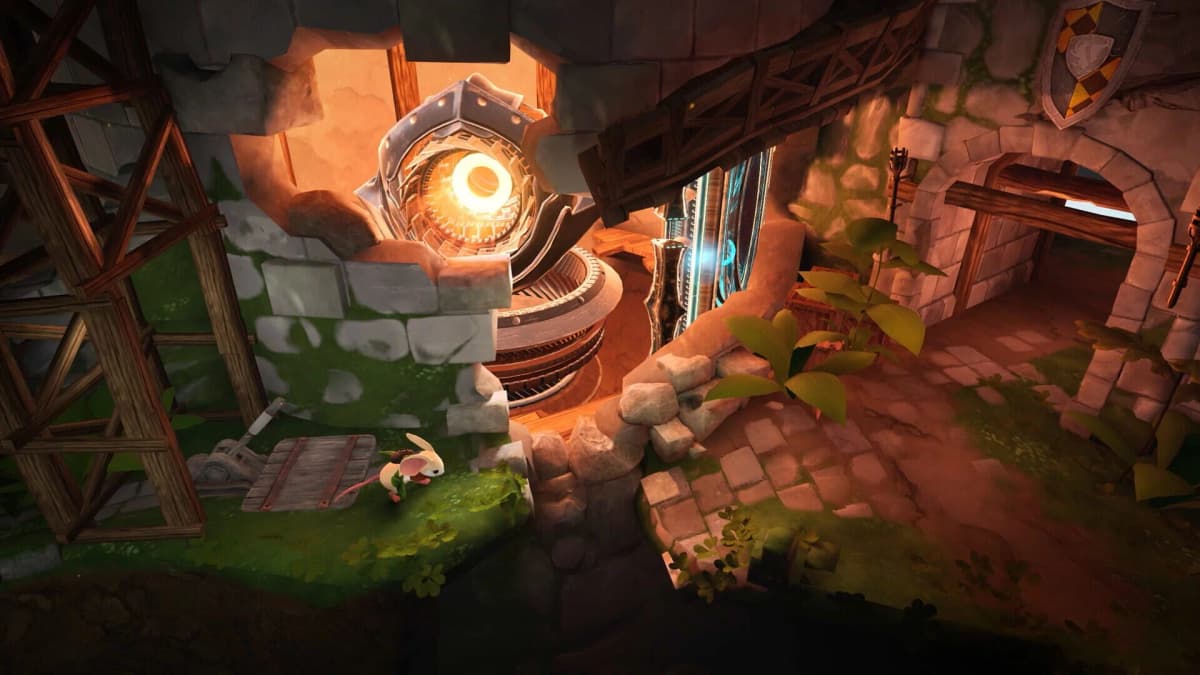
The Keeper is the greenhouse’s progression gate, so enter the encounter with the chest objective already complete. There is no benefit to searching for an alternate door route while the hex is still active; the fight is the step that clears it.
Use Quill’s sword for direct combat and keep the charged dash available when the space demands a quick reposition or a route through enemies. The dash has more value here than raw aggression because it lets Quill preserve momentum instead of getting stalled between the arena’s threats and the next safe opening.
- Confirm that you collected the lock from the chest before committing to the Keeper push.
- Use basic sword attacks for close-range pressure.
- Charge and release the dash with a destination in mind rather than firing it from an unsafe edge.
- After the Keeper falls, return your attention to the hexed door immediately.
Defeating the Keeper lifts the hex and unlocks the greenhouse door, allowing the Book II route to continue. If progress does not move after the fight, retrace the objective sequence: chest first, lock obtained, Keeper defeated, hex removed, then door opened.
Fast Troubleshooting for Greenhouse Dead Ends
Quill Cannot Reach the Next Platform
Return focus to the Reader. Recheck the green blocks, vines, flower-growth nodes, and Glass-based leaf path. The intended route needs another environmental change before Quill makes the jump or dash.
A Green Block Looks Useful but Creates No Route
Reposition it based on what it enables next. The best placement is the one that gives Quill a landing, lets the Reader touch another interaction, or connects the grown route to solid terrain. A block that only looks visually close to Quill is often a false solution.
The Dash Keeps Sending Quill Into Trouble
Charge from a stable surface and release with a specific landing or enemy pass-through in mind. The dash is directional, so using it without first aligning Quill wastes the upgrade’s main advantage: controlled gap coverage.
The Door Is Still Locked After Exploring the Greenhouse
Check the progression chain rather than searching for another environmental puzzle. The locked door requires the lock from the chest and the Keeper encounter that removes the hex.
FinalBoss // Gear
Level up your setup
01Top-rated gaming headsetson Amazon→02High-refresh gaming monitorson Amazon→03Gaming chairson Amazon→04Discounted game keyson Kinguin→
Affiliate links · As an Amazon Associate, FinalBoss earns from qualifying purchases.
Want to Level Up Your Gaming?
Get access to exclusive strategies, hidden tips, and pro-level insights that we don't share publicly.
Ultimate Guide Strategy Guide + Weekly Pro Tips