
Motorslice: Chapter 0 and Chapter 1 Walkthrough – Arrival to City
The clean route through Motorslice is to treat Chapter 0 as real training, not filler. You need three habits before Chapter 1 opens up: keep momentum through landings and wall runs, parry glowing attacks instead of panic-dodging, and use motorslice on orange traversal points the moment the game gives it to you. If you get stuck early, it is usually because you stopped moving before a jump, tried to parry the wrong hazard, or missed the yellow wheel interaction in the City section.
- Chapter 0 teaches smooth landing, wall running, climbing, parallel wall jumps, obstacle breaking, parry timing, and your first motorslice use.
- Chapter 1 starts with a short two-path fork, then funnels you toward the Megastructure, a dark parkour room, and a yellow wheel puzzle.
- The first boss, the Dump Truck, is a movement check more than a damage race: go under the wheels, not in front of the crusher, then climb the orange route and hit all four weak points.
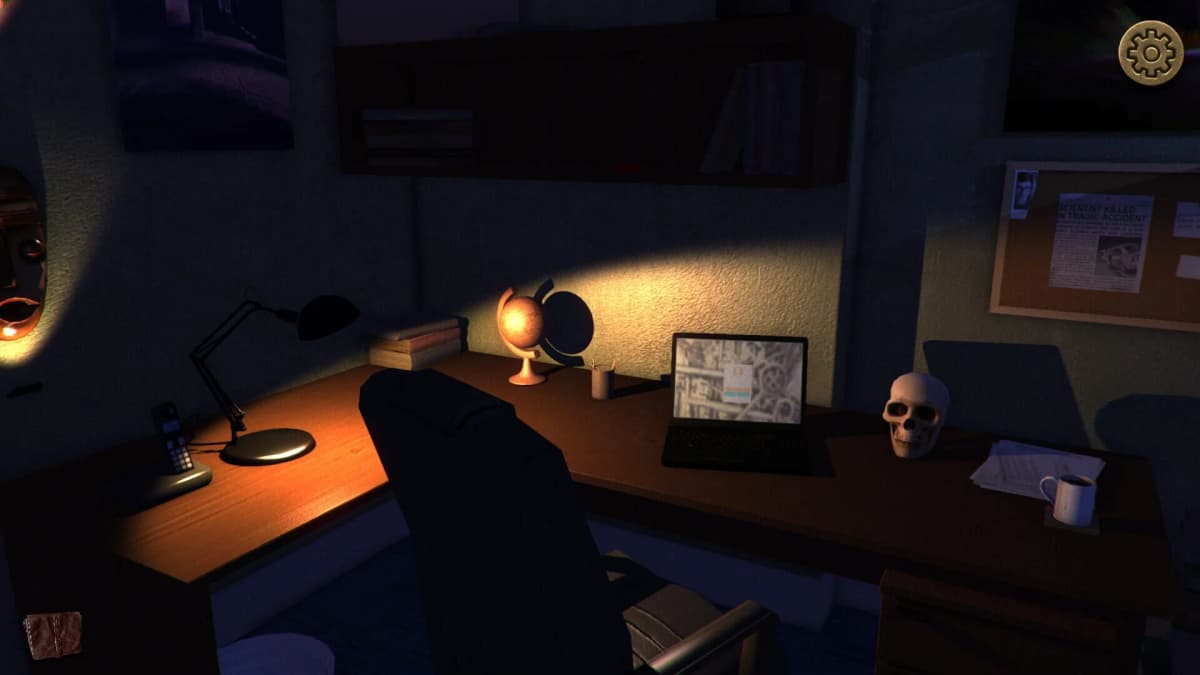
- Orb drones are optional. There are 250 in the whole game and you only need to bank 30 for the achievement, so grab the obvious lost drone in Chapter 0 and skip anything that demands awkward backtracking on a first run.
Chapter 0 (Arrival): learn the movement rhythm properly
The opening minutes are linear, but they are doing more work than they first appear to. When the game introduces smooth landing, do not just clear the prompt and move on. The point is to preserve forward flow after a drop so your next jump happens immediately. That same idea carries into wall running and climbing: Motorslice rewards committed movement. If you hesitate on the wall, over-correct the camera, or stop to line up every jump from a standstill, the parkour starts feeling much harder than it is.
On the first climbing section, follow the platform order the game quietly teaches: left, right, up, then left again. It is a simple route, but it establishes how the game wants you to read vertical spaces. Breakable obstacles are another early test. If a path looks blocked, try Attack before assuming there is a hidden alternate route. That rule saves time all through Arrival because the chapter mixes traversal and light combat in a way that can make obvious answers look decorative.
The parallel wall section is where a lot of early runs go sloppy. Jump between the walls with momentum instead of mashing the input as fast as possible. You want each leap to come after the character has actually connected with the surface, otherwise you lose height and slide. It is less about raw speed and more about keeping a smooth tempo.
How to handle the crane parry and the lost drone
The glowing crane attacks in Arrival exist to teach one of the most important combat rules in the game: if it glows, the answer is often a timed offensive response rather than backing away. Use your attack input as the strike is about to connect. Hitting too early is the common mistake. The glow is your timing cue, but wait for commitment from the crane before you swing. If you parry cleanly here, the traps and later parkour-combat sections in Chapter 1 make much more sense.
After the crane sequence and the stair ascent, look out for the lost drone. It sits right on the core route rather than on a fussy detour, which makes it the most reliable early collectible to pick up. If you are working toward the 30-drone achievement, this is a free deposit, so do not leave it behind. The rest of the orb drones can wait: lock in the guaranteed finds first and come back for precision jumps once you trust the movement.
Unlocking motorslice before the chapter transition
Near the end of Arrival, you will slide through a narrow passage and reach the section that introduces the motorslice mechanic. This matters immediately, because Chapter 1 assumes you understand that orange elements are traversal tools, not background props. When you see orange climb points, poles, or surfaces that look integrated with machinery, use motorslice on them. The game uses color language consistently here, and missing that language is one of the easiest ways to get stuck for a minute or two in the City chapter.
If Arrival feels short, that is normal. Its job is to teach the full early-game loop: move, read the environment, parry the glow, then use motorslice for verticality.
Chapter 1 (City): the correct route into the Megastructure
Chapter 1 opens on a two-path fork into the Megastructure. This looks more dramatic than it really is. The important thing is not which fork you take first, but that you keep pushing forward into the structure itself. Once inside, continue straight and be ready to use the flashlight. The dark mini-parkour stretch is mechanically simple, but it is easy to misread because ledges and wall-run surfaces blend into the environment more than the bright tutorial spaces in Arrival.
That dark parkour room ends at a dead end. When you hit it, look for the yellow wheel and rotate it to open the path onward. That is the key interaction many players miss because the room reads like a movement puzzle first. In practice, the City opening mixes traversal with one straightforward environmental interaction. If you have been searching for a hidden jump or a breakable wall for too long, back up and scan for the yellow wheel instead.
Orb drones and the triangle deployment markers
If you are chasing collectibles, know what you are actually committing to. There are 250 orb drones across the full game, and the achievement only asks for 30. That means the early chapters are not a completionist gauntlet. Grab drones that sit near your natural path and skip the ones that demand awkward wall-jump detours; you will have far more than 30 chances over the campaign.
You will also see orange triangle markers in these early sections. Do not treat them as progression gates. They are the deployment points where you bank collected lost drones, part of the optional orb-drone system, not mandatory route objectives. You can walk past them and still finish the chapter cleanly, so only stop at one when you are actually carrying a drone to deposit.
FinalBoss // Gear
Level up your setup
01Top-rated gaming headsetson Amazon→02High-refresh gaming monitorson Amazon→03Gaming chairson Amazon→04Discounted game keyson Kinguin→Affiliate links · As an Amazon Associate, FinalBoss earns from qualifying purchases.
Want to Level Up Your Gaming?
Get access to exclusive strategies, hidden tips, and pro-level insights that we don't share publicly.
Ultimate Guide Strategy Guide + Weekly Pro Tips
Dump Truck boss: beat it by reading it like a climb, not a duel
The first real boss in the City chapter is the Dump Truck, and the fight clicks much faster once you stop treating it like standard melee. The machine is basically a moving obstacle course with weak points. Your first priority is positioning: run under the wheels when the opening appears and stay away from the front crusher. Do not try to parry the crusher. Parry timing matters on glowing traps, but the crusher is a movement problem, not an attack you should challenge.
After avoiding the front danger zone, use the orange beams and poles to start climbing. This is where the Chapter 0 motorslice lesson pays off. The climb is not optional flair; it is the boss mechanic. Wall jumps and orange traversal points lead you to the weak points, and the boss becomes much more manageable if you think in terms of route segments instead of one long panic sequence.
There are four weak points, and they come in order:
- First: climb the orange beams inside the body to reach it.
- Second: hidden in the niche just above the front crusher.
- Third: at the rear, reached after passing behind the wheel.
- Fourth: at the top/front, reached by climbing onto the roof once the bed tilts.
If you reach a safe perch, take the hit window and move on rather than overcommitting. Missing a cycle is annoying, but falling off because you got greedy wastes much more time. The boss is built to punish hesitation and impatience, so the winning pace is controlled aggression.
Parry the glowing hazards and trap-like attacks when they are clearly telegraphed, but keep the rule from earlier chapters in mind: glow-based counters are for specific attacks, not everything that looks dangerous. If an attack is a giant crushing hitbox with bad geometry around it, movement is usually the answer.
Early-game mistakes that cost the most time
- Stopping before every wall jump. Motorslice movement is more stable when you carry speed into surfaces.
- Mashing jump between parallel walls. Wait for contact, then jump with rhythm.
- Trying to dodge everything. The game teaches parry early for a reason, especially against glowing crane and trap attacks.
- Trying to parry the Dump Truck’s front crusher instead of routing around it.
- Stopping at only three Dump Truck weak points and missing the fourth on top of the bed.
- Missing orange traversal points after unlocking motorslice.
- Overlooking the yellow wheel at the Chapter 1 dead end and searching for a fake parkour solution.
- Grinding every orb drone in the early chapters when you only need 30 of 250 for the achievement.
If you clear Arrival and City with those fundamentals in place, the game’s parkour-combat language becomes much easier to read on both PC and console. The early chapters are really teaching one consistent rule set: preserve momentum, answer glow with timing, and treat machinery as climbable level design as often as you treat it as an enemy.