

Old-school shooters trained you to clear rooms slowly, hug cover, and treat every fight like a resource check. Mullet MadJack punishes that instinct. Here every build is judged by one question: does it help you reach the next kill faster? If a choice makes you tankier but slower, it is usually the wrong choice.
Table of Contents (8)
The short version
- Pick weapons that delete enemies at close to mid range — a shotgun or a high-DPS automatic that clears a target the moment you commit to a push.
- Draft tempo upgrades first: movement speed, faster reloads, better weapon uptime, and anything that rewards chaining kills.
- Take exactly one layer of sustain (armor or health on kill), not a full defensive stack.
- Build to be time-positive, not durable. Every room should leave you with more breathing room than you entered with.
If you searched for “best teams,” translate that into best weapon and perk packages. Mullet MadJack is a single-player, run-based shooter, so your “team” is really your primary weapon, your backup plan for messy rooms, and the upgrades that turn speed into survival. A strong run is not about becoming tanky. It is about staying time-positive.
What a strong build actually does
Stop asking “Is this safe?” and start asking “Does this get me to the next kill faster?” A good build solves three problems at once: fast clears, smooth movement between targets, and recovery when a room gets ugly.
- Fast clear speed: burst damage or reliable DPS that removes enemies immediately, not chip damage that leaves targets alive.
- Low downtime: long reloads, clunky swaps, and overly cautious peeking waste more time than a missed shot.
- Momentum recovery: perks that let you survive a mistake without slowing down — armor on kill, health on cleanup, magazine extensions, movement boosts — beat passive stats that only matter after you have already lost control.
This is why passive, defensive loadouts underperform. Extra durability sounds useful, but if it does not help you secure the next kill faster, it turns into a time tax. In a game built around pressure, speed is defense.
Best all-purpose build: aggressive close-range control
The most consistent build for mixed runs is an aggressive close-range setup: a weapon that can one-shot or near one-shot common enemies up close, paired with upgrades that let you reposition and keep the chain going. In practice that means favoring a shotgun, a high-damage automatic, or any weapon that deletes enemies without demanding perfect precision.
- Primary weapon priority: shotguns or high-DPS automatics that clear a target the moment you push.
- Backup function: something that covers bad angles, clustered enemies, or a quick finish when the room is half-cleared.
- Top perk categories: movement speed, reload speed, ammo or magazine support, armor or health on kill, and anything that rewards chaining eliminations.
- Room plan: enter fast, remove the closest threat, path through weaker enemies to keep tempo, then turn toward the elite.
Close-range burst removes decision-making lag. You are not stopping to line up elaborate shots or backing off to preserve HP — you are converting momentum into survival. When a room spawns one dangerous enemy plus several easy kills, take the easy kills first if they are in your path. Those weaker targets are not distractions; they are your tempo bank.
The trap is overcommitting to pure damage at the cost of control. If your gun hits hard but reloads forever, take one upgrade that smooths the gap. If it sprays well but struggles against armored targets, pair it with a backup that finishes priority enemies without forcing a long duel. High damage alone is not enough — the build must stay fluid.

Best beginner-safe build: mobility first, defense second
If you are still learning room pacing, the safest build is not a tank build — it is a mobility-first build with one layer of forgiveness. New players usually lose runs because they stop moving after a hit, or because they stack survival perks and can no longer clear rooms fast enough. Aim for one defensive pick per two tempo picks.
- Take first: movement speed, dash or traversal support, fast reloads, easy-to-control weapons.
- Take after that: one sustain perk — armor gain, health gain, or any effect that stabilizes you after an aggressive entry.
- Avoid early: upgrades that only raise max survivability without improving room speed.
This build teaches the right habits. You learn to keep sliding, strafing, and snapping to the next target instead of turning every fight into a bunker defense. When you get clipped, the sustain perk lets you recover while still playing forward — far stronger than stacking slow defensive bonuses and watching your tempo drain while you survive less efficiently. If you want a target to build toward, the S-Rank and 100% achievements guide shows which clears these fast builds are aiming at.
Upgrade priority: what to draft first and what to skip
Runs are decided by tempo, so upgrade order matters as much as upgrade quality. The best choice is usually the one that improves immediate room-to-room consistency, not the one with the biggest stat number.
- Tier 1: faster movement, faster reloads, better weapon uptime, and chain-kill rewards.
- Tier 2: armor or health on kill, crowd-control effects, ammo stability, damage boosts that meaningfully cut shots-to-kill.
- Tier 3: pure max health, situational long-range bonuses, or perks that only fire in rare scenarios.
Value any upgrade that saves you a second every room — over a full run that beats a modest defensive stat. Movement bonuses do double duty: they make you harder to pin down and they help you chain kills before pressure builds. Crowd-control is worth more than it looks, too. Most failed rooms do not happen because one enemy had too much health; they happen because several enemies create overlapping pressure and you lose your route through the space. A little control preserves your line of attack.
The upgrades to skip are the ones that encourage passive play: long-range comfort perks, low-impact sustain with no tempo upside, or niche bonuses that need an ideal setup. If a perk makes you play slower to get its value, it is the wrong perk for this game.
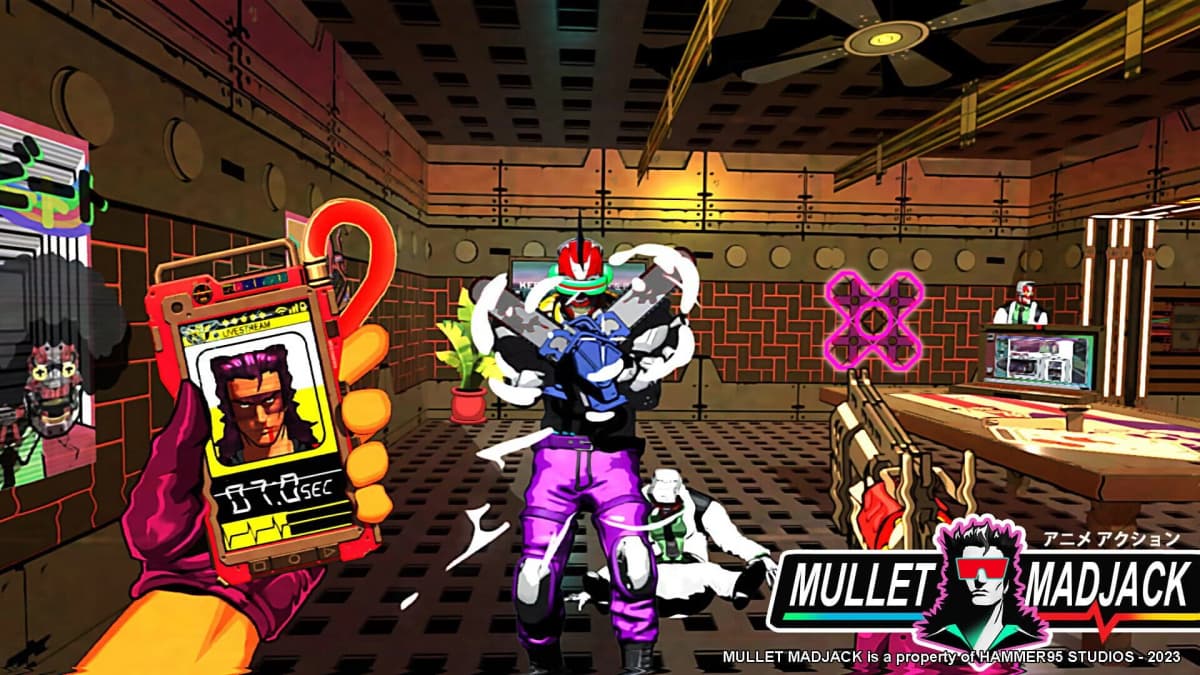
Managing rooms when the clock is your real resource
Even the best build fails if you route rooms badly. The timer changes target priority: you are not always killing the most dangerous enemy first, you are often killing the most accessible enemy first, because that keeps the run alive long enough to solve the rest of the room properly.
On entry, read three things immediately: the nearest free kill, the angle that traps you if ignored, and your next movement lane. Take the free kill, slide out of the trap lane, and keep your crosshair moving toward the next target before the current one is fully down. That is how good runs stop bleeding seconds.
Do not full-clear with military precision. If a room lets you keep momentum by pushing through the softest edge of the enemy formation, do that. The worst habit in Mullet MadJack is standing still to finish a messy duel while easier targets are available. The game rewards forward flow. The same instincts carry into set-piece fights — see the V2 Boss Rush guide for how to apply this to scripted encounters.
Common build mistakes that waste runs
- Building like a survival shooter: stacking durability and expecting to outlast rooms instead of outpacing them.
- Ignoring reload or swap downtime: big damage numbers do not matter if the weapon keeps forcing dead seconds.
- Overvaluing range: passive sightline play feels safe, but the timer usually makes it inefficient.
- Tunneling elites: weak enemies are often the fastest way to refill tempo and avoid panic.
- Taking every defensive offer: one good sustain tool is valuable; a full defensive stack kills momentum.
Practical takeaway
Your loadout should make aggression easier to control, not replace it with caution. Favor a close-range weapon that one-shots common enemies, draft tempo upgrades before defense, keep exactly one sustain layer, and route rooms by accessibility instead of threat. If a choice does not help you kill faster, move faster, or recover your rhythm without slowing down, it does not belong in a top-tier Mullet MadJack run.
FinalBoss // Gear
Level up your setup
01Top-rated gaming headsetson Amazon→02High-refresh gaming monitorson Amazon→03Gaming chairson Amazon→04Discounted game keyson Kinguin→
Affiliate links · As an Amazon Associate, FinalBoss earns from qualifying purchases.
Want to Level Up Your Gaming?
Get access to exclusive strategies, hidden tips, and pro-level insights that we don't share publicly.
Ultimate Guide Strategy Guide + Weekly Pro Tips