
Never Grave: How to Clear the Ruins – Celestial Plume & Crimson Warden
Game intel
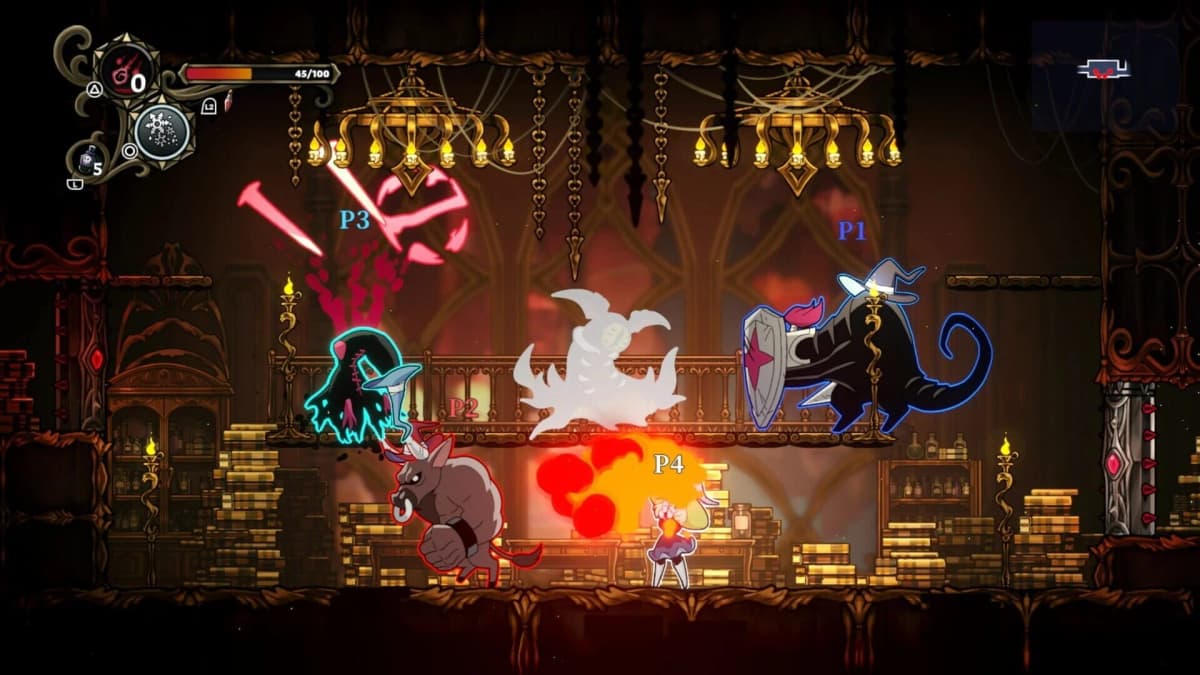
Never Grave: The Witch and The Curse
A Metroidvania x Roguelite, where you advance using a cursed hat. Use a variety of magic or possess your enemies to reach the lowest levels! Bring back loot, b…
Why the Ruins Biome Matters (and Why It’s Tricky)
After spending my first 6-8 hours of Never Grave: The Witch and The Curse stuck in the Ruins, I realised this biome quietly locks a huge chunk of progression behind a few easy-to-miss steps. Clearing Ruins isn’t just “beat the first area and move on” – it’s how you:
- Unlock the Celestial Plume (Air Dash), your first major traversal upgrade
- Open the gate to Ruins – Depths and fight the Crimson Warden
- Push Village development forward and access more facilities
- Unlock the next biome, Gardens
I wasted several runs because I didn’t talk to the right NPC, skipped parts of the map, and under-invested in Village upgrades. This guide goes through exactly what to do – in order – so you can clear Ruins reliably instead of banging your head against it.
Understanding the Ruins Layout: Areas, Nexus, and Depths
Ruins is the first biome you can enter and is split into distinct chunks:
- Area 1 – Easiest, intro-level enemies and traps
- Area 2 – Harder mobs, more hazards; this is where you’ll find Celestial Plume
- Area 3 – Toughest normal area of Ruins
- Ruins – Depths – Separate zone accessed from each Area’s Nexus
- Flooded Zone – Optional variant that can replace Area 2 or 3 in some runs
The basic loop for progression looks like this:
- Clear an Area → find its Nexus portal.
- From the Nexus, take the portal to Ruins – Depths.
- Talk to the Traveler and interact with the locked gate.
- Each Nexus you reach lets you interact with the gate once, weakening the seal.
- After reaching Depths from all three Areas and touching the gate three times, it fully unlocks and leads to the Crimson Warden boss.
The breakthrough for me was realising: you’re meant to hit Depths from all three different Area Nexuses. Just farming Area 1 over and over won’t open the gate.
Step 1: Clear Area 1 Cleanly
Area 1 is where you should learn the game’s rhythm instead of rushing through:
- Practice possession on a few enemy types so swapping bodies mid-run feels natural.
- Explore side paths for chests and resources – you’ll need these for Village upgrades.
- Take note of traps and environmental hazards; they only get nastier later.
Once you’re near the end of Area 1, look for the Nexus portal (it’s distinct from the regular exits). Go through it, then from the Nexus enter Ruins – Depths, talk to the Traveler, and interact with the gate to remove the first lock.
Step 2: Area 2 and the Flooded Zone Variant
Area 2 is a noticeable bump in difficulty – tighter jumps, more enemies stacked together, and more projectiles. Sometimes, depending on your run, this slot might be replaced by the Flooded Zone variant with more water-themed hazards.
Your goals for this step:
- Survive to the Nexus so you can hit Depths and weaken the gate a second time.
- Fully explore Area 2 because this is where the Celestial Plume is hidden once you’ve triggered it (more on that below).
Step 3: Area 3 – The Last Stretch Before the Boss
Area 3 is the nastiest part of Ruins. Enemies hit harder, and it’s common to lose a promising run here if you get greedy. When I finally cleared Ruins, what helped was playing Area 3 like a survival test, not a speedrun:
- Only take optional fights if there’s a clear reward (chest, heal, or shortcut).
- Use possession aggressively – switching into a fresh body is often safer than burning another heal.
- Mentally treat every room as the last one before the boss: stay topped up on HP whenever possible.
Again, once you find Area 3’s Nexus, go through it, reach Ruins – Depths, speak to the Traveler, and touch the gate for the third time. With all three interactions done, the gate opens and the next time you enter it you’ll face the Crimson Warden.
In my runs, once the gate was fully unlocked, it stayed open for future visits, so I didn’t have to repeat the three-lock process after dying to the boss.
Village Progression: Facilities and Upgrades to Prioritize
You unlock the Village as soon as you enter the Church for the first time. Early on it feels barebones, but Ruins drops the materials you need to start upgrading it. Getting your Village in order makes subsequent Ruins runs noticeably easier.
Core Facilities You Should Focus On
The game gradually pushes you toward certain buildings, but for Ruins specifically I recommend prioritising:
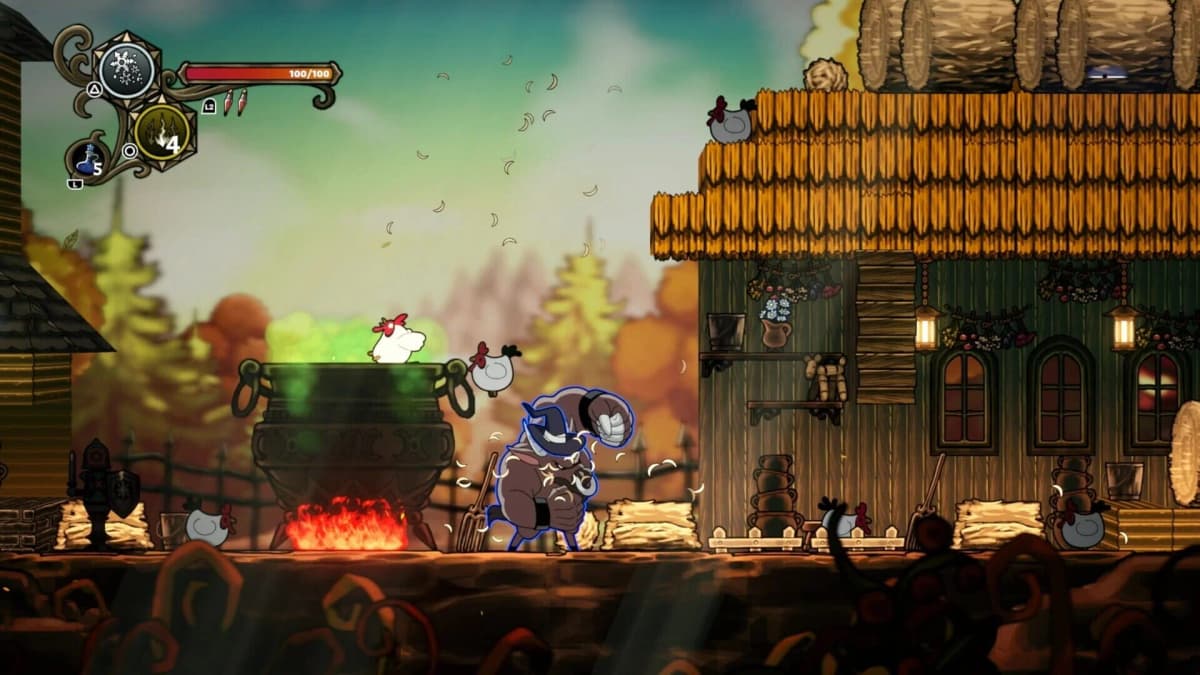
- Witch’s Cauldron – Lets you craft materials required for some Village facilities and character upgrades. Many Pillar upgrades are gated behind crafted components, so set this up early.
- Any facility that improves healing or survivability – extra max HP, stronger heals, or basic defense are far more valuable in Ruins than niche damage bonuses.
- Any basic equipment enhancement options – even small attack boosts add up over long biomes.
Don’t stress too much about “wasting” resources; most of these upgrades are effectively required for long-term progression, and you’ll naturally unlock them as you keep running Ruins.
Pillar of Combat and Pillar of Survival – Recommended Focus
The Pillar of Combat and Pillar of Survival function as your main skill trees. Early on, I found this priority order most reliable:
- Pillar of Survival first – grab upgrades that increase max HP and basic survivability before anything else. Ruins punishes mistakes, and having a bigger health pool forgives sloppy rooms while you’re still learning layouts.
- Then Pillar of Combat – focus on broad attack or magic power boosts rather than super-specific elemental modifiers. You’ll be swapping spells and weapons a lot; generic damage pays off every run.
Some of the stronger upgrades in both trees require special materials that you can only create through the Witch’s Cauldron, so get into the habit of checking those recipes between runs.
🎮 Get This Game at the Best Price
Compare prices instantly and save up to 80% on Steam keys with Kinguin — trusted by 15+ million gamers worldwide.
*Affiliate link — supports our independent coverage at no extra cost to you
FinalBoss // Gear
Level up your setup
01Top-rated gaming headsetson Amazon→02High-refresh gaming monitorson Amazon→03Gaming chairson Amazon→04Discounted game keyson Kinguin→Affiliate links · As an Amazon Associate, FinalBoss earns from qualifying purchases.
How to Unlock Celestial Plume (Air Dash)
Celestial Plume is your first Artifact and gives you the Air Dash. It’s a game changer: mid-air dodges, longer jumps, and much safer boss fights.
Step-by-Step Celestial Plume Unlock
- 1. Clear Area 1 and Area 2 at least once.
After you’ve successfully completed both Areas in previous runs, return to the Village. - 2. Talk to Sleepy Sister before entering Ruins again.
On your next visit, stand near the Ruins Portal in the Church and talk to the Sleepy Sister. She’ll mention an Elder Statue in a tight passage somewhere within Ruins. This seems to “flag” the statue so the Plume can be acquired. - 3. Start a new Ruins run and clear Area 1.
Play normally and head into Area 2 when you reach the portal. - 4. Thoroughly explore Area 2.
Somewhere in Area 2 you’ll find a statue holding a glowing plume – the Elder Statue. It’s usually tucked into a narrow corridor or side room, so avoid beelining to the exit. Check upper ledges, dead-end side paths, and any area guarded by extra traps. - 5. Interact with the Statue to obtain Celestial Plume.
Stand in front of the statue and press your interact button to take the plume. From this point on, you permanently unlock Air Dash.
If you’re not sure which button Air Dash is mapped to, double-check under Options → Controls. By default, you can trigger it once per jump, but you can use it both horizontally and vertically depending on your momentum.
Why Air Dash Is So Important
- Mid-air i-frames – Dashing through projectiles or enemy hitboxes makes tricky rooms and boss patterns far more forgiving.
- Extended platforming range – You can cross wider gaps and recover from slightly missed jumps instead of falling into spikes or pits.
- Boss repositioning – Against Crimson Warden, Air Dash makes it easy to avoid his lasers and fists while still staying close enough to keep attacking.
I actually beat Ruins once without realising Celestial Plume was available, and the difference in comfort once I had it was massive. Don’t skip it.
Want to Level Up Your Gaming?
Get access to exclusive strategies, hidden tips, and pro-level insights that we don't share publicly.
Ultimate Guide Strategy Guide + Weekly Pro Tips
Crimson Warden Boss Guide – Safe and Consistent Strategy
Location: Ruins – Depths, through the gate you’ve unlocked by visiting from all three Area Nexuses.
Difficulty: High HP, but slow and very pattern-based.
Hitboxes and General Strategy
Crimson Warden has three main hitboxes:
- Left hand
- Right hand
- Face / eye (highest damage and stagger potential)
What finally worked for me was:
- Spending most of the fight hitting the hands for safer damage and
- Only going for the face when I had a clear opening, often after stunning him or while using a possessed body.
Your spell loadout should include at least one reliable ranged option so you can chip away while dodging lasers. Don’t forget you can reposition aggressively using Air Dash.
Phase 1 – Single-Hand Attacks, Debris, and Eye Lasers
At the start, Warden mostly uses one hand at a time:
- Fist Slam – One hand rises, then slams straight down. Stand nearer the outer side of the arm and move slightly away as it comes down; you’ll be out of the impact zone but still in position to keep hitting the hand.
- Arm Swipe – The arm sweeps horizontally. If you stay close to the wrist area and jump or Air Dash over the sweep, you can often avoid damage and continue attacking.
He also has two arena-wide moves:
- Double-Hand Slam + Debris
He slams both hands, the screen shakes, and after a brief pause, three boulders fall from the ceiling. Watch the upper screen for their shadows and simply move/air dash to a gap. Don’t panic-jump early – wait for the tell. - Eye Laser Barrage
His eye glows and fires multiple lasers across the arena. Back up to max distance, then weave between the beams using short hops and Air Dashes. This is a great time to spam ranged spells at his face.
In this phase, aim to chip away with safe hand damage while keeping your healing intact. If you can reach the face after dodging a move, take a few swings or fire a spell, then drop back to safety.
Phase 2 – Minions, Dog Possession, and Giant Beam
At roughly half HP, Crimson Warden adds several new elements:
- Minion Summon + Dog
He spawns smaller enemies and a dog-like creature you can possess. The trick is to:- Quickly possess the dog as soon as it appears.
- Use the dog’s moveset to rush the face and unleash attacks there, which can stunlock the boss.
While possessed, you can be more aggressive – if the body dies, you just pop back to your original form.
- Giant Horizontal Laser Beam
He charges up and sweeps a huge laser horizontally across the arena. Counterintuitively, the safest move is to run toward the source of the beam so it passes behind you more quickly. Use Air Dash if you mistime and need to push through the edge of the hitbox.
This phase is where I used to die the most until I committed to the dog possession strategy. Treat every summon as a chance to grab the dog and burst his face down while he’s locked in attack animations.
Common Mistakes to Avoid
- Standing dead center – This is where slams, lasers, and debris overlap. Stay closer to one side so you always have a “safe” direction.
- Ignoring Air Dash – Try to dash through late, not early. Over-dodging is a fast way to eat the tail end of attacks.
- Tunnelling on the face too early – Hands-first damage is safer. Only commit to the face when you have a clear window.
- Not using possession in Phase 2 – The dog is practically handed to you; use it. Fighting Phase 2 exclusively in your base body is much harder than it needs to be.
Once you internalise these patterns, the fight goes from “wall” to “big HP sponge” pretty quickly.
Rewards for Beating Crimson Warden (and Next Steps)
After you defeat Crimson Warden and return to the Church, make sure you do the following:
- Talk to the Head Sister to receive the Arctic Breath spell blueprint.
- Check your Village for new Furniture and additional Facilities unlocked via the Inventor.
- Enter the newly unlocked biome, the Gardens, when you’re ready for the next challenge.
Based on early achievement stats, only around a quarter to a third of players actually clear Ruins, so if you’ve made it this far you’re already ahead of the curve.
What Not to Do in the Ruins
A few quick “don’ts” that I learned the hard way:
- Don’t skip key NPC dialogue.
If you don’t talk to Sleepy Sister or the Traveler, you can accidentally lock yourself out of Celestial Plume or stall your gate progress without understanding why. - Don’t rely on cheats or external trainers.
Besides trivialising the challenge, they can sometimes break story triggers and progression flags in games like this. If a gate or NPC isn’t behaving as expected, check that you haven’t used anything that might interfere. - Don’t grind only one Area.
You must reach Ruins – Depths from all three Area Nexuses to truly unlock the boss gate. Farming Area 1 may feel safe, but it won’t move the story forward. - Don’t over-invest in ultra-niche upgrades.
In the early game, raw HP and generic damage are far more impactful than hyper-specific elemental bonuses.
If you follow this route – build up your Village, grab Celestial Plume, unlock the Depths gate properly, and lean on possession plus hand-focused damage for Crimson Warden – Ruins goes from a brick wall to a satisfying first milestone. And once you’re in the Gardens, you’ll be very glad you learned these fundamentals early.