
Never Grave: The Witch and The Curse: How to Survive Early Runs – Beginner Guide
Game intel
Never Grave: The Witch and The Curse
A Metroidvania x Roguelite, where you advance using a cursed hat. Use a variety of magic or possess your enemies to reach the lowest levels! Bring back loot, b…
Why Early Runs in Never Grave Feel So Brutal
After spending my first 8-10 hours getting repeatedly sent back to the Church, I finally stopped trying to “wing it” and treated Never Grave: The Witch and The Curse like the Metroidvania-roguelite blend it really is. The breakthrough came when I realized that early success is less about raw skill and more about smart routing, village priorities, and deliberate build choices.
This guide walks through the exact approach I use now to make early runs far less punishing: how I clear zones with portals, what I build first in the Village, how I pick Blessings and Grimoires, and how I abuse magic and possession to protect my health. If I had done this from the start, I would’ve unlocked core upgrades hours earlier.
Step 1 – Use Portals to Clear, Not Skip, Each Area
My first big mistake was sprinting for the exit as soon as I saw it. That feels efficient, but in Never Grave it actually slows your long-term progression because you miss the materials and blueprints that fuel Village upgrades.
Here’s how I handle portals and exploration now:
- Enter a new region and clear every room on the “main” route until you hit the first Portal.
- Use the Portal to hop back and forth between branches, systematically checking every dead end for chests, destructible objects, and secret walls.
- Only leave the region once your minimap shows no unexplored paths (except doors that are obviously ability-gated, like unreachable ledges or sealed passages).
Portals are always placed so you can comfortably explore side paths and then fast travel back to the main route. Lean on that. Break every crate, vase, and environmental object you see: that “trash loot” is exactly what you need to build early Facilities back in the Village.
Common mistake to avoid: finding the exit door and immediately using it “just to see the next zone.” You’ll reach the boss faster, but with fewer upgrades and less health, and you’ll be stuck in a loop of short, low-reward runs.
Step 2 – Prioritize the Right Village Upgrades
Once you hit the first hard wall (usually the Crimson Warden), you’ll be kicked back to the Church and then funneled into the ruined Village. This is where your long-term power comes from, and what you do here in the first couple of hours matters a lot.
My early Village priority list now looks like this:
- Clear the rubble as soon as the NPCs ask you. This unlocks buildable spaces and your first core Facility.
- Build the Research Station first. This brings in the Inventor NPC, who lets you turn materials into new Facilities, Spells, and Tools. Almost everything good branches from here.
- Unlock the Pillar of Combat as soon as you can. This is your main way to upgrade combat stats permanently between runs.
In practice, this means your first few runs have a very simple goal: farm enough basic materials to feed the Research Station and Pillar of Combat. Don’t worry yet about fancy farming plots or more niche buildings; they matter later, but they won’t help you beat early bosses.
Whenever you return to the Village, take 30 seconds to:
- Visit the Inventor and check for new unlockable Facilities or Spells.
- Spend Essence and materials at the Pillar of Combat on raw survivability and damage (HP, attack, defense, MP-related boosts).
- Only then head back to the Church to start the next run.
Those tiny 2–3% stat bumps add up fast over multiple runs. The game is designed around this town-building loop, so treat Village progression as the “main quest,” not a side activity.
Step 3 – Be Intentional With Blessings and Grimoires
For a while I was just grabbing whatever Blessing or Grimoire sounded coolest. That’s fun, but it also leads to awkward, unfocused builds. The run where everything finally “clicked” was the one where I decided my build before I touched my first statue.
During a run you’ll regularly bump into:
- Blessing statues – pick one of three buffs.
- Grimoires – similar pick-one-of-three upgrades that lean into certain playstyles.
Those effects last for the whole run, so view each choice as adding another piece to your build. Here are three early-game archetypes that work well:
- Physical crit build – Prioritize physical attack, crit chance, and crit damage. Great if you’re comfortable getting in close and “mash-to-attack” feels natural to you.
- Magic control build – Look for Magic Attack, Magic Crit, status effects (burn, shock, etc.), and MP regeneration. This is my go-to when I’m learning new enemy patterns.
- Tanky retaliation build – Stack HP, damage reduction, on-hit retaliation, and any revive effects. You’ll trade speed for safety, but it’s very forgiving while you’re still making mistakes.
Before you start a run, quietly decide: “This is a magic run” or “This is a melee run.” If none of the three options at a statue fit your plan, pick the one that at least doesn’t conflict with it. A mediocre synergy is still better than a scattered mess of unrelated bonuses.
FinalBoss // Gear
Level up your setup
01Top-rated gaming headsetson Amazon→02High-refresh gaming monitorson Amazon→03Gaming chairson Amazon→04Discounted game keyson Kinguin→Affiliate links · As an Amazon Associate, FinalBoss earns from qualifying purchases.
Step 4 – Lean Into Magic Attacks Early
The single most helpful adjustment I made was embracing how strong Magic Attacks are in this game. You can equip up to two Spells, each mapped to its own button, and they cost MP instead of HP or consumables. Hitting enemies with your basic attack regenerates MP, and some upgrades push that regeneration even higher.
Why magic is so good early on:
- Spells let you fight from a distance, which means fewer mistakes and less chip damage.
- Magic can crit, and when you stack Magic Attack + Magic Crit bonuses, those crits absolutely melt early bosses.
- You get to control the pace: poke with magic, back off, then rebuild MP with a few safe melee hits.
If you keep getting hit when you close in for sword swings, try running a magic-focused build for a few runs. When choosing Blessings/Grimoires, grab anything that mentions Magic Attack, Status, or MP regeneration. The difference in safety is huge.
Want to Level Up Your Gaming?
Get access to exclusive strategies, hidden tips, and pro-level insights that we don't share publicly.
Ultimate Guide Strategy Guide + Weekly Pro Tips
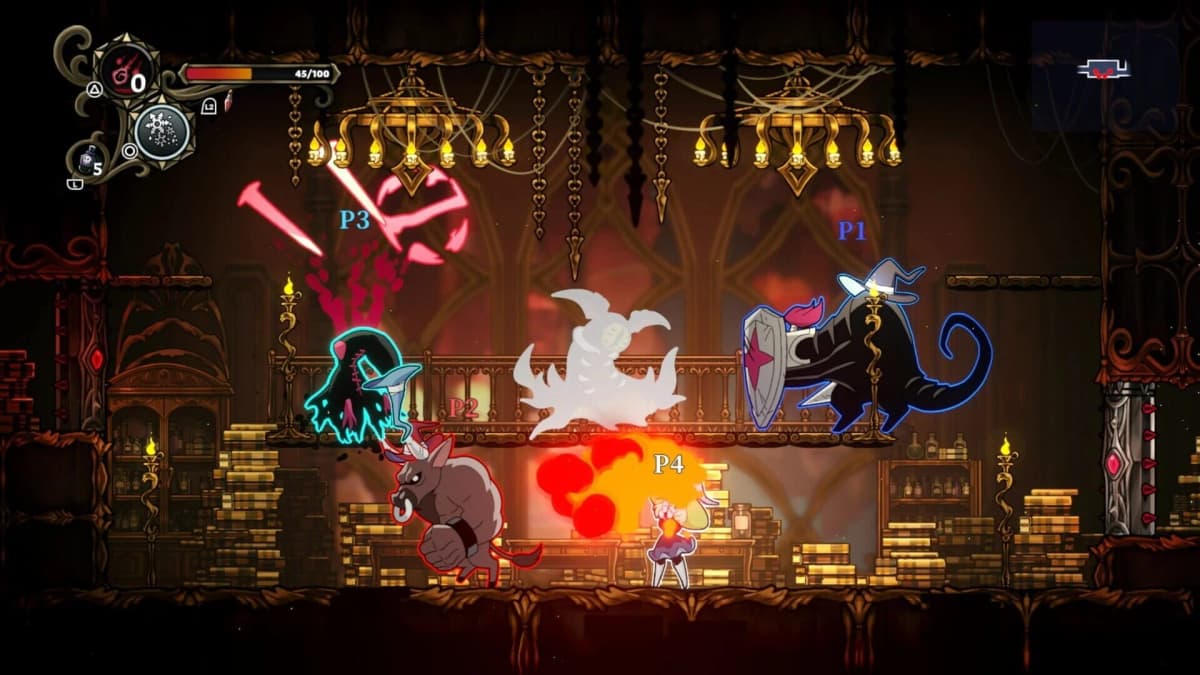
Step 5 – Use Possession as a Second Health Bar
Possession is one of Never Grave’s coolest ideas and also one of the most abusable tools for surviving early runs. Remember: you are the Hat, not just the Witch’s body. Certain enemies, once defeated, can be possessed and controlled directly.
Here’s why this matters:
- The possessed unit has its own health bar, separate from your Witch’s HP.
- It also has its own moveset and often unique Spells, but it still benefits from all your chosen Blessings and Grimoires.
- When the possessed body dies, you drop back to your Witch with the HP you had before possessing.
In other words, possession is effectively a spare life plus a different kit. When I’m in a new zone or low on health, I deliberately seek out possessable enemies so I can play much more aggressively without risking my “real” body.
My rule of thumb:
- Use the Witch for safe, familiar fights and exploration.
- Switch to a possessed enemy for tricky rooms, elite mobs, or boss phases where you expect to take hits.
You can swap back to the Witch whenever you like, so don’t hoard possession for “the perfect moment.” Think of it as another tool to smooth out difficulty spikes.
Step 6 – Treat Health as Your Most Precious Resource
The game is surprisingly stingy with healing in the early hours, and this is where many runs quietly die. You do not automatically heal when you go through an exit to the next zone, so any damage you take while “just rushing through” comes back to bite you later.
Key health rules I follow now:
- Your Health Flask only has one charge at the start. You can refill it between zones by spending Essence, and there’s no hard limit as long as you can pay. Don’t be afraid to refill if you’re below half HP before entering a new area.
- Food drops that heal you mid-run are rare. Assume you won’t get one when you need it.
- Always pick up Vital Rubies when you see them. The max HP increase is permanent for that run and makes every future heal more valuable.
In combat, I started asking myself a simple question: “If this enemy hits me once, is the trade worth it?” If the answer is no, back off, wait for a safer opening, or switch to magic or a possessed host. Your goal isn’t to clear rooms fast; it’s to reach the next region with enough HP to actually use all the loot you’re collecting.
Step 7 – Revisit Zones With New Movement Abilities
Never Grave has strong Metroidvania DNA, which means some of the best rewards are stuck behind ability-gated paths. Early on you’ll see platforms you can’t reach and passages that are obviously blocked off. Don’t stress about them in the moment, but make a mental note (or check your map).
As you progress, you’ll unlock permanent movement abilities like:
- Celestial Plume – lets you dash in mid-air, opening up new jump gaps and dodge options.
- Later, extra jumps or mobility tools that enable even more routes.
Unlike Blessings and Grimoires, these are permanent upgrades: once you have them, they’re always on for future runs. When you unlock a new movement tool, plan at least one “exploration-focused” run where your priority is revisiting earlier zones and poking every suspicious wall, gap, and vertical shaft. That’s how you’ll find hidden Spells, Tools, and Blueprints that supercharge your future attempts.
An Efficient Early-Game Loop You Can Follow
Putting it all together, here’s the loop I wish I’d followed from my very first run:
- Before the run: Decide your build focus (physical, magic, or tanky) and check the Village for any new Research Station unlocks or Pillar of Combat upgrades.
- In the dungeon: Use portals to fully explore each branch before taking the exit. Break everything for materials.
- At each Blessing/Grimoire: Pick the option that best fits your pre-decided build, even if something else looks flashier.
- In combat: Default to spells at range, use possession aggressively as a “spare body,” and avoid trades that cost more HP than they’re worth.
- Between zones: Spend Essence to refill your Flask if you’re not confident about your HP for the next area.
- After new abilities: Dedicate a run to revisiting earlier regions and hunting ability-gated secrets and blueprints.
Follow this structure for a few hours and you’ll feel the difficulty curve smooth out. Your Village will grow, your stats will creep higher, and suddenly the same bosses that used to wall you will start going down on the first or second try.
If your early experience with Never Grave has been a cycle of short, frustrating runs, slow down, explore deliberately, and let the long-term systems do their work. Once you get past that initial hump, the game opens up into a satisfying rhythm of experimentation, progression, and increasingly wild builds-and that’s where it really shines.