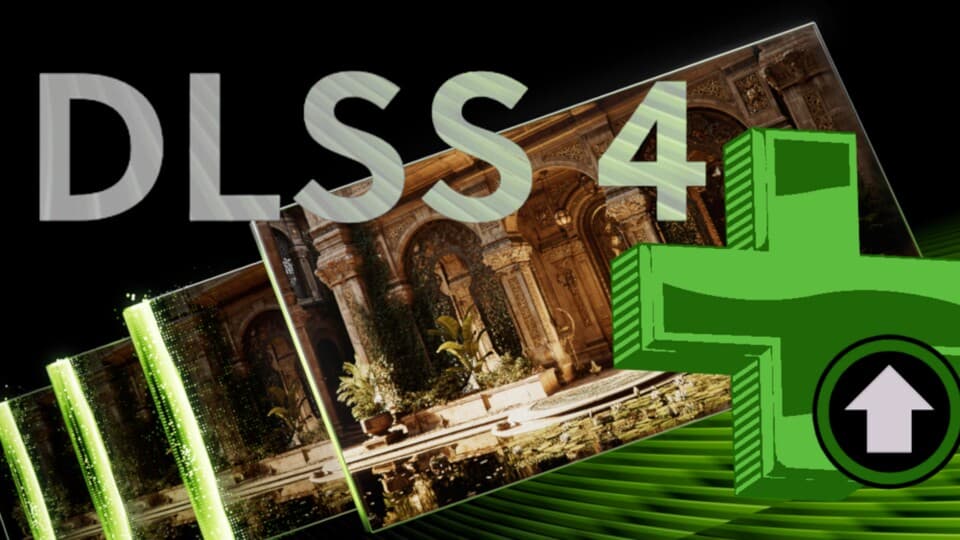
NVIDIA DLSS: How to Force the Newest DLL in Every Game – 2026 Guide
Why Forcing the Newest DLSS DLL Is Still Worth It
After spending way too many evenings benchmarking Cyberpunk 2077, Alan Wake 2 and a pile of smaller AA games, I hit the same annoyance again and again: DLSS is amazing for both FPS and image quality, but a lot of games ship with outdated DLSS DLLs and then never touch them again.
The breakthrough came when I realized two things:
- NVIDIA now gives us an official way to override DLSS models globally through the NVIDIA App (DLSS 4.5 and presets).
- For stubborn or older titles, a community toolchain built around DLSSglom TUP Exostenza Edition™ and nvidiaDlssGlom (NVIDIA DLSS Global Override Mode) can still force games to load the newest DLLs automatically.
If you just want an easy, mostly maintenance‑free way to stay on the latest DLSS, start with the NVIDIA App method. If you like to tinker, or you have specific games that ignore the official override, the Auto‑DLSS‑Update folder plus nvidiaDlssGlom is the power‑user solution I ended up sticking with.
Step 1 – Use the NVIDIA App DLSS Override (The Easy 2026 Method)
This is the part I wish older guides had mentioned. As of early 2026, all RTX cards from 2000 up to 5000 series can use DLSS 4.5 through the official NVIDIA App. No manual DLL swapping required.
Here’s how I set it up on my system:
- Update your driver: Install the latest Game Ready driver. The installer now also offers the new NVIDIA App (the replacement for GeForce Experience + old Control Panel).
- Install / open the NVIDIA App: Launch it from your Start menu.
- Find the DLSS override section: In the app’s settings (usually under something like
GraphicsorGames), look for an option called “DLSS Override – Model Presets”. - Choose a preset:
- Recommended – Lets NVIDIA pick for you based on your GPU and game.
- Preset M – DLSS 4.5 Performance model.
- Preset L – DLSS 4.5 Ultra Performance model.
- Preset K – DLSS 4 fallback, lighter on older cards.
- Apply globally or per‑game: You can usually set this as a global default, and/or override it for individual games in their specific profile inside the app.
On my RTX 5090, I run Preset M globally and let the card chew through the extra Tensor load. Independent analyses (and my own power‑meter) show DLSS 4.5 Performance can draw noticeably more power on high‑end cards, but the stability and anti‑aliasing gains at 4K are worth it for me.
On my secondary rig with an RTX 3070, though, forcing Preset M was a mistake. I saw up to 15–20% lower FPS in some titles compared to the old DLSS models. What finally worked there was:
- Leaving the global setting on Recommended, or
- Explicitly picking Preset K (DLSS 4 fallback) for that older GPU.
Bottom line: if you’re on RTX 2000/3000, don’t blindly force DLSS 4.5 Performance everywhere. Let the app use Preset K or Recommended unless you’ve tested a specific game and know the heavier model is worth it.
Step 2 – Set Up “Auto‑DLSS‑Update” With nvidiaDlssGlom (Advanced Method)
Now for the more hardcore route. I moved to this when I realized some games simply ignored the NVIDIA App’s override, or shipped with ancient DLSS builds that didn’t benefit from newer transformer models at all.
The goal of this setup:
- Keep a central folder with the latest DLSS DLLs (
Auto-DLSS-Update). - Use nvidiaDlssGlom to make your games load those DLLs instead of whatever they shipped with.
- After every driver or DLSS update, run one short update process instead of manually editing every game folder.
One‑Time Preparation (Check Every Few Weeks)
This part you only need to do once, and then occasionally when new community packs release.
- Create the Auto‑DLSS folder
Make a folder anywhere you like, for example on another drive or even your desktop, and call itAuto-DLSS-Update. - Download the DLSSglom TUP Exostenza Edition™ archive
Get it from the pinned Guru3D forum thread (search forDLSSglom TUP Exostenza Editionon Guru3D). This archive contains a curated collection of the newest DLSS DLLs. - Extract into Auto‑DLSS‑Update
Unpack the entire archive directly into yourAuto-DLSS-Updatefolder. You should end up with a set of DLSS DLL files and subfolders there. - Download nvidiaDlssGlom (NVIDIA DLSS Global Override Mode)
Grab the latest release from GitHub by searching fornvidiaDlssGlom. Place the executable somewhere convenient (I keep it inside the sameAuto-DLSS-Updatefolder so everything is in one place).
Security note: Guru3D and GitHub are public platforms, so you should always stay cautious. The DLSSglom TUP Exostenza Edition pack is maintained by a very active group of GPU tweakers who usually spot and call out any sketchy uploads quickly. Still, I always run a virus scan over any downloaded archive before extracting it.
After Every Driver or DLSS Update
This is the routine I now run right after installing a new NVIDIA driver or whenever a fresh DLSS pack drops:
- Launch nvidiaDlssGlom.
- Point it at your Auto‑DLSS folder
At the top of the window, make sure the path points to yourAuto-DLSS-Updatefolder. If it doesn’t, browse to it and save the setting. - Click the “Update” button
This is where the magic happens. The tool configures things so DLSS‑enabled games look to your central folder and use the newest DLLs you’ve put there.
The exact mechanics (symbolic links, profile tweaks, etc.) are hidden behind that one button, which is why I like this setup. What used to take me 10–15 minutes per game manually swapping DLLs is now a 20‑second step every time a new driver or DLSS version lands.
Important: Some anti‑cheat‑protected games are sensitive to anything messing with their DLLs. If you notice crashes or integrity warnings after enabling the override, exclude that specific title from your tweaking and let it use its built‑in DLSS only.

FinalBoss // Gear
Level up your setup
01Graphics cardson Amazon→02Gaming laptopson Amazon→03High-refresh gaming monitorson Amazon→04Discounted game keyson Kinguin→Affiliate links · As an Amazon Associate, FinalBoss earns from qualifying purchases.
Fixing Games That Ignore the Override (Profile Inspector Tip)
Every now and then I hit a stubborn game that simply refused to use the global DLSS override. That’s where NVIDIA Profile Inspector came in handy.
- Open NVIDIA Profile Inspector.
- In the profile dropdown at the top (where it usually shows
Base Profile), start typing the name of the game that’s causing trouble and select it. - Look for a setting called
DLSS – Enable DLL Override. - If it’s hard‑set to Off by NVIDIA, change it to On and apply the profile.
This toggle was the missing piece for a couple of older titles on my system. Once I flipped it to On, they started happily using the new DLL from my Auto‑DLSS folder.
Warning: Don’t randomly change other flags in Profile Inspector if you don’t know what they do. It’s a powerful tool, but it’s also an easy way to break rendering or performance if you get carried away.
Want to Level Up Your Gaming?
Get access to exclusive strategies, hidden tips, and pro-level insights that we don't share publicly.
Ultimate Guide Strategy Guide + Weekly Pro Tips
Enabling the DLSS Version Indicator (So You Know It Works)
The last piece of the puzzle is feedback. I wasted a lot of time early on thinking my overrides were active when they weren’t. The built‑in DLSS indicator in nvidiaDlssGlom solved that for me.
- Start nvidiaDlssGlom.
- Tick the checkbox “Show DLSS Indicator”.
- Launch a DLSS‑enabled game.
- In the bottom‑left corner of the screen, you should now see a small overlay. The first number is the DLSS version the game actually loaded (for example something like
310.5.3.0).
Once I’d set everything up correctly, all my DLSS games started showing the same current version number, which was the confirmation I needed that the Auto‑DLSS‑Update pipeline was working.

To turn the indicator off again, just remove the checkmark in nvidiaDlssGlom and restart the game. Toggling the overlay always requires a game restart before the change takes effect.
When You Should (and Shouldn’t) Force New DLSS DLLs
After living with this setup for a while, here’s when I think the effort really pays off, and when it’s better to back off.
- Great use cases:
- 4K or ultrawide monitors where DLSS 4.5’s improved stability and anti‑aliasing really show.
- Heavy ray‑traced games where every extra frame helps but you want to keep path tracing enabled.
- Older games that shipped with very early DLSS 2 builds and never got patched.
- Be cautious when:
- You’re on an RTX 2000/3000 card and already GPU‑limited – forcing 4.5 Performance can cost FPS.
- You play mostly competitive shooters where latency and absolute FPS matter more than marginal image‑quality gains.
- The game has strict anti‑cheat or file integrity checks (MMOs, ranked shooters) – overriding DLLs there can trigger issues.
If a particular game starts running worse or acting up after you enable overrides, don’t hesitate to roll it back. Disable the DLSS override for that title (either in the NVIDIA App or by undoing the changes with nvidiaDlssGlom) and, if necessary, verify the game files in your launcher to restore the original DLLs.
Summary – Keeping DLSS Fresh With Minimal Hassle
Once I got past the initial setup, keeping DLSS up to date across my library stopped being a chore. The flow I now recommend looks like this:
- First, configure DLSS in the NVIDIA App:
- Update your driver and install the NVIDIA App.
- Use DLSS Override – Model Presets with Recommended or a sensible preset for your GPU.
- Then, add the community toolchain if needed:
- Create an
Auto-DLSS-Updatefolder. - Populate it with the latest DLSSglom TUP Exostenza Edition™ pack.
- Use nvidiaDlssGlom to point games at that folder and enable the DLSS indicator to verify.
- Create an
- After each driver / DLSS release:
- Update your DLSS pack when a new version appears.
- Run nvidiaDlssGlom and hit Update.
- Check one or two games with the indicator to confirm they’re loading the newest DLL.
It sounds like a lot on paper, but in practice the maintenance is just a quick ritual whenever new drivers or DLSS builds drop. If you enjoy squeezing the most out of your RTX card without sacrificing visuals, this setup is absolutely worth the initial effort. If I can untangle it after hours of trial and error, you can too.