

By September 2026, Onimusha: Way of the Sword has settled into a six-armament R1 roster with a clear combat hierarchy: Earth-Shakers are the best overall Oni Armament because stamina breaks create the safest, biggest damage windows. The best choice still changes with the fight, though. The Two Celestials keep Musashi alive, Wind-Whipper clears a collapsing crowd, Firebird Flute answers airborne threats, and Still Water becomes far stronger once you build around Oni Awakening.
The important rule is to treat an Oni Armament as a response to the enemy in front of you, rather than an ability to spend as soon as the blue Oni Power gauge fills. A charged hammer swing into a guarded target is worth far more than using the same gauge on a weak enemy that your katana could have handled cleanly.
Table of Contents (11)
How R1 Oni Armaments work in Onimusha: Way of the Sword
R1 Oni Armaments are the six gauge-powered combat tools summoned from Musashi’s Oni Power gauge: The Two Celestials, Wind-Whipper, Earth-Shakers, Firebird Flute, Flashing Void, and Still Water. Each has its own attack pattern, range, soul interaction, and upgrade path. They sit on top of Musashi’s normal swordplay rather than replacing it.
The Oni Bow complicates the naming slightly. It counts toward the seven weapons required for the Oni Armory objective, but it is generally treated as a separate ranged weapon rather than one of the six R1 combat Armaments. This ranking covers the six gauge-bound Armaments that compete for the same combat role.
- Use Earth-Shakers when stamina, guards, or armor are the problem.
- Use The Two Celestials when low health or a single boss target is the problem.
- Use Wind-Whipper when several enemies can pressure you at once.
- Use Firebird Flute when airborne enemies or awkward ranged targets are the problem.
- Use Still Water when you can stay aggressive long enough to benefit from buffed regular attacks and purple souls.
Best Oni Armaments ranked
| Rank | Oni Armament | Best role | Why it earns the R1 slot |
|---|---|---|---|
| 1 | Earth-Shakers | Stamina breaks and armor damage | Turns guarded enemies and bosses into punishable targets. |
| 2 | The Two Celestials | Healing and single-target pressure | Creates yellow souls that restore health while maintaining fast damage. |
| 3 | Wind-Whipper | Crowd control | Wide sweeps stabilize group encounters before they become messy. |
| 4 | Flashing Void | Counter-focused boss punishment | Rewards precise EEN and Issen-style counter play from safer spacing. |
| 5 | Still Water | Oni Awakening and sustained offense | Buffs normal attacks and generates purple souls for advanced pressure. |
| 6 | Firebird Flute | Anti-air and ranged burn | Exceptional against flying enemies, but too specialized for a default pick. |
1. Earth-Shakers — the best overall Oni Armament
Earth-Shakers are the community favourite for stamina breaks, and the reason is simple: most dangerous enemies become manageable once their stamina is gone. The Oni-forged hammers deplete stamina, weaken breakable armor, and grant hyper-armor during their heavy swings. Against guards, armored Genma, and bosses with prominent stamina bars, that combination gives them more practical value than raw damage alone.
Hold the attack to charge a stronger hammer blow when an enemy is committed to a long recovery animation, staggered, or locked in a predictable attack. The charged hit takes longer to start, so it is a poor panic button in a dense pack. Hyper-armor lets Musashi finish a swing through contact; it does not erase the damage he takes. Start a charge while surrounded and you can still lose the health race.
Earth-Shakers also pair naturally with body-part targeting. Chimera tails can be destroyed in one hit, and removing the tail disables roughly half of the creature’s attack set. If the opening is there, take the tail first, then use the hammers to push the weakened Chimera toward a stamina break.
2. The Two Celestials — best for healing and boss openings
The Two Celestials are the early twin-blade Armament and one of the most useful tools in a first playthrough. Their rapid flurries excel at turning a brief boss opening into meaningful phase damage, but their defining advantage is sustain: hits with The Two Celestials release yellow souls that restore health.
Use them when Musashi is hurt and there is a target you can safely pressure. Summon the blades after a dodge, a guard break, or an enemy’s long attack recovery; land several fast hits; then absorb the yellow souls they produce. The healing comes from connecting attacks and collecting those souls, so swinging into a boss’s active combo wastes Oni Power and usually leaves you in worse shape.
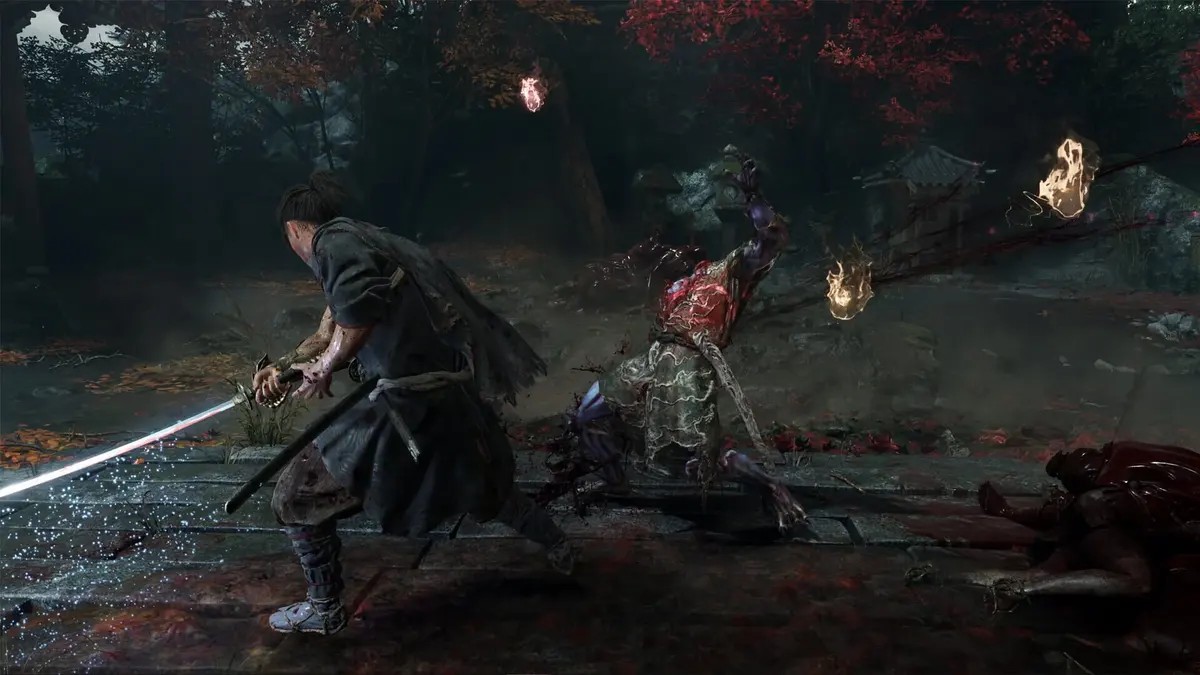
The Two Celestials rank below Earth-Shakers only because healing and flurry damage do not solve every encounter. They deal less stamina damage and offer less crowd control. In a duel, especially one where healing items are running low, they can easily become the better Armament for that phase of the fight.
3. Wind-Whipper — best for groups and space control
Wind-Whipper is the double-headed glaive Armament built for the moment when enemies start arriving from more than one direction. Its broad attacks cover space around Musashi, hit multiple weaker Genma, and reduce incoming pressure before the group can surround him. That makes it the cleanest answer to open arenas and mixed enemy waves.
Its upgrades lean into that job through more power, longer duration, and greater range. Do not force it into a stamina-heavy boss duel simply because it is already equipped. Wind-Whipper’s strength is preventing a crowd from controlling the pace of the fight. Once only one armored target remains, Earth-Shakers or The Two Celestials usually provide a better return on the gauge.
4. Flashing Void — best for precise counter players
Flashing Void rewards the player who is already comfortable taking calculated counter windows. It has strong boss-punish potential and works well when a fight lets you engage from slightly farther away than the hammers or twin blades prefer. Its placement comes down to reliability: the payoff is high, but it asks more of your timing than the three Armaments above it.
That timing matters because EEN is tighter than a perfect parry. Input an attack just as an enemy strike is about to land and Musashi evades into a counter that damages the target and cuts posture or small-enemy stamina. On isolated enemies, EEN can be chained by pressing the attack again as the first EEN attack lands, jumping from the initial target to nearby foes. Flashing Void is at its best when you can recognize these openings consistently rather than fishing for them under pressure.
5. Still Water — strongest in New Game+ and Awakening-focused play
Still Water takes a different approach from the burst-focused Armaments. Instead of delivering one large hit or a wide emergency sweep, it buffs Musashi’s regular attacks and produces purple souls that fuel Oni Awakening. That makes it a sustained-offense option for players who can stay on a target and maintain clean pressure.
Its late availability keeps it from defining most first runs, but it improves sharply in New Game+ and longer boss encounters. Armaments carry into New Game+ once you pick the first one up again, so previously collected options become available for repeat-run planning after that reacquisition trigger. Still Water benefits most from that freedom because it can be paired with soul-focused gear and an aggressive Awakening plan from the outset.
Choose Still Water when the fight provides long, repeatable damage windows. Skip it when the enemy’s guard must be broken quickly or when several enemies demand immediate control. A purple-soul engine has little time to pay off in a short, chaotic skirmish.
6. Firebird Flute — the specialist anti-air Armament
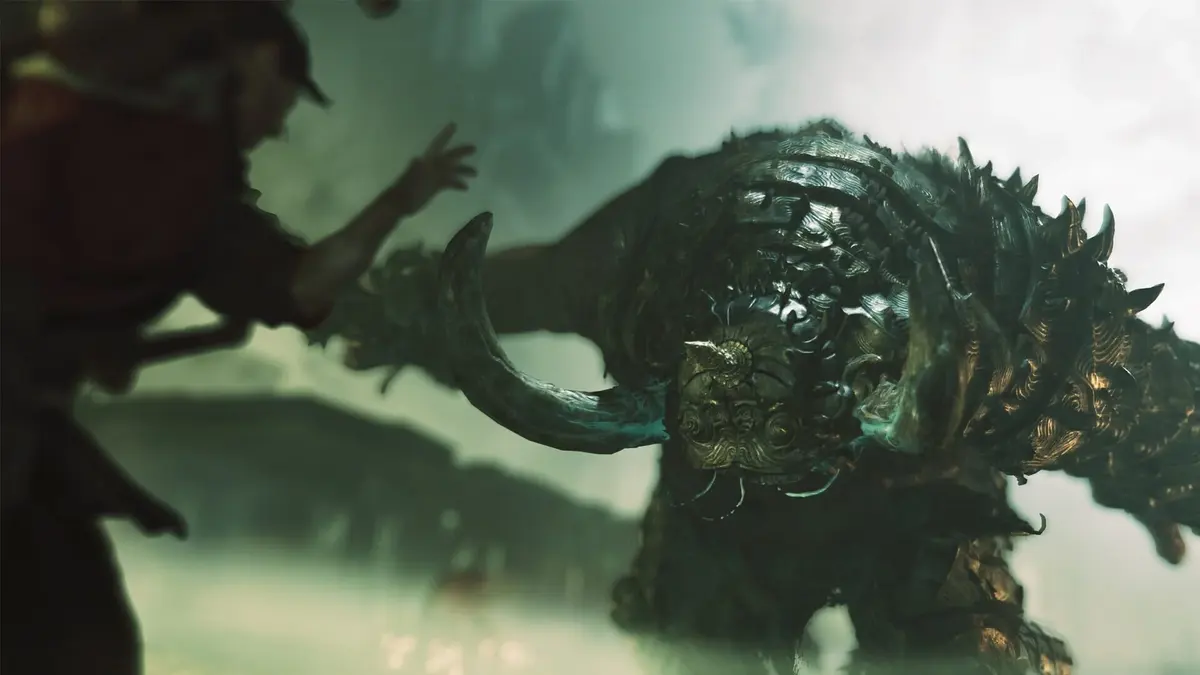
Firebird Flute is the lowest general ranking, yet it is the correct pick in the right encounter. Its ranged shots set enemies ablaze for damage over time, and Firebird Flute knocks flying enemies out of the air. That anti-air property is the key reason to summon it: grounded melee Armaments cannot efficiently control an enemy that stays above your attack range.
The upgrade path of Charged Shot, Power, and Projectiles reinforces its ranged role. Charge it for safe damage on distant enemies, enemies on awkward elevations, or aerial targets that would otherwise prolong the encounter. Once the flying threat is gone, swap away instead of spending the remaining gauge on ground targets that Earth-Shakers, Wind-Whipper, or The Two Celestials can handle more efficiently.
Choose your Armament after reading the enemy, not before
The ranking is a baseline, not a reason to leave Earth-Shakers equipped through every mission. The most efficient loop is to identify the encounter’s failure condition. If a guard keeps resetting the exchange behind armor, bring the hammers. If small Genma are closing the space needed to heal or counter, bring Wind-Whipper. If a boss is one clean opening away from giving you yellow souls and stabilizing the attempt, The Two Celestials are the safer choice.
When several targets are stunned, finishers can chain from one stunned enemy to nearby targets, reaching around 10 enemies in a favorable cluster. That is another reason not to spend an Armament immediately on every crowd: use basic swordplay, dodges, and EEN counters to create the stagger first, then spend Oni Power when it creates a break, restores health, or eliminates a threat your standard kit cannot reach.
Upgrade priority and collection planning
Two Celestials and Wind-Whipper arrive through normal story progression. Earth-Shakers, Firebird Flute, Flashing Void, and Still Water are optional chest rewards that can be missed during their initial visit but revisited later. That structure makes the early choice straightforward: use The Two Celestials for sustain and Wind-Whipper for groups until the full toolkit is available, then prioritize the Armament that fixes the fights currently slowing your progress.
For general progression, improve Earth-Shakers first if bosses and guards are consuming too many healing resources. Improve The Two Celestials first if survival is the larger issue. Wind-Whipper upgrades are valuable when group encounters are interrupting your sword strings, while Firebird Flute upgrades matter most when airborne enemies repeatedly force you into unsafe positioning.
Armament upgrades are only one part of the wider setup. Gauntlet upgrades increase the blue Oni Armament gauge, while clothing upgrades improve health and stamina and sword upgrades change damage types. Malisite and Malisite masses come from closing rifts, so clearing rifts supports more frequent Armament use as well as broader gauntlet progression.
The practical best choice
Earth-Shakers are the best Oni Armament in Onimusha: Way of the Sword for most players and most difficult fights. Keep The Two Celestials ready whenever healing is the limiting resource, switch to Wind-Whipper before crowd-heavy encounters, and treat Firebird Flute as your dedicated answer to aerial enemies. Still Water and Flashing Void reward more specialized play, particularly once New Game+ lets you rebuild around the full roster. The strongest habit is swapping for the encounter’s demand: break stamina, recover health, clear space, punish counters, fuel Awakening, or bring an enemy back to the ground.
FinalBoss // Gear
Level up your setup
01Top-rated gaming headsetson Amazon→02High-refresh gaming monitorson Amazon→03Gaming chairson Amazon→04Discounted game keyson Kinguin→
Affiliate links · As an Amazon Associate, FinalBoss earns from qualifying purchases.
Want to Level Up Your Gaming?
Get access to exclusive strategies, hidden tips, and pro-level insights that we don't share publicly.
Ultimate Guide Strategy Guide + Weekly Pro Tips