
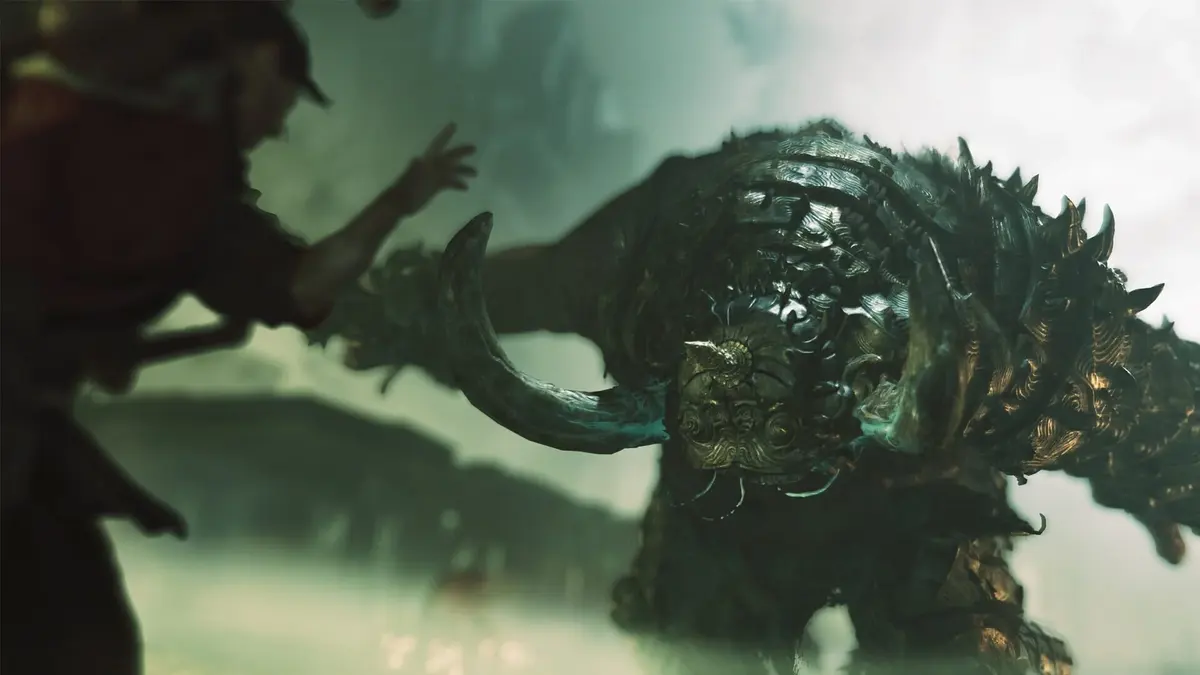
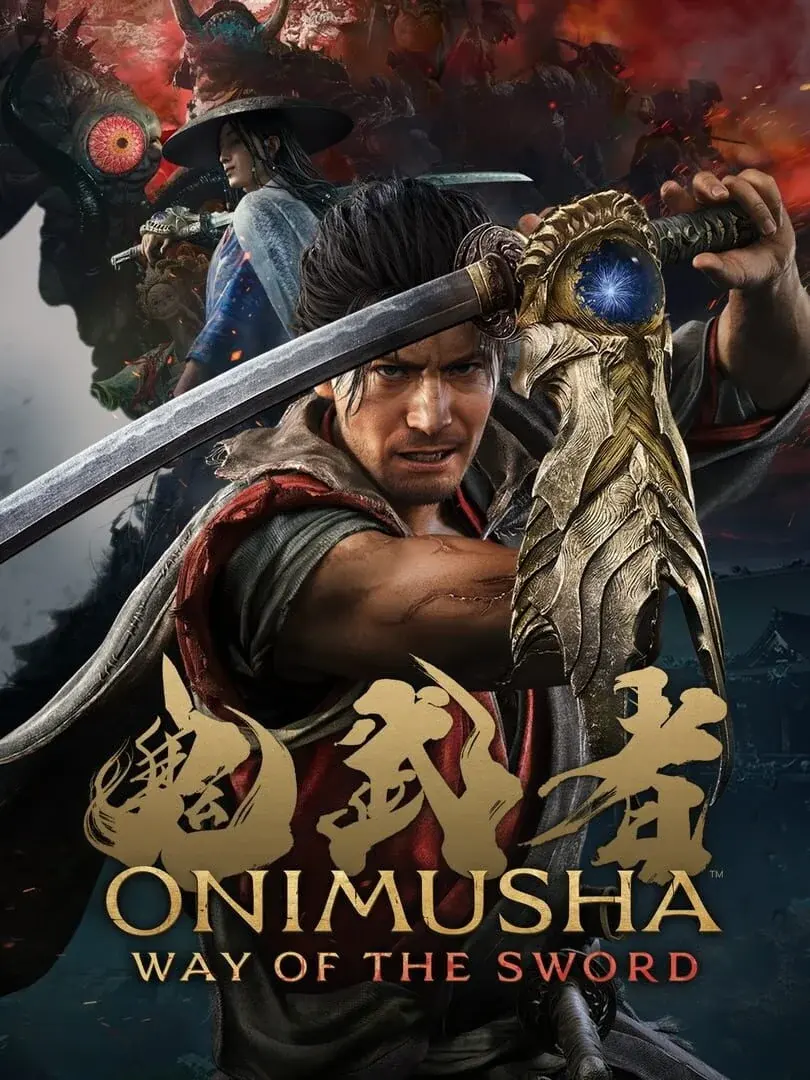
Use story progression for every first clear, then use Boss Rematch for focused practice rather than treating it as a second campaign. Onimusha: Way of the Sword has 13 named bosses, while the Boss Rematch roster contains 18 entries through enhanced, altered, and paired versions. The fastest route through both is to learn the stamina-break loop early: read the telegraph, Deflect or Reflex Dodge, take a safe Issen, drain the boss’s stamina bar, and cash in with Break Issen.
The route applies across PlayStation 5, Xbox Series X|S, PC, and Nintendo Switch 2. A full authoritative chapter-by-chapter sequence for every named encounter is not established, so follow the story’s unlock order for first clears. The roster below is the practical preparation route: it tells you what each boss tests and which rematches are worth revisiting when a specific mechanic is holding you up.
Table of Contents (5)
Learn the boss loop before chasing Issen
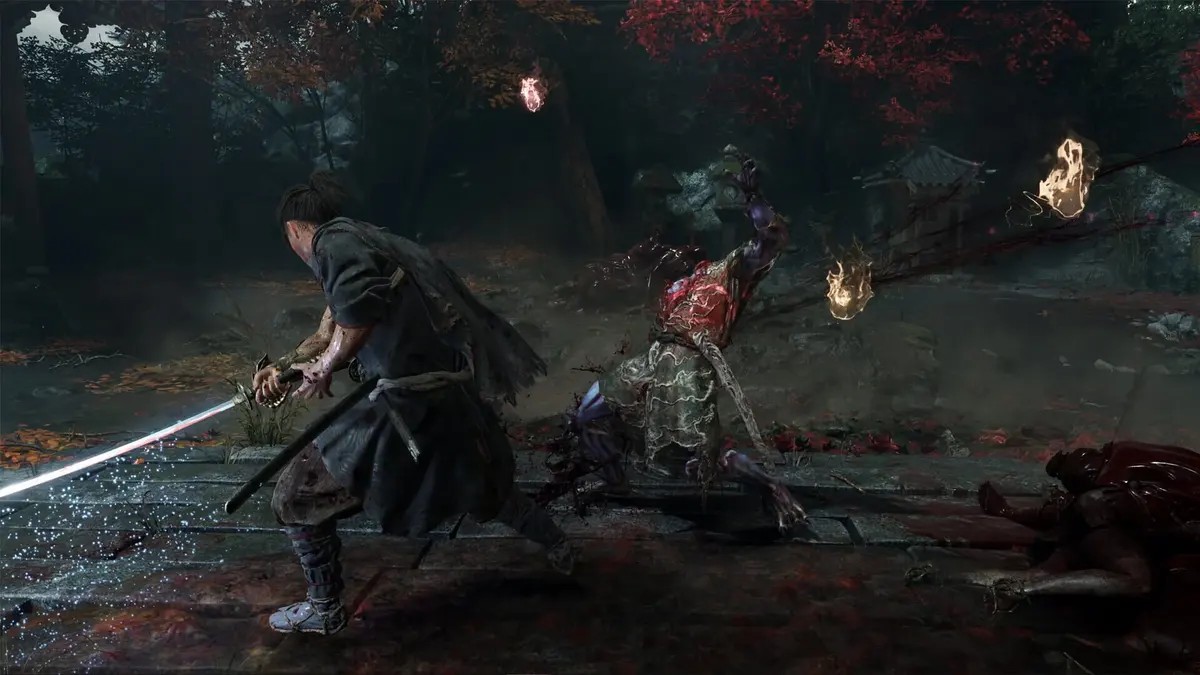
Boss health is only half of the fight. Their visible stamina bar is the real opening you are building toward. Deflects and parries deplete stamina, and an empty bar creates a stagger for Break Issen. Holding guard covers a transition, but it also consumes block stamina; a long string defended entirely with block can end in a guard failure and a heavy punish.
- Ordinary swings: Block briefly if you need to identify the sequence, then Deflect the hits you can read.
- White-glowing attacks: Meet them with the required parry or Deflect timing. These are major stamina-break opportunities.
- Blue attacks: Use their timed counter response or dodge cleanly rather than forcing a normal parry.
- Reflex Dodge: Perfect dodges fill the Reflex meter. A full meter turns the next successful dodge into slow motion, giving Musashi a safe Reflex combo window. This is especially valuable against grabs and dodge-only attacks.
- Issen: Attack precisely as the enemy attack would land. It delivers a huge damage chunk, but failed attempts are expensive against late bosses. Consistent Deflects win more fights than forced Issen attempts.
When Break Issen offers body-part choices, take the red-marked option when you need immediate damage. Purple-marked choices create soul bursts instead, including health, Oni Power, and Awakening resources. Pick purple during rematch farming or before a difficult later fight; take red when a boss is near death or entering a dangerous phase.
Story boss roster: matchup goals for all 13 named fights
These bosses form the useful story-first route from early dueling fundamentals to late multi-phase encounters. Bosses unlock through normal progression, so use the table as a preparation checklist instead of skipping around Kyoto looking for an encounter that has not opened yet.
| Boss | What the fight tests | Best practical response |
|---|---|---|
| Sasaki Ganryu | Early sword-duel timing, parries, and basic Issen discipline. | Watch his full three-hit strings. Guard the opener if needed, Deflect the follow-up, then take Issen only when the final hit is familiar. |
| Benkei | Armor tracking and targeted damage. | Break armor in sections: legs first, then the head. Damage does not properly open up until those armor steps are handled. |
| Shuten Doji | Wide brute sweeps and stamina punishes. | Stay just outside the first sweep, sidestep it, and Deflect the slower follow-up. A full held guard drains too much stamina here. |
| Burai, Lord of Lightning | Decoy stances and lethal counterattacks. | When Burai raises a leg, stop attacking. That stance punishes contact with a deadly counter; wait for the stance to end and resume pressure on a normal string. |
| Rasho-Gan, Harbinger of Fate | Mixed melee, projectiles, and enraged arena pressure. | Keep controlled mid-range so both sword attacks and projectiles remain readable. During enrage, expect thrown trees and prioritize survival over greedy counters. |
| Nue, Legendary Chimera | Lightning pressure and dodge-specific defense. | Parries do not stagger Nue. Build the Reflex meter with clean evasions and use Reflex Dodge rather than trying to force a posture break through normal parries. |
| Ifuu, Raging Gale | Wind pressure, float phases, and Deflect timing. | Deflect to work down stamina. When Ifuu takes to the air, use the bow to keep pressure on instead of waiting underneath for a risky landing attack. |
| Daidara, Ravenous Hunger | Stage-resource control and escalating power. | Absorb souls from the arena before Daidara can feed on them. Letting the colossus collect them makes the later portion of the encounter far harder to stabilize. |
| Dohatsu-Ten, Heaven’s Bane | Armor segments, shields, and targeted Break Issen choices. | Use Helm Splitter and aim Break Issen at helmet or shield defenses. Removing armor creates stronger damage windows than repeatedly striking protected limbs. |
| Byakue, Hundred Defilements | Long multi-hit chains and chip-damage control. | Treat every extended sequence as a Deflect drill. Keep a steady rhythm through the whole string; early panic dodges lose stamina damage and can put you into the next hit. |
| Ningyo | Directional attacks, reach, and arena positioning. | Circle around arena edges instead of retreating in a straight line. Bait linear attacks, move off the dominant attack side, and punish the recovery. |
| Dokyo, the Heretic | Late-game pattern changes and chase-combat projectiles. | Use Issen to cancel projectile attacks during the chase sections. Outside confirmed openings, play reactively: Deflect readable chains and hard-dodge glow-telegraphed bursts. |
| Minamoto no Yoshitsune | A three-phase finale with an Awakening damage gate. | Save resources for phase three. Yoshitsune only takes damage there while Musashi is in Awakened Onimusha form, so protect the meter and spend it during confirmed openings. |
Gran Nue is the harder electric phase of Nue rather than a separate named story boss. The purple-mist electric phase demands constant movement; standing still to fish for a parry is the usual way to get trapped by the follow-up lightning pressure.
Boss order by training priority
The story presents the encounters in its own progression order, but the skills carry forward in a clear sequence. If you hit a wall, return to the earlier boss that teaches the missing defense instead of repeatedly spending attempts on the current gate.
- Start with duel fundamentals: Sasaki Ganryu teaches the rhythm for parry, Deflect, and Issen. Burai adds the discipline of recognizing a stance where attacking is the losing choice.
- Build stamina-break discipline: Shuten Doji, Benkei, and Dohatsu-Ten reward controlled target selection. They expose the weakness of blocking an entire combo or hitting whatever body part is closest.
- Practice movement-based defense: Nue and Ifuu demand Reflex Dodge, bow pressure, and positioning. These fights prepare you for blue telegraphs and larger arena threats.
- Manage space and resources: Rasho-Gan, Daidara, Byakue, and Ningyo add hazards, soul control, projectile pressure, and long strings that punish tunnel vision.
- Finish with complex pattern play: Dokyo and Minamoto no Yoshitsune combine several earlier lessons. Enter these fights with Oni Power full or nearly full, then spend it after a parry, stagger, or clearly missed attack.
How to route all 18 Boss Rematch entries
Each boss becomes eligible for rematches after its first story defeat. The 18-entry rematch roster has five more encounters than the 13 named-boss baseline because it includes stronger versions, altered move sets, and paired fights. Use it as a targeted practice board: enter the rematch that teaches the mechanic blocking your current story progress, clear it, then return to the campaign.
| Rematch type | What changes | Best reason to run it | Priority |
|---|---|---|---|
| Standard return fights | The original boss pattern returns after its story clear. | Learn a single string, improve Deflect timing, or safely rehearse Issen windows. | First choice when a story boss has a familiar archetype. |
| Enhanced variants | Higher health, stamina, and more demanding enrage thresholds. | Practice maintaining pressure so the stamina bar does not recover between openings. | Run after the base matchup feels reliable. |
| Altered variants | New white or blue telegraphs and dodge-only attacks are added to older patterns. | Train recognition rather than memorizing the old rhythm blindly. | Run before late bosses that mix counter types. |
| Armor-focused variants | Armor, shields, Helm Splitter, and Break Issen target choices matter more. | Rehearse body-part targeting for Benkei- and Dohatsu-Ten-style defenses. | Best when direct damage feels unusually low. |
| Paired variants | Two threats share the arena, increasing camera and spacing pressure. | Learn to keep both enemies visible and remove the more volatile target first. | Save for after solo fights are consistent. |
| Soul-focused runs | Purple Break Issen opportunities produce greater resource value. | Refill health, Oni Power, and Awakening resources before difficult late progression. | Use between major story attempts rather than grinding unrelated entries. |
For paired rematches, use lock-on sparingly. Keep both enemies in frame, move laterally instead of rolling directly away, and use Break Issen to remove the weaker or more erratic partner as soon as its stamina breaks. Turning a duo into a one-on-one fight is worth more than squeezing extra damage out of the healthier target.
For soul farming, choose purple Break Issen prompts and accept the longer kill. Purple rewards can release yellow health souls, blue Oni Power souls, and purple Awakening souls, making these rematches useful preparation for Yoshitsune’s final phase. Death in either story fights or rematches does not remove souls or items, so early rematch attempts are ideal scouting runs.
Boss-route mistakes that waste the most attempts
- Forcing Issen every opening: Issen is the biggest single punish, but a missed counter against an enraged boss can end the attempt. Use Deflects to make steady stamina progress until the timing is certain.
- Holding block through full strings: Guard stamina drains while blocking. Block the uncertain transition, then Deflect the attacks you recognize.
- Using Oni Power for chip damage: Save it for a stagger, a clean parry, or a whiffed heavy attack. Confirmed openings give the gauge its real value.
- Ignoring arena souls: Collect them promptly, especially against Daidara and during rematches built around purple Break Issen rewards.
- Continuing old patterns after enrage: Enraged bosses can speed up attacks or change telegraph behavior. Reset to safe Deflects and dodges until the altered sequence is clear.
- Grinding every rematch immediately: The rematch roster is most efficient when it solves a specific problem: armor tracking, Reflex Dodge, long Deflect chains, duo control, or resource recovery.
Clear the 13 named bosses through story progression, use the 18 rematch entries to isolate the mechanic that is failing, and build every matchup around stamina damage before Break Issen. That route keeps the late phases manageable without detouring into rematches that do not improve the next fight.
FinalBoss // Gear
Level up your setup
01Top-rated gaming headsetson Amazon→02High-refresh gaming monitorson Amazon→03Gaming chairson Amazon→04Discounted game keyson Kinguin→Affiliate links · As an Amazon Associate, FinalBoss earns from qualifying purchases.
Want to Level Up Your Gaming?
Get access to exclusive strategies, hidden tips, and pro-level insights that we don't share publicly.
Ultimate Guide Strategy Guide + Weekly Pro Tips