
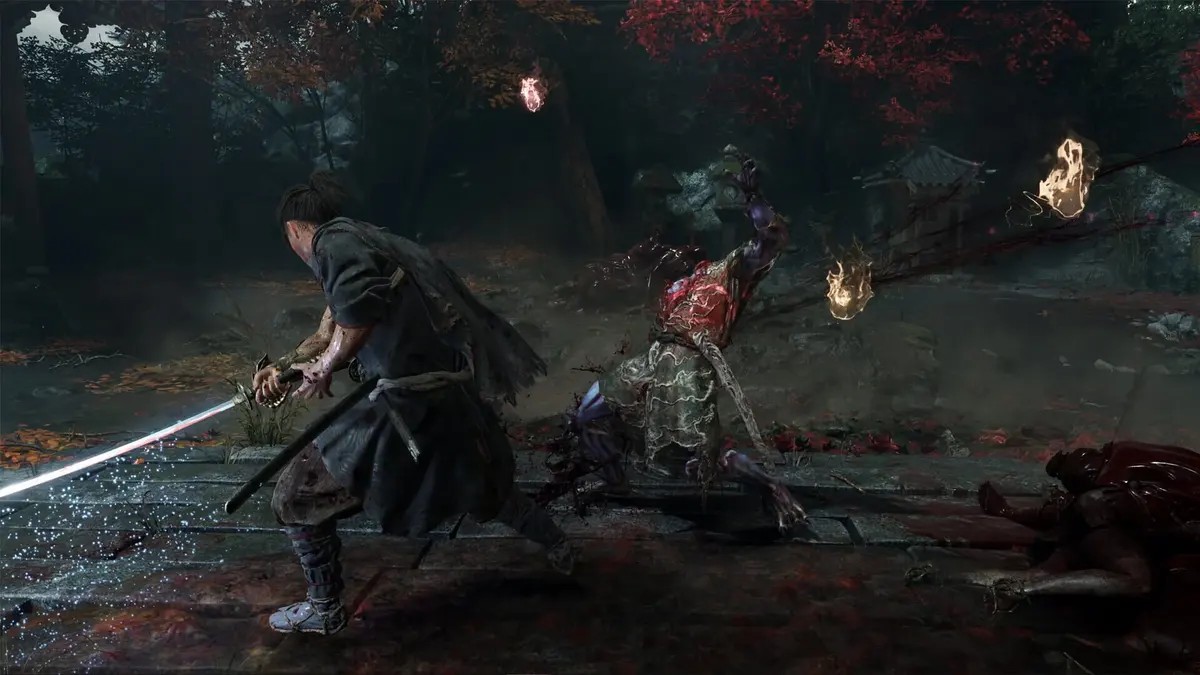
The first loose pile of souls after a kill is where early fights in Onimusha: Way of the Sword can swing from controlled to disastrous. Clear space, hold L2 to pull them into the Oni Gauntlet, then reset your guard before the next enemy closes in. Leave those souls sitting for too long and enemies — including bosses — can absorb them instead, taking away your healing, Oni power, and upgrade currency while strengthening their own position.
The reliable beginner plan is equally simple: treat parry as your main answer to weapon attacks, dodge purple and unarmed attacks, protect your stamina bar, and bank red souls at Yorimasa’s Monument early. The game is demanding because every defensive choice has a consequence. A good parry stops pressure and creates offense; a long block drains the stamina you need to survive the next string.
Table of Contents (9)
Learn the defense hierarchy before trying to win damage races
Musashi has four defensive layers — guard, parry, deflect, and Issen — and early deaths often come from treating all of them as the same reaction. They are not interchangeable. Watch the enemy’s weapon, particularly the moment it reaches the impact frame, rather than trying to read their whole body animation. That is the visual cue that makes parry timing far more consistent.
| Defensive tool | Best use | What it gives you | Early-game trap |
|---|---|---|---|
| Guard / block | Emergency coverage against an incoming weapon hit | Prevents damage while consuming Musashi’s stamina | Holding it through a full enemy string can empty your bar and break your defense |
| Timed parry | Weapon strikes you can read cleanly | Drains enemy posture, fills the Blaze gauge, and usually ends the enemy’s turn | Watching the enemy’s body instead of the weapon impact |
| Deflect | Weapon clashes after it unlocks during progression | Damages enemy stamina and can disrupt balance | Assuming it gives the same reset as a parry; the enemy can keep their sequence going |
| Dodge / Reflex Dodge | Purple attacks, punches, kicks, charges, and other unarmed attacks | Builds the Reflex meter on perfect timing and creates room for a Reflex combo | Using it as the answer to every ordinary blade swing |
Parry fills the Blaze gauge and usually ends the enemy’s turn; deflect lets them keep going. That distinction should shape your whole approach. Use a short guard to survive the first hit if necessary, then learn to time the next weapon impact as a parry. Once the enemy loses momentum, punish with a compact light-to-heavy string instead of throwing out a long combo that leaves you exposed.
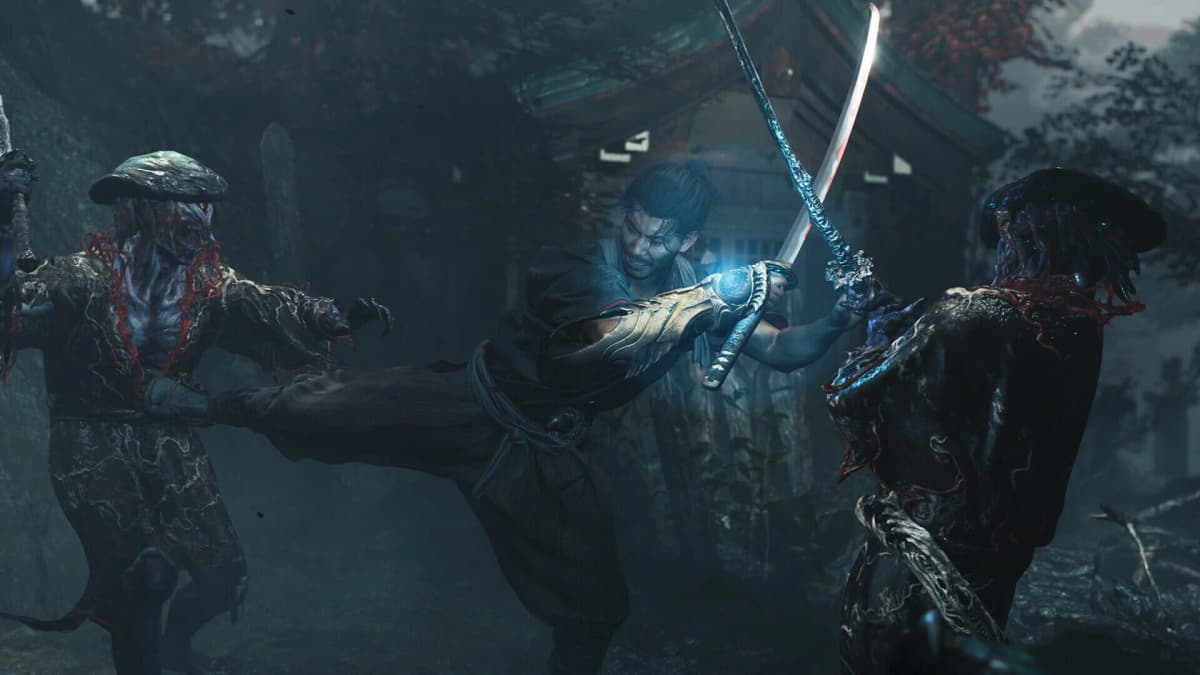
Purple telegraphed attacks are unblockable, and unarmed attacks are also meant to be evaded. Use Circle for instinctive evasion against punches, kicks, and charges; late dodges can also build Reflex. When the Reflex meter is full, the next successful dodge triggers slow motion and opens a Reflex combo. Save that tool for attacks the guard cannot solve.
Guard briefly, then disengage before stamina collapses
Both Musashi and his enemies fight around stamina and posture. Every swing, block, and defensive exchange matters, so the dangerous habit is standing in place with guard held while an enemy pounds on it. Blocking mainly spends your own stamina. If the bar runs dry, your defense fails and the follow-up hits arrive when you have the fewest options.
Keep attack strings short enough that you can still react. Light attacks are faster one-handed cuts; heavy attacks are slower two-handed commitments. A light-then-heavy or light-light-heavy sequence gives you pressure without becoming predictable, while two-handed attacks fit best after a parry, posture break, stun, or obvious recovery. You can parry or dodge during attack chains, so aggression works when it remains responsive rather than button-mashing.
When an enemy’s posture breaks, capitalize with Issen or Break Issen instead of continuing normal attacks. Issen uses Square or Triangle right before the strike and demands tighter timing than a standard deflect, but it is one of the fastest ways to end an encounter. Practice it on regular Genma first. In groups, a successful Issen can chain across nearby enemies and erase a pack before it turns into a stamina-draining brawl.
Absorb souls constantly — but only during a safe window
Holding L2 activates continuous soul absorption. Make that a reflex after every clean kill, after a stagger, or whenever the arena is briefly under control. Yellow souls restore health, blue souls fuel Oni Armaments and special Oni abilities, and red souls become upgrade currency. Souls fade if ignored, so clearing an area without collecting them steadily makes the next section harder than it needs to be.
The trap is holding L2 while an active enemy is still swinging at you. Musashi cannot defend properly during absorption, which turns a healing opportunity into a free hit for the enemy. Release the button as soon as another foe starts an attack, reposition, and collect the rest after you force another opening. After the final enemy falls, keep L2 held until the open fissure and the remaining souls finish absorbing.
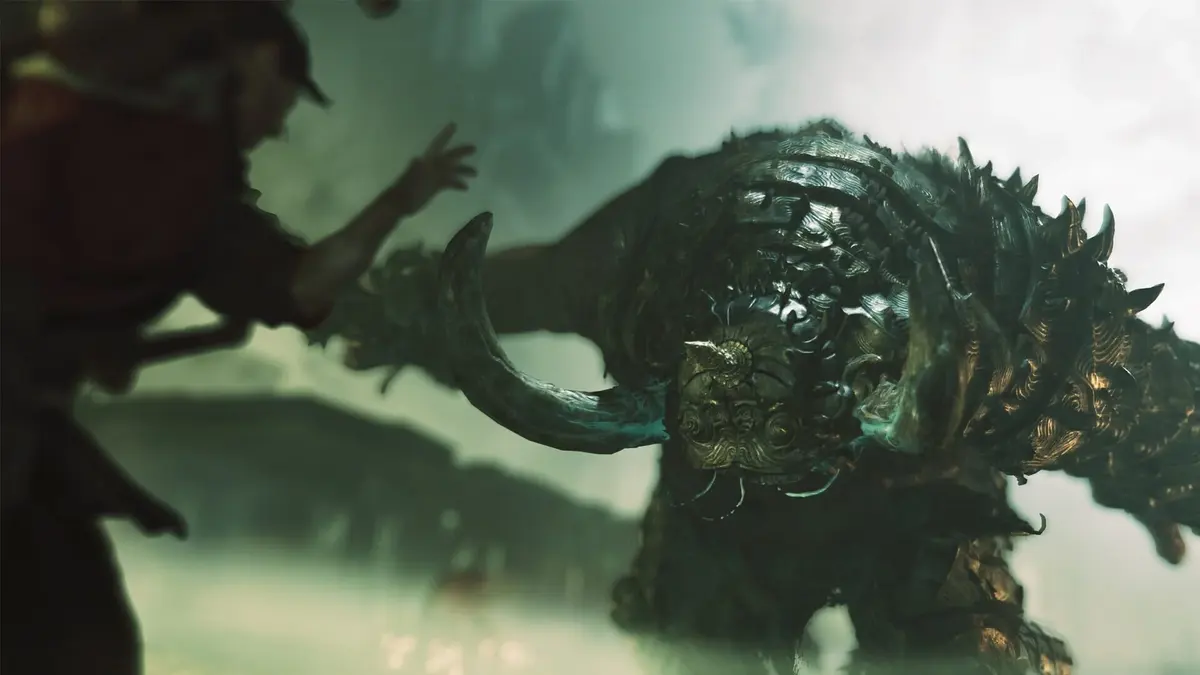
This matters even more in boss arenas. A large boss moving through unclaimed souls can consume them, denying you yellow healing and red progression while gaining power from the same resource. Prioritize contested souls when the boss is in recovery, then return to the fight with a full defensive plan rather than trying to vacuum the arena mid-combo.
Spend red souls at Yorimasa’s Monument instead of hoarding them
Yorimasa’s Monument is the upgrade shrine where red souls are spent on upgrade materials. Use it early. The first weapon upgrade tier shortens early encounters, which means fewer enemy turns, fewer stamina emergencies, and more room to collect souls safely after each kill.
Upgrade the sword, clothing, and Oni Gauntlet in parallel. They use separate materials, so there is no benefit to starving one track while obsessively investing in another. Sword upgrades improve how quickly you end fights, clothing helps absorb the mistakes that still happen while learning timings, and the gauntlet supports the soul economy that keeps healing and Oni power available.
Banking matters because early red-soul drops are modest. Thoroughly clearing a route adds up, but dying before reaching a shrine can throw away a meaningful stretch of farming; an early Daidara run can cost roughly 15 minutes of soul gathering when no save shrine has been secured. Visit Yorimasa’s Monument when you have enough for useful progress rather than carrying a large unspent reserve into a mini-boss.
Use ranged tools, body parts, and finishers to control groups
Groups punish tunnel vision. Thin them before committing to close-range exchanges whenever the arena allows it. The Arco Oni can hit floating rock cores and bright points from range, triggering environmental effects and opening safer approaches. It also interacts with distant mechanisms, including certain moving walls, so look beyond the enemy directly in front of Musashi.
Targeting specific enemy parts pays off. Some chimera tails can be destroyed in a single shot, removing around half of their available attacks. Boss limbs can also offer different rewards, and a third severable limb can provide purple-part rewards while temporarily disabling an associated attack. A boss may regrow that limb later, so use the safer phase to collect souls, restore control of the arena, and pressure posture.
When Blade Barrage begins after Musashi’s blade hits an opponent’s weapon, answer with the attack type opposite the one that initiated the clash. Treat it as a quick combat check, not a place to panic-mash. Successful stunned-target finishers can chain between several nearby enemies, making them the cleanest answer to crowded encounters.
Use Oni Vision before every new area becomes an ambush
Oni Vision is worth using every time you enter an unfamiliar space. Activate it with L2 + R2 by holding or pressing the input to reveal items, treasure, hidden paths, enemies, ambushes, traps, and environmental dangers. An early Oni Vision upgrade increases access to hidden materials, giving you more value from exploration than a straight sprint to the next objective.
At marked points of interest, L2 + R2 can also call up guiding light toward a destination or treasure marker. Use it when a Kyoto route branches or when you have cleared a fight and want to collect missed resources before moving on. Exploration feeds every core system: more materials for upgrades, more red souls for Yorimasa’s Monument, and more tools for handling later groups.
Turn on Action Prompts while you learn the combat language
Action Prompts are the accessibility option to enable if the first hours feel overwhelming. They cue responses such as block, parry, dodge, Issen, and attack timing, helping you identify whether an incoming telegraph wants a weapon parry or a dodge. They are especially useful while building the muscle memory to distinguish purple unblockables from normal weapon pressure.
Story difficulty combined with Action Prompts is a strong learning setup for players focused on the campaign or repeatedly dying to early bosses. The prompts can be turned off later once the weapon cues, Blaze building, Reflex dodges, and Issen timing feel natural. Keeping them enabled is also valid; the point is to make better decisions before your stamina bar is gone.
Is Onimusha: Way of the Sword hard?
Onimusha: Way of the Sword is hard during its opening hours because enemies are aggressive, multi-hit strings punish passive blocking, and the soul system punishes missed pickups. The difficulty becomes far more manageable once parry replaces panic dodging against weapons, purple and unarmed attacks are dodged on sight, and red souls are regularly converted into upgrades. Story difficulty and Action Prompts provide a practical route through the learning curve without skipping the game’s core systems.
Should you parry or dodge in Onimusha: Way of the Sword?
Parry weapon attacks whenever the timing is readable. It drains enemy posture, fills Blaze, usually ends their turn, and creates the punish window that makes fights shorter. Dodge purple unblockables, punches, kicks, charges, and attacks whose timing you cannot safely read. A deflect can still help wear down enemy stamina, but expect the opponent to continue their sequence until you secure a true parry, posture break, or Issen.
FinalBoss // Gear
Level up your setup
01Top-rated gaming headsetson Amazon→02High-refresh gaming monitorson Amazon→03Gaming chairson Amazon→04Discounted game keyson Kinguin→
Affiliate links · As an Amazon Associate, FinalBoss earns from qualifying purchases.
Want to Level Up Your Gaming?
Get access to exclusive strategies, hidden tips, and pro-level insights that we don't share publicly.
Ultimate Guide Strategy Guide + Weekly Pro Tips