
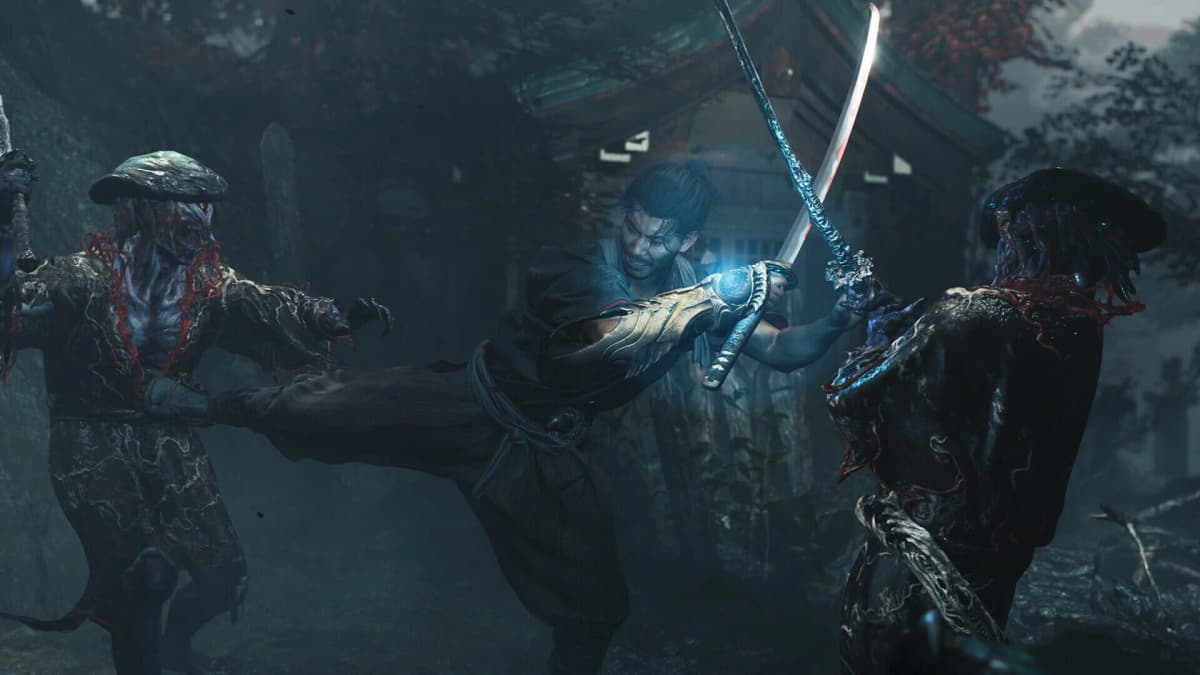
Daidara, the Slavering Glutton, is beaten by staying close enough to guard his club strings, parrying the final hits to drain his red stamina bar, and saving your emergency tools for phase two. A dodge-only approach becomes unreliable once the arena tightens and his attacks speed up. Guard his blockable swings and rushes; dodge only the blue-hand grab, the burning ground smashes, and the end of his dance-then-charge sequence.
This Daidara boss guide covers the fight during the “The Stage is Set at Kiyomizu” main quest. The key trap is the transition between phases: Daidara gets a completely fresh health bar, while your health, healing items, and Oni resources carry over exactly as they were. Treat phase one as the setup phase and preserve enough health to control the second arena.
Table of Contents (14)
Use this fight plan before committing to damage
- Break Daidara’s armor with the Oni Bow, starting with his knee pads when you have a clear shot.
- Hold guard against his wide club chains and parry the later hits instead of rolling away from every swing.
- Hold
L2during safe gaps to absorb loose souls before Daidara can eat them. - Save The Two Celestials, the twin-blade Oni Armament on
R1, for phase two. - Drain his red stamina bar through parries, then use the on-screen Break Issen prompt for a large damage sequence.
On Action, the highest difficulty available on an initial playthrough, Daidara’s damage can punish sloppy timing, but his animations remain slow and readable. The important adjustment is to stop treating every attack as a dodge check. His club has enormous arcs, and phase two leaves less room to roll cleanly. Blocking stabilizes the fight; well-timed parries turn that defense into stamina damage and stagger opportunities.
Phase one: break armor and keep your healing items
Phase one takes place in the larger courtyard-style arena. Daidara begins covered in several breakable armor pieces: knee pads, a glove or gauntlet, shoulder guards, and his hat. Breaking one briefly staggers him, lowers his protection, and gives you a clean opening to attack his exposed body or core.
Target the leg armor first with the Oni Bow
Open at range with the Oni Bow and focus on the knee pads. Removing the leg armor makes close positioning more manageable and creates an early stagger without requiring you to trade hits. Follow with the hat, glove, or shoulder guards when Daidara is recovering from a missed charge or a finished club string. Do not stand still trying to remove every piece immediately; the bow is strongest when used during a guaranteed recovery window.
The best bow opportunity comes after Daidara’s dance-then-charge attack. Let the dance animation finish, dodge at the end of the charge, then quickly draw the Oni Bow while he recovers. If a wall is behind him, baiting the rush into it can also cause him to stagger himself. Use that extra time to shoot armor rather than rushing in with an unprotected melee combo.
Guard the three-hit club chain
In phase one, Daidara’s standard club combo is a four-swing chain with broad, delayed arcs. Hold guard through the sequence if the timing is still unfamiliar. Once you can read the rhythm, parry the swings — especially the fourth and final blow. A clean final parry gives you the longest payoff, rapidly damages his red stamina bar, and can leave him open for measured sword attacks.
Avoid spending healing items to recover from small chip damage in this phase. Use safe soul absorption and solid guarding to keep your health stable. Daidara’s first health bar does not carry into the next phase, so burning all your recovery while finishing it quickly creates a much harder second half.
Absorb souls immediately during safe pauses
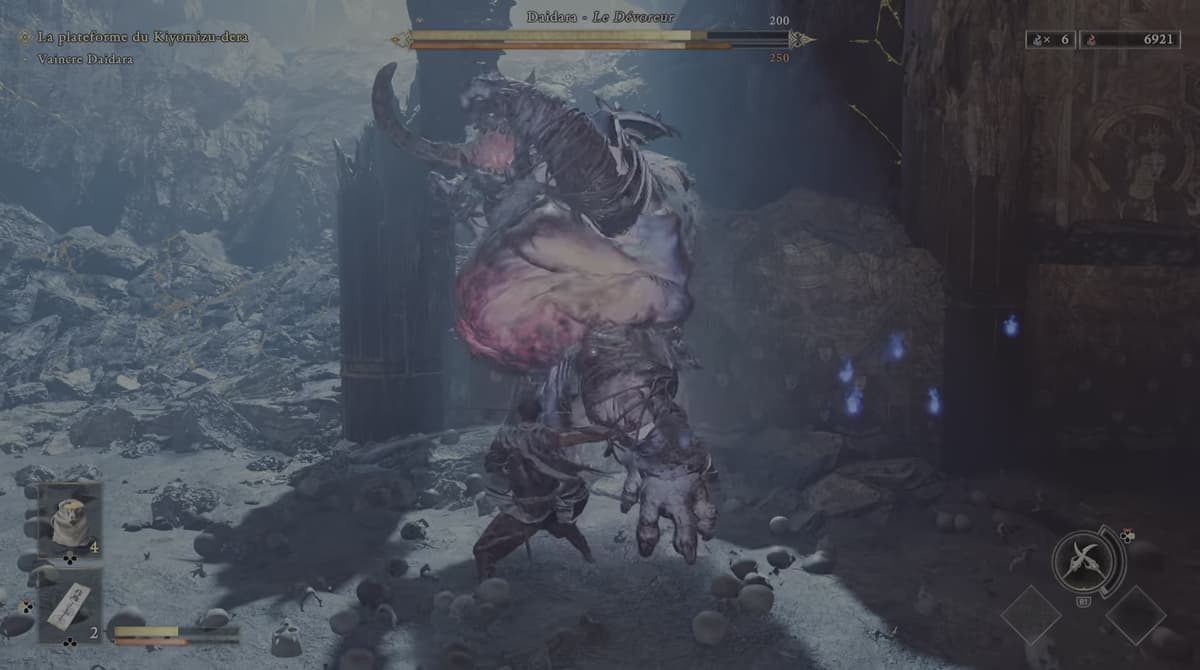
Loose souls are the resource battle inside the Daidara encounter. When armor breaks, Daidara is staggered, or certain attacks connect, souls can float around the arena. Hold L2 with the Oni Gauntlet during the pause after a combo, after a stagger, or while Daidara resets his position. Yellow souls restore health, while other souls help refill your Oni resources.
Do not leave souls on the ground while waiting for the next attack. Daidara can consume them, healing himself and entering a stronger state with faster, more aggressive attacks. This is especially dangerous in phase two, where his rushes and ground attacks already put constant pressure on your positioning. Absorb first, then resume guarding.
There is one exception: never force an L2 absorption while he is still swinging. Finish guarding the sequence, create distance only if you need to avoid fire, then vacuum the souls during the actual recovery. Taking a full club hit to collect a small resource gain defeats the point of the mechanic.
Phase two: guard more, dodge with purpose
The phase transition is immediate. Daidara enters the tighter arena with a fresh full health bar, but you enter with the same health and remaining items from phase one. Hold guard as the new phase starts, reset your spacing, and wait for his first committed attack instead of trying to force damage.
His normal club sequence is still four hits, but it comes out faster. The dangerous bait is the deliberate pause before the last swing. Keep guarding through that pause; the fourth strike is still coming. Parry it if you have the timing, then attack briefly or absorb nearby souls before preparing for the next string. Trying to roll through all four hits often sends you into the follow-up in the confined arena.
Use The Two Celestials as your phase-two recovery tool
Activate The Two Celestials with R1 once Daidara is staggered, has just finished a long combo, or is recovering from a failed rush. The twin blades can stagger him and release yellow souls as they hit, turning the armament into both a damage tool and a way to rebuild lost health. This is why using it freely in phase one is a poor trade: phase two is where its healing souls can rescue a depleted run.
Stay close enough to capitalize on the armament’s rapid hits, but keep your guard ready as it ends. The Two Celestials work best after a parry or armor break has already given you control of the pace.
Dodge these three attacks instead of trying to block them
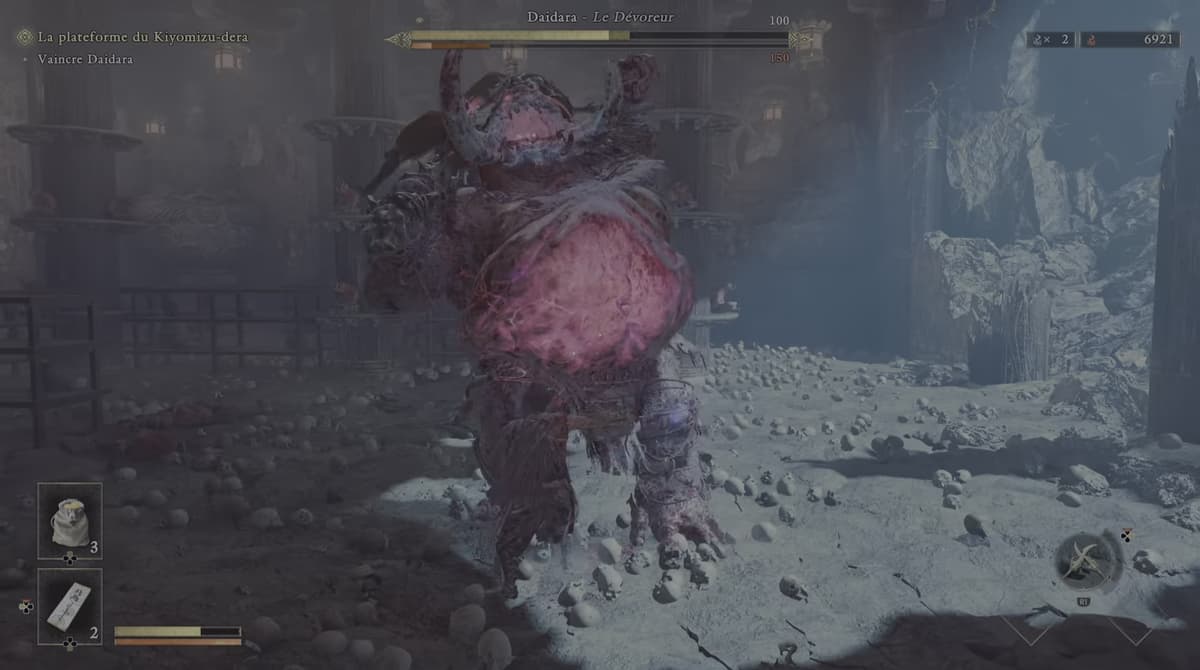
- Blue-hand grab: In phase two, Daidara’s hand glows blue before an unblockable grab. Wait roughly half a second after the glow, then dodge as he lunges. Getting caught costs health, souls, stamina, and Oni gauge at once.
- Fire club triple smash: Sidestep out of the impact zones. The ground remains burning after the three smashes, so holding guard in place still leaves you standing in damaging fire.
- Ranged ground smash: Move laterally when he sends a shockwave or fire across the ground from range. Once it passes, close in during his recovery rather than chasing through the attack line.
The rush attack is usually blockable and parryable, so it belongs in your guard plan rather than this dodge list. Dodge it only when you are deliberately setting up the Oni Bow punish after his dance wind-up or when the arena position makes a wall bait unsafe.
Force a stamina break for your biggest damage window
Watch the separate red stamina bar beneath Daidara’s health. Every strong parry contributes to draining it, making his slow club strings valuable opportunities instead of long defensive waits. Parrying the final club hit, deflecting a rush, and keeping pressure on broken armor all move the fight toward a stamina break.
When the red bar empties, Daidara enters a break state and an on-screen prompt appears for a Break Issen-style combo. Take it immediately. This is the cleanest source of major damage in the encounter, and it also produces a large soul release afterward. Hold L2 as soon as the finisher ends so those souls refill your health and Oni gauge rather than feeding Daidara.
Daidara FAQ: blocking, healing, and rewards
Blocking Daidara’s attacks
You can block most of Daidara’s club swings and rushing attacks. Guard is the safest default response to his standard strings, while parries on the final club hits and rushes speed up stamina breaks. The blue-hand grab cannot be blocked, and burning ground attacks require repositioning.
Daidara’s phase-two healing
Daidara begins phase two with a full new health bar. He can also heal during the fight by consuming floating souls, gaining speed and power at the same time. Hold L2 between attacks to deny that heal and claim the health-restoring yellow souls yourself.
The reward for beating Daidara
Defeating Daidara unlocks the Get Stuffed trophy or achievement after the associated main-quest sequence and final cutscene. There is no additional difficulty requirement or bonus condition attached to the reward.
Finish Daidara by controlling the pace
The reliable clear is simple: remove armor with the Oni Bow, guard every normal club string, parry the last hit, collect souls before Daidara can eat them, and spend The Two Celestials only when phase two needs to give health back. If phase two feels chaotic, slow down rather than backing away. Keep guard raised, dodge the clearly unblockable attacks, and let repeated stamina breaks end the fight on your terms.
FinalBoss // Gear
Level up your setup
01Top-rated gaming headsetson Amazon→02High-refresh gaming monitorson Amazon→03Gaming chairson Amazon→04Discounted game keyson Kinguin→Affiliate links · As an Amazon Associate, FinalBoss earns from qualifying purchases.
Want to Level Up Your Gaming?
Get access to exclusive strategies, hidden tips, and pro-level insights that we don't share publicly.
Ultimate Guide Strategy Guide + Weekly Pro Tips