
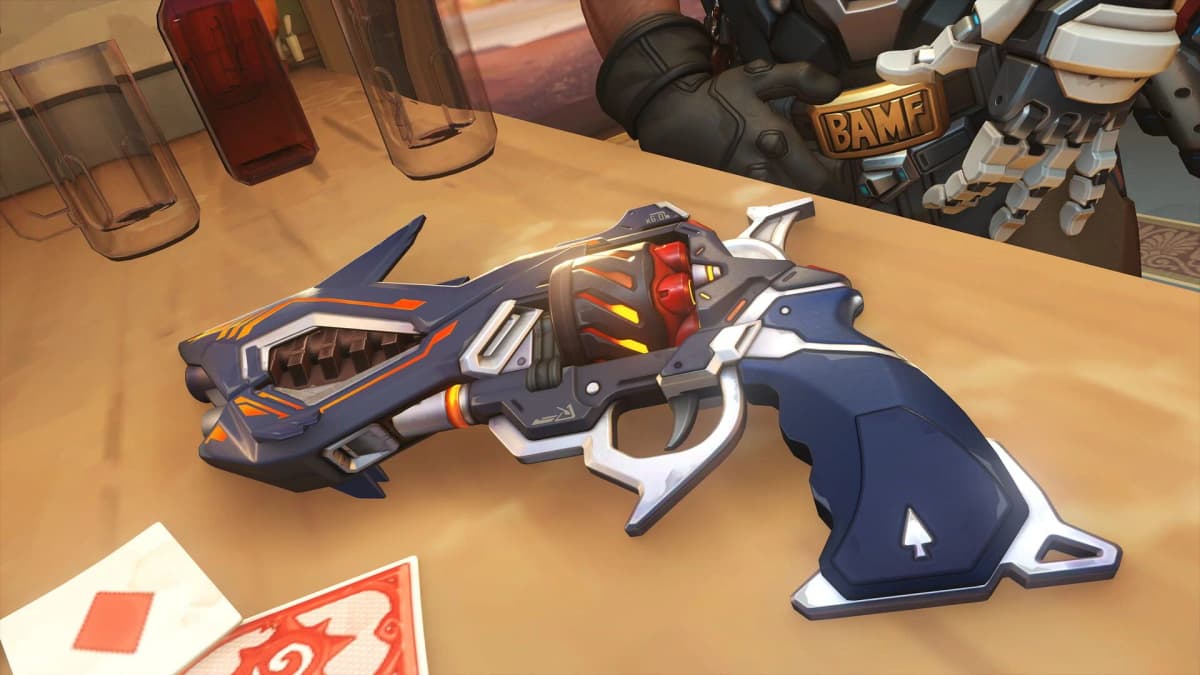
Run D.Mon as a three-stage loop: take a covered close-range line, save your defensive resource for the enemy’s response, then burst the target exposed by control before resetting to cover. Her value in Stadium Quickplay comes from creating one short, winnable damage window that your squad can immediately convert.
The key trap on day one is engaging because an enemy is technically in range. D.Mon should enter when her supports have a clear route to her, at least one DPS can shoot the forced target, and the enemy has already given up a major tool that would stop the push.
Table of Contents (7)
Commit Only Into a Fight Your Squad Can Finish
D.Mon wants to force a favorable close-range 1v1 or 2v2, then widen that advantage into a team fight. Walking into a fully grouped enemy team with every defensive cooldown available turns her engage into an uphill resource trade.
Before moving past safe cover, confirm these conditions are already in place:
- Your supports have line of sight on your route or can reach your position quickly.
- At least one DPS has an angle on the enemy you intend to force.
- Your team is facing the same lane instead of rotating across separate angles.
- An enemy support or DPS is exposed, isolated, or positioned in a short lane.
- You have identified the enemy’s main stop tool, such as hard control, a hook, sleep, or a burst-peel cooldown.
- Your shield or defensive state is ready for the counterburst.
| Fight state | D.Mon’s call | What the squad does |
|---|---|---|
| Enemy stop tool is spent, a target is exposed, and your team has sightlines | Commit immediately | Collapse on the exposed target and prepare burst damage for the control window. |
| Enemy team is grouped, your squad is still setting up, or the target has strong peel | Pressure and delay | Hold the close lane, draw cooldowns, and avoid spending the shield on low-value poke. |
| Support line of sight breaks or DPS cannot follow your route | Abort and reset | Return to cover together and rebuild the same short-range setup. |
A clean D.Mon engage starts when the enemy is already slightly out of formation. A support without an escape, a distracted tank, or a DPS who has stepped into your short lane gives your team a target that can be deleted before the enemy’s formation recovers.
Win the Shield Trade Before the Real Commit
Treat D.Mon’s shield or defensive state as a resource for the next three to five seconds of the fight. Its best use is denying the damage that would otherwise stop your push or punish you after control lands.
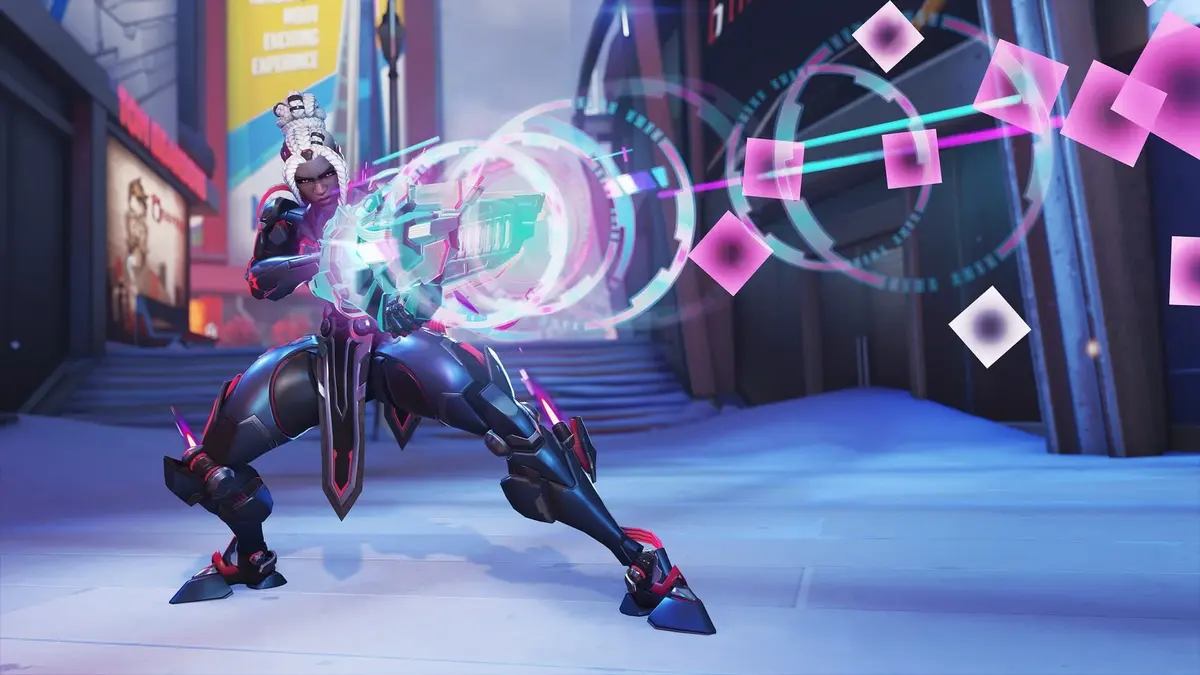
Use a short peek to pull enemy attention and reveal their burst. Once the threatening cooldown is committed, spend your defense to blunt that high-value response, then re-enter while the enemy is missing the tool that mattered. This creates the safe window for D.Mon’s close-range pressure.
- Use defense to cross an exposed gap when the enemy can punish the route.
- Use defense after forcing a target, when the enemy turns burst damage toward you.
- Save enough resource to remain in range through the first counterattack.
- Re-engage after the enemy’s key burst or control tool has been spent.
Holding the shield while standing in open space drains it for little return. Spending it on chip damage creates the same problem: D.Mon reaches the real fight with no answer to the enemy’s decisive burst. The successful trade is one where your defense buys a major cooldown, a safer entry, or the seconds needed to secure a kill.
Burst the Target Control Exposes
Control effects create the conversion window; they do not secure the fight alone. The instant a target is stunned, displaced, slowed, or otherwise unable to respond normally, D.Mon and her squad need to put damage into that target without pausing to reassess the whole fight.
| Burst priority | When to choose it | Why it matters |
|---|---|---|
| Low-health support in a bad angle | The support is controlled, separated, or unable to retreat behind cover | Removing healing turns the rest of the enemy team into easier follow-up targets. |
| DPS without an escape route | The DPS is controlled near D.Mon’s short-range pressure lane | A quick elimination removes incoming damage and prevents the enemy from stabilizing. |
| Overcommitted enemy tank | The tank is already deep, damaged, and receiving limited backline support | The tank becomes a valid focus target when the squad can finish the elimination cleanly. |
Do not default to shooting the enemy tank after every control effect. A controlled support or stranded DPS is often the faster pick. If the first target survives and escapes the initial burst, immediately shift to the next exposed enemy instead of chasing into a poor angle alone.
Use Lim Bridge as an Entry, Stabilize, and Follow-Up Loop
On Lim Bridge, D.Mon needs a position that gives her a short engagement lane without cutting her off from healing. The strongest setup is a repeatable loop: enter from cover, absorb the counterburst, then step into a forward angle where allies can keep firing at the same target.
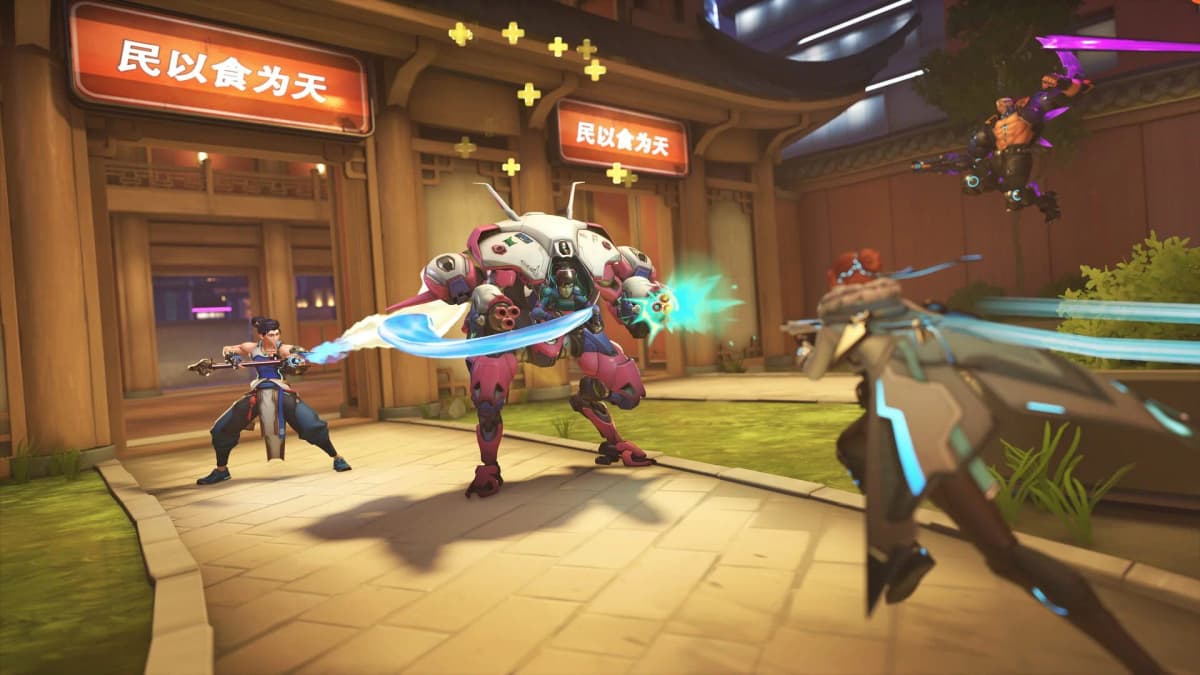
| Position type | What it should provide | When to move from it |
|---|---|---|
| Entry position | A short, covered lane that lets D.Mon threaten close range while supports maintain sightlines | Advance when an enemy is exposed or their stop tool has been used. |
| Stabilize position | Hard cover, a clear healing route, and room to survive the enemy’s immediate burst | Hold here after the initial commit until your squad regains health, cooldowns, and focus. |
| Follow-up position | A shallow forward angle where DPS can shoot the forced target without crossing open space | Step forward after control lands or after the enemy spends their strongest response. |
The follow-up position should remain shallow. D.Mon is strongest when the squad can continue shooting the target she forced while she still has a clear retreat to the stabilize position. A deep chase that breaks support line of sight ends the loop and gives the enemy an easy counter-engage.
Give Each Squad Role One Job During the Engage
Day-one coordination becomes much easier when everyone plays the same three-second burst window. D.Mon calls the target and timing; the rest of the squad should avoid splitting damage across several enemies.
| Role | Primary job during D.Mon’s engage | Common mistake |
|---|---|---|
| D.Mon | Force the target, absorb the key counterburst, and call the reset once the kill window closes | Continuing forward after supports lose sightline. |
| Damage heroes | Pre-aim the forced target and unload burst damage immediately after control lands | Taking a separate duel while D.Mon creates a close-range opening elsewhere. |
| Supports | Maintain a reachable healing line and prepare resources for the enemy’s response to D.Mon’s entry | Rotating late enough that D.Mon has no sustain during the conversion window. |
Use a Short 10-Second Engage Call
Keep comms limited to target, cooldown state, timing, and reset. A simple sequence prevents the squad from losing the burst window to overlapping explanations.
- “I’m checking right.”
- “They used their stop tool.”
- “Going in three, two, one.”
- “Burst the support.”
- “Keep shooting the same target.”
- “Reset, don’t overchase.”
D.Mon’s Fight Checklist
- Supports have a sightline or a fast route to D.Mon.
- A DPS can shoot the target D.Mon is about to force.
- The enemy’s main stop tool is identified or already spent.
- D.Mon’s defensive resource is available for the counterburst.
- The squad has one exposed target selected for immediate burst.
- Lim Bridge cover provides a stabilize position and a retreat route.
- The team resets once the first kill window closes instead of extending into an isolated chase.
If no cover reset and no damage line exist after the initial burst, hold the stabilize position and rebuild the next close-range engage.
FinalBoss // Gear
Level up your setup
01Top-rated gaming headsetson Amazon→02High-refresh gaming monitorson Amazon→03Gaming chairson Amazon→04Discounted game keyson Kinguin→Affiliate links · As an Amazon Associate, FinalBoss earns from qualifying purchases.
Want to Level Up Your Gaming?
Get access to exclusive strategies, hidden tips, and pro-level insights that we don't share publicly.
Ultimate Guide Strategy Guide + Weekly Pro Tips