
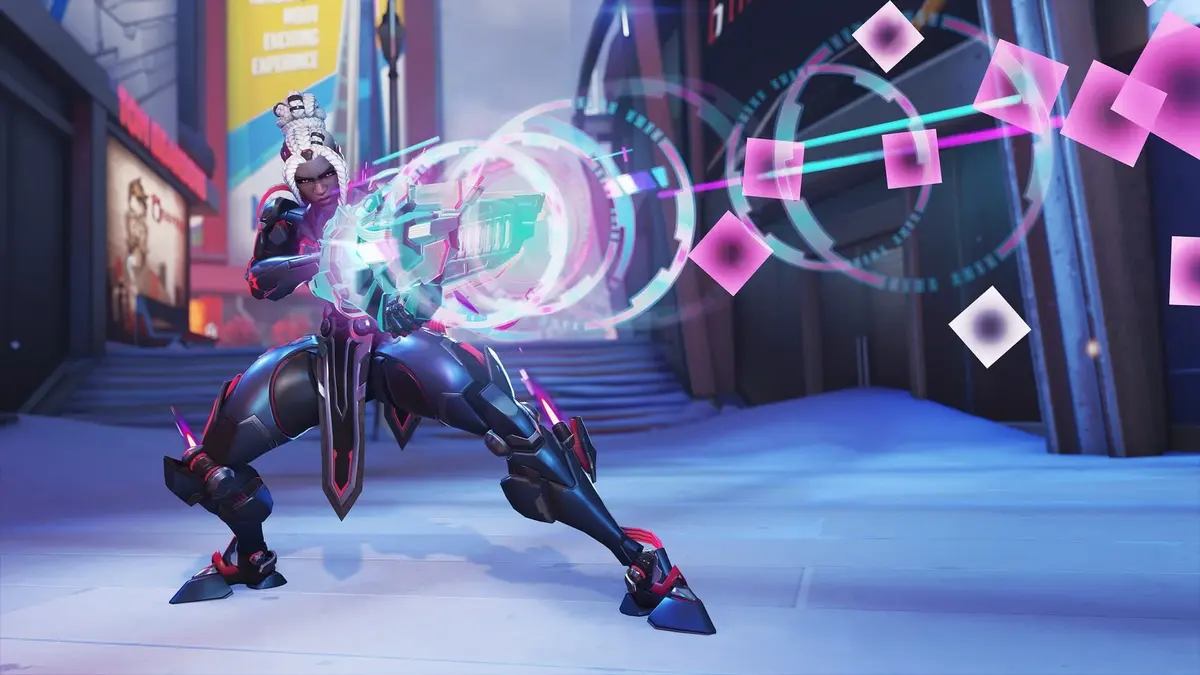
Run early Sombra Support games as controlled utility tests: play from a close-to-mid backline angle, keep a Translocator reset route to cover, and spend your first meaningful resources on stopping enemy pressure against an ally. Her value here is not flashy. It comes from preserving a teammate’s uptime while disrupting the enemy’s approach, then taking brief Primary Fire angles once your backline is safe.
Quick note before you treat any of this as live-kit gospel: the Sombra Support role change in the supplied material is tied to Overwatch 2 Season 5, with one listed date of October 6, 2026. That does not verify Sombra Support as a Season 18 Stadium Quickplay live change. Exact healing values, cooldowns, ranges, role passive behavior, EMP behavior, and any Stadium-specific tuning remain unconfirmed here. Use this as an early-play framework whenever the Support version is playable, not as a fixed Season 18 loadout.
Table of Contents (15)
Use a Support-First Fight Loop
The old Damage Sombra pattern rewarded deep flanks, isolation, Virus pressure, and quick eliminations. A Support conversion changes the priority order. Your first job becomes identifying which ally the enemy wants to isolate, arriving early enough to make that dive expensive, and escaping before the attackers can trade cooldowns for your life.
The working rework description keeps Sombra’s Primary Fire, Translocator, and EMP while adding an ally heal-over-time secondary fire called Hotfix. It also describes a projectile zone that weakens enemies and heals allies. That points toward a short-cycle loop: apply ally value, contest the enemy’s entry space, use damage only while the team has cover, then reposition with Translocator before the fight turns into a long duel.
- Before contact: stay near the ally most likely to receive the first dive, usually a mobile backline target or an exposed off-angle player.
- At first contact: use the ally-facing heal or utility immediately if it is available in the playable build. Heal-over-time tools gain value when they start before the opening burst creates a lethal health deficit.
- During the brawl: place the zone where your team needs to stand or retreat through. Choke entrances, payload corners, and objective edges are better early tests than an ambitious throw into the enemy backline.
- After resources are committed: take a short Primary Fire angle, force the diver to respect your damage, and Translocate out when the enemy has spent mobility or defensive cooldowns.
A successful Sombra Support fight can end with no elimination credited to you. If your other support survives the dive, your damage player keeps an off-angle, and the enemy has to withdraw or give up objective space, the utility loop worked.
Position One Teleport From the Ally You Need to Save
Close-to-mid backline positioning is the safest starting point. It keeps you near enough to apply ally utility during the first second of a dive while retaining the freedom to pressure a target from a side angle. Deep flanks create the same problem that affects every lower-output utility Support: the team loses help during the precise moment the enemy commits.
Build a Reset Route Before You Start Shooting
Place or plan Translocator around hard cover with a return line toward your other support, an objective defender, or a protected damage angle. The route should return you to a useful position, not merely keep you alive. A reset that leaves you behind a wall while your teammate is still being chased delays your next peel window and turns your escape into a lost fight.
Open lanes are the hardest environments for this role. They expose Sombra while she is trying to keep sightlines on allies and make each Translocator use feel like a one-way exit. Corners, high-ground access points, and payload geometry are better early testing grounds because you can apply pressure, break line of sight, and re-enter the fight without crossing the entire map.
Anchor to the Team’s Vulnerable Side
Prioritize the side of the formation where an enemy diver can isolate someone. This is often the second Support or an off-angle damage player, especially when they are holding ground away from the main tank path. Sombra’s older identity already revolved around punishing isolated targets; the Support version should reverse that threat by making allied isolation attempts fail.
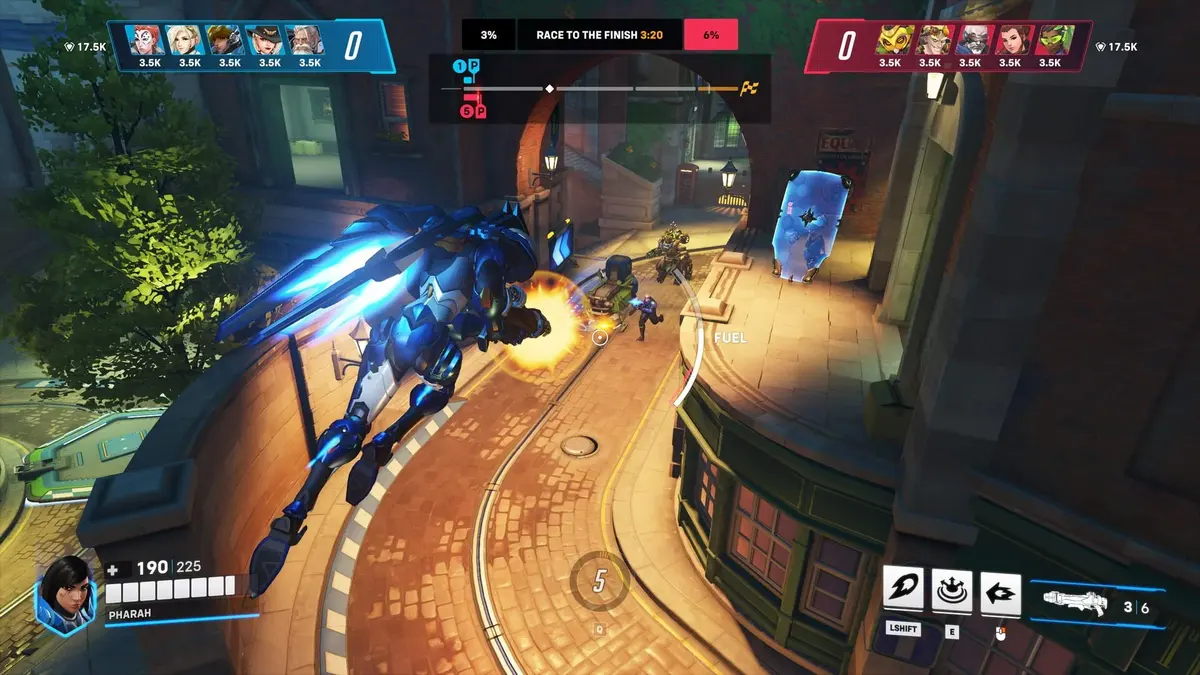
- Keep a usable sightline to the teammate most likely to be pressured.
- Maintain enough distance that enemy splash damage does not hit both Supports for free.
- Use stealth and mobility to shift between backline angles instead of permanently camping one flank.
- Move closer to the objective when your team has to contest, since a zone heal-and-weaken effect gains value when both teams are forced into the same space.
Peel at the First Commitment, Not the Elimination Feed
Sombra Support’s most important timing test is peel, meaning the act of turning your resources onto a diver to save a teammate. Waiting until an ally reaches critical health gives an attacker the best possible trade: they have already forced cooldowns, broken your formation, and may still secure the kill before a heal-over-time effect matters.
Pre-Dive Pressure
When an enemy is staging near your backline, stay within range of the threatened ally and preserve your support utility. This is where players lose value by chasing chip damage on a distant target. Primary Fire pressure is useful, but it should not spend the time or positioning you need to answer the real engagement.
First Contact
Commit healing and zone control as the attacker begins the dive. The purpose is to make the opening burst inefficient: your ally receives sustain, the attacker enters weakened space, and your team can focus the target that has already committed movement resources.
Enemy Disengage
Once the attacker burns their escape or defensive resources, Sombra can briefly take the offensive angle. This is where retained Primary Fire matters. Help finish the forced retreat if the target is exposed, but avoid turning a won peel into a long backline chase. Your team still needs a Support near the objective or the next incoming threat.
Mobile backline targets are the best early peel priority. Saving them denies the kind of isolated pick Sombra traditionally created herself, and their mobility gives the pair a better chance to reset together after the enemy’s first push fails.
Use Damage, Hotfix, and Zone Utility for Separate Jobs
The proposed Support kit has three different kinds of value: sustained ally uptime from Hotfix, area control from the projectile zone, and direct threat from Primary Fire. Treating all three as damage tools creates the same failure point: the team receives help too late.
| Tool or role | Best early purpose | Low-value use to avoid |
|---|---|---|
| Hotfix heal-over-time | Stabilizing an ally before or during the first enemy commitment | Saving it until a teammate has already absorbed the full dive burst |
| Projectile zone | Controlling a choke, payload corner, retreat route, or objective touch | Throwing it deep at an enemy backline your team cannot reach |
| Primary Fire | Pressuring a committed attacker and helping convert a failed dive | Chasing a solo elimination while your own backline is exposed |
| Translocator | Short repositioning between ally support and safe pressure angles | Using it only as a panic escape that abandons the team fight |
| EMP | Coordinating a teamfight swing if the released Support version retains its expected function | Assuming its Damage-era interaction and timing are unchanged before final ability details are available |
The zone deserves special attention in Stadium Quickplay because Stadium fights often cluster around one contest area at a time. A heal-and-weaken field gains real value when it changes where the enemy can stand. Place it where it protects your team’s movement through the fight: the doorway they must cross, the payload corner they must round, or the edge they must touch to contest.
Test the Parts That Define the Early Meta
Early matches should answer practical role questions, not chase a perfect stat line. The critical unknown is whether Sombra provides enough sustained healing to share regular Support duties or whether her strongest identity is a hybrid utility slot beside a more consistent healer.
| Test area | What to observe in matches | What the result means |
|---|---|---|
| Healing throughput | Whether Hotfix keeps allies stable through ordinary poke and the first seconds of a dive | Determines whether she can offer secondary sustain or requires a partner with dependable healing |
| Zone placement | Whether chokes, payload corners, or objective touches create the most forced movement from enemies | Identifies the terrain where her utility changes the fight instead of adding minor damage |
| Translocator cadence | Whether short repositions remain available in open lanes and repeated skirmishes | Shows whether her mobility supports frequent peel rotations or one major escape each fight |
| Ally-focused hack effects | Whether an ally bonus has more impact before the fight or as a mid-fight rescue, if that interaction exists in the build you are testing | Separates proactive enabling from reactive saving |
| Anti-deployable pressure | Whether hacking enemy deployables changes brawls against turret- or trap-heavy teams | Defines a possible specialist niche for Sombra Support in Stadium compositions |
Keep the observations simple: did the ally survive the first dive, did the zone force an enemy to move, did Translocator return you to the fight in time, and did the team gain objective space? Those four outcomes show more about a utility Support’s real value than eliminations alone.
Build Your Stadium Quickplay Test Plan Around Rounds, Not Highlights
This is the missing piece most early testing skips. Stadium Quickplay is a faster, lighter Stadium environment with shorter match times, accelerated economy, backfill support, and Cross Play support. It also uses a best-of-5 round structure: the first team to win 3 rounds wins, and Powers are granted on rounds 1, 2, 3, and 5. That matters because Sombra Support testing should be structured around full round cycles, not one cool fight where everything happened to line up.
In practice, that means you should stop thinking, “Did my flank work?” and start asking, “Did my utility loop survive contact across a whole round, then still make sense after the next Power selection?” That is a much cleaner way to learn whether a utility Support can hold up in Stadium pacing.
Repeatable scenarios to run every time
| Scenario | What to do | What to record at round end |
|---|---|---|
| Control opening fight | Play the first objective touch from a backline angle one Translocator away from cover. Use your first meaningful resource on the ally taking the first dive, not on a long chase. | Did your threatened ally survive first contact? Did your zone affect the point edge or entry path? Did you rejoin fast enough after Translocator? |
| Push first robot brawl | Test the zone at the first shared corner or robot contest area instead of throwing it behind enemy lines. Treat the first reset after losing space as a second data point, not a throwaway fight. | Did the zone win space around the robot? Did your reset preserve the next contest? Did your team lose ground because you left too early or too late? |
| Clash capture and re-entry | On the first capture phase, play for ally stabilization during the initial commit. On the next re-entry, check whether the same angle still works once both teams know where pressure is coming from. | Was your value stronger on the first hold or the recontest? Did enemy movement change because of your zone placement? Did your peel timing hold up twice? |
| Payload Race corner fights | Use payload corners as your default test bed. These are the cleanest places to learn whether the zone protects your team’s path through a fight or merely adds clutter. | Did the corner placement force movement? Did Hotfix buy enough time for the team to round the corner or survive the contest? Did you keep pressure without abandoning the cart fight? |
| Temple of Anubis timing check | Treat overtime and re-entry timing here as a special case. Temple of Anubis has altered spawn-to-objective travel timing, so test whether your standard reset route still gets you back to the real fight soon enough. | Did a “safe” Translocator actually cost the next touch? Did overtime shorten the window enough that you needed a tighter reset route? |
If you want the test to stay honest, record the same short notes after every round:
- Round number and whether a Power selection was available.
- Mode and objective phase: opening neutral, mid-round hold, recontest, or overtime touch.
- First meaningful resource use: before contact, at first contact, or too late.
- Translocator result: useful reset, panic exit, or late re-entry.
- Fight result: ally saved, space held, space lost, or objective touch denied.
That is enough to spot a pattern. You do not need a spreadsheet from another planet. You need a clean loop you can repeat over several best-of-5 matches.
Decision checkpoints: when to keep doing it and when to stop
- Checkpoint 1: New round, new Power, new plan. At the start of rounds 1, 2, 3, and 5, ask whether the round is about to play faster because of fresh Power access. Keep doing your current angle if it still gives immediate ally access and a reset route. Stop doing it if a new round keeps forcing you to spend Translocator before the real contest starts.
- Checkpoint 2: In transit or on objective? Before you commit Hotfix or the zone, check whether the fight is still forming in open space or has reached a true contest area. Keep doing early resource use if it lands right as the enemy commits onto an ally. Stop doing it if you spend everything in transit and then have nothing once the teams collide at the objective.
- Checkpoint 3: Did the peel begin at first contact? If your ally was already collapsing before you acted, your timing was late even if the fight ended evenly. Keep doing the play when your first response overlaps the enemy’s opening burst. Stop doing it if you are reacting to the elimination feed instead of the engage itself.
- Checkpoint 4: Is the round still winnable, or is this a reset? Before disengaging, read the objective state. Keep doing short re-entry plays when the team can still contest immediately. Stop doing heroic linger attempts if the round is already lost and your best value is preserving position for the next fight.
- Checkpoint 5: Did accelerated economy change your value curve? After every round, note whether Stadium’s faster economy changed how early fights played. Keep doing a pattern that improves after later round purchases. Stop doing one that only works in the opener and collapses once fights become denser and more punishing.
This methodology is intentionally plain. It is built around round structure, objective phases, overtime, and reset timing because those are the cleanest Stadium signals you can verify from match to match. That makes it far more useful than pretending exact Support numbers are settled when they are not.
Judge Sombra Support Against the Right Role Expectations
Sombra Support should be measured against the job she is being asked to perform. Her early value case is disruption, survival support, and controlled pressure. Raw healing comparison remains incomplete until final heal numbers, range, duration, and cooldown data are available.
| Play pattern | Primary fight goal | Default position | Best damage moment |
|---|---|---|---|
| Previous Damage Sombra | Find an isolated target and secure a pick | Deep flank or hidden enemy-side angle | During a committed assassination sequence |
| Early Sombra Support framework | Keep an ally active while disrupting the enemy’s entry | Close-to-mid backline, one Translocator route from cover | After an enemy commits onto the backline or retreats |
| Dedicated high-output Support | Restore health consistently through sustained team damage | Reliable line of sight behind the team | Only when healing demand is under control |
This comparison is why deep solo flanks should be a situational tool rather than the default. A flank can still work when the enemy has already spent resources, your other support is protected, and the fight has a clear finish window. It has poor timing when your team is about to absorb a coordinated push.
Early Mistakes That Hide Sombra Support’s Real Value
- Using stealth as permission to leave the team: stealth creates flexible angles, yet the Support job still needs a fast return path to threatened allies.
- Applying sustain after the burst: heal-over-time effects are strongest when they overlap with incoming damage instead of arriving after the target has already lost the trade.
- Dropping the zone for damage alone: its stronger early purpose is changing enemy movement around space your team can actually occupy.
- Translocating too far from the fight: surviving without rejoining the team turns every peel attempt into a delayed four-versus-five.
- Reading elimination count as the only success metric: a disrupted dive, saved Support, or denied objective touch can decide the fight without producing a personal elimination.
- Ignoring the round structure: Stadium Quickplay gives you better data when you review each round, especially after Power-selection rounds, instead of judging the hero from one isolated pop-off.
- Assuming old EMP behavior: EMP may remain in the reworked kit, but its final Support version still needs confirmation before it is treated as identical to its previous role.
The useful early result is a clear answer on Sombra’s place in a team: secondary sustain, backline protector, anti-deployable specialist, objective-zone controller, or some hybrid of those jobs. Until final live-kit numbers and the Season 5 versus Season 18 mode connection are confirmed, that role-based testing is the reliable way to play her without building habits around unverified tuning.
FinalBoss // Gear
Level up your setup
01Top-rated gaming headsetson Amazon→02High-refresh gaming monitorson Amazon→03Gaming chairson Amazon→04Discounted game keyson Kinguin→Affiliate links · As an Amazon Associate, FinalBoss earns from qualifying purchases.
Want to Level Up Your Gaming?
Get access to exclusive strategies, hidden tips, and pro-level insights that we don't share publicly.
Ultimate Guide Strategy Guide + Weekly Pro Tips