
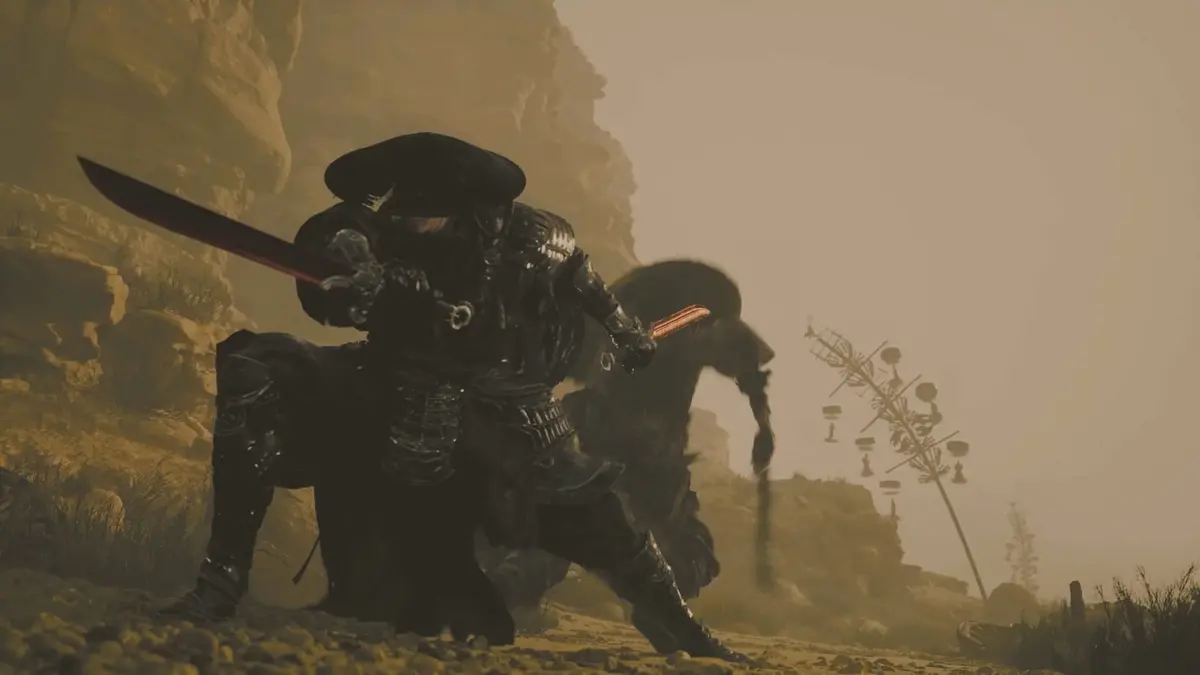
Halfway through a combo, tap L1 just before an incoming hit to parry. If the attack carries a red cue, use R1 to dodge instead. Those are the pre-release demo’s controller inputs for reacting without first finishing your attack string.
How attacking and defending fit into one combo
Many attacks in Phantom Blade Zero have low commitment: you can interrupt your offense to answer an incoming strike before the attack animation finishes. After a parry, you can often continue the original combo where you left off, saving you from restarting the sequence.
The demo uses Square and Triangle to build attack strings, with demonstrated combos running three to five button inputs. Start your sequence, but watch the enemy rather than committing to every remaining input. When a strike comes back at you, prioritize the appropriate defensive response, then continue attacking when the opening allows. Combo continuation is situational; avoid assuming every attack can be interrupted at any moment.
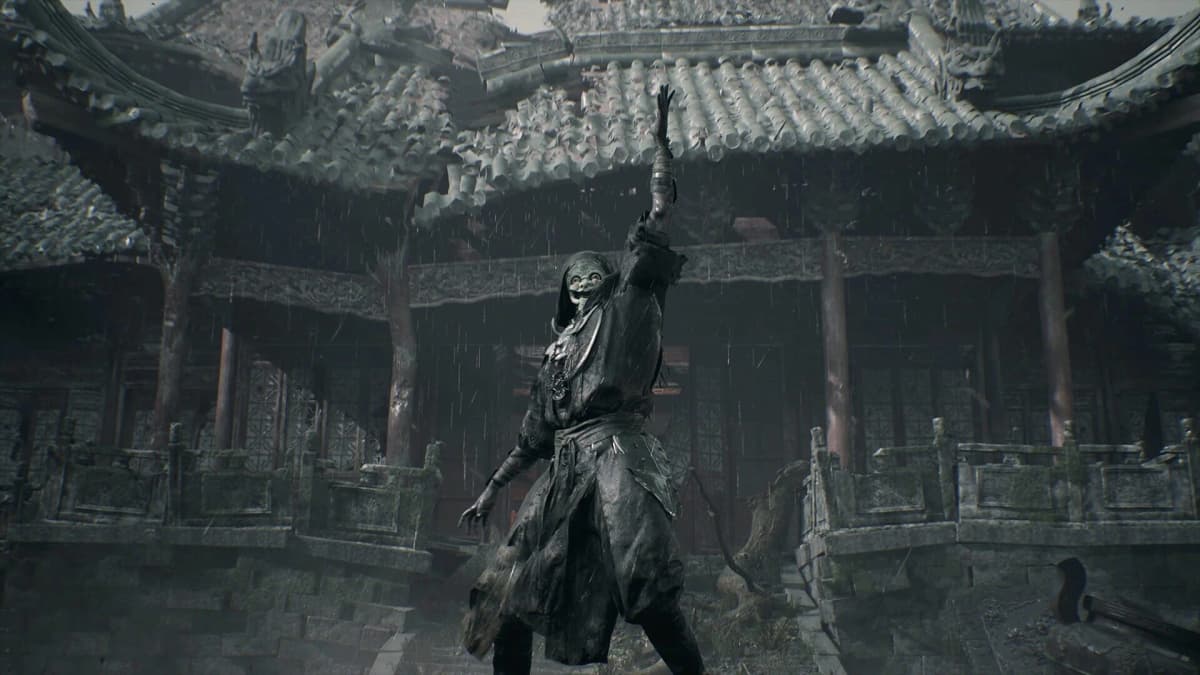
“Attack and defend at the same time” describes that continuous exchange: attacks, defensive reactions, and counters within one sequence. S-GAME’s director wanted the back-and-forth of Chinese martial arts films to emerge through player inputs, without relying on scripted animations or quick-time events.
Choose your defense by the enemy’s attack cue
| Incoming attack | Demo input and response |
|---|---|
| Normal attack | Tap L1 immediately before impact to parry. Hold L1 for a conventional block when you cannot reliably time the parry, but expect a Sha-Chi cost. |
| Blue Brutal Move | Time an L1 parry. Blocking is possible, but takes a substantial amount of Sha-Chi. |
| Red Killer Move | Use R1 to dodge or sidestep. These attacks cannot be blocked or parried; a perfectly timed dodge creates a counter opportunity. |
Ghoststep is the offensive payoff for a well-timed defense. A successful timed parry or perfect dodge can move you behind the enemy for a quick counterattack. Against a red Killer Move, pressing L1 forfeits that route and leaves you exposed; recognize the color before choosing your response.
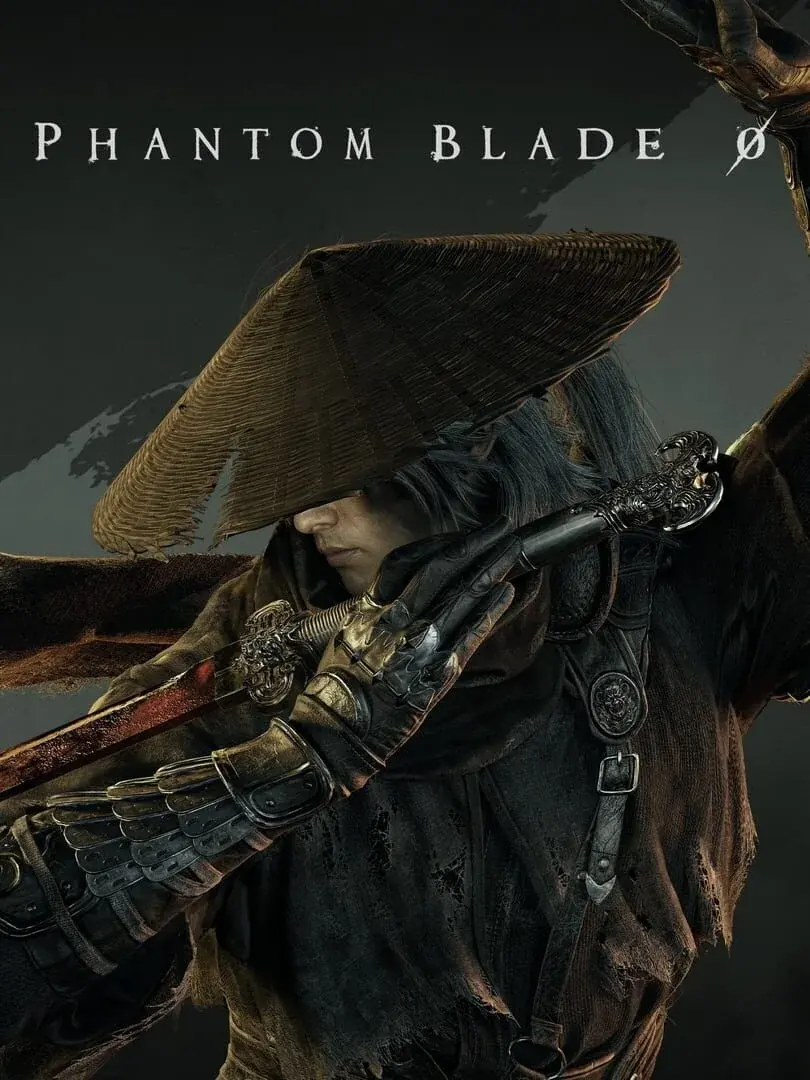
Use parries to maintain pressure without draining Sha-Chi
Sha-Chi links offense and defense. Attacks spend it, while successful defensive timing helps restore it. Holding L1 drains Sha-Chi, and ordinary blocks impose an additional cost. A correctly timed parry costs no Sha-Chi, prevents incoming damage, and reduces the attacker’s Sha-Chi, so your defensive reaction also pushes the enemy toward a stance break.
If your Sha-Chi is running low, repeatedly holding guard makes the problem worse. Look for a timed parry against a normal or blue attack, or a perfect dodge against a red attack. A combatant whose Sha-Chi runs out becomes breached, losing stance stability and remaining highly vulnerable until the resource refills.
FinalBoss // Gear
Level up your setup
01Top-rated gaming headsetson Amazon→02High-refresh gaming monitorson Amazon→03Gaming chairson Amazon→04Discounted game keyson Kinguin→
Affiliate links · As an Amazon Associate, FinalBoss earns from qualifying purchases.
Want to Level Up Your Gaming?
Get access to exclusive strategies, hidden tips, and pro-level insights that we don't share publicly.
Ultimate Guide Strategy Guide + Weekly Pro Tips