Planet of Lana 2: How to Beat Chapters 7 & 8 – Final Boss Guide
Why Chapters 7 & 8 Can Be a Wall
After banging my head against Chapter 7 of Planet of Lana 2 for well over an hour, I realized it isn’t that the individual puzzles are impossible – it’s that the game expects you to chain Lana and Mui’s abilities together quickly and cleanly. If you’re like me and tend to overthink or hesitate, this is where the difficulty spikes.
This guide walks through Chapter 7: Revenge and Chapter 8: Temati’s Journey, focusing on how to coordinate Lana, Mui, robots, boxes, and fish to solve the late-game puzzles and beat the giant missile robot. I’ll point out where I messed up, what timing actually works, and how to stop repeating the same death loops.
Chapter 7: Revenge – Opening Junkyard & First Flying Bot
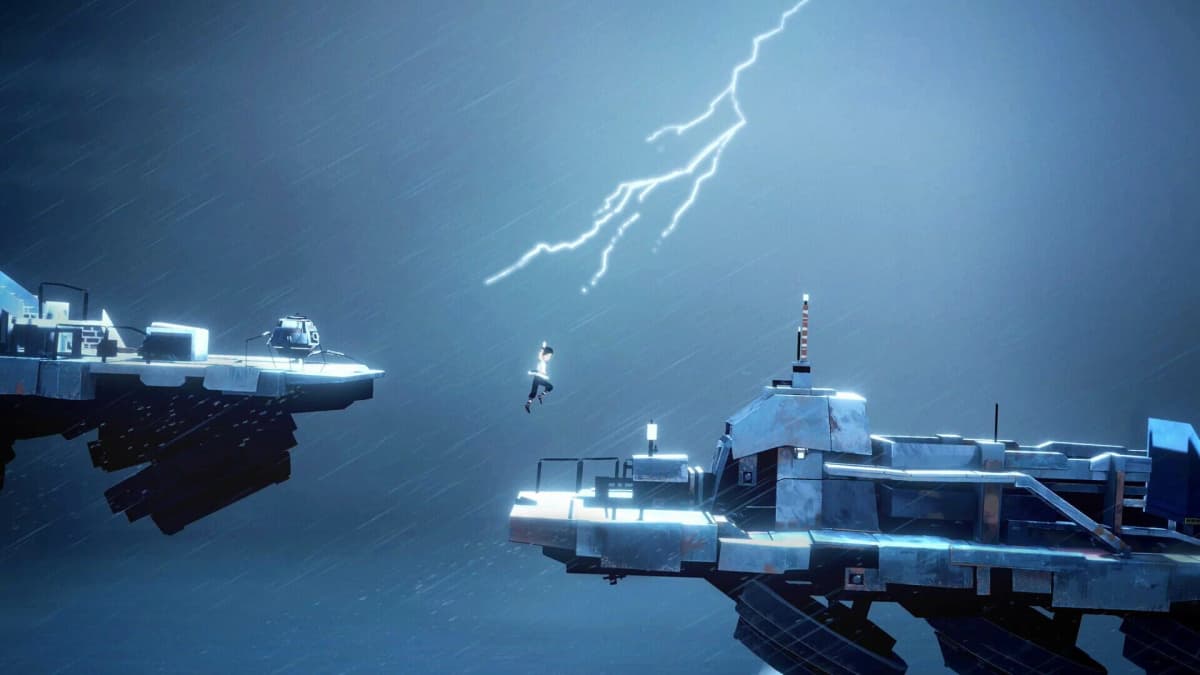
Once the opening cutscene ends, head right into the radioactive junkyard. Your very first obstacle is a flying robot you need to hijack.
- Step 1 – Stagger the drone: Command Mui to jump onto the flying robot. When Mui lands, the bot staggers for a short window.
- Step 2 – Hack it as Lana: While it’s staggered, use Lana to hack/control the robot.
- Step 3 – Raise the platform: Stand Lana on the nearby hanging platform and use the robot’s special pull ability to lift it.
- Step 4 – Don’t wait too long: Jump to the next ledge before the platform starts dropping again.
The breakthrough for me here was realizing I didn’t need a perfect jump – just don’t hesitate once the platform peaks. After that, use the robot’s pull on the gate to your right to slide it open and reveal climbable ledges. Climb up as Lana while maintaining control of the robot.
Important: Don’t release control of the robot yet. You’ll need it immediately in the next section to:
- Drag a large metal piece left to create a bridge over the water.
- Pull a gate on the far side so Lana can sprint underneath before it closes.
- Then command Mui to drop a rope so Lana can climb up and reunite with her.
I wasted a few attempts by messing up the timing on that gate. The trick is to stand Lana right at the edge, pull with the robot, and be ready to run the second the gap opens.
Security Cameras, Gates, and Robot Patrols
The next arena is your first real test of three-way coordination: Lana, Mui, and enemy robots under camera surveillance.
Staggering the Patrol Bot & Vent Escape
You’ll see a patrolling robot watched by a camera that sweeps left and right.
- Wait until the camera is looking away (to the right).
- Send Mui in from the safe side and use her special ability to stagger the robot.
- While it’s stunned, run Lana to the right, pry off the vent cover, and crawl into the gap.
- Don’t forget to call Mui back while the bot is still staggered.
My early mistake here was trying to move Lana and Mui simultaneously without respecting the camera’s rhythm. Treat it like a metronome: action only when the beam is away from you.
Camera-Controlled Gate Puzzle
In the next room, a gate opens and closes in sync with a security camera.
- Send Mui to the upper generator connected to the camera.
- Wait for the patrolling robot to cross through the gate to the far side.
- Use Mui’s ability on the generator to disable the camera, freezing the gate open.
- Rush Lana to the gate and climb onto the small ledge on its left side.
- When the robot walks left, drop down behind it and sprint through to the right.
If the camera restarts mid-run, immediately hit the generator again with Mui to prevent the gate from closing on you. I had a run where the door closed as I dropped from the ledge – that’s your cue that you’re waiting too long on top of the gate.
Right-Side Generator Escape
Drop into the next room and hug the left wall to stay out of sight.
- Send Mui across to the generator on the right, staying low to avoid the robot’s cone of vision.
- Use Mui’s ability to disrupt the generator, distracting/affecting the robot.
- While it’s turned away, dash Lana to the right and pry open the vent.
- Slip through just as the robot turns its back again.
Here, timing your run as Lana after you’ve committed Mui is key. Don’t make my mistake of trying to move Lana early just because Mui reached the generator – wait for the robot to physically turn away.
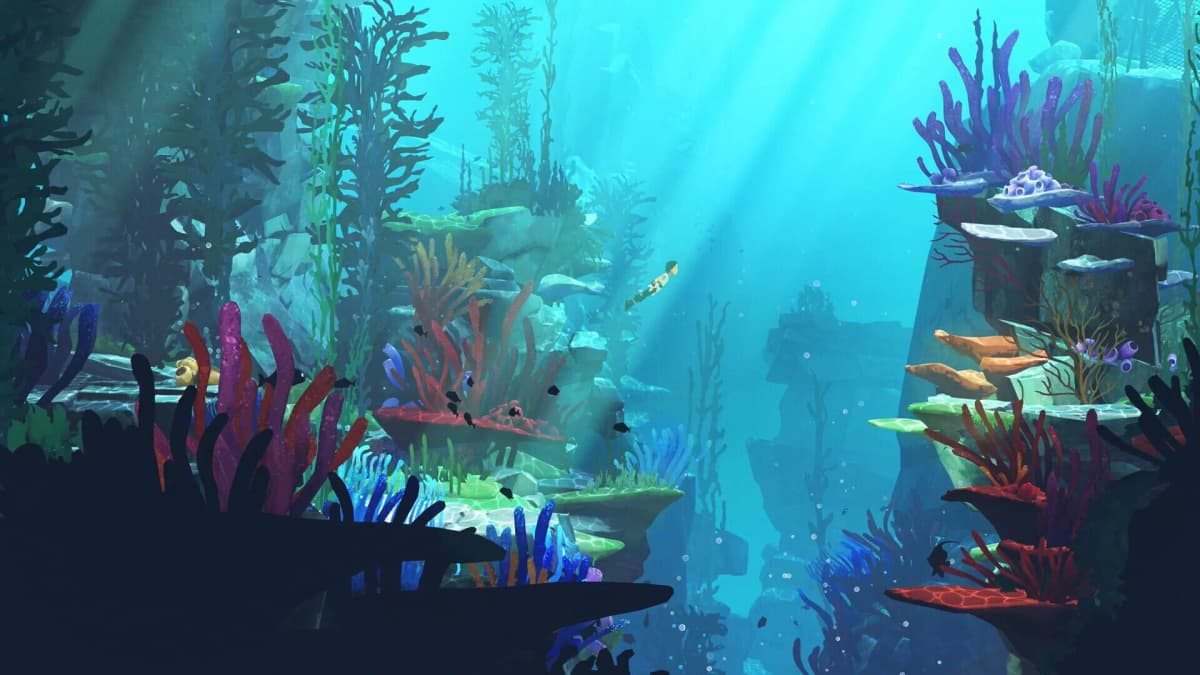
Underwater Section and Ink-Fish Stealth
The next stretch introduces diving and platform manipulation, then escalates into underwater stealth using small fish that can create a cloud of ink to blind cameras.
Raising the Platform for Mui
Jump into the water as Lana and dive to the bottom to pull up a submerged platform.
- Raise the platform so Mui can hop on.
- Swim it left first to let Mui board, then right so she can reach a sewer pipe entrance.
- Once Mui is safe inside, dive as Lana and swim right, surfacing at air pockets when needed.
- Use Mui above to disable two security cameras by disrupting their generators.
The main thing here is not to panic about air – there are enough breathing spots if you keep pushing to the right instead of backtracking.
First Ink-Fish Camera Skip
Eventually you’ll reach a room where Lana must swim under a camera, but you can’t pass directly.
- Put Lana in the water and park her in a safe spot.
- Move Mui to the right-side platform and use her ability to control a small fish.
- Swim the fish up to the camera’s view cone and release a cloud of ink just before entering it.
- Switch back to Lana and quickly swim through the ink cloud while the camera is blinded.
I failed this a few times by dropping the ink too far away. You want the cloud to basically overlap the camera’s “eye” so the entire beam is obscured.
Long Fish Run with Moving Obstacles
The second fish sequence is much longer and more maze-like:
- Dive as Lana, park somewhere safe, and again control the fish via Mui.
- Swim downward, then take a right at the bottom corridor.
- Use ink clouds to pass cameras along the way, taking care not to get crushed by moving platforms or stuck on walls.
- At the low point, turn left and navigate past moving machinery and tight gaps.
- Reach the camera nearest Lana and drop one last ink cloud directly in front of it.
- Return control to Lana, take the lift up, and head into the platforming section that leads out of the sewers.
The key here is to stay patient with the fish. I kept rushing and got the poor thing flattened. Use the moving platforms’ cycles – swim only after they’ve just passed your path.
City Settlement: Box Hacking & Flying Bot Lift
Next you reach a large city-like complex. Follow the linear jumps and climbs until you hit the first big puzzle room with moving metal crates and a hackable box above.
Metal Rails & Box Path Puzzle
Here’s the sequence I settled on after a few wrong paths:
Metal Rails & Box Path Puzzle
Here’s the sequence I settled on after a few wrong paths:
🎮 Get This Game at the Best Price
Compare prices instantly and save up to 80% on Steam keys with Kinguin — trusted by 15+ million gamers worldwide.
*Affiliate link — supports our independent coverage at no extra cost to you
- Send Mui near the elevated box.
- As Lana, press the right-side switch to raise a platform on the right.
- Use the nearby lever to slide the overhead metal crates fully to the opposite side (far from their starting point).
- Command Mui to drop the box, then hack it as Lana.
- Move the box through the indicated path: right → up → right → down → left. This positions it under the movable rail system.
- Rotate the lever to bring the overhead crate above the box, then move the box up to latch onto it.
- Push the lever back the other way so the crate (with your box attached) slides over the blue platform, then move the box down to set it on the blue switch and open the exit door.
What finally clicked for me was remembering: the lever doesn’t move the box, it moves the rail. Don’t chase the perfect path on your first try – think in two stages: position box, attach to crate, reposition crate.

Flying Bot Elevator
Right after, you meet another flying robot:
- Have Mui jump on it to stagger, then hack it as Lana.
- Fly left until you find a lift that can be pulled up with the robot’s ability.
- Raise the lift high, then quickly swap back to Lana and step on it.
- Keep pulling with the robot to carry Lana upwards.
- At the top, use Mui to disrupt the generator and continue.
The easy mistake is raising the lift but forgetting to park the robot so you can swap to Lana. Make sure the lift is stable at its top height before you move Lana onto it.
FinalBoss // Gear
Level up your setup
01Top-rated gaming headsetson Amazon→02High-refresh gaming monitorson Amazon→03Gaming chairson Amazon→04Discounted game keyson Kinguin→Affiliate links · As an Amazon Associate, FinalBoss earns from qualifying purchases.
Train Sequence: Camera Puzzle & Sliding Under the Door
After some straightforward stealth with cameras and generators, you’ll board a moving train. Keep going right, hopping between cars, until you reach a compartment with a crate hanging by a rope.
- Have Mui cut the rope so the crate drops.
- Push the crate left and use it to jump to a hanging ledge and pull it down.
- Send Mui up to hit a switch that opens the compartment door.
Next is a room where a camera watches a switch, and a movable platform can block its view:
- Use the lever to slide the platform to the right, shielding Lana from the camera.
- Walk Lana behind the platform until you’re at the switch.
- Command Mui to press the switch, which reorients the camera so you can pass.
The last tricky bit on the train is the patrolling robot and timed door:
- Send Mui up to the generator and trigger her ability, which starts opening the exit door.
- As soon as the door begins to rise, sprint as Lana toward it.
- Slide under just as it’s lowering again to escape.
I lost several runs by hesitating at the start of the sprint. Think of it as a QTE: generator ping = full-speed run, no stops.
Want to Level Up Your Gaming?
Get access to exclusive strategies, hidden tips, and pro-level insights that we don't share publicly.
Ultimate Guide Strategy Guide + Weekly Pro Tips
Secret Base: Black Box Puzzle & Conveyor Cameras
After the train, you reach the final secret base area of Chapter 7. This section combines everything: box hacking, camera blocking, conveyors, and generators.
Stacking the Box to Climb Up
First puzzle: a black box on the right side that you can drop with Mui.
- Use Mui’s ability on the black box to knock it down.
- Hack the box as Lana and move it in a path like up → left → down → right, positioning it so you can climb a bit higher.
- Climb up, then take control again and move the box up, then left to create higher steps.
- Use the box and nearby ledges to reach the top level.
What helped me was thinking of the box as a moving staircase. Don’t be afraid to take an extra move or two to get a comfortable jump rather than trying the minimum.
Blocking Cameras and Riding the Conveyor
Up top, there’s a platform holding a rock and a series of cameras watching a conveyor belt.
- Jump onto the platform holding the rock and then hang from its left edge.
- With Lana hanging, hack the box again and move it down → right → up so that the platform shifts to block the first camera.
- Make Mui wait near a generator.
- Drop to the conveyor and move right, using the rock platform as cover for the first camera.
- Have Mui disrupt the generator to disable the second camera.
- Drop below the belt to reach generators that power the last two cameras, and use Mui to shut them off.
This is where I kept getting spotted by the final camera because I didn’t realize there were generators below the belt. If a camera looks impossible to dodge, there’s almost always a generator you’ve missed.
Final Boss: Giant Missile Robot Strategy
Step outside, keep going right, and you’ll trigger the final boss of the chapter: a huge robot that peppers the arena with missiles.
Phase 1 – Prep the Flying Robot
- At the start, run right, slide under the low wall, and spot a flying robot.
- Have Mui jump on it to stagger, then hack it with Lana. This gives you a controllable drone for later.
- Leave Mui near the flying robot’s starting area for now.
I actually died a couple of times before realizing how critical this drone is. Do not skip staggering and hacking it at the start – it’s your main damage output later.
Phase 2 – Lure and Electrocute
- Run left as Lana to lure the giant robot toward the left wall.
- When it’s close enough, hit the lever on the left side to trigger an electric trap.
- The shock exposes a generator near the robot’s head.
Watch out for missile barrages while you bait it over – keep moving and use short sprints instead of long, straight runs.
Phase 3 – Red Weak Points
- Switch control to the hacked flying robot.
- Fly up to the newly exposed generator head area.
- Use Mui’s ability to disrupt the generator, revealing two red circles on the giant robot.
- Use the drone’s special attack to shoot both red weak points.
Don’t linger too long in front of the boss when you’re flying – even though you’re at range, missiles can still catch you on the way back if you hover.
Phase 4 – Repeat and Finish with Yellow Weak Points
- Return to Lana, run to the right side of the arena, and wait for the giant robot to follow.
- When it gets near the left side again, dash back to the lever and electrocute it a second time.
- The generator exposes itself again; disrupt it with Mui.
- This time, two yellow circles appear – shoot these with the flying robot’s attack to finish the fight.
The second cycle is basically a repeat. My main death here came from getting greedy with positioning Lana; focus on staying alive, not shaving seconds. Once both yellow points are destroyed, a cutscene plays and Chapter 7 ends.
Chapter 8: Temati’s Journey – What to Expect
Chapter 8 is purely cinematic. There are no puzzles, no stealth sections, and no combat. It’s a sequence of cutscenes that wrap up Temati’s arc and bring Lana and Mui’s journey to a close, followed by the credits.
If you’ve just clawed your way through Chapter 7’s junkyard, underwater stealth, city puzzles, and the final boss, Chapter 8 is your cool-down: sit back, watch, and let the story land. If you’re a completionist, this is a good moment to mentally note any collectibles you missed earlier and consider a replay, but you won’t miss any gameplay here.
Final Thoughts & Next Steps
Once I understood that Chapter 7 is really a test of coordination and timing – juggling Lana, Mui, hacks, and environmental hazards – everything clicked into place. The biggest time-savers for me were:
- Always pairing Mui’s generator disruptions with clear movement plans for Lana.
- Using the ink-fish clouds directly on camera eyes instead of halfway across the room.
- Treating the final boss like a two-cycle puzzle, not an endurance fight – lure, shock, shoot, repeat.
If you’ve made it through Revenge and watched Temati’s Journey, you’ve seen everything the main story of Planet of Lana 2 has to offer. From here, you can go back for missed collectibles, try cleaner stealth runs, or just replay your favorite puzzles now that you know all the tricks. If I could get through that long underwater fish section and the missile robot after a dozen failed attempts, you absolutely can too.