Planet of Lana 2: How to Beat Every Chapter – Full Puzzle Guide
Game intel
Planet of Lana 2
Embark on an unforgettable cinematic puzzle journey with Lana and her loyal companion Mui. Whether you're a returning hero or a new adventurer, step into a wor…
Why This Planet of Lana 2 Walkthrough Hub Helps
After spending a full weekend and two complete runs of Planet of Lana 2 (about 3-4 hours per run), I realized I was getting stuck in the same kinds of puzzles: multi-stage generators, underwater sections with Mui, and the late-game junkyard boss. This guide pulls all of that together into one place so you don’t have to alt-tab between ten different tabs mid-puzzle.
This hub is structured chapter-by-chapter, but it’s also a mechanic guide: once you understand how Lana, Mui, and Anua fit together, most puzzles “click.” I’ll walk through the trickiest areas (mountain descent, sea section, junkyard boss, Temati’s Journey epilogue), and point out where collectibles and secrets live so you can aim for 100% in a single playthrough.
If you’re reasonably comfortable with puzzle-platformers, expect around 3 hours for a clean run and a bit more if you’re stopping for all 10 Secret Holograms and 16 Mui pet spots.
Core Mechanics You Must Master (Lana, Mui, and Anua)
The breakthrough for me came when I stopped “solving” individual obstacles and started thinking in terms of roles:
- Lana: main mover. She pushes boxes, rides lifts, climbs ropes, pulls levers, and usually needs to be the one reaching exits.
- Mui: utility specialist. Mui can:
- Deactivate or stun bots when you place them under a bot and hold the companion command button.
- Swim and dive for underwater switches.
- Sit on pressure plates / switches to hold platforms or doors in place.
- Anua (Lana’s sister): appears in several mid-game sections. She handles secondary platforming and switches, often while Lana sets things up with Mui.
Key control habit I wish I’d built earlier: whenever you enter a room, mentally ask, “Who belongs where?” Rather than rushing, pause and decide:
- Where can Mui safely slip through gaps or go underwater?
- Where does Lana need stable platforms or deactivated bots?
- Does Anua need light or moving platforms created for her?
Most multi-step puzzles are just a sequence of giving each character their “lane” and then cycling control in the right order.
Chapter 1 – Home, First Bots, and Secret Hologram #1
Chapter 1 eases you in, but there are two spots that tripped me up on my first run: the early mining bot and the lift-camera section.
Mining Bot + Rock Puzzle
You’ll reach a small area with a patrolling mining bot and an electrified box you can’t touch.
- Have Lana pick up a rock near the lower ground.
- Position Lana where the bot can see (or at least move toward) the rock’s landing spot.
- Throw the rock to lure the bot close to the box.
- Once the bot reacts, send Mui underneath it via a low gap and hold the companion command to deactivate it.
- With the bot disabled, Lana can safely reach the electricity box / switch.
Common mistake: I kept trying to outrun or “stealth” past the bot. The game wants you to manipulate its behavior instead of dodging it outright.
Lift as Camera Cover & First Secret Hologram
Later you’ll see a security camera sweeping an area with a moving lift platform.
- Ride the lift up just high enough that it blocks the camera’s line of sight.
- Park the lift there by hopping off to one side when the timing feels safe.
- Send Mui to a pressure switch that angles a diagonal platform.
- Use that angled platform to reach a tucked-away ledge – this is where the first Secret Hologram (1/10) is typically hidden.
Pet Spot 1/16 for Mui also appears in this chapter. Whenever you see Mui pause somewhere picturesque or react to a nook, approach and interact; you’ll often see the pet prompt.
Tip: In this chapter, experiment freely. There’s very little hard fail state, and it’s the safest place to get used to camera timing and using moving platforms as mobile cover.
Chapter 2 – Rollers, Conveyors, and More Holograms
Chapter 2 is where the game stops playing nice. Conveyor belts and roller machines appear, and this is where I wasted the most time simply pushing boxes the wrong way.
Roller and Conveyor Logic
Most rooms can be broken down into three questions:
- What needs to be on the conveyor or roller?
- In what order do I move the boxes relative to Mui?
- What state must the machines be in when Lana crosses (on/off, direction)?
Whenever a solution felt impossible, the fix was usually:
- I hadn’t sent Mui ahead to hold a switch before moving the box.
- I’d left a roller moving the wrong direction, making a jump seem impossible.
This chapter usually hides Secret Holograms #2 and #3 near machinery that you can briefly turn off. If you see a non-critical ledge, try killing power and using the now-still machine as a stepping stone to higher platforms.
Don’t make my mistake of assuming every switch is part of the “main line” solution. Some exist purely to open paths to secrets.
Chapter 3 – The Cure, Mountain Descent, and First Ingredient
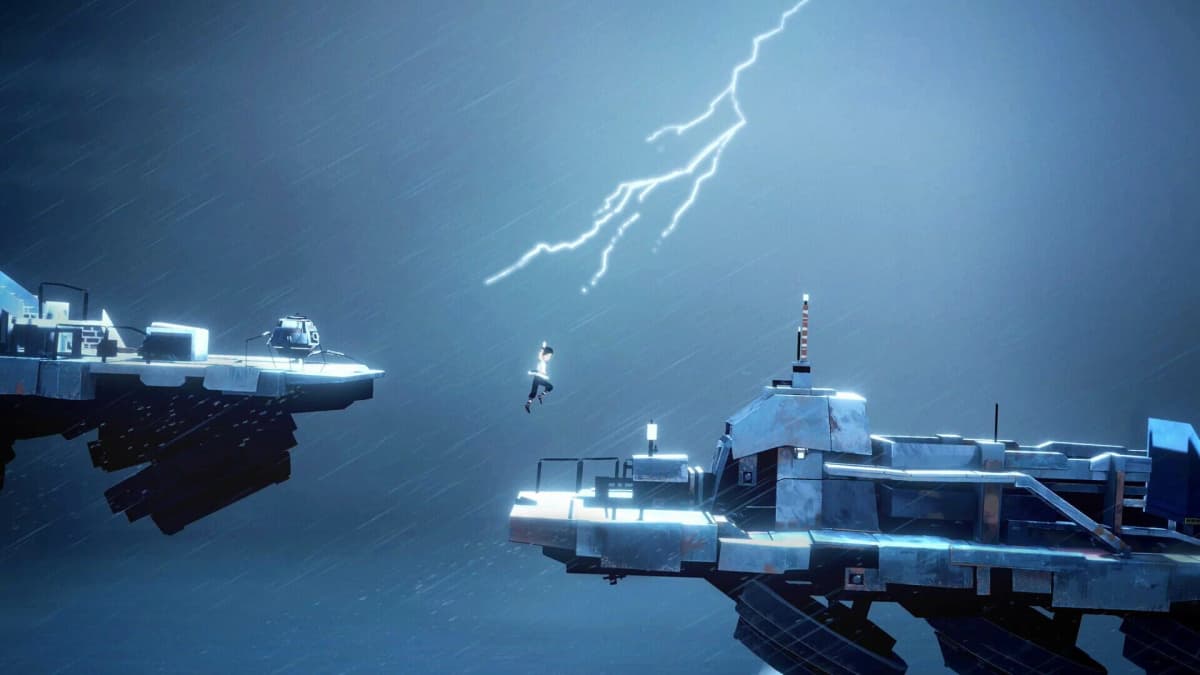
Chapter 3 is where the story’s cure plot kicks in and you start dealing with larger vertical spaces in the mountains. Expect more rope swings, timed platforms, and collaboration with Anua.
Entering the Mountain
At the “finding a way down” section, you’ll see a tall drop with scattered ledges and a few mechanical elements.
Entering the Mountain
At the “finding a way down” section, you’ll see a tall drop with scattered ledges and a few mechanical elements.
🎮 Get This Game at the Best Price
Compare prices instantly and save up to 80% on Steam keys with Kinguin — trusted by 15+ million gamers worldwide.
*Affiliate link — supports our independent coverage at no extra cost to you
- Send Mui down first via safer side paths to flip a lower switch.
- Use that switch to shift platforms into place for Lana and Anua.
- Coordinate rope swings so Lana can reach a mid-height console that reconfigures the lower area.
The key lesson here: the game loves to make you set up the bottom of a puzzle before you attempt the top. If you’re repeatedly falling or coming up short on a jump, ask yourself whether Mui could have changed something below first.

Mountain Flower Ingredient & Holograms
The Mountain Flower, tied to the cure storyline, shows up in a side path off the main descent. Look for a path that briefly leads away from obvious machinery into a more natural alcove; interact with the glowing plant.
Secret Holograms #4 and #5 are usually near these “side routes” that feel like they’re just for scenery. If the main route is clearly forward, always check the opposite direction first for a hidden ledge or a short climb with no immediate danger.
FinalBoss // Gear
Level up your setup
01Top-rated gaming headsetson Amazon→02High-refresh gaming monitorson Amazon→03Gaming chairson Amazon→04Discounted game keyson Kinguin→Affiliate links · As an Amazon Associate, FinalBoss earns from qualifying purchases.
Midgame Sea Sections – Underwater Mui & Second Ingredient
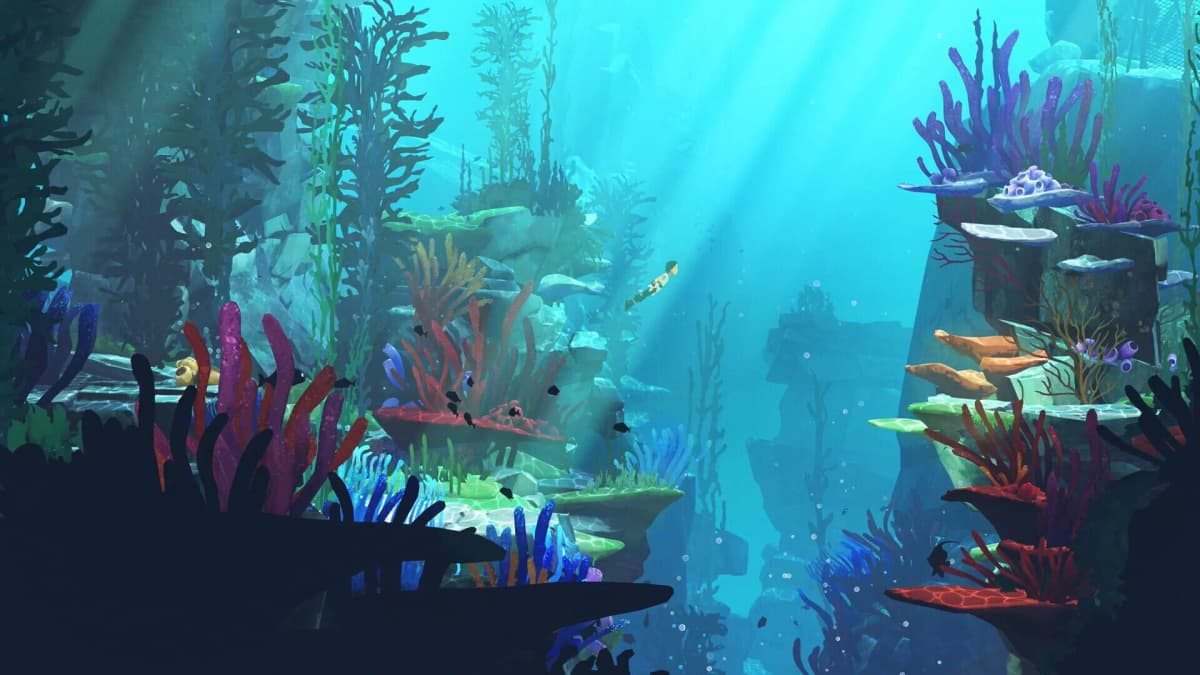
The sea chapters (roughly 4–6, depending how you count segments) are where many players hit a wall. Underwater stealth with hostile fish and moving platforms can feel unfair until you learn two simple rules:
- Mui goes first underwater. Always send Mui to scout and hit underwater switches before Lana commits to a risky swim.
- Use platforms as safe zones. Position floating or mechanical platforms so Lana can stop halfway and reset her timing.
Fish Avoidance and Platform Positioning
When a section combines fish patrols and moving platforms:
- Move platforms into “neutral” spots where Lana can stand or hold on without being in a fish’s direct path.
- Send Mui down when fish are turning away, hit the switch, then recall Mui to safety.
- Use the new platform configuration to give Lana a shorter, safer swim between air pockets.
Personal tip: If you’re struggling, do one “observation run” where you accept you’ll probably fail and just study fish paths and platform timings. On my second run I cleared these sections almost effortlessly because I already had the patterns memorized.
The Seashell ingredient, another story-relevant item, typically sits off the main underwater route, in a calmer area reachable once you’ve re-routed water flows or platforms. As with the Mountain Flower, the game rewards you for exploring the quiet corners once the main danger is neutralized.
Want to Level Up Your Gaming?
Get access to exclusive strategies, hidden tips, and pro-level insights that we don't share publicly.
Ultimate Guide Strategy Guide + Weekly Pro Tips
Chapter 7 – Junkyard Generators and the Missile-Robot Boss
Chapter 7 was my personal skill check. It combines everything: radioactive junkyard hazards, multi-stage generator puzzles with conveyors, and a final missile-firing robot boss.
Radioactive Junkyard & Generators
In the junkyard, you’ll juggle:
- Box pushing onto moving belts.
- Switching generator power on/off to change belt directions.
- Using Mui to hold down plates while Lana navigates newly powered platforms.
The trick is to plan the final configuration first. Before touching anything, identify:
- Where does the final box need to end up?
- What belt direction will get it there?
- Which switch changes that specific belt, and which are red herrings or for secrets?
Secret Holograms #7–#9 are often hidden on alternative paths you can only reach when a particular belt runs the “wrong” way for main progression. Don’t be afraid to temporarily sabotage your own route to hop off at side ledges.
Missile-Robot Boss Strategy
The missile-robot at the end of the chapter looks more intimidating than it is. Think of it as a puzzle with a health bar attached.
- Phase 1 – Learn the pattern: Watch how many beats you get between missile salvos and where the safe zones are (usually behind cover pieces you can push).
- Phase 2 – Reflect or redirect: Use moving platforms, hanging objects, or timed switches to turn the robot’s own attacks against it. Anytime you see something metallic suspended above or near the boss, assume you’re meant to drop it or block missiles with it.
- Phase 3 – Finish safely: Once the robot is partially disabled, don’t get greedy. Clear each movement between cover pieces during lulls, not mid-salvo.
Common mistake: I kept trying to “outrun” missiles. The intended solution usually lets you move calmly between cycles once you’ve set up the environment correctly.
Chapter 8 – Temati’s Journey and 100% Cleanup
The Temati-focused epilogue chapter is shorter but crucial if you’re going for 100%. It wraps up narrative threads and usually holds the final Secret Hologram (#10/10) plus any remaining pet spots if you missed earlier ones.
Most puzzles here are gentler reuses of earlier mechanics. The important part is to explore:
- Check both high and low paths whenever the camera widens.
- Interact with any out-of-the-way device or nook – secrets are often in visually distinct but unmarked spots.
- If you see what looks like a dead-end alcove, push or pull nearby objects; a short climb often hides the last hologram.
Once you pick up the final hologram, you should unlock the achievement tied to “The Secret Trail” or equivalent. If it doesn’t pop, you likely missed one in a earlier chapter; I recommend replaying via chapter select and focusing on machinery-adjacent side paths.
Secrets & Collectibles Checklist (For 100% Runs)
- 10 Secret Holograms
- 1 in early home/captain’s quarters segment.
- Several (2–5) along factory and mountain routes near optional machinery paths.
- 4 late-game, spread between junkyard and Temati’s Journey.
- 16 Mui Pet Spots
- At least 1–2 per chapter; watch for Mui’s body language and any spots where she lingers.
- Interact whenever you see the prompt; there’s usually no downside to trying.
- Story Ingredients
- Mountain Flower in the mountain descent chapter.
- Seashell in the sea/underwater midgame.
- Final ingredients are generally unmissable if you push the story forward, but optional side routes may add flavor scenes.
- Control/possession trophies (Ink Fish, Rollers, etc.)
- When you first gain control over a new creature or machine type, spend a bit of extra time “playing” with it to trigger related achievements.
Pro-tip for achievement hunters: Aim to do a relaxed first run where you grab whatever you naturally find and learn the puzzles, then a second focused run using a handwritten checklist of holograms and pet spots. Knowing puzzle solutions cuts total time way down, making cleanup far less frustrating.
Common Pitfalls and How to Recover
- Soft-locking puzzles by moving boxes “wrong”
Most rooms have a built-in reset: leave and re-enter, flip a master switch, or trigger a short cutscene. If something seems truly unsalvageable, backtrack to the previous checkpoint; the game is generous about respawns. - Missing underwater switches
If a platform isn’t moving or a gate stays closed, assume there’s an underwater lever Mui can hit. Slowly sweep the area with Mui before committing Lana. - Overcomplicating solutions
Whenever you’re stacking too many actions, stop and ask: “Can I solve this in 3 steps instead of 6?” Most intended solutions are elegant and use each character once per stage of the puzzle. - Timing frustration on no-death attempts
For no-death or “flawless” style runs, break the game into chapter chunks. Reset at the beginning of a chapter if you die; this keeps practice focused and reduces burnout.
Final Tips Before You Dive Back In
If there’s one mindset that helped me enjoy Planet of Lana 2 instead of fighting it, it’s this: treat every room as a small story about Lana, Mui, and Anua cooperating, not as a reflex test. Slow down, assign roles, and let the solution unfold.
- Scan each new area before touching anything.
- Send Mui scouting whenever there’s a gap, water, or low tunnel.
- Expect secrets near “off-route” machinery and scenic alcoves.
- Use chapter select for cleanup and practice runs.
Once you internalize those patterns, the mountains, seas, junkyard, and Temati’s Journey all fall into place. If I could go from fumbling on Chapter 2 conveyors to comfortably doing near-flawless runs in a single weekend, you absolutely can too.