Pokémon Pokopia: How to Clone Items on Treasure Islands – Best Targets
Game intel
Pokémon Pokopia
Pokémon’s first life simulation game, Pokémon Pokopia, will release on Nintendo Switch 2 on March 5, 2026. Playing as a Ditto that has transformed to look like…
You want a second Berry Tree, a fountain you can only find on someone else’s island, or a furniture piece you do not feel like crafting twice. In Pokémon Pokopia you do not have to grind for any of it — the 3D Printer copies almost any item from a single photo, and the official Developer Island gives you the rarest things to photograph for free.
The short version
- Rebuild your first Pokémon Center to unlock the 3D Printer. It then works in every Pokémon Center, with no daily limit.
- Take a reference photo of an item in Object mode, then print copies at the printer for Pokémetal (rare items cost Rare Pokémetal).
- Your reference album holds 20 photos. One photo is a permanent template — print from it as many times as you can pay.
- The printer only needs the photo plus materials, not ownership of the item — so you can copy things off other players’ islands.
- Buy the Mysterious Goggles (100 Life Coins, Environment Level 3) and an active Nintendo Switch Online sub to visit the official Developer Island (code
PXQC G03S) and photograph its rare items. - Best single target: Berry Trees. Copy them once and you cover every berry variety for cooking and Mosslax food buffs.
Below is the exact loop, the camera buttons people get wrong, and the named items actually worth your Rare Pokémetal.
How the 3D Printer duplication loop works
This is not a glitch. It is two normal systems that combine into an item printer:
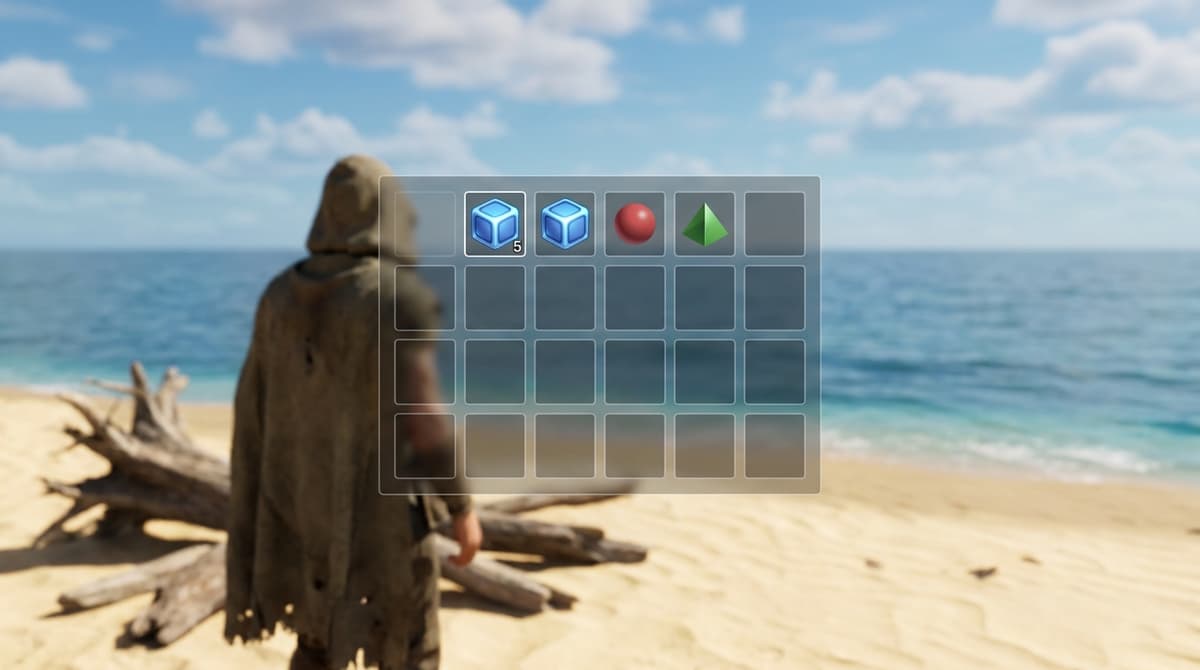
- The 3D Printer turns a reference photo into a real, usable copy of an item. The copy behaves exactly like the original.
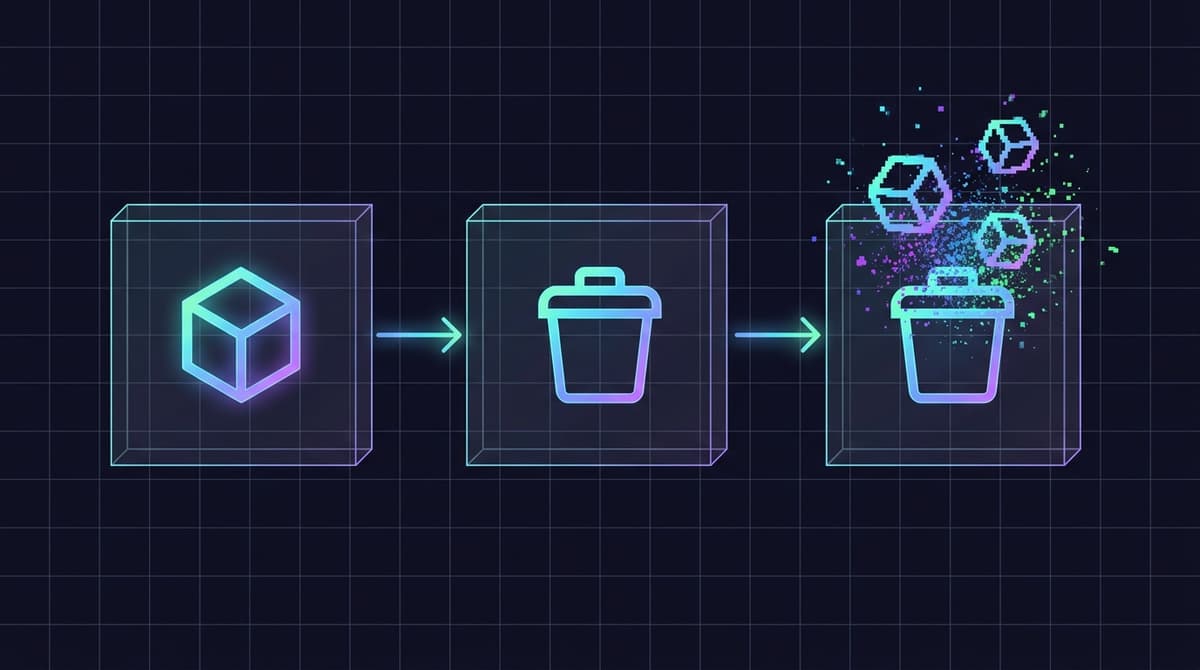
- Reference photos are stored in their own album that holds 20 slots. Photos you have already printed from are marked with a green tick, so you can clear them out and free space.
The detail that makes this powerful: the printer validates the reference photo and charges materials — it does not check whether you own the item or where it came from. Any item you can take a labeled reference photo of, including items sitting on other people’s Cloud Islands or the official Developer Island, can be printed back home.
Note that some things are off-limits. Key items, quest objects, terrain blocks, Pokémon, and major structures cannot be duplicated. Everything else — furniture, decorations, fountains, statues, Berry Trees — is fair game.
Step 1 – Unlock the printer and the goggles
Two unlocks gate the whole loop:
- The 3D Printer unlocks automatically once you finish rebuilding your first Pokémon Center. After that it is available in any Pokémon Center and can be used an unlimited number of times per day.
- The Mysterious Goggles let you visit other islands. Buy them from the PC Shop for 100 Life Coins once any biome reaches Environment Level 3. Visiting online islands also requires an active Nintendo Switch Online subscription.
You can run the entire loop locally without the goggles if you already own the item you want to copy. The goggles matter because they unlock the free rare-item buffet on the Developer Island.
Step 2 – Take a clean reference photo
This is where most first attempts fail. A normal landscape screenshot will not print — the printer only accepts an Object-mode reference photo. Get it right once and the template is permanent.
- Open the camera with the Minus (-) button (or through the menu). The common mistake is reaching for the D-Pad — it is the Minus button.
- Press Y to switch from Landscape to Object mode.
- Frame the item so the game highlights it and shows its name. That highlight is what locks the object metadata in.
- Press A to take the photo. It goes into your reference album (20 slots max).
Stockpile several reference photos in one visit, then head home. You never need to revisit an island to reprint — the photo is the template.
Step 3 – Print copies for Pokémetal
Back at any Pokémon Center:
- Interact with the 3D Printer and choose to print from a reference photo.
- Pick the photo, set the quantity, and pay the material cost.
- Cost scales with the item’s size and complexity. A single-block furniture piece starts at just 2 Pokémetal; larger or premium items cost more, and the rarest ones charge Rare Pokémetal instead.
Concrete cheap examples: a Streetlight and a Campfire each cost 2 Pokémetal, and a Sprinkler costs 4 — all far cheaper than recrafting repeatedly. Premium items like the Horsea Fountain and Berry Trees require Rare Pokémetal.
FinalBoss // Gear
Level up your setup
01Best-selling Switch 2 gameson Amazon→02Switch 2 accessorieson Amazon→038BitDo controllerson Amazon→04Discounted game keyson Kinguin→Affiliate links · As an Amazon Associate, FinalBoss earns from qualifying purchases.
Want to Level Up Your Gaming?
Get access to exclusive strategies, hidden tips, and pro-level insights that we don't share publicly.
Ultimate Guide Strategy Guide + Weekly Pro Tips
Best targets – what is actually worth duplicating
Because rare prints eat Rare Pokémetal, do not copy everything. These are the named items that pay for themselves:
- Berry Trees — the single best use of the printer. Photograph the Berry Trees on the Developer Island and you can reproduce every berry variety you need, which covers your cooking recipes and Mosslax food buffs. One trip replaces endless berry farming.
- Horsea Fountain — a premium decoration that costs Rare Pokémetal to print but is tedious to obtain otherwise; ideal for water-themed habitats.
- Gravestone — needed for certain rare habitats and awkward to source naturally.
- Statues, fountains, and garden ornaments — large decorations from the Developer Island that you would otherwise grind currency for.
- Bath Tub — a novelty piece copyable from the Developer Island that transforms you into Ditto.
Skip the cheap stuff: basic furniture you already craft easily, terrain you cannot copy anyway, and anything that costs more Rare Pokémetal to print than it would to obtain normally. If you are deciding which Pokémetal to spend where, the Collinangle cooking and forging guide shows what those materials feed into.
Visiting the Developer Island for free rare items
The official source for free rare-item photos is the Pokémon Developer Island, a Cloud Island you reach with the Mysterious Goggles. Its visit code is PXQC G03S.
- Put on the Mysterious Goggles and choose to visit a Cloud Island (Nintendo Switch Online must be active).
- Enter the code
PXQC G03Sfor the Pokémon Developer Island. - Walk the island and take Object-mode reference photos of the Berry Trees, fountains, statues, and other decorations laid out there.
- Return home and print whatever you photographed for materials.
Several other official collaboration islands rotate in and out of availability, but the Developer Island is the reliable one for rare furniture and Berry Trees.
Farming Pokémetal to fuel your prints
Prints only feel good when you are not starved for materials. Pokémetal shows up in select areas of each biome and concentrates in the Volcanic Dream Islands, which is where serious mining runs pay off. Bring mining moves — Rock Smash clears blocks, and Rollout chews through columns once you have it — and focus your time on the denser underground deposits rather than wandering the surface.
Common mistakes
- Taking a normal screenshot. The printer only accepts Object-mode reference photos. Press Y in the camera and confirm the item highlights with its name.
- Looking for the camera on the D-Pad. Open the camera with the Minus (-) button or through the menu.
- Letting the album fill up. You only get 20 reference slots. Delete photos with a green tick (already printed) to free space.
- Wasting Rare Pokémetal on cheap items. If a piece costs 2–4 Pokémetal or you can craft it easily, do not burn rare materials on it.
- Forgetting the prerequisites. No printer until your first Pokémon Center is rebuilt; no Developer Island until you have the Mysterious Goggles (Environment Level 3, 100 Life Coins) and Nintendo Switch Online.
Practical takeaway
Rebuild a Pokémon Center, grab the Mysterious Goggles, and visit the Developer Island (PXQC G03S) to photograph its Berry Trees and rare decorations. Each Object-mode photo is a permanent template you reprint for Pokémetal, with no daily limit. Spend Rare Pokémetal only on the genuinely scarce items — Berry Trees first — and keep your album under 20 slots, and most of your late-game farming turns into a few minutes at the printer. This method is documented as working through mid-2026 with no patch removing it. If you are still working through the story to reach Environment Level 3, the Grisemer main quest guide keeps your progression moving, and the Mew slate puzzle guide covers one of the trickier unlocks along the way.