
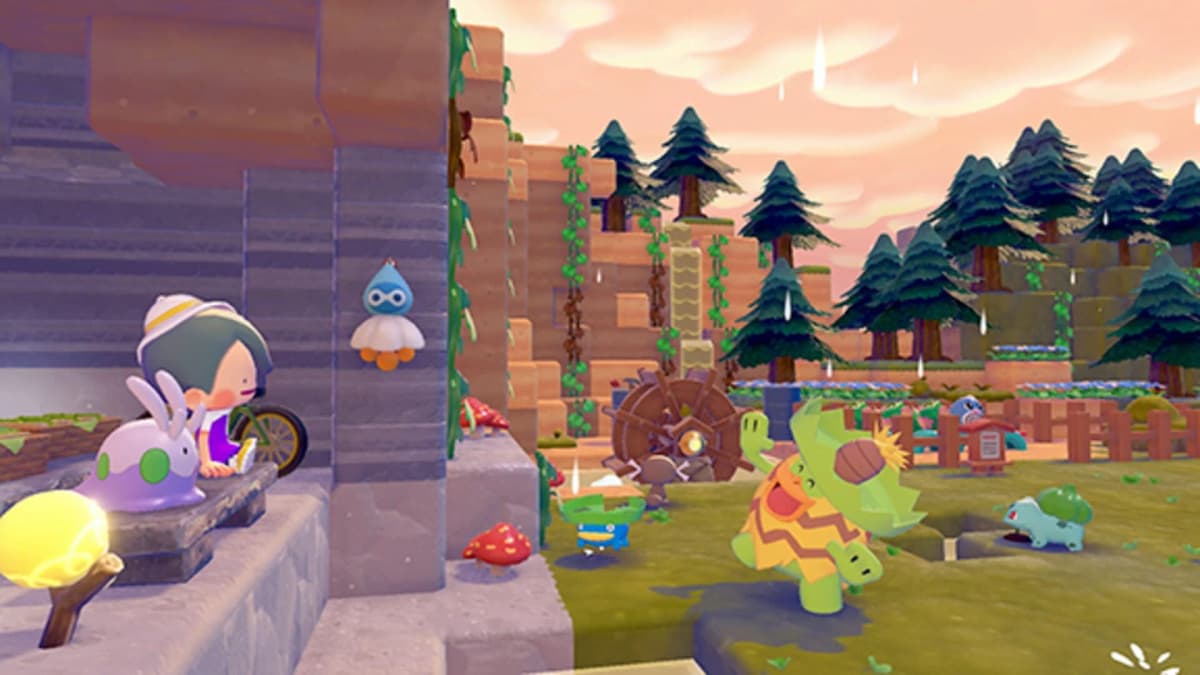
Pokémon Pokopia’s early gathering loop eventually splits into two resource systems with very different goals. Food is a Comfort tool: give a Pokémon food in its preferred flavor lane and its Comfort rises efficiently. Paint is a production tool: crush the right berry with a Pokémon that has the Crush Specialty, build a stock of base colors, and mix those colors into the result you need.
The costly mistake is treating every berry and ingredient as generic material. A Pecha Berry that would solve a Sweet Comfort request may also be part of a paint-farming route, while Black and White paint use a separate bonus-drop system. Check the target first, then send the material into the correct loop.
Table of Contents (11)
Keep Comfort feeding and paint production separate
Comfort progression depends on a Pokémon’s favorite flavor, shown in its Pokédex entry. Paint production depends on berry crushing, base-color inventory, and color mixing. Both systems consume useful ingredients, so separating your supplies prevents a run of random cooking or crushing from draining the material needed for a specific unlock.
- Comfort stock: common food and ingredients that match the favorite flavors of Pokémon currently in your settlement.
- Cooking stock: ingredients reserved for recipes that produce stronger food effects than raw items.
- Paint stock: berries reserved for Crush Specialty Pokémon and color-combination projects.
- Black/White stock: Leppa, Chesto, Rawst, Pecha, Aspear, and Lum berries saved for targeted bonus-paint attempts.
This split matters most once you are trying to raise Comfort for several Pokémon while also decorating, fulfilling crafting requirements, or collecting paint colors. The right material can serve more than one purpose, but it can only be spent once.
Match food flavors for faster Comfort gains
Every food item belongs to a game-defined flavor category: Sweet, Spicy, Dry, Bitter, Sour, or Neutral. Feed a Pokémon food that matches the favorite flavor in its Pokédex entry. That is the efficient route for Comfort; feeding whatever is abundant may work as a gift, but it spends food without using the flavor advantage.
Warning: do not trust real-world taste logic. Pokopia’s flavor tags are mechanical categories. Carrots, for example, can fall into the Spicy lane. Use the flavor shown by the game’s food, recipe, or gifting information instead of deciding based on how an ingredient would taste outside Pokopia.
The practical flavor reference
| Flavor | Useful ingredient examples | Best use |
|---|---|---|
| Sweet | Moomoo Milk, Pecha Berry, Bean | Comfort feeding for Pokémon with a Sweet preference |
| Spicy | Chili Sauce, Carrot, Fresh Carrot | Comfort feeding and Spicy recipe planning |
| Dry | Chesto Berry, Mushroom, Wheat | Dry-focused meals for matching targets |
| Bitter | Rawst Berry, Potato, Seaweed | Bitter food preparation and targeted gifting |
| Sour | Aspear Berry, Tomato, Watermelon | Sour food preparation for matching targets |
| Neutral | Leppa Berry and other Neutral-tagged items | Neutral-preference feeding or flexible food stock |
Use the table as a farming reference, then confirm the tag before spending rare ingredients. Some foods can appear in different recipe contexts, and the in-game flavor label is the final call.
Run the Comfort loop in the right order
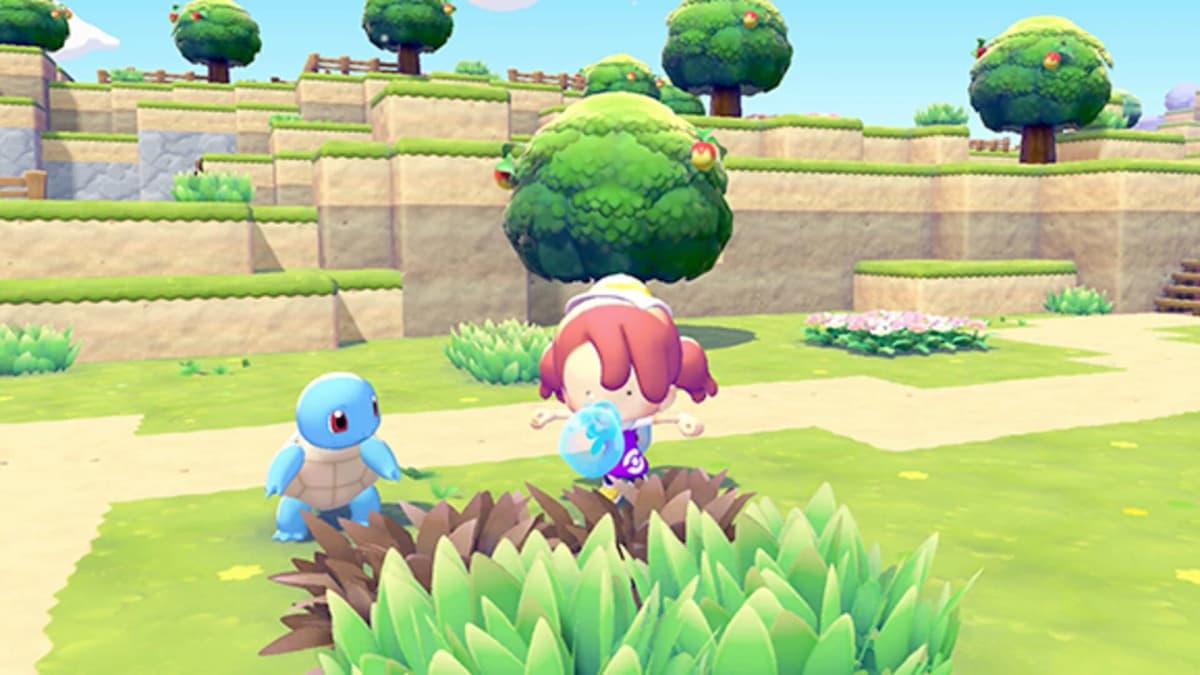
- Open the target Pokémon’s Pokédex entry and identify its favorite flavor.
- Choose the simplest food you can make that carries that flavor tag.
- Use cooked food when the recipe retains the required flavor, since cooked meals provide stronger results than raw ingredients.
- Feed the same flavor lane until that Pokémon reaches the Comfort threshold you need.
- Save uncommon ingredients and specialty meals for rare targets or Pokémon that require more investment.
Batch cooking helps here. Once you identify a common Sweet, Dry, or Sour meal that fits the Pokémon you are currently working on, make several rather than swapping flavors after every gift. If Chef Dente is available as a cooking partner, the occasional doubled meal result is especially valuable when you are making food from limited ingredients.
Unlock recipes where they remove a flavor bottleneck
Basic ingredients are enough to start feeding Pokémon, but recipes give you greater control over the food you produce. Recipe access comes through story progression and Important Requests, Environment Level milestones, PC shop purchases with Life Coins, and glowing Poké Balls found in biomes.
Prioritize recipe sources that fill a missing flavor lane. If several settlement Pokémon prefer Dry food, another generic Sweet recipe adds less value than one reliable Dry dish. This keeps your cooking inventory useful instead of turning into a collection of meals that do not solve current Comfort requirements.
Keep Mosslax offerings in their own reserve
Food also has a separate daily use after awakening Mosslax. Offerings can lead to rewards such as rare-item chances, sightings connected to Ho-Oh and Lugia, and ancient artifacts. Do not empty every useful food stack into Comfort feeding when you still need a daily offering reserve. Flavor matching remains the priority for a Pokémon you are actively trying to raise; Mosslax is a parallel reward route with its own material demand.
Build paint from berry crushing, then mix by color family
Paint starts with berries and a Pokémon that has the Crush Specialty. Give the berries to a suitable helper and the crushing process turns each berry into five bowls of paint after a short wait. Use the Pokédex filter if you need to identify which Pokémon can handle the job.
Think of each crushed berry result as a base-color bucket. Produce the base color first, hold it in stock, then combine it only when you know the final color you need. For example, lime green paint comes from combining Green and Yellow paint. This is more reliable than crushing miscellaneous berries and hoping the inventory happens to contain a useful mix later.
- Decide on the paint family needed for the item, building, or crafting project.
- Choose the berry that produces the base paint color closest to that target.
- Send the berries to a Crush Specialty Pokémon and collect the paint output.
- Keep a small reserve of each base color instead of spending every bowl on the first project.
- Combine compatible base colors directly with Smeargle or use Paint Balloons crafted at a workbench.
Paint Balloons become available after meeting Smeargle at Bleak Beach. They are useful when you want a repeatable workbench route for applying or preparing color rather than relying on a one-off direct mix. The important part is the order: secure the base paint first, then spend it on the mix.
Grow the berry trees that your paint plan actually needs
Rare berry access can become the real paint bottleneck. Each rare tree has a seed somewhere in the world, so protect any seed you find instead of treating it as disposable. The more scalable route is the developer Dream Island: photograph the tree in Object Mode, then 3D print it at a Pokémon Center.
Each printed tree costs one Rare Pokémetal, but it arrives fully grown and ready to plant. That turns a single rare-tree discovery into a renewable berry source. Use this route for the berry types you need repeatedly, particularly the Black or White bonus-paint berries covered below.
Farm Black and White paint through targeted bonus drops
Black and White paint do not come from a direct berry-to-paint recipe. They can appear as bonus paint when a Crush Specialty Pokémon produces another color. A successful bonus matches the size of the normal paint job: if a crushing batch produces 10 bowls of Green paint, the bonus can also return 10 bowls of White or Black paint.
The result remains random, but the berry type determines which bonus lane you are pursuing. Use one target berry type per batch and repeat the same qualified crush job. This gives you more controlled attempts than rotating through unrelated berries and makes it clear whether you are farming for Black or White.
| Berry | Possible bonus paint | Use it when farming |
|---|---|---|
| Leppa Berry | White | White paint |
| Chesto Berry | White | White paint |
| Rawst Berry | Black | Black paint |
| Pecha Berry | Black | Black paint |
| Aspear Berry | Black | Black paint |
| Lum Berry | White | White paint |
The efficient Black and White farming routine
- Choose one target: Black or White. Avoid splitting a limited berry stock across both until you have enough of each.
- Select a berry from the matching bonus-paint group.
- Hand over the maximum berry amount currently allowed for the crushing job.
- Collect both the ordinary paint and any Black or White bonus paint.
- Repeat with the same berry family until the bonus color appears in a useful quantity.
- Store the normal paint output as well; failed bonus attempts still build your base-color inventory for later mixes.
There is no guaranteed batch and no direct color-mixing shortcut that removes the bonus-drop requirement. The controllable part is your attempt volume: use the correct berry lane, fill each crush job, and keep the cycle focused on one target color.
Use the right priority for your current bottleneck
| Current goal | Best material route | What to avoid |
|---|---|---|
| Raise a Pokémon’s Comfort | Check its Pokédex flavor preference, then cook or feed matching food | Giving abundant food with the wrong flavor tag |
| Make a standard paint color | Crush berries for base paint, then combine the needed color family | Spending every base-color bowl before planning the final mix |
| Collect Black or White paint | Repeat maximum-size crush jobs with the correct bonus-paint berry group | Waiting passively for an unrelated paint job to produce the right bonus |
Build Comfort first when Pokémon progression is blocking your settlement. Move to standard paint production when décor or crafting unlocks need color. Leave Black and White for dedicated berry-crushing sessions, where repeated targeted batches make the random bonus system manageable.
FinalBoss // Gear
Level up your setup
01Best-selling Switch 2 gameson Amazon→02Switch 2 accessorieson Amazon→038BitDo controllerson Amazon→04Discounted game keyson Kinguin→
Affiliate links · As an Amazon Associate, FinalBoss earns from qualifying purchases.
Want to Level Up Your Gaming?
Get access to exclusive strategies, hidden tips, and pro-level insights that we don't share publicly.
Ultimate Guide Strategy Guide + Weekly Pro Tips