
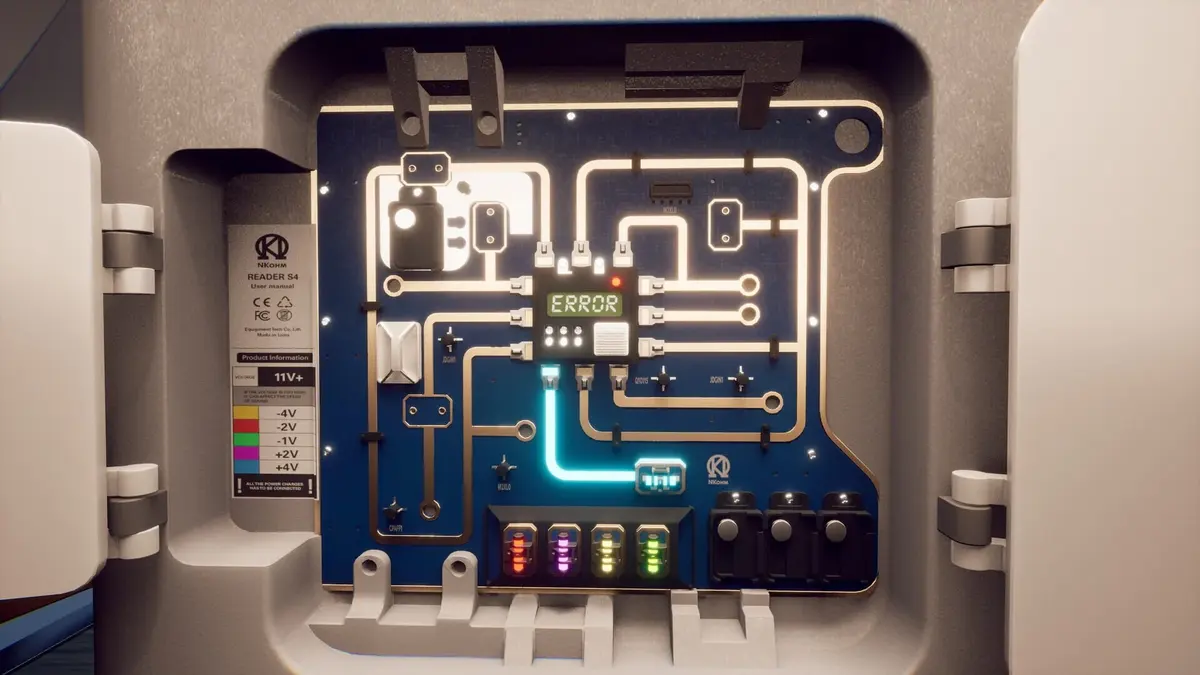
The first nasty moment aboard the A.R.E.S. Space Station comes after a reset: Miranda wakes in her bedroom, the Pod Bay Access Card is gone from her inventory, and the locked route still looks exactly as it did before. The fix is to scan the card before station power expires. Rivage‘s loops erase ordinary items, but the K9 System keeps scanned keycards, passwords, audio logs, and recorded puzzle information.
This walkthrough follows the Steam version of Rivage, released on 22 September 2026. Work through the station in loop order, use K9 as your permanent record, and avoid spending a whole loop carrying objects that will disappear before they matter.
Table of Contents (23)
Loop Rules: What K9 Keeps and What a Reset Deletes
Every major puzzle chain becomes cleaner once you treat each loop as a scouting run or an execution run. A scouting run is for finding a password, scanning an access card, listening to an audio file, uncovering a diagram, or reading a terminal instruction. An execution run is for returning through the now-known route and applying that information before the power timer ends.
- K9 retains: scanned keycard data, passwords, audio logs, puzzle discoveries, and certain access information.
- Loops erase: physical cards, batteries, gears, and other ordinary inventory objects.
- Power ends the loop: station power running out triggers the reset. Miranda dying is not the standard loop trigger.
- Location matters: several correct solutions fail if used at the wrong terminal, room, or object.
Warning: never leave a keycard unscanned because you intend to carry it through the reset. The physical card vanishes. Its scanned information is what K9 preserves.
Part 1: Pod Bay Access Card and the First Persistent Unlock
Part 1 teaches the keycard rule directly. Clear the early computer, restore the Emergency Pharmacy panel, then make the Pod Bay card part of your permanent K9 record before the loop closes.
Open the Early Computer
At the computer, select Forgot Password. The prompt refers to “My bestseller,” which points to the nearby book titled Stardust. Use Stardust as the password to continue.
Restore the Emergency Pharmacy
The Emergency Pharmacy requires the third Battery. Insert it into the panel to progress the early sequence. Do not burn extra time rechecking unrelated doors here; the battery step is the gate that matters.
Scan the Pod Bay Access Card Before the Reset
Take the Pod Bay Access Card, then inspect and scan its reverse side before power runs out. The reverse is critical because the later terminal needs more than the card’s identity. It also needs the barcode printed on the back.
After the reset, Miranda wakes in Miranda’s Bedroom. Go through the Kitchen and return to the Pod Bay door. At the Access Card Builder Terminal, enter Amaan’s Identifier:
2665181
When the terminal reaches the Barcode section, enter the barcode printed on the back of Amaan’s Access Card. K9 must already contain the scanned card data. Carrying the unscanned card in the previous loop does not satisfy this requirement.
Part 2: Garage Rail Detector, Star Map, Soundboard, and Energy Cell
The Garage is a four-stage chain: assemble the Rail Detector, power the pylon route, complete the star-map journey, then use the Particle Waves soundboard at the lobby rocket. The final Cubik Cube pattern leads to the Energy Cell password.
Route Power to the Large Pylon
Start with the power marker labeled “2”. Direct its light beams into the smaller pylons and rotate the floor tiles until the electrical path reaches the large pylon on the right. The two smaller pylons marked with + signs must both receive light before the main route can complete.
The reliable success check is the large pylon itself: it lights up with two green lights when the floor-tile route is correct. One powered small pylon or a partially connected floor route will not finish the puzzle.
Complete the Star-Map Route
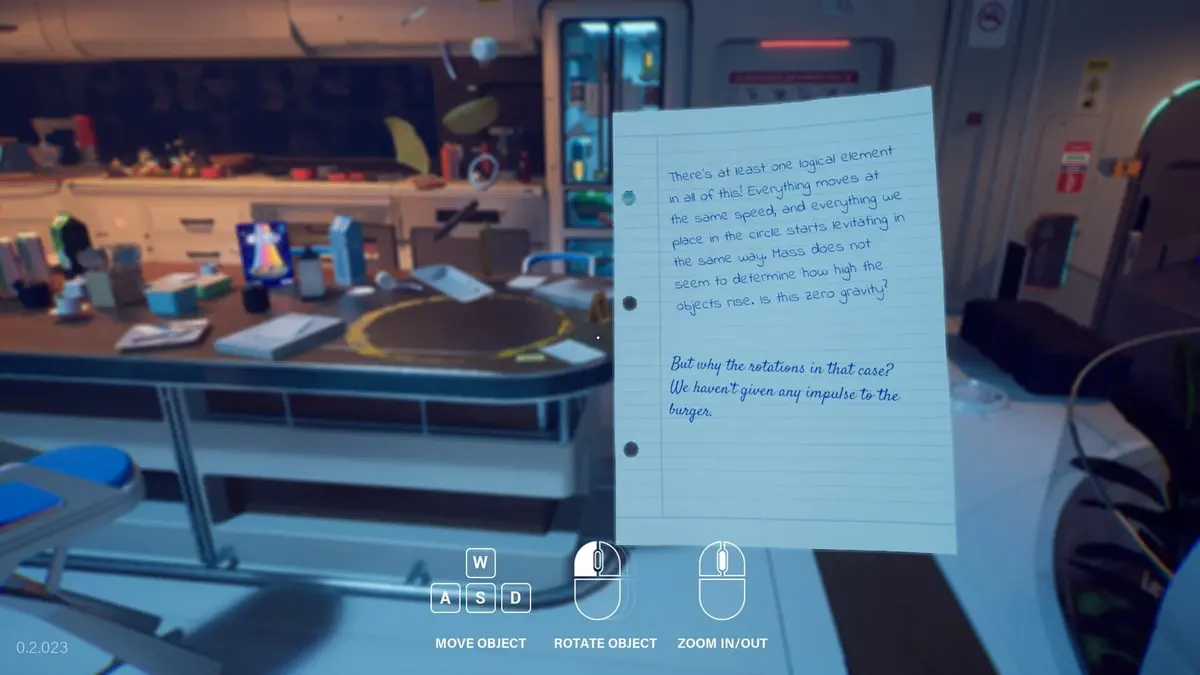
Begin at A.R.E.S. and plot a route that collects all six data nodes while keeping ship health above zero. Reaching the final system alone is not enough; missing even one data node fails the objective.
Use this route exactly:
SRP-01 → SRP-02 → AST-ART → SDT-11 → X-248 → K-1066 → BTH-12 → DATA-04 → NNS-7 → RE-005 → VAN-26 → ARK-18 → X-303 → 4-MKM
If the navigation screen accepts the destination but the Garage sequence does not advance, restart the route and verify that every data node was collected. The puzzle checks both node collection and remaining ship health.
Use Particle Waves at the Lobby Rocket
Play the Particle Waves audio file and compare its dot-matrix patterns with the symbols on the soundboard buttons. The correct button order is:
- Pad 5
- Pad 2
- Pad 3
- Pad 1
- Pad 4
- Pad 6
The common failure here is using the sequence while standing in the Garage. Take the soundboard to the lobby rocket detector and play the pattern in front of the rocket. The rocket displays the Cubik Cube solution only when the sequence is performed in that location.
Enter the Cubik Cube Pattern and Get the Energy Cell Password
Read the pattern displayed by the rocket, then return to the computer on the first floor of the Garage. Enter the rocket’s pattern there. The unlocked computer contains an email with the Kitchen Energy Cell container password:
265546
Use 265546 at the Kitchen container to collect the Energy Cell. The rocket provides the visual puzzle answer; the first-floor Garage computer is where that answer is submitted.
Cubik Cube Puzzle Rules and the Garage Rocket Pattern
For clarity, this guide uses Cubik Cube as the name for Rivage’s cube-pattern puzzle. If you have seen the same step called something else in player notes, do not let the naming mess waste a loop. What matters is the on-screen pattern in front of you: usually the Garage rocket display or a Laboratory clue page.
- One Cubik Cube clue page is inside the Laboratory’s central Containment Unit.
- Each pie-like marking in the clue represents an edge or corner of the cube.
- The filled portion identifies the cube side to press.
- Miranda must stand inside the marked circle before entering a direct cube-side pattern.
- The Garage rocket can also provide a required Cubik Cube pattern after the correct soundboard sequence.
The important distinction is where you enter the answer. If the clue comes from the Garage rocket, submit that pattern at the first-floor Garage computer. If the puzzle is a direct cube interaction, stand in the marked circle and press the matching cube sides there. Copy the live pattern, not your memory of an older loop, because the station loves punishing sloppy confidence.
Part 3: Rafael’s Computer and Terminal-File Progression
Part 3 leans harder on the information K9 has already retained. Before committing to a late-loop terminal run, check K9 for passwords and previously scanned access data rather than retracing the full early-game route for physical objects.
Rafael Almeida’s Computer Password
Rafael Almeida’s Computer gives the hint “Maezinha”. Enter:
Miranda
The login reveals that Jahi is throwing away evidence. Record the result through K9 progression before using remaining station power on optional detours.
Terminal-Command File: Use the Readme, Not Guesswork
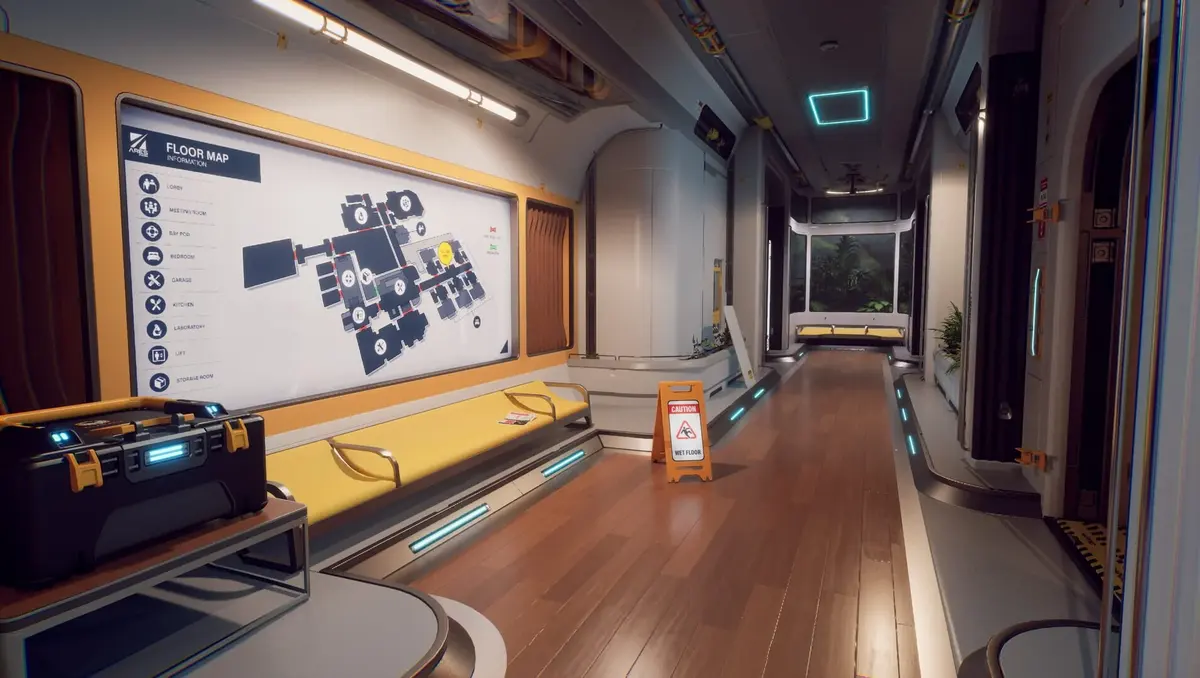
This terminal step is much cleaner than it first looks, but only if you stop typing like a panicked intern and follow the file chain in order. Once you reach the relevant PC, open the terminal and do this:
- Type
LSto list the available files. - Run
asroot extract database_piece.qpakto unpack the archived file with temporary elevated access. - Type
cat readme.noteand read the instruction file. - Run the build or installer command named in that readme before leaving the terminal.
The critical part is the order. LS tells you what is present, asroot extract database_piece.qpak exposes the next layer, and cat readme.note tells you what executable or build step the game expects after that. Do not waste power inventing command strings before you have read the note. This puzzle wants file handling, not blind hacking-roleplay.
The broader loop-management rule still applies: passwords and scanned access information stay available, while physical batteries, cards, gears, and similar inventory tools must be collected again if the next stage still needs the object itself.
Part 4: Wooden Clock, Seven Cogs, and the Computer Activation
The Wooden Clock sequence is a late-game time sink if you collect gears without checking the assembly order. The clock begins with seven missing cogs, and the wall diagram determines both the required pieces and the order they must be installed.
Find the Clock Gears in Jahi’s Bedroom
Search all six functional clocks in Jahi’s Bedroom for the parts:
- Two wall clocks beside the Wooden Chest.
- The large grandfather clock left of the bathroom door.
- The wall clock right of the bathroom door.
- The wall clock opposite the grandfather clock.
- The small clock on the cabinet near the bed.
Bring the recovered gears to the Wooden Clock and insert them one at a time in the order shown on the wall assembly diagram. Having the right collection of gears does not bypass the insertion order.
Rewind the Wooden Clock
After all seven cogs are installed, close the Wooden Clock’s lid. Then rotate its key counterclockwise to reverse the displayed time. Keep turning until the associated computer powers on.
Warning: clockwise rotation is the wrong direction for the activation step. If the computer remains dead after fitting the gears, confirm the wall-diagram order, close the lid, and rewind the clock counterclockwise.
HV-Light Gear Grid Variant
One late gear presentation uses a created gear in a grid and reveals the solution along the bottom when the HV light is active. Align the connections, then rotate the gear in one-sixth clockwise turns as the puzzle requires. Whether the game presents this as a linked stage or a separate room-specific gear puzzle, handle it on its own terms: use the visible diagram in that room, not the Wooden Clock order from a different interaction.
Hub and Endgame Routing: Build the Final Run Around K9
The hub connects Rivage’s loop areas and becomes more valuable once K9 contains the station’s major discoveries. A clean late-game loop should begin with the route already planned: use retained card data and passwords, collect only physical items required for that attempt, then move directly toward the current objective.
Scouting Loop: Gather the Manual Pages First
Treat the hub like a file puzzle with a travel problem wrapped around it. Your scouting run is for collecting the scattered Q-Bit manual pages, confirming which terminal you need, and banking every related clue you can into K9. Do this before you start the actual hack. The station is much less funny when you are reading instructions for the first time with the power drain chewing through your remaining minutes.
Execution Loop: Extract the Archive, Read the Note, Run the Tool
On the real endgame run, head straight to the hub terminal and work in this order:
- Type
LS. - Run
Asroot Extract DataLensArchive.qpak. - Open the instruction file with
Cat Readme.Note. - Run
Datalens.exe train_components_list.dtl.
That sequence is the point. Extract first, read second, execute third. The readme is what tells you how the installer-style file is supposed to be used, so skipping straight to random commands is a great way to turn a late-game loop into landfill.
- Check K9 for the scanned access card before returning to any builder terminal.
- Use saved passwords instead of spending power reacquiring their clue chains.
- Do location-sensitive actions at their intended object: the rocket for the soundboard, the first-floor Garage computer for the Cubik Cube pattern, and the Wooden Clock for the rewind.
- Leave broad exploration for a scouting loop, not the loop where a route depends on fresh batteries, gears, or a terminal chain.
- Start the hub hack only when you have enough power left to finish the immediate objective after the terminal step.
The endgame route works best as a sequence of short, clean commitments rather than one heroic everything loop. Gather instructions first. Return with K9 already loaded. Run the terminal chain in order. Then push the unlocked path immediately while the station is still cooperating.
Rivage Puzzle Troubleshooting
| Problem | What caused it | Fix |
|---|---|---|
| The Pod Bay route is still locked after a reset. | The Access Card was carried but not scanned. | Restart the card sequence, inspect the card’s reverse side, and scan it before station power expires. |
| The Garage pylon will not complete. | One or both positive pylons are not receiving light, or the floor tiles break the route. | Power both + pylons, then rotate tiles until the large pylon shows two green lights. |
| The star map reaches its endpoint but does not progress. | The route skipped data nodes or reduced ship health too far. | Use the full published route and ensure all six data nodes are collected. |
| The soundboard pattern does nothing. | The sequence was played in the Garage instead of at the lobby rocket. | Carry the soundboard to the rocket detector and use Pad 5, 2, 3, 1, 4, 6 there. |
| The terminal file step stalls out. | The archive was not extracted first, or the readme was skipped. | Use LS, then asroot extract database_piece.qpak, then cat readme.note, and follow the command named in the note. |
| The hub hack does not advance. | The archive and installer sequence was done out of order. | Gather the Q-Bit manual pages on a scouting loop, then use LS, Asroot Extract DataLensArchive.qpak, Cat Readme.Note, and Datalens.exe train_components_list.dtl. |
| The Wooden Clock does not activate the computer. | The gears are out of order, the lid is open, or the key is being turned the wrong way. | Follow the wall diagram, close the lid, and turn the key counterclockwise until the computer starts. |
Best Loop Order for a Clean Station Run
- Use the first loop to learn the Stardust password, power the Emergency Pharmacy, and scan the Pod Bay Access Card.
- Use the next run to apply Amaan’s Identifier
2665181and the saved barcode at the Pod Bay builder terminal. - Clear the Garage in order: Rail Detector, pylon route, star map, lobby rocket soundboard, first-floor Garage computer, then the Kitchen Energy Cell.
- Keep the Laboratory Cubik Cube clues and Part 3 passwords stored through K9 before spending a late loop on terminal progression.
- Handle the Part 3 terminal by listing files, extracting the archive, reading the readme, and only then running the next command it gives you.
- Collect Jahi’s Bedroom gears only when you are ready to follow the clock diagram, close the clock, and rewind it counterclockwise.
- Do one scouting loop for hub manual pages, then save the hub’s terminal chain and final routing push for a separate execution loop.
A successful Rivage run is built around permanent information, not temporary inventory. Scan every access card, bank every password in K9, complete location-locked puzzle steps at the correct device, and preserve enough station power for the action that actually advances the loop.
FinalBoss // Gear
Level up your setup
01Top-rated gaming headsetson Amazon→02High-refresh gaming monitorson Amazon→03Gaming chairson Amazon→04Discounted game keyson Kinguin→Affiliate links · As an Amazon Associate, FinalBoss earns from qualifying purchases.
Want to Level Up Your Gaming?
Get access to exclusive strategies, hidden tips, and pro-level insights that we don't share publicly.
Ultimate Guide Strategy Guide + Weekly Pro Tips