SAND: Raiders of Sophie: Best Early Trampler Loadout Guide
The safest way to start SAND: Raiders of Sophie is to treat your trampler as your only bank account. Select the grumpy walker preset for a forgiving chassis, split your personal weapons by range so you are never helpless outside the mech, and spend your first hours in Voyage mode stocking fuel, ammunition, food, and repair scrap before you risk a Storm Dive. Losing your trampler does not simply cost you a vehicle-if it is destroyed, enemies can loot your hold, and if it is captured, you lose your mobile base entirely and must steal another machine or start from scratch. Extraction discipline and conservative fuel habits matter more than your kill count.
Start With the Grumpy Walker and Range-Split Weapons
The grumpy walker preset is the strongest early foundation. It offers a stable platform with enough armor to survive rookie navigation mistakes and enough internal space to carry the supplies you need for extended outings. Your first tech unlocks should prioritize reactor stability and additional hull compartments. A steady reactor keeps your systems online under fire and prevents the slow attrition of power-related breakdowns, while extra compartments let you carry more extraction loot and essential consumables without sacrificing mobility. Until you have a surplus of scrap, avoid sinking resources into extra artillery decks or secondary cannon mounts that you cannot crew effectively.
Your personal kit should cover two distinct engagement ranges. Carry a revolver for close-quarters combat-use it when you dismount to search ruins, when an enemy player boards your trampler, or when you are inside tight spaces where a long gun is cumbersome. Pair it with a rifle for mid-to-long range, which lets you scout on foot ahead of your mech, harass exposed enemy gunners from angles your cannons cannot reach, and defend your trampler before an opponent closes to boarding distance. Early ammunition is scarce, so this split also helps you ration rounds: revolver cartridges are typically cheaper and more plentiful, while rifle ammo is reserved for high-value threats.
Cannon placement should reflect your actual crew size. Most early runs are solo or duo, which means you cannot realistically man four cannons at once while also steering, repairing, and navigating. Prioritize the front cannon because the pilot controls facing; it is the only gun you can guarantee is on target while driving. The rear mount is useful as a deterrent or for ambush angles when you have a dedicated gunner, but when you are alone, treat it as a secondary investment. Spending your limited build resources on a front weapon with a wide traversal arc gives you more consistent damage than splitting your scrap between two guns you cannot aim simultaneously.
Use Voyage Mode to Fund Your Storm Dive Kit
Voyage mode is your early sandbox and your primary bank. Unlike Storm Dive, there is no shrinking survivable circle forcing you inward, and radio towers remain available for extraction without the rigid timed unlocks. Use this freedom to memorize tower locations, measure travel times between loot zones, and learn how your trampler handles when fully loaded. The goal is not to fight every patrol you encounter; it is to fill your compartments with enough resources that your first Storm Dive is funded by surplus rather than desperation.
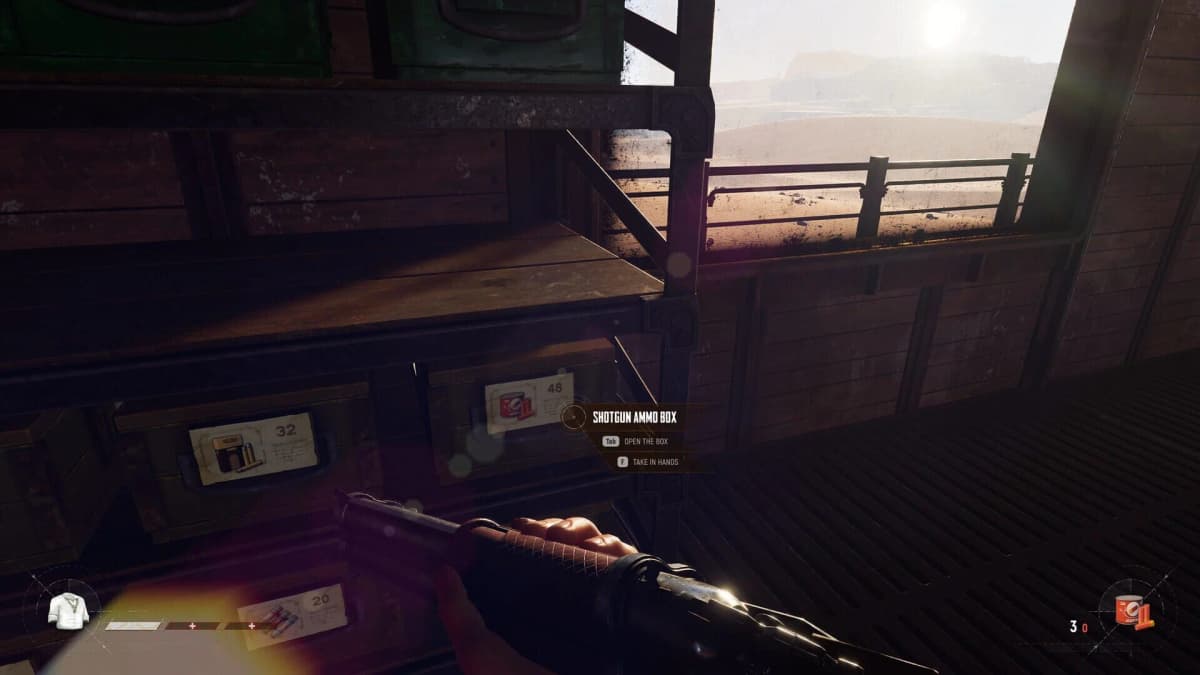
Focus on four categories during every Voyage run: fuel, ammunition, food, and repair scrap. Fuel is the most common cause of early spirals. If you burn more than half your tank reaching a distant ruin, you may not have enough reserves to reach the nearest extraction tower, especially if you are forced to detour around enemy tramplers. Carry enough personal ammunition for both your revolver and rifle, plus a reserve box of cannon shells if your front mount uses them. Food keeps you moving during long outings, and repair scrap lets you patch hull damage without returning to a safe zone. Extract regularly in Voyage until you have a full storage buffer; that stockpile becomes your insurance policy when you transition to the higher-stakes extraction loop.
Storm Dive Extraction Rules and Tower Timing
Storm Dive changes the extraction math. Radio towers are inactive at the start of a match; they only become usable after the first two segments of the match timer fill. Once that happens, multiple towers unlock across the map, but each tower is single-use. After a crew extracts from one, it goes offline for the remainder of the session. This creates a rush condition where several tramplers may converge on the nearest active tower at the same time.
When you locate an active tower, dismount and climb to the top to activate the radio. This creates an evacuation waypoint; you must bring your trampler within 200 meters of the tower to extract. A dropship arrives 90 seconds after activation and drops a cable. You then have a 60-second window to approach the cable and use the ascend prompt to climb aboard. Missing that window means waiting for another dropship cycle or moving to another tower, which is dangerous when the circle is shrinking and other crews are rotating toward the same extraction points.
Because towers are single-use and their activation is visible nearby, calling the dropship broadcasts your position. Do not start the radio until you have cleared the immediate area or you are prepared to defend the cable for the full 90 seconds. If you are solo, the safest play is to activate from a concealed position on the tower, move your trampler into hard cover nearby, and sprint to the cable only when you hear the dropship engines overhead. Abandoning your trampler too early leaves it vulnerable to capture, while waiting too long wastes your 60-second ascent window.
FinalBoss // Gear
Level up your setup
01Top-rated gaming headsetson Amazon→02High-refresh gaming monitorson Amazon→03Gaming chairson Amazon→04Discounted game keyson Kinguin→
Affiliate links · As an Amazon Associate, FinalBoss earns from qualifying purchases.
Combat Routine and Mid-Fight Repairs
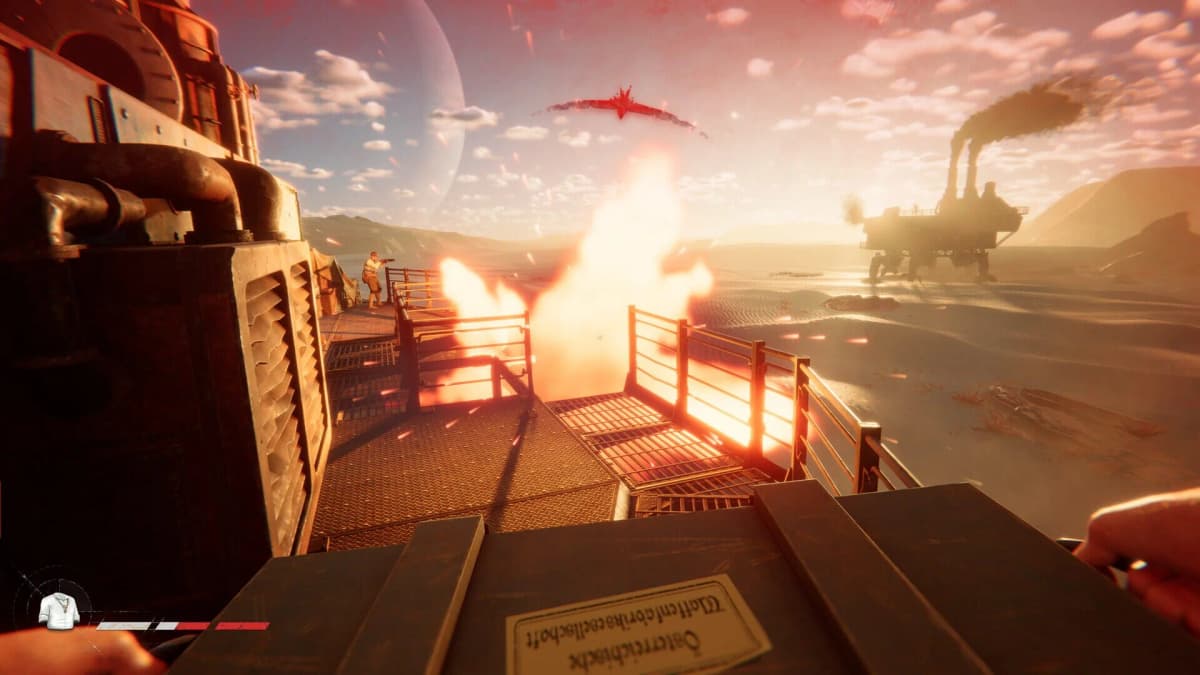
Combat in SAND is a resource trade, not a damage race. When you are solo, you are simultaneously the pilot, gunner, navigator, and engineer. The front cannon should be your primary damage tool because it rotates with your facing. If you need to reposition, stop firing, turn, boost, and use dunes or ruins for cover. Tramplers are loud and their silhouettes are visible from far away, so breaking line of sight is often more valuable than landing one extra shell.
Mid-fight repair is possible but dangerous. Keep repair scrap in a compartment you can access without deep menu navigation. If your hull drops below half and you are not in a dominant position, break contact immediately and patch the worst breaches before re-engaging. A destroyed trampler ends your run; a temporarily disengaged pilot lives to extract. Against crews with multiple gunners, your best weapon is range management. Use your rifle to harass from outside their effective cannon arc, force them to turn, then close only when you have an advantage. Boarding actions favor the defender if you have a revolver ready, but never let a fight drag on so long that you miss the extraction window.
Want to Level Up Your Gaming?
Get access to exclusive strategies, hidden tips, and pro-level insights that we don't share publicly.
Ultimate Guide Strategy Guide + Weekly Pro Tips
Looting and Supply Habits That Prevent Early Spirals
Early spirals happen when you spend more resources reaching loot than the loot is worth. Set a hard fuel floor before you leave the safe zone-typically half a tank—and turn back when you hit it unless you are already en route to a known extraction tower. For ammunition, run your revolver for cheap PvE cleanup against scavengers and minor patrols, and conserve rifle rounds for player threats or heavily armored targets. Cannon shells are heavy and scarce, so do not waste them on individual foot soldiers when your personal weapons can handle cleanup.
Sort your compartments so that repair scrap and fuel are easiest to reach during pressure. Nothing is worse than needing a quick patch while under fire and scrolling past food rations to find your metal plates. Store completed extraction hauls safely between runs. The game only protects what you have successfully extracted; anything left unpacked in the trampler is vulnerable to theft if the mech is destroyed or captured. Think of Voyage mode as your savings account and Storm Dive as a high-risk investment—never gamble gear you cannot afford to replace.
What Losing Your Trampler Actually Costs
Your trampler is your inventory, your respawn anchor, and your extraction vehicle. If another crew destroys it, they can freely loot whatever was inside the hold. If they capture it outright, the loss is even worse: you are dispossessed of your base and respawn on foot without a machine. You must then steal another trampler or restart from nothing. That setback is far more punishing than a single death, and it is why conservative play early on is not cowardice—it is structural risk management. The players who dominate the late game are usually the ones who never lost their first machine to an unnecessary fight.
TL;DR: Your First Five Hours
- Select the grumpy walker preset and upgrade reactor stability and compartments first.
- Carry a revolver for close range and a rifle for mid-to-long range; ration rifle ammo for players.
- Prioritize the front cannon; rear cannons are secondary for solo pilots who cannot crew both.
- Run Voyage mode to map radio towers and stockpile fuel, ammo, food, and repair scrap.
- Set a half-tank fuel floor and extract regularly to bank loot safely.
- In Storm Dive, wait for the first two timer segments to unlock towers; remember they are single-use.
- Activate extraction only when you can defend the 90-second dropship wait and 60-second cable window.
- Never chase a fight if it puts your trampler at risk of destruction or capture.
Lock down your trampler build in Voyage, memorize two reliable tower routes, and treat every Storm Dive as a test of your supply chain rather than your aim. The pilots who extract consistently are the ones who still own their tramplers at the end of the night.