
Security 51: How to Clear Days 1–14 and Route Level 3 Days 25–30
Security 51 is easiest to manage when you treat Level 1 as practice for a strict inspection routine, then change your mindset for Level 3: Days 25-30 are about routing each suspicious case toward the correct outcome, not running every tool available. A clean document mismatch is still a denial. A genuine anomaly or a day-specific trigger may require Security, medical testing, research, or isolation instead.
The Rule That Carries You Through Every Shift
Read the bulletin before pressing Start Day. The shift clock does not begin until you confirm the day, giving you time to absorb new requirements, review recent mistakes, and note any special exceptions. This matters because Security 51 changes its inspection rules over time: a document type that was irrelevant yesterday can become a required check today.
Once the queue begins, inspect in the same order for every visitor. Consistency prevents the most expensive mistake in both Level 1 and Level 3: finding one correct detail, assuming the rest is fine, and missing the contradiction that decides the case.
- Read the day’s bulletin and special instructions.
- Check the visitor’s name across all required documents.
- Compare the ID or passport number.
- Match the photo to the person in front of you.
- Verify facility access, clearance, and any time-window requirement.
- Look for visible physical anomalies when that system is available.
- Count people entering and leaving through the elevator if the day includes elevator activity.
- Use deeper tools only when the rules or the evidence justify them.
A mismatch in the name, number, or photograph fails the basic entry check. Do not try to balance one bad field against several good ones. If the visitor already fails identity verification, spending time and medical resources on extra testing can complicate a case that had a straightforward result.
Security 51 Days 1-14: Build the Inspection Habit First
Level 1 introduces the pieces gradually, but the reliable approach stays the same: verify paperwork, inspect the visitor, then act on the strongest confirmed reason. Early shifts punish rushed reading more than slow decision-making, especially when the bulletin adds photo checks, medical-certificate requirements, or new clearance conditions.
| Days | Primary focus | What to avoid |
|---|---|---|
| 1-3 | Build a fixed name, number, photo, and clearance routine. | Approving from a quick glance at only one matching field. |
| 4–7 | Add visible-body checks and newly unlocked inspection tools. | Assuming clean documents mean the visitor is safe. |
| 8–14 | Maintain focus through longer, denser shifts while managing supplies. | Using consumables or advanced checks on cases with an obvious basic denial. |
Days 1–3: Make the Checklist Automatic
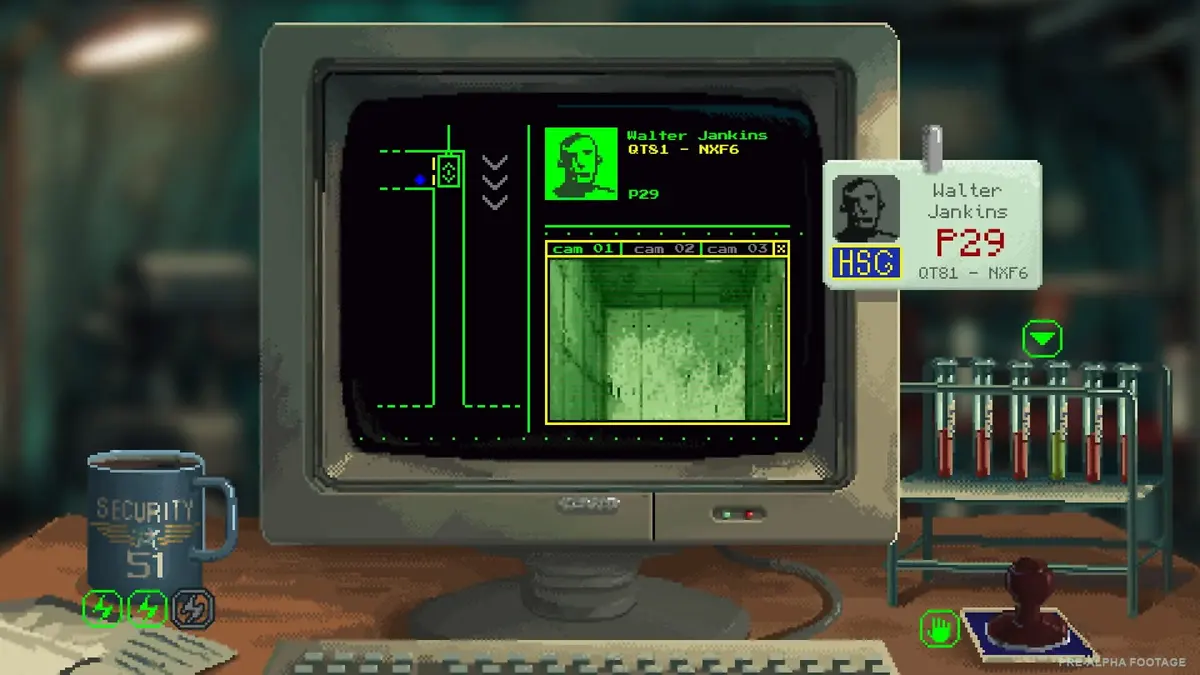
The opening days are deliberately simple enough to establish good habits. Work from the bulletin to the documents, rather than trying to memorize every rule from previous shifts. Compare the name, ID or passport number, photograph, facility pass, and clearance condition in a fixed sequence.
The common trap is checking the name, seeing that it matches, then approving without examining the number or photo. Security 51 treats each field as its own requirement. One contradiction is enough to stop the visitor.
Days 4–7: Check Bodies as Carefully as Paper
As Level 1 develops, the checkpoint expands beyond document inspection. Watch for visible signs such as unusual posture, rashes, or slurred speech. These details are part of the screening loop and can matter even when the visitor’s paperwork appears legitimate.
Use unlocked tools with a purpose. The X-Ray Scanner and Polaroid support checks for hidden or static-related anomalies, while a medical-certificate request is useful when the day’s rules point you toward medical verification. The goal is to confirm a specific suspicion, rather than scan every person by default.
When a visitor has an obvious identity mismatch, resolve that core failure first unless the bulletin explicitly instructs otherwise. Early extra tests cost attention and time, and Level 3 later makes unnecessary escalation even more consequential.
Days 8–14: Protect Attention During Long Inspection Streaks
The later Level 1 days are where fatigue becomes a practical problem. More visitors, more document types, and longer inspection strings make it easier to skip a number comparison or forget a newly added rule. Keep the same order even when the queue feels routine; the routine is what catches the one detail designed to break it.
Consumables such as Sandwiches support extended shifts by helping you recover and sustain concentration. Save them for days where the queue is long, the bulletin adds multiple document layers, or you have already had a demanding inspection streak. A simple case with a clear denial does not justify burning supplies.
- Use recovery items after sustained, high-attention screening rather than at the first sign of pressure.
- Pause briefly between visitors to reset your document order if you catch yourself skipping fields.
- Read new medical-certificate rules carefully; certificates can be part of the inspection, not automatic proof of safety.
- Review elevator traffic whenever the day calls for it, even if the documents looked clean.
Elevator Headcounts: The Level 1 Check Players Skip
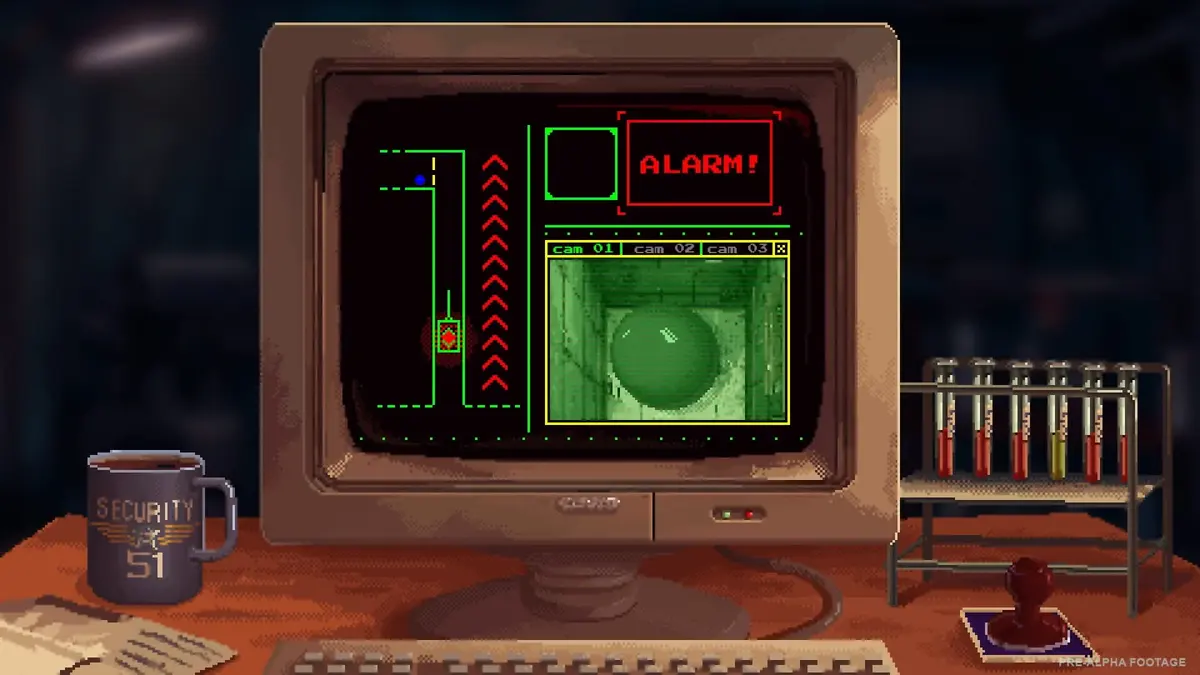
Elevator events require a physical-count sanity check. A valid-looking document stack does not prove that the right number of people used the elevator. Empty-camera events and duplicate staff can create a discrepancy that paperwork alone will never reveal.
When elevator monitoring is active, count who enters, count who exits, and compare that result to the expected movement. Make this a separate final step after document and body checks. Trying to remember the count while comparing several IDs is how duplicate staff slip through.
FinalBoss // Gear
Level up your setup
01Top-rated gaming headsetson Amazon→02High-refresh gaming monitorson Amazon→03Gaming chairson Amazon→04Discounted game keyson Kinguin→Affiliate links · As an Amazon Associate, FinalBoss earns from qualifying purchases.
Why Level 3 Days 25–30 Need a Different Approach
Day 25 promotes you into Level 3 and introduces a new crisis involving the BSODeaD hacker group. The main difficulty is no longer merely catching a false document. Your decisions can now push a case toward medical testing, isolation-related handling, research progress, field operations, or a different timeline state.
That makes test order important. Treat the basic document check as the gate before deeper analysis. If identity is inconsistent, do not use medical tools to search for a more elaborate explanation unless the day’s bulletin specifically creates an exception. A broken identity is already actionable information.
Day 25: Learn the Rorschach Test Without Overusing It
Day 25 introduces the Rorschach Test. The first visitor teaches the process, and the day remains manageable if you continue checking ID details before moving to the new tool. For this shift, a mention of Red Color in the Rorschach Test is the trigger to Call Security, overriding the normal instruction flow.
Keep the order clean: identify any document mismatch, run the Rorschach Test where the day requires it, then act on the confirmed result. The new tool is meant to add evidence to the case, not replace the basics that got you through Level 1.
Day 26: Continue the Test Logic and Maintain Research
Day 26 extends the Rorschach-focused decision process while adding an Isolation Ward research task. Follow the day’s instructions precisely, then complete the research step instead of treating it as optional housekeeping. Level 3 progression uses these systems to build later outcomes, so skipping a required research action can leave the route incomplete even if your visitor decisions were clean.
Some Level 3 instructions can include cases that must be let through despite normal rules. When the bulletin says to ignore other instructions for a specific detected condition, that override is the decision. Do not apply the usual denial logic after you have confirmed a stated exception.
Day 27: Use UV and Thermal Checks to Resolve Suspicion
Day 27 gives you a clear example of targeted escalation. Start with the ID. If the details mismatch, use the UV Light to search for Runic Symbols or the Thermal Scanner to look for Hypothermic Areas. If neither sign is present, deny access rather than continuing to probe for a hidden branch.

This is the Level 3 pattern to remember: test when a mismatch creates a reason to test, then stop once the available evidence points to the correct outcome. Searching for every possible anomaly after a case is resolved adds risk without improving the decision.
Want to Level Up Your Gaming?
Get access to exclusive strategies, hidden tips, and pro-level insights that we don't share publicly.
Ultimate Guide Strategy Guide + Weekly Pro Tips
Days 28–30: Route Cases, Do Not Chase Every Branch
The final Level 3 stretch uses the tools and exceptions introduced earlier to create branching outcomes. Visitor check-ins are randomized, so the exact people and combinations you see can vary between runs. The stable part is the routing logic: establish whether the documents are valid, identify the day-specific trigger, use the required tool only when it can confirm that trigger, and follow the stated override.
Medical testing, research, isolation, and Security calls are decisions with progression consequences. A late-game case can be designed for containment rather than a routine denial, particularly when the day’s instructions point to quarantine or isolation-style outcomes. Read the bulletin’s wording closely before applying Level 1 instincts.
- Valid documents plus no special trigger: follow the normal allow instruction.
- Document inconsistency: deny unless the bulletin tells you to test for a defined exception.
- Defined tool result: follow the day’s stated Call Security, allow, isolation, or research instruction.
- Explicit override: let the override control the case, even when the normal rule would give another outcome.
- Isolation or quarantine condition: consider containment when the day’s instructions frame it as the intended route.
Level 3 Errors That Create Bad Routes
Using Day 1 Logic on a Day 30 Case
Basic denials still matter, but Level 3 contains exceptions and routes that can override them. Do not approve or deny from memory. The current bulletin is the authority for that shift.
Stacking Tests Without a Reason
Medical and anomaly tools should answer a question raised by the documents, the visitor, or the day’s instructions. Excess testing consumes time and can move a case toward an outcome you did not intend. Confirm enough to identify the correct route, then commit to it.
Missing an Override Because the Normal Rule Feels Safer
Level 3 deliberately includes instructions that tell you to let someone through or Call Security while ignoring prior rules. Those are not flavor text. They are the branch conditions that determine the next part of the progression.
Forgetting Research and Operations Between Shifts
Level 3 extends beyond the checkpoint desk. Research in the Isolation Ward and Field Operations are tied to the larger route. Handle the day’s available research after completing the visitor queue so that a successful inspection day also advances the intended progression state.
Practical Route for a Clean Run
For Days 1–14, slow down and make name, number, photo, clearance, body, and elevator checks automatic. Preserve supplies for dense shifts rather than spending them on routine denials. For Days 25–30, begin with document certainty, use Rorschach, UV, thermal, and medical systems only when the case calls for them, and obey the day’s override instructions exactly.
The useful habit is simple: Level 1 teaches you how to prove a visitor is wrong; Level 3 teaches you what to do with that proof. Keep your inspections structured, avoid speculative testing, and treat isolation, research, and special Security calls as deliberate route decisions.