
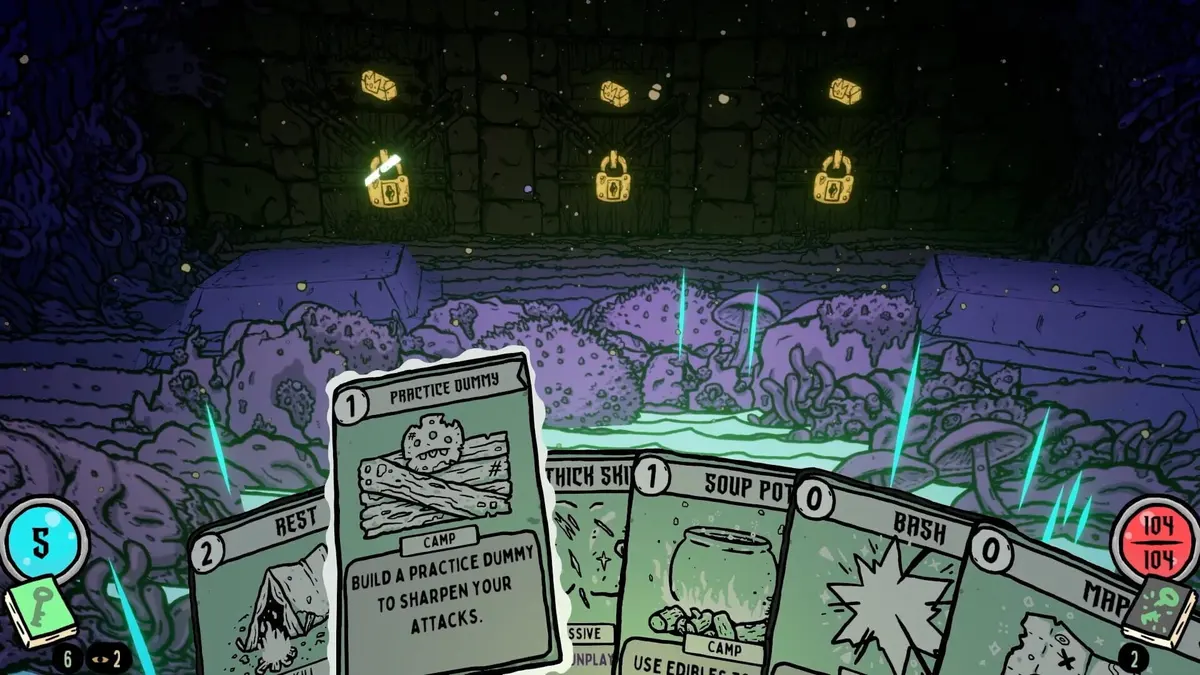
Prioritize health upgrades, food cards, and a functioning Explore toolkit before building for huge mega-combos. Shroom and Gloom gives you very little blocking early, so a run usually ends through accumulated damage: a stalled route costs resources, a long fight costs health, and an unfocused deck fails to draw its recovery when it matters.
The strongest early-game plan is a simple survival loop. Keep the Explore deck capable of moving, searching, and using essential tools; then make the Combat deck deal dependable damage while turning defeated enemies into food. Toasties, roasting, eating, and soup effects give that plan staying power as Gloom damage and multi-enemy encounters become harder to absorb.
Table of Contents (7)
Build Both Decks for Their Actual Jobs
Shroom and Gloom uses two separate decks, so a powerful Combat reward cannot repair an Explore deck that lacks movement or tool access. Treat every reward as an answer to one of three early-run problems: progressing through the dungeon, ending fights efficiently, or recovering after damage.
- Explore deck: movement, searching, revealing areas, breaking obstacles, unlocking routes, igniting light sources, and modifying cards.
- Combat deck: attacks, healing, defensive or skill-based effects, buffs, debuffs, and food production.
- Early-run priority: identify one Combat direction and one Explore weakness, then take rewards that directly improve either one.
This keeps the two-deck system from becoming a trap. A rare Combat card has little value if the run cannot reach better rooms, open locked rewards, or safely use campsites. Likewise, a perfect set of Explore tools will not save a Combat deck that takes too long to kill enemies.
Keep the Explore Deck From Stalling Your Run
Early exploration should be built around reliability rather than cleverness. The Explore deck needs enough movement and search utility to keep advancing through either dungeon-style route, plus access to the tools that convert rooms into rewards instead of dead ends.
- Movement and search: These are the baseline. They keep you finding cards, upgrades, food, and route options instead of spending a run trapped in low-value branches.
- Shovels: Keep a reliable digging interaction available for hidden rewards and paths. Digging can turn an ordinary route into an upgrade or resource opportunity.
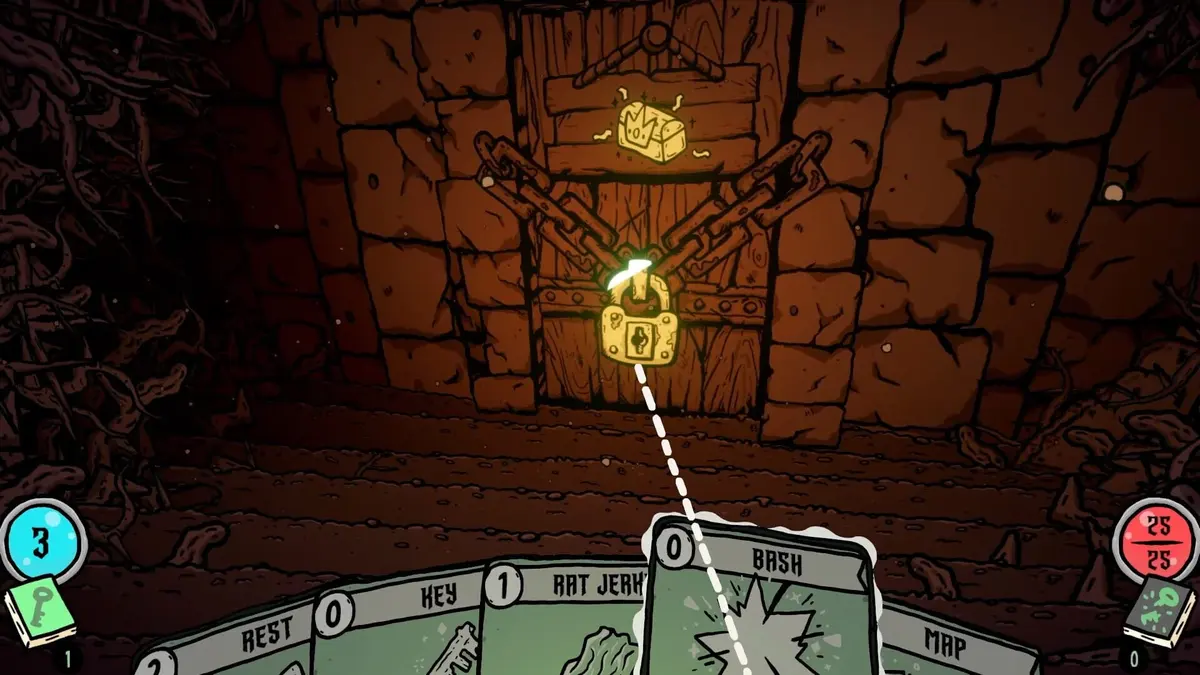
- Keys: Maintain a way to deal with locked doors and chests. Missing key access can leave valuable route branches unusable.
- Flashlights or other light sources: Darkness makes exploration less predictable. A light-related Explore card gives you safer visibility when the route becomes more dangerous.
- Ignition: Torches and campfires need a source of ignition. Carrying a campsite without a way to light it is a common resource-management failure.
Do not commit deeper into the Gloom on the assumption that a future campfire will solve the health problem. Check that the Explore deck can actually ignite torches and campfires first. Resting and cooking only support the survival loop when the route provides the tools to activate them.
Take Health and Food Before High-Damage Combos
Health upgrades are the best early safety net because they give room for imperfect route choices and unfamiliar enemy patterns. Take special health upgrade cards when they appear, and give food cards real value rather than treating them as filler between attacks.
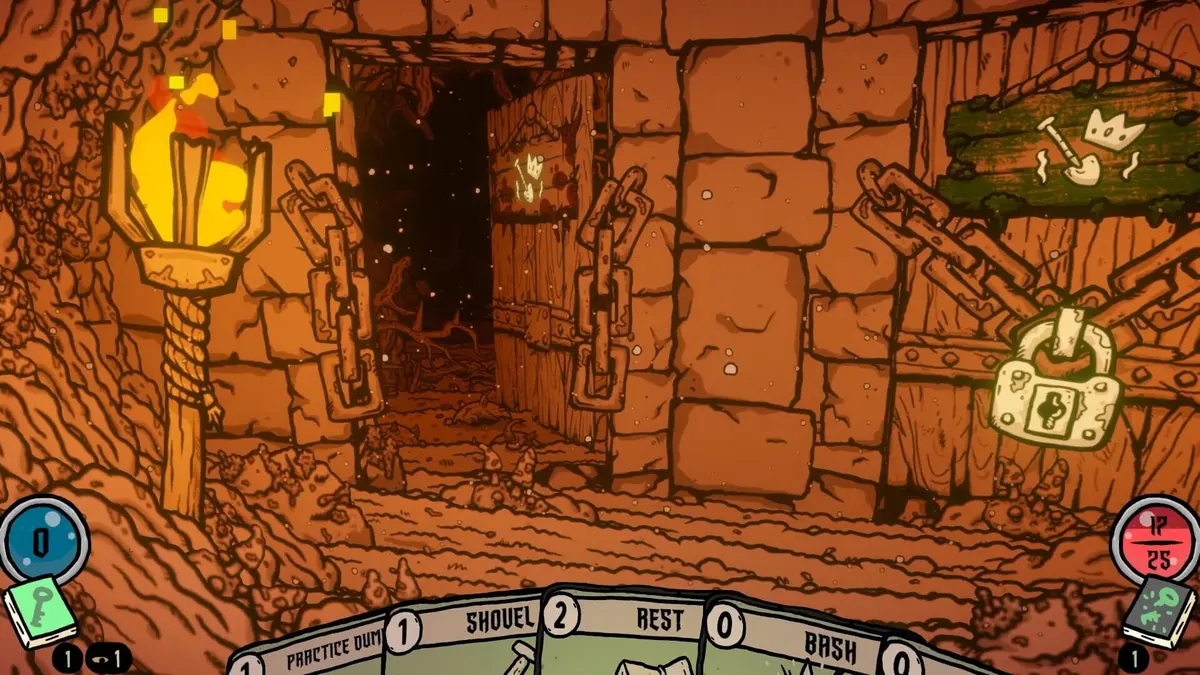
Toasties are especially valuable early because they provide in-combat healing. They help absorb the chip damage that slips through when several enemies are active and blocking options are limited. A single recovery tool also makes it easier to choose a steadier line during a fight instead of forcing risky attacks to end the encounter immediately.
The broader goal is a feast-and-recovery setup: combat creates food, food is roasted or eaten, and the resulting healing supports the next rooms. This is why enemy-to-food effects are so important. They improve kill speed and create a resource that continues paying off after the current fight ends.
Use a Focused Combat Core, Not a Pile of Good Cards
Pick one repeatable attack as the center of the Combat deck, then add cards that make that attack more effective. The early target is a dependable damage-and-recovery loop, not a showcase combo that only appears when several unrelated cards line up.
- Improve a reliable attack rather than splitting upgrades across several mediocre damage cards.
- Keep at least one answer for long fights: repeatable food generation, persistent damage, or a useful defensive or utility effect.
- Add buffs, draw, vulnerability, or setup only when they strengthen the core attack plan.
- Pass on rewards that do not improve damage, recovery, crowd control, or a specific weakness in the current deck.
Oversized Combat decks are dangerous because they dilute the cards that keep you alive. If the deck relies on a damage boost, an enemy-to-food attack, and food support, every unrelated card makes that three-part loop harder to draw. A modest card that supports the loop is usually stronger than a flashy rare card that does nothing for it.
Early Combat Upgrade Priorities
Upgrade order matters because each early improvement should make progress safer, shorten fights, or improve recovery. The following priority keeps all three goals covered without overloading the deck with disconnected synergies.
| Upgrade priority | What it improves | Why it matters early | When to delay it |
|---|---|---|---|
| Practice dummy or raw-damage upgrade | Base damage across attack cards | More efficient attacks shorten fights and reduce incoming damage. | Delay only when the run has no reliable healing or is missing essential Explore tools. |
| Enemy-to-food conversion attack | Damage plus food generation | Each kill becomes a future healing resource, supporting the entire route. | Delay if the card cannot currently finish enemies consistently. |
| Roasting, eating, and soup support | Food conversion into recovery | Turns generated ingredients into health and stabilizes longer runs. | Delay if the deck has not yet established a way to produce food. |
| Rare or elaborate synergy cards | Potential high-end combo damage | Can become strong later, once the core loop is already reliable. | Delay when the card does not directly support your current damage, food, or survival plan. |
Vulnerability is one of the most useful offensive status effects against tougher enemies. Apply it before committing a barrage of attacks, especially when your main damage card has already been upgraded. The status creates a meaningful damage window; using it after the best attacks have already been spent wastes much of its value.
Read Enemy Intent Before Spending Your Best Cards
Multiple enemies can act in the same encounter, so the target with the lowest health is not always the right target. Watch the visible intent and status signs to separate enemies that will attack next turn from those that are defending or doing nothing. Remove the enemy guaranteed to deal meaningful damage first whenever possible.
This matters more in the opening hours because healing is a limited resource and early blocking is scarce. A fight can look under control, then become expensive when two attackers survive because the turn was spent setting up a damage combo. Use setup cards when the immediate threat is low; use direct damage when the board is about to hit you.
Choose Rewards Against the Weakest Part of the Run
After each reward, compare it to the run’s current failure point instead of its rarity. Take an Explore reward when movement, searching, keys, shovels, flashlights, or ignition are missing. Take a Combat reward when fights are too slow, food is not being generated, or recovery runs dry before the route is complete.
- Progress failure: Improve movement, search, tool access, or route interaction.
- Combat failure: Strengthen the primary attack, add damage amplification, or use vulnerability and crowd-control support.
- Recovery failure: Prioritize health upgrades, toasties, enemy-to-food effects, and food-roasting support.
Change one meaningful interaction at a time. If the deck already has a working food-conversion loop, protect it rather than adding several experimental cards at once. Shroom and Gloom has hundreds of cards and card growth can go deep, but the early game rewards a small, coherent package far more than a collection of individually impressive effects.
Shroom and Gloom is scheduled for Steam Early Access on September 10, 2026, with card values and text subject to change during Early Access. Keep the health-first structure, but read the current version of every card before treating older demo rankings or pre-release build lists as permanent rules.
FinalBoss // Gear
Level up your setup
01Top-rated gaming headsetson Amazon→02High-refresh gaming monitorson Amazon→03Gaming chairson Amazon→04Discounted game keyson Kinguin→Affiliate links · As an Amazon Associate, FinalBoss earns from qualifying purchases.
Want to Level Up Your Gaming?
Get access to exclusive strategies, hidden tips, and pro-level insights that we don't share publicly.
Ultimate Guide Strategy Guide + Weekly Pro Tips